Configuring WebSphere Application Server 4.0 to work with the eG Agent
To monitor a WebSphere Application server 4.0, a specific WebSphere monitoring eG component has to be installed on it. In order to configure a WebSphere Application server for eG monitoring, do the following:
- Start the WebSphere Application server, by typing the command WAS_HOME/bin/adminserver.sh, where WAS_HOME is the home directory of the WebSphere Application server.
-
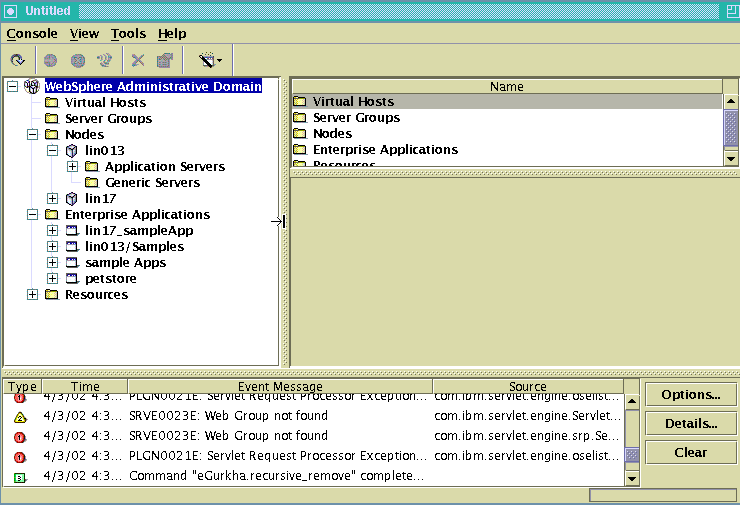
Start the WebShere Advanced Administrative Console using the command adminclient.sh (see Figure 1).
-
In order to install the eG component, right-click on Enterprise Applications in the left pane and select Install Enterprise Application from the menu that pops up as shown in Figure 2 below:
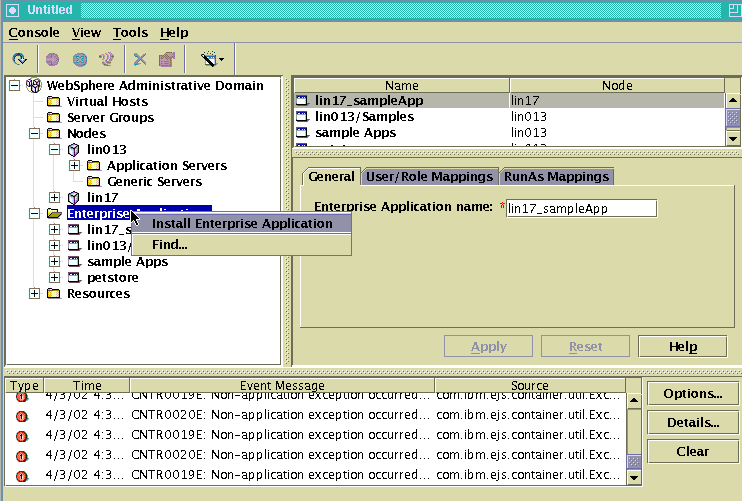
Figure 2 : Selecting the option for installing an enterprise application
-
In the dialog box that appears (see Figure 3), select the Install Application (*.ear) option and specify the Path to the egurkha.ear file (which will be located in <EG_HOME_DIR>/egurkha/lib directory, where <EG_HOME_DIR> is the directory in which eG has been installed). The Browse button can also be used for locating the file. Next, name the new component as egurkha by specifying the same against the Application Name text box. Then, click the Next > button in the dialog box.
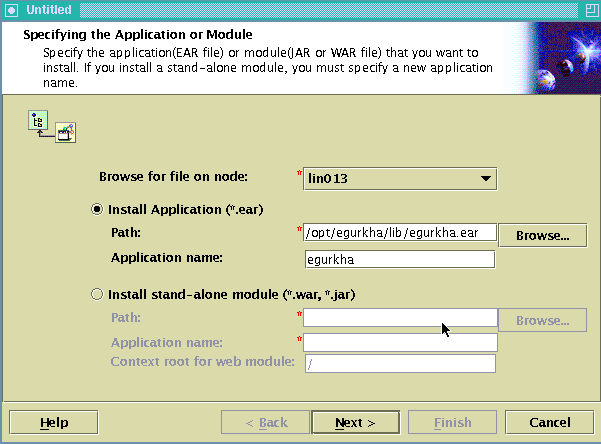
Figure 3 : Specifying the application or module to be installed
-
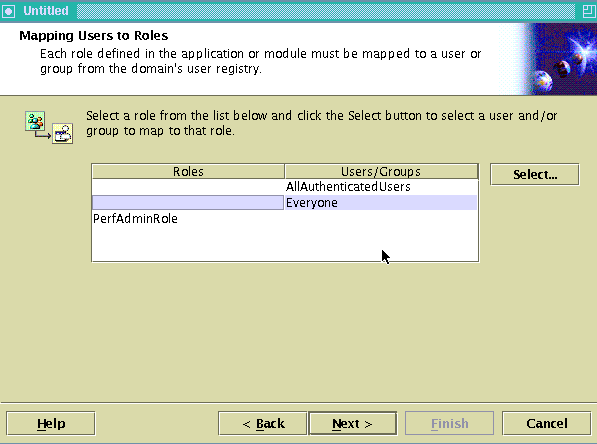
As Mapping of users to roles is not required for our component, click the Next > button in the Mapping Users to Roles dialog box (see Figure 4).
-
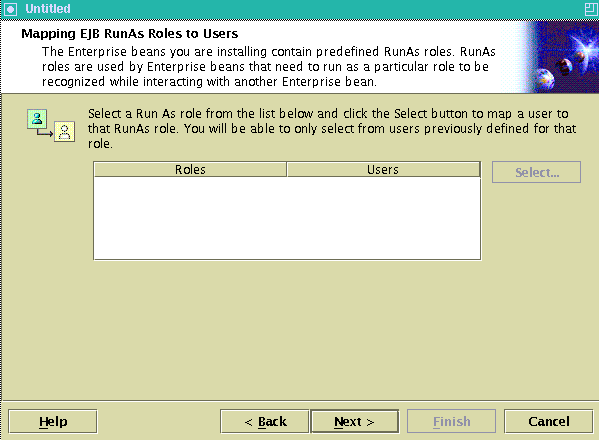
The dialog box that appears on clicking the Next > button is the Mapping EJB RunAs Roles to Users dialog box (see Figure 5). As this mapping also does not apply to the eG component, click the Next > button in the dialog box to proceed with the installation.
-
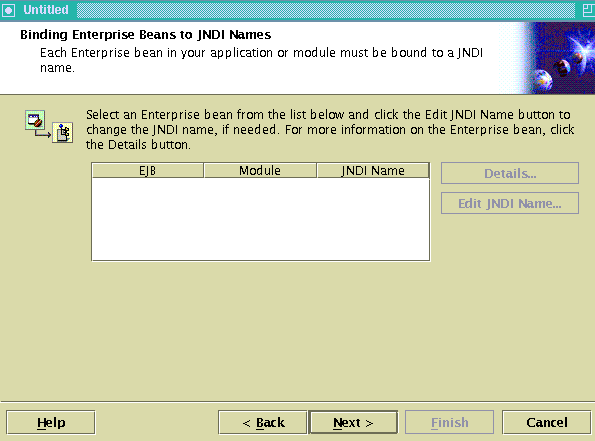
Once you arrive at the Binding Enterprise Beans to JNDI Names dialog box (see Figure 6), click the Next > button and move on.
-
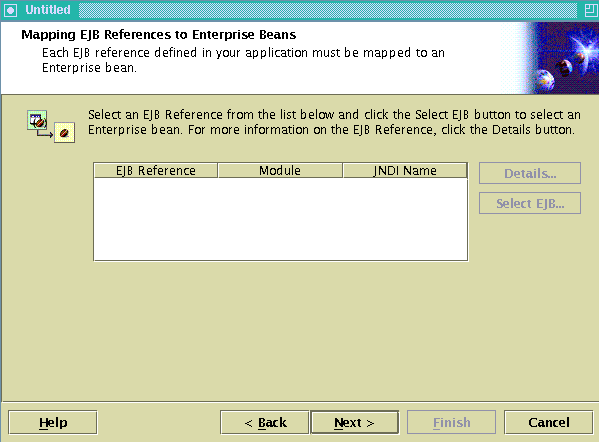
This will take you to the Mapping EJB References to Enterprise Beans dialog box shown by Figure 7 below, where you would have to click the Next > button and navigate to the next step of the installation process.
-
The Mapping Resource References to Resources dialog box depicted by Figure 8 below will then come up. Click the Next > button in this dialog box to proceed.

-
In the Specifying the Default Datasource for EJB Modules dialog box (see Figure 9) that appears, click the Next > button to move to the next step.

Figure 9 : Specifying the default datasource for EJB modules
-
The next dialog box depicted by below will prompt you to specify the Datasource for individual CMP Beans. Once again, click the Next > button to proceed.
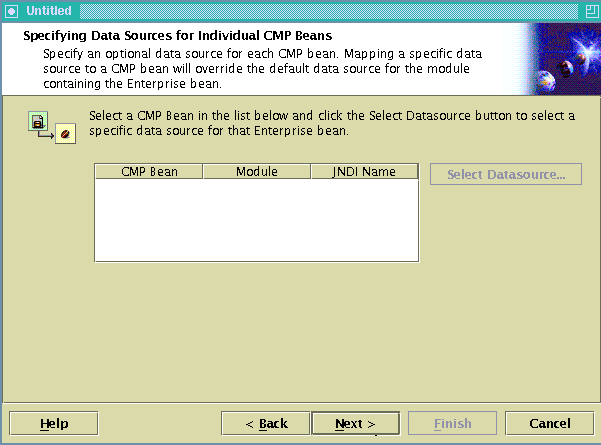
Figure 10 : Specifying data sources for individual CMP Beans
-
In the dialog box that appears soon after, you need to select the virtual hosts on which the modules within the new component are to be installed. Just click the Next > button in the dialog box and move on.
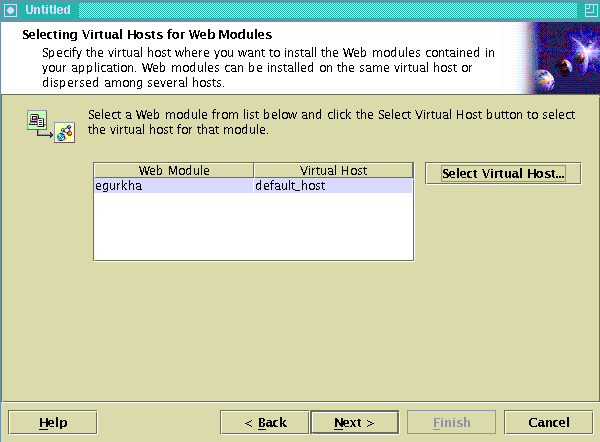
Figure 11 : Selecting virtual hosts for Web modules
-
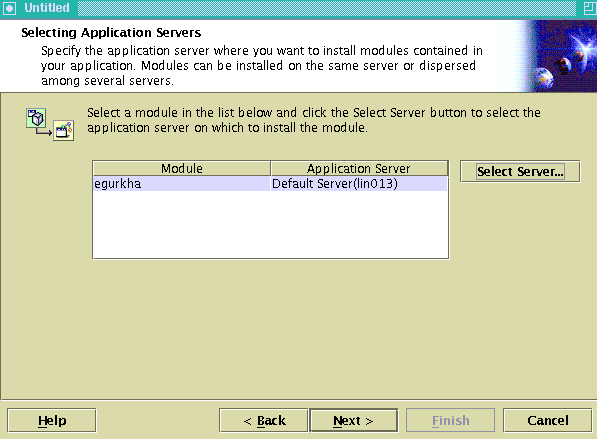
The next dialog box (Figure 12) is where we select the application server on which the component egurkha is to be installed. For that, first, click the Select Server… button.

-
When this is done, the following dialog box will appear listing the Component Servers available and the nodes to which they are connected. Select the server on which the new component is to be installed and click the OK button in the dialog box.
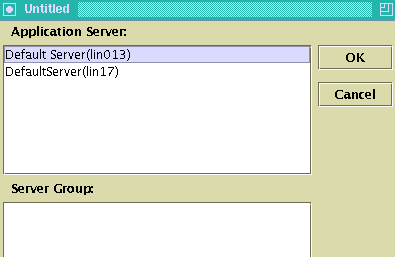
Figure 13 : Component servers
-
You will then return to the Selecting Component Servers dialog box. Here, you can see the application server you selected appear against the Module egurkha as shown in Figure 14. Click the Next > button to view a summary of the settings that you had defined.
-
After viewing the summary information, end the installation by clicking the Finish button in the Completing the Application Installation Wizard dialog box.
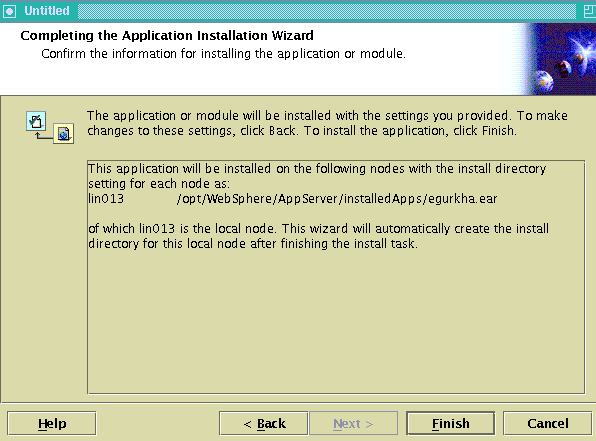
Figure 15 : Completing the component installation
-
Click the OK button in the message box that will pop up on successful installation of the eG component.
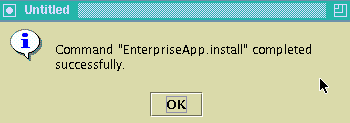
Figure 16 : Message box informing the user of successful installation
- Clicking OK will take you back to the Administrative Console. Refresh the contents of the console by clicking the Refresh button on the tool bar.
-
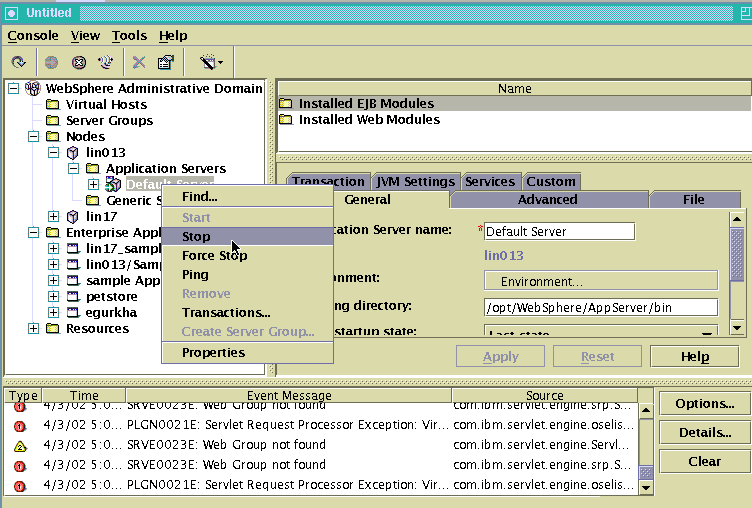
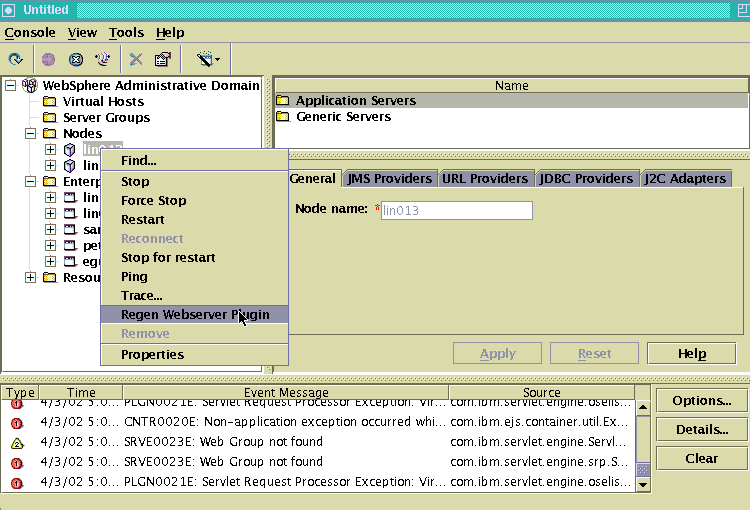
Then, regenerate the Webserver plugin by expanding the Nodes option in the tree-structure, selecting the node on which you installed the new component, right-clicking on it and picking the Regen Webserver Plugin option from the shortcut menu (see Figure 17). Doing so will update the Webserver Plugin with the changes made to the configuration of the WebSphere Application Server.
-
Then, to ensure that the changes made take effect, stop the application server (if it has been started already) and then restart it. In order to do this, expand Nodes in the tree-structure, select the application server on which the new component egurkha has been installed, right-click on it, and select Stop from the pop-up menu. This sequence has been depicted in Figure 18 below. Later, right-click on the server once again, but this time, select Start from the pop-up menu.