Configuring Groups
Large enterprises often have load balanced groups of servers providing web, middleware, and database functionality. The servers in the group often perform the same functions and have the same set of dependencies on other infrastructure components. For a service with tens of servers in a group, the service topology representation can quickly get very cumbersome. To handle such environments, eG Enterprise allows administrators to define server groups that represent a collection of similar servers. By including a server group in a service topology representation, administrators can indicate that all the servers in the group have the same set of dependencies on other parts of the infrastructure. Topology representation using server groups are compact and concise to represent, and simple to understand.
To create a group, do the following:
- Follow the menu sequence: Infrastructure -> Groups menu.
-
The component groups page that appears next will display all the existing groups. If no groups pre-exist, then a message indicated by Figure 1 will appear.
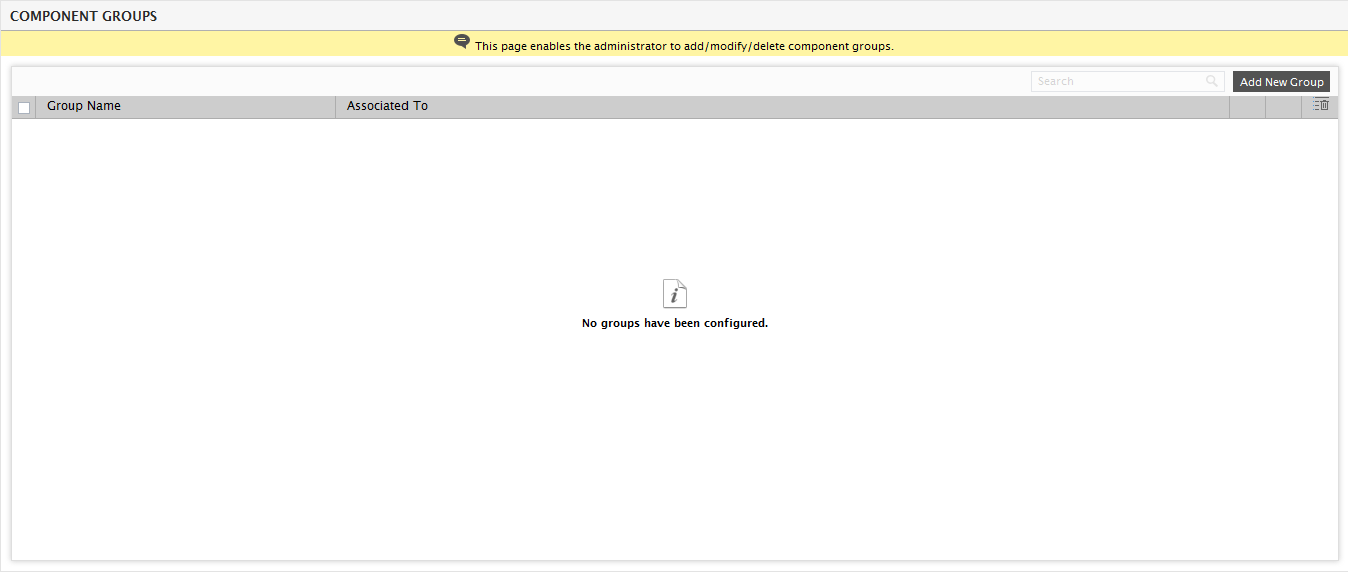
Figure 1 : A message indicating that no groups are currently available
- To add a new group, click the Add New Group button in Figure 1.
-
Figure 2 will then appear. Here, specify the name of the group that is to be created in the Group name text box.
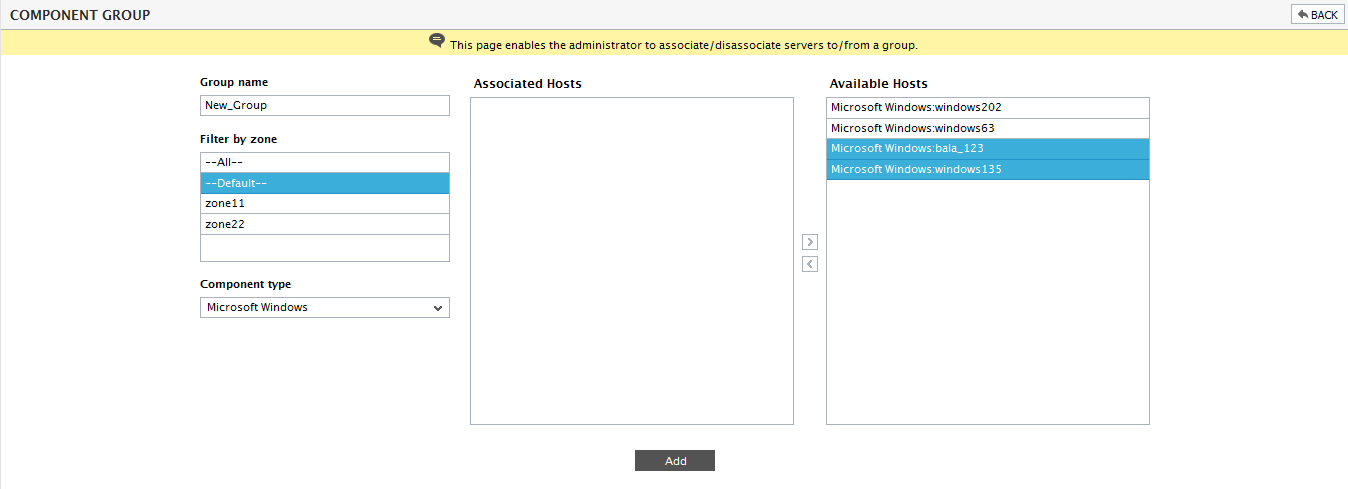
- If you want your group to contain a component that is already within a zone, then select that zone from the Filter by zone list. By default, the --All-- option is displayed indicating that all components in the monitored infrastructure are available for creating a new group.
-
The Component type list will automatically be populated with all the component types that are associated with the chosen zone. Pick the component type of your choice from this list. The Available Hosts list will then be populated with the components of the chosen component type (see Figure 3). Select the hosts that you wish to add to the new group and click the < button. This will transfer your selection to the Associated Hosts list.

Figure 3 : Selecting the components to be associated with the new group
- To dissociate a host from the group, select the host from the Associated Hosts list and click the > button.
- Finally, click the Add button in Figure 3.
-
You will then return to Figure 4, which will list the newly created group. To modify the group, click on the
 icon against the group name. To delete a group, click the
  icon against the group. To mark all the displayed groups for deletion, select the check box against the Group Name label and click the
  icon.
icon.
Figure 4 : The newly created group been displayed in the LIST OF GROUPS page
- If a large number of groups have been configured, locating the group to be modified/deleted would become quiet a challenge. This page therefore, allows you to quickly search for a group, by first specifying the whole/part of the group name in the Search text box, and then clicking the
 icon next to the text box. All groups with names that embed the specified string will then appear.
Note:
When monitoring Citrix infrastructures, administrators often prefer to manage delivery groups on a Citrix Delivery Controller as Component Groups in eG. If an eG agent is installed on a Citrix Delivery Controller, then this agent can auto-discover all the delivery groups managed by the controller and the XenApp servers in each group. The eG manager uses the details so discovered to accurately identify the delivery group to which a managed XenApp server belongs. With this knowledge, the eG manager then automatically creates a component group in eG, adds the managed XenApp server to it, and also assigns the delivery group’s name (by default) to that component group. If later, XenApp servers are added/removed from a delivery group, eG Enterprise auto-detects this change and updates the corresponding component group configuration accordingly. This eliminates the need for any manual intervention in component group maintenance. To enable this capability, do the following:
- Edit the eg_services.ini file in the <EG_INSTALL_DIR>\manager\config directory.
- In the [DISCOVERY_SETTINGS] section of the file, look for the AutoCreateGroups flag. By default, this flag is set to false. If set to true, then eG Enterprise will check whether/not a managed XenApp server is part of any of the auto-discovered delivery group. If so, then eG will auto-create a component group corresponding to that delivery group, and will add the XenApp server to it.
-
By default, the component groups that eG auto-creates will be named after the delivery groups they represent. If you want the auto-created component group names to be prefixed by any string, then specify that string against the PrefixForAutoCreatedGroupNames flag.
If a delivery group is removed, then eG Enterprise will automatically remove the corresponding component group, only if that component group is not part of ay segment/service configuration. Likewise, if a delivery group is removed, then eG Enterprise will NOT remove those Citrix XenApp servers in the group that are included in a segment/service configuration as ‘independent servers’.