Creating a New User in the Office 365 Portal
To monitor OneDrive for Business, the eG agent has to be configured with the credentials of a user who has been assigned the Service support admin and SharePoint admin roles and is vested with the View-Only Audit Logs permission. While you can use the credentials of any existing O365 user with the aforesaid privileges, it is recommended that you create a special user for monitoring purposes using the Office 365 portal and pass the credentials of that user to the eG agent. To create a new user using the Office 365 portal and assign the required privileges to that user, follow the steps detailed below:
- Using a browser, connect to the Office 365 portal. The default URL of the portal is: https://portal.office.com
- Login to the portal as a user with administrator privileges.
-
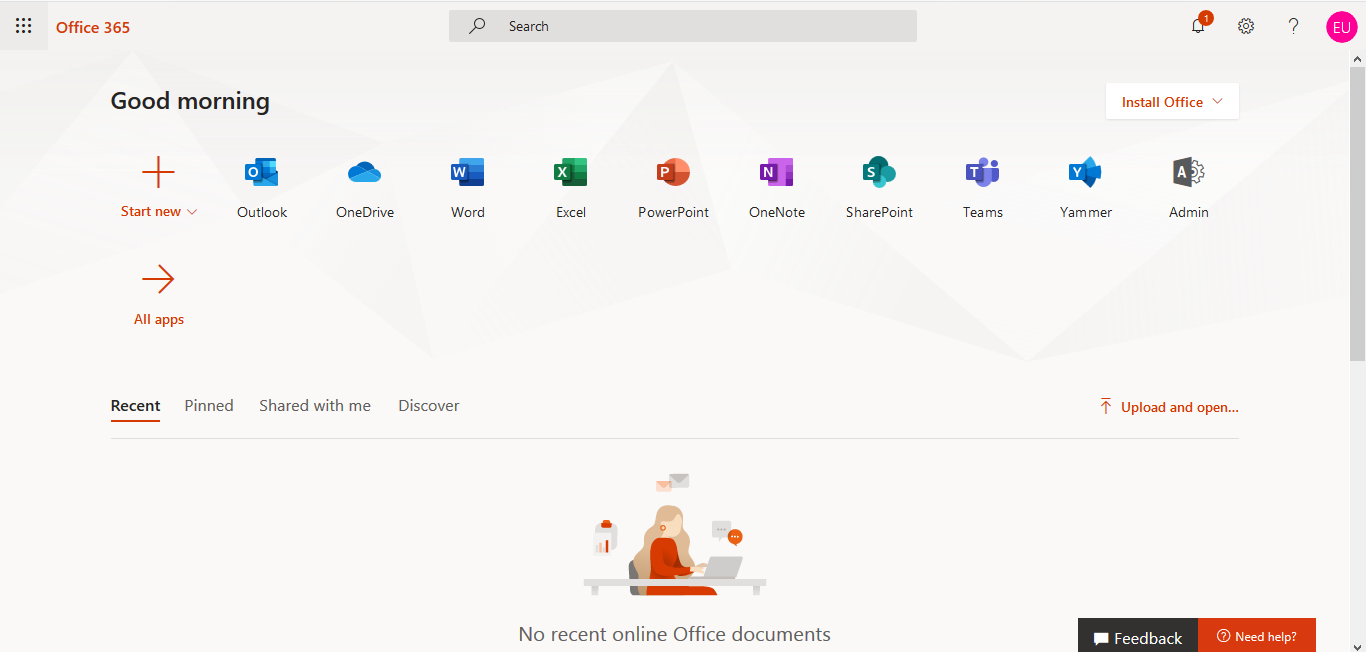
Figure 191 will then appear.
-
Click on Admin under Apps (in Figure 191). The Microsoft Office 365 Admin Center will then appear (see Figure 192).
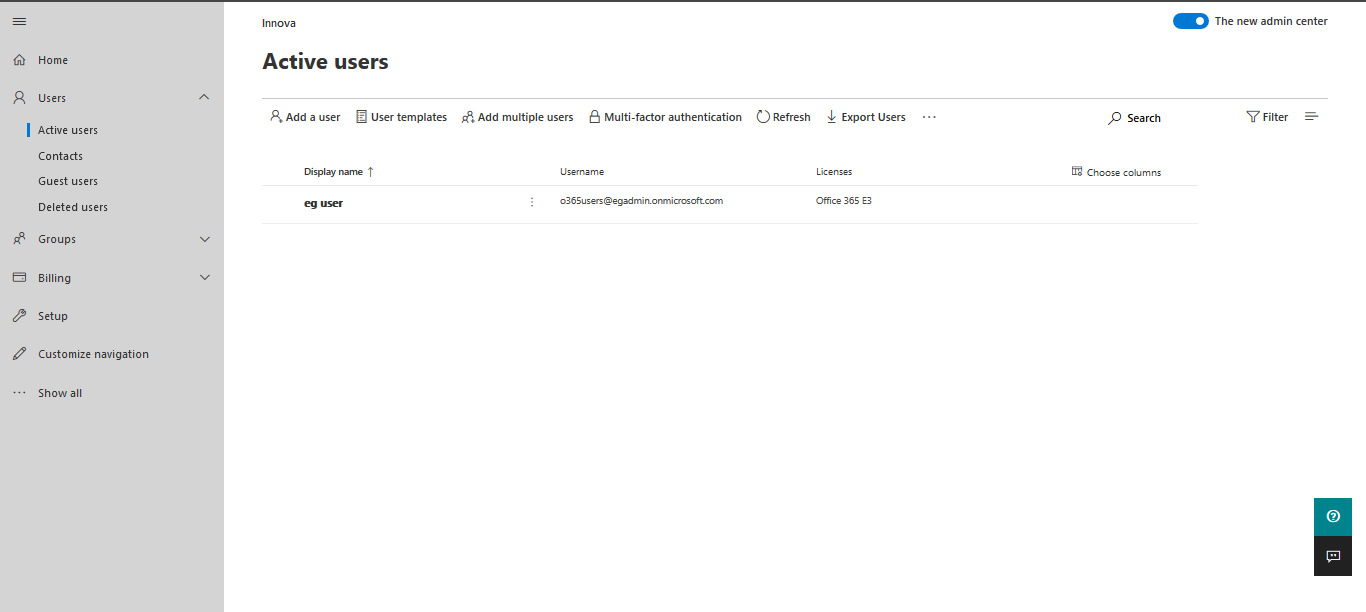
- To create a new user, click on the Add a user link under the Active users section in Figure 192.
-
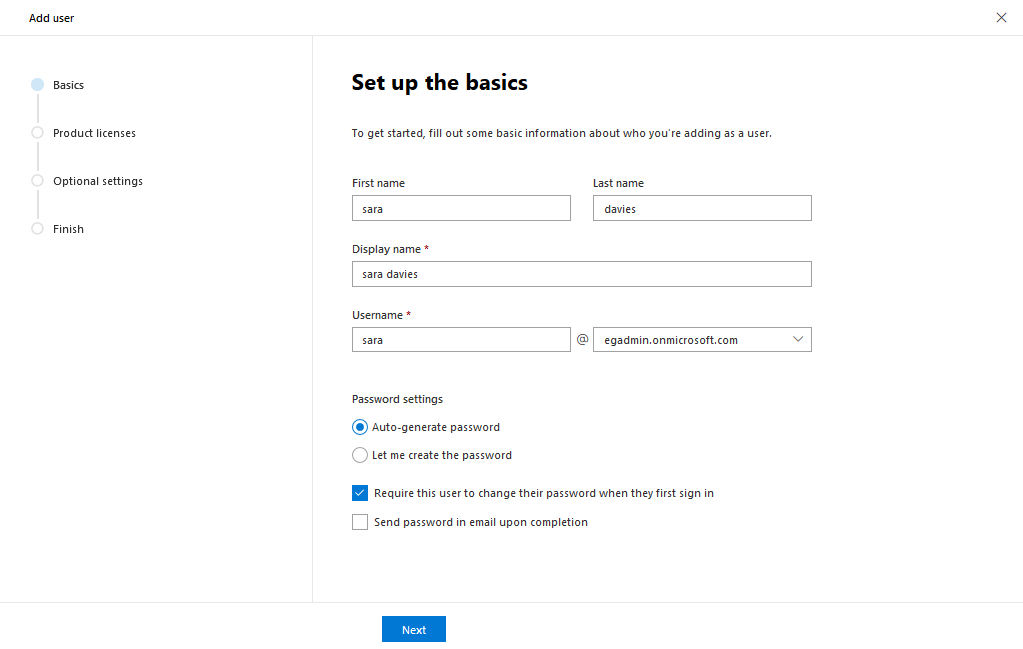
Figure 193 will then appear.
-
Provide the First name, Last name, and Display name of the new user. Then, provide a Username, which will be automatically suffixed with the domain name of the Domain you have logged into. Click the Next button to select the geographic location of the new user.
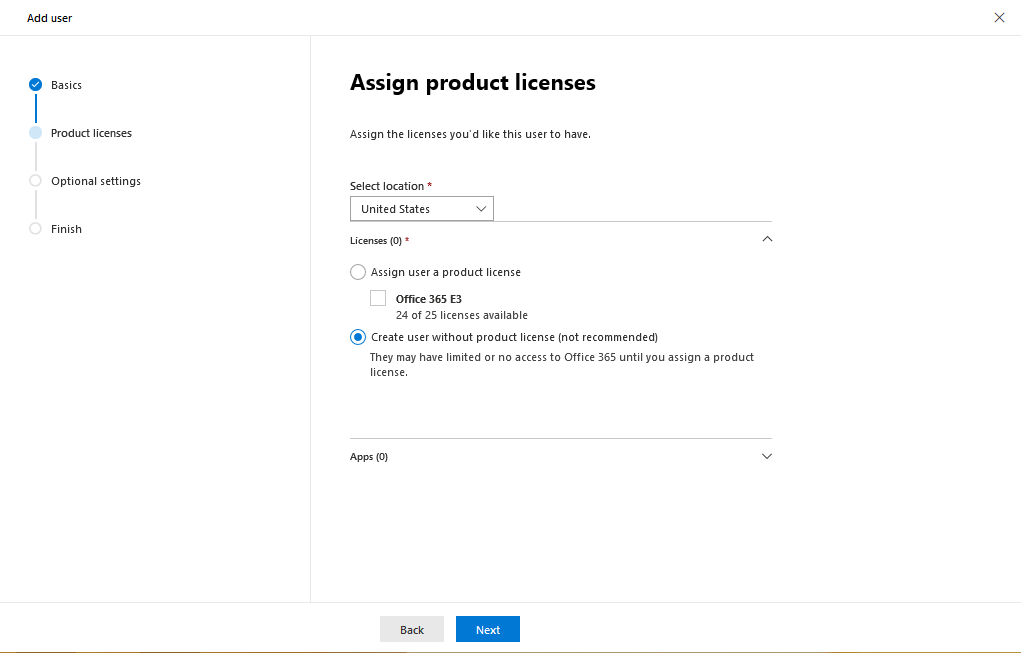
Figure 194 : Choosing the geographic location of the new user
- Then, select the geographic Location of the new user. Turn On the Create user without product license flag in Figure 194.
-
Clicking the Next button in Figure 194 will reveal Figure 195. Here, select the Admin center access option.

-
For the purpose of monitoring, the new user should be assigned the Service support admin role and the SharePoint admin. Select these roles from Figure 195.
-
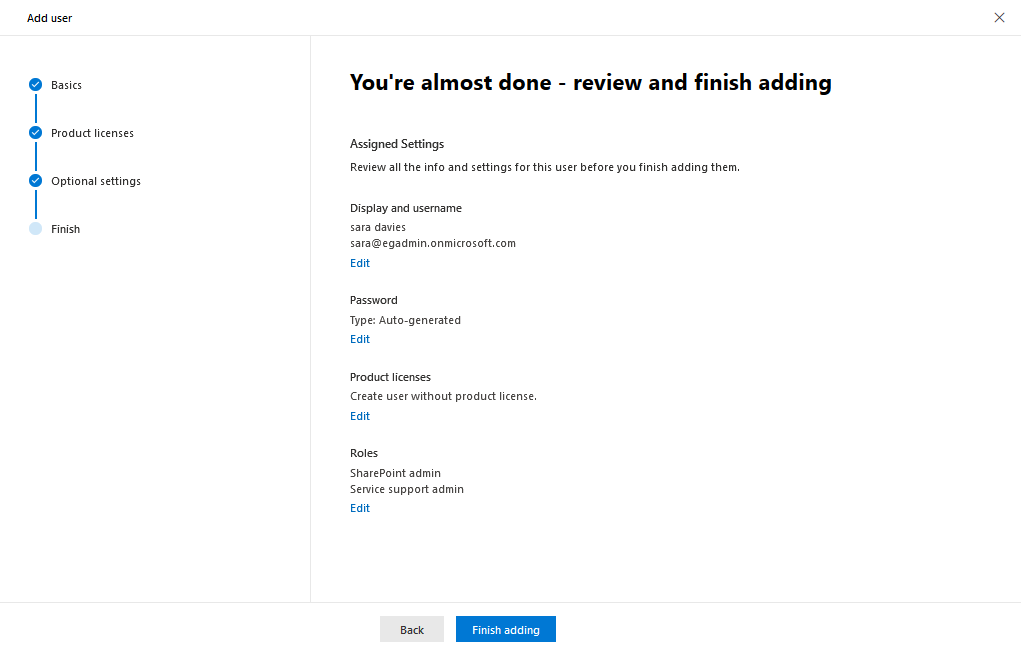
Click the Next button in Figure 195 to review your selection which appears in Figure 196.
-
Finally, click the Finish adding button in Figure 196 to add the new user. Figure 197 will then appear providing a quick summary of details of the user you just created. Office 365 also automatically generates and assigns a password to the new user. Make a note of the Username and Password displayed in Figure 197, as this is what you need to configure against the O365 USER name and O365 PASSWORD parameters of the eG tests.
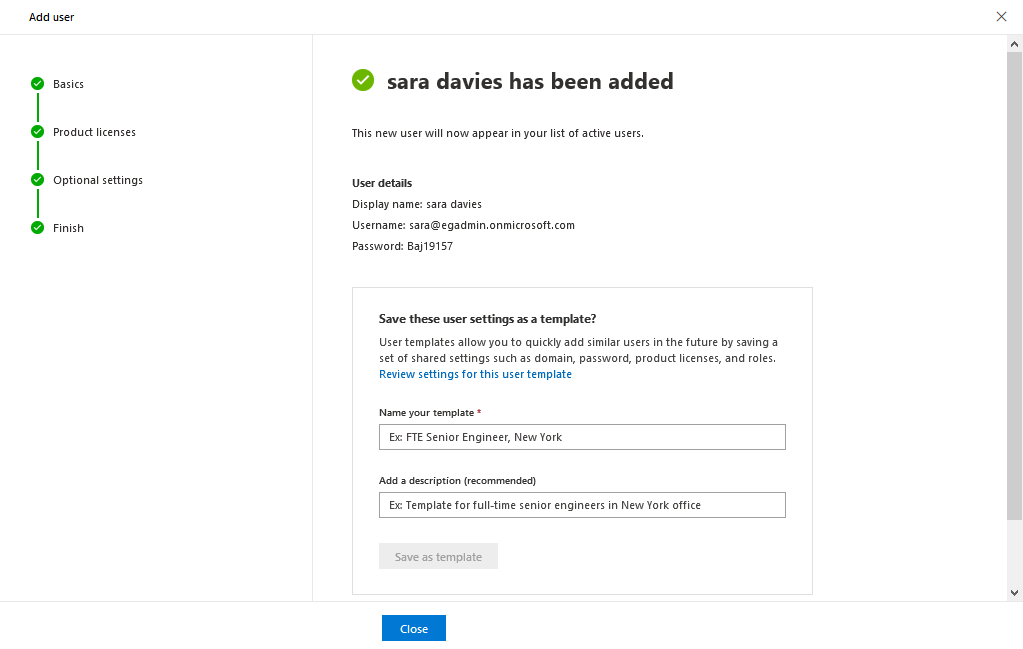
Figure 197 : Message confirming the successful addition of a user
-
Next, proceed to assign the View-Only Audit Logs permission to the new user. For that, first click on the Admin Center tool
 in the tool bar depicted by Figure 198. From the menu that pops up, click on Exchange.
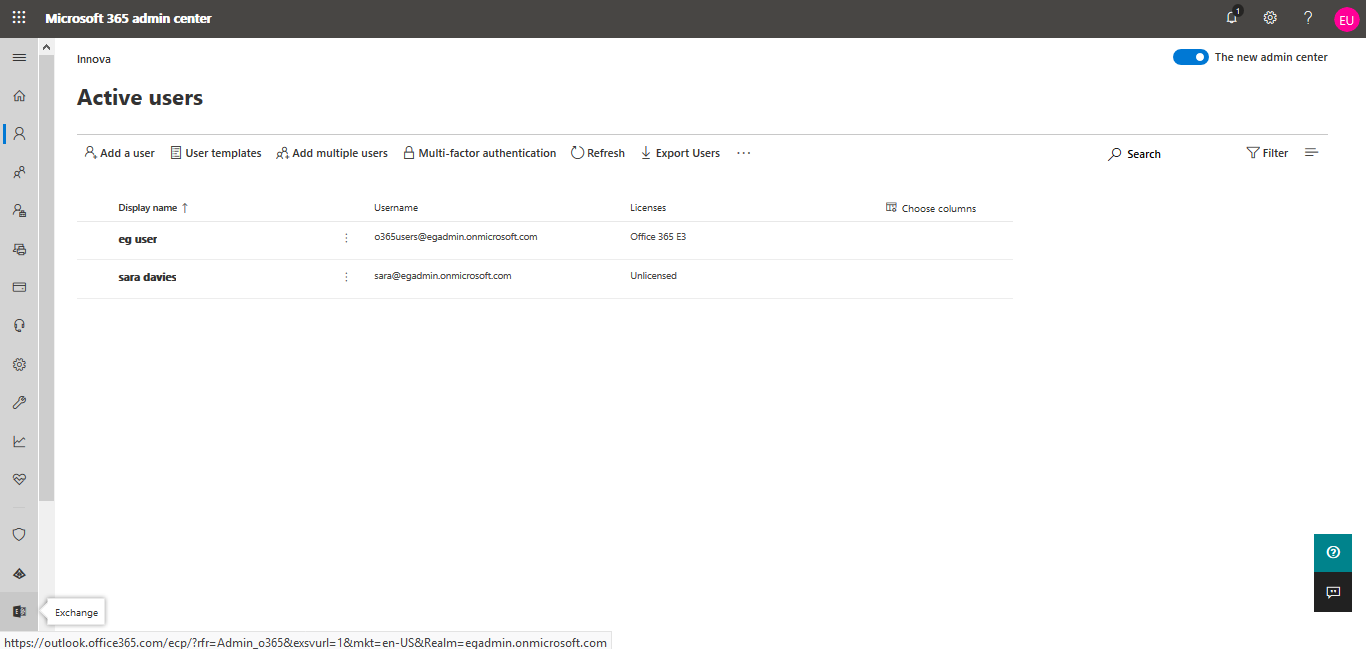
-
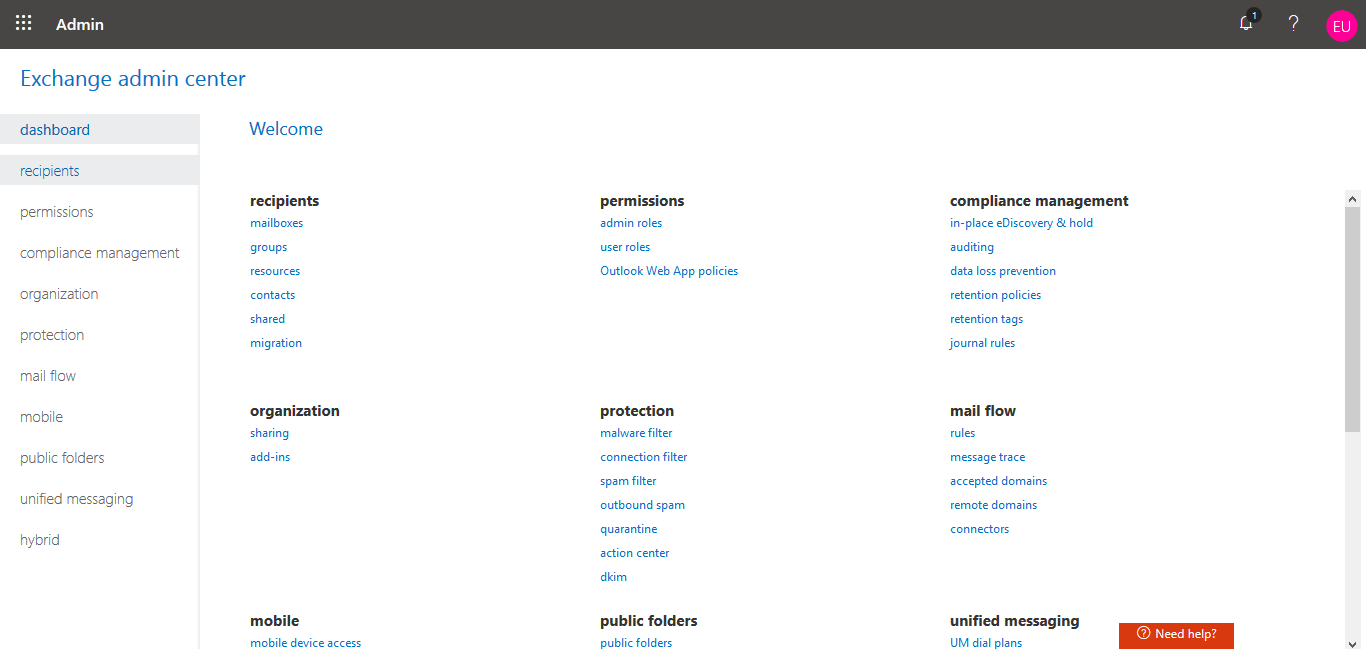
Figure 199 will then appear.
-
From the list of options in the left panel of Figure 199, select permissions. Figure 200 will then appear listing the admin role groups that pre-exist.
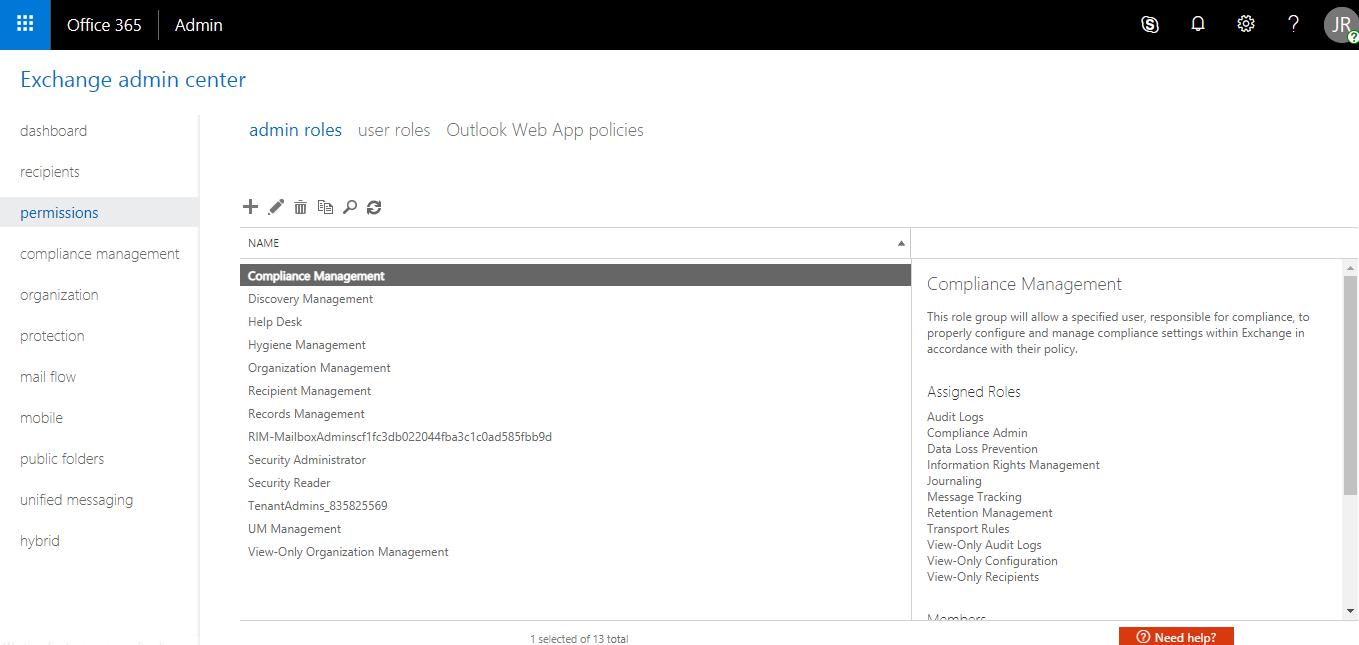
Figure 200 : Clicking on the permissions option to view the admin role groups
-
Let us now proceed to create a role group that includes the View-Only Audit Logs permission. For that, click on the
 button on top of the list of admin role groups (see Figure 200). Figure 201 will then appear.
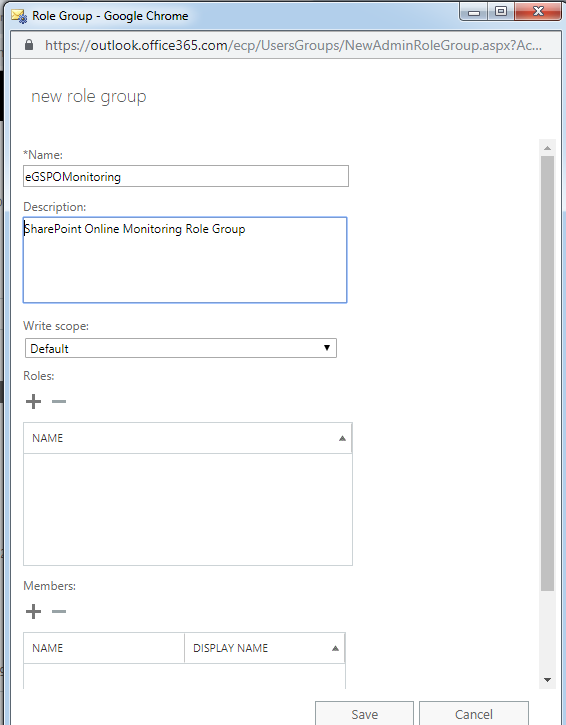
-
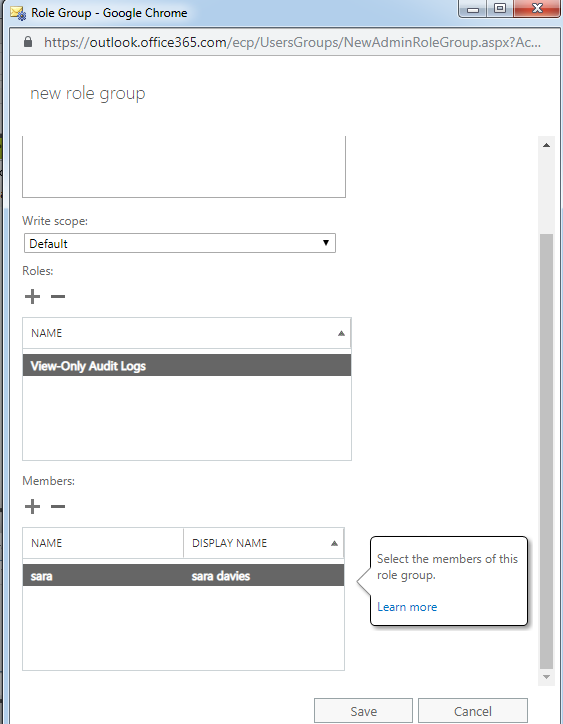
Provide a unique Name and Description for the new role group (see Figure 201). Then, click on the
button in the Roles section of Figure 201. Figure 202 will then appear listing the DISPLAY NAMEs of permissions that you want to add to the new role. From this list, select the View-Only Audit Logs permission and click the add -> button to add the permission. Then, click OK to save the changes. 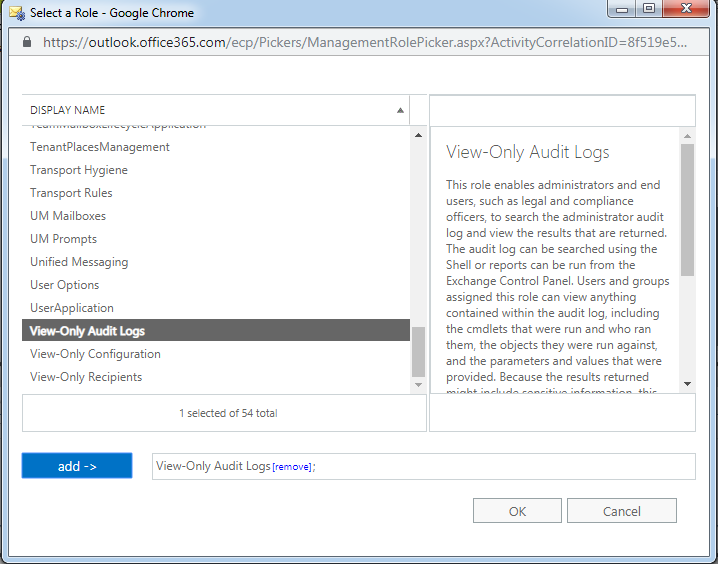
Figure 202 : Adding the View-Only Audit Logs permission to the new role
-
Figure 203 will then appear. Next, proceed to assign the new role group (that includes the three permissions) to the user you created previously. For that, click on the
button in the Members section of Figure 203. 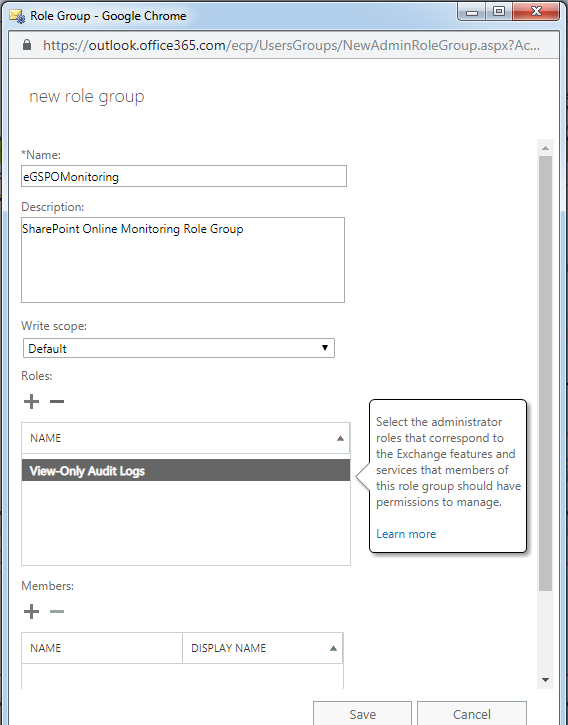
Figure 203 : Clicking on the '+' icon in the Members section
-
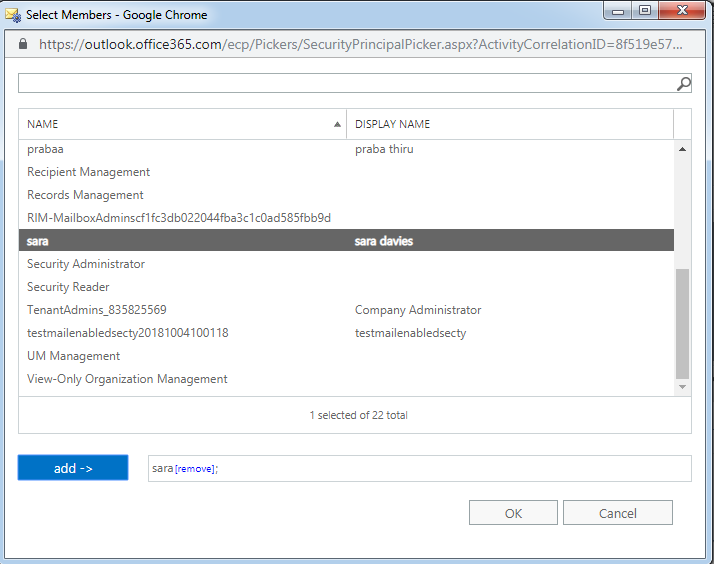
Figure 204 will then appear. From the list of user names displayed in Figure 204, select the name of the user you created for monitoring purposes and click the add -> button. Then, click OK.
-
When Figure 205 appears, click the Save button to save the new role group definition.