How to Use the URL Rewrite Module
Once all the aforesaid pre-requisites are fulfilled, proceed to use the URL Rewrite module. For that:
-
Create an outbound rule on IIS and name it as eG RUM Rule .
-
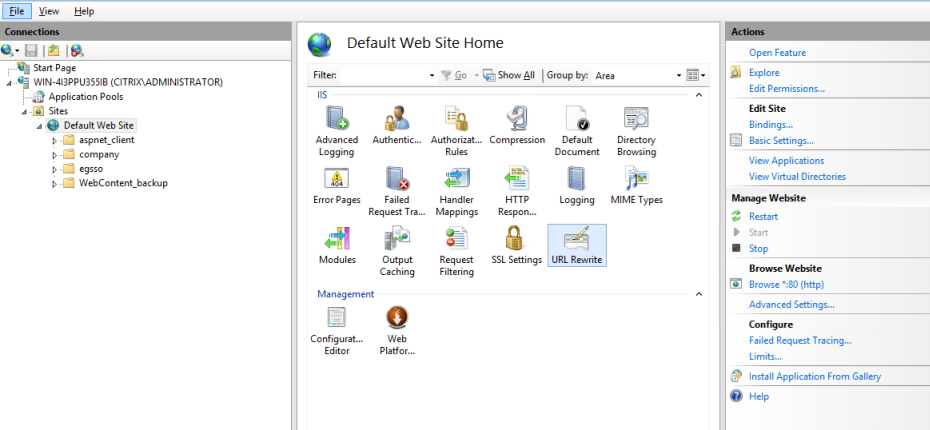
For this, first select the web site (say, Default Web Site) that is to be RUM-enabled from the tree structure in the left panel of the IIS manager console. Then, from the right panel, select the URL Rewrite option (see Figure 1).
-
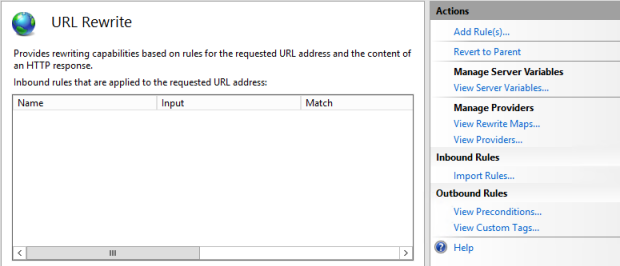
When Figure 2 appears, select the Add Rule(s) option.
-
In Figure 3 that then appears, click the Blank Rule option under Outbound rules.
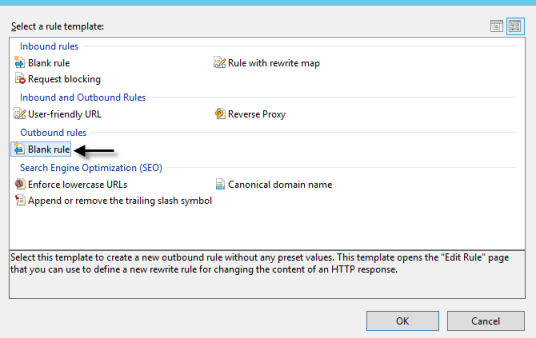
- Then, click the OK button in Figure 3.
- In the dialog box that appears next, enter eG RUM Rule as the name of the new rule. From the Precondition list, pick the <Create New Precondition…> option.
-
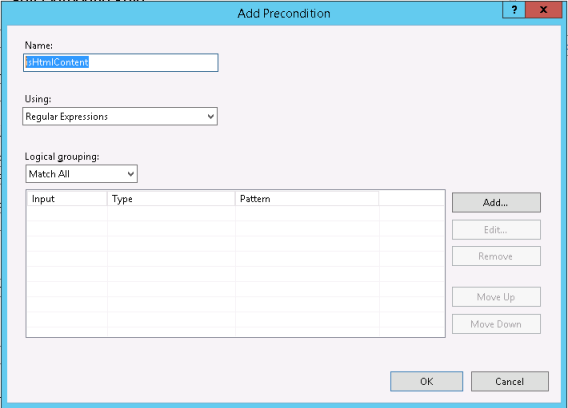
The Add Precondition dialog box then appears (see Figure 4). Here, enter isHtmlContent as the Name of the new precondition. Then, choose Regular Expressions from the Using drop-down, and Match All from the Logical grouping drop-down. Finally, click the Add button.
-
When Figure 5 appears, type {RESPONSE_CONTENT_TYPE} as the Condition input. Then, select Matches the Pattern from the Check if input string drop-down and type ^text/html as the Pattern. Finally, click the OK button in Figure 5.
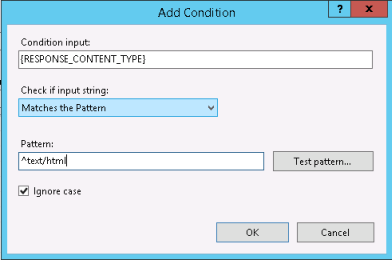
Figure 5 : Providing the condition input, input string, and pattern
-
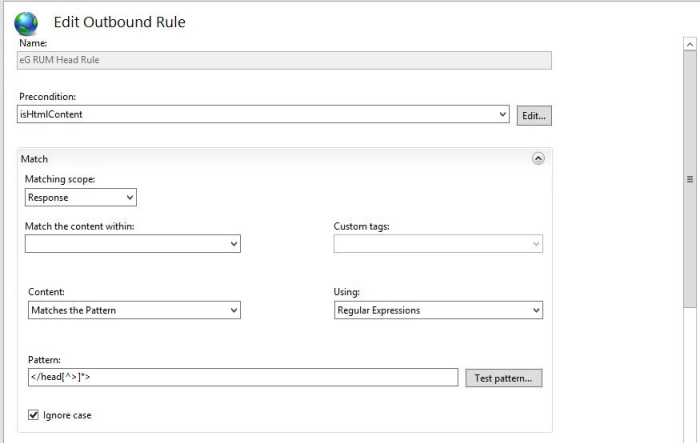
You will now return to Figure 6. Now, in the Pattern text box therein, type </head[^>]*>, as indicated by Figure 6.
-
Now, open a Notepad Editor, and copy the eG-generated JavaScript code snippet to it. A sample snippet is given below:
<script src='http://172.16.8.82:7077/rumcollector/egrum.js?
srn=c72d90ba-2746-4b51-a434-834bd121b93f-1758700980298' async> </script>
-
Then, make the following
-
Append the text string {R:0} to the code snippet. For instance, in the sample snippet above, enter {R:0} as indicated below:
<script src='http://172.16.8.82:7077/rumcollector/egrum.js?
srn=c72d90ba-2746-4b51-a434-834bd121b93f-1758700980298' async> </script>{R:0}
-
-
Then, scroll down Figure 7 to view the Action Properties section. Copy the RUM code snippet that you modified at step 11 above and paste it in the Action Properties section. :
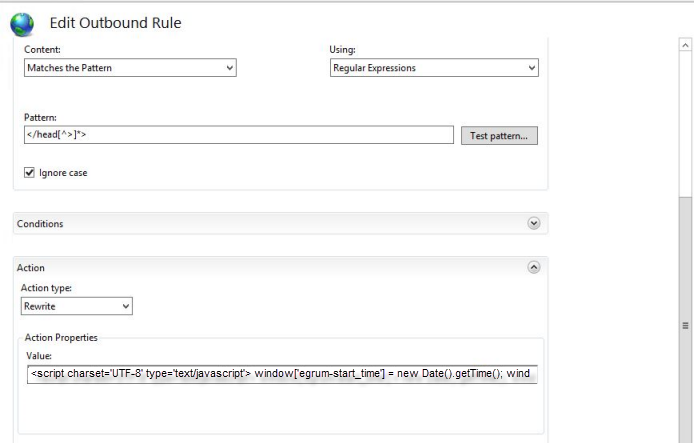
Figure 7 : Specifying the code snippet to be auto-injected in the head
-
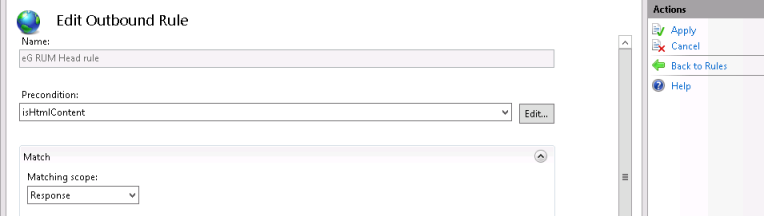
Finally, click the Apply button in Figure 8.
-
With that the eG RUM Rule has been defined.
-
Once the rule has been created, click Browse to view the web page. After the page loads successfully, check the source code of that web page to ensure that the JavaScript code snippet has been injected as desired.