Adding/Modifying/Deleting Aggregate Tests
By default, when an aggregate component is created, all tests mapped to the non-aggregate equivalent of that component will be automatically mapped to the aggregate component as aggregate tests. For instance, if a Windows Aggregate component is added, then all tests originally mapped to a Windows component will be auto-assigned to the Windows Aggregate component as aggregate tests – eg., Disk Activity Aggregate test, System Details Aggregate test etc. The aggregate functions applied on the measures reported by these default aggregate tests are also pre-defined.
If required, you can create a new aggregate test by adding a subset of the measures of the related non-aggregate test to it. You can change the display names of these measures and can even apply a mathematical function of your choice on the measures. For example, you can create, a Disk Activity 1 Aggregate test, which will report only the Disk busy measure of the Disk Activity test. By default, for an aggregate component, the aggregate disk busy value is computed by applying the Average function on the Disk busy measure. You can however, choose to apply the Maximum function on the measure instead.
To create a new aggregate test, do the following:
-
Select the Add/Modify Tests option from the Aggregates menu of the Infrastructure tile. Figure 1 then appears.
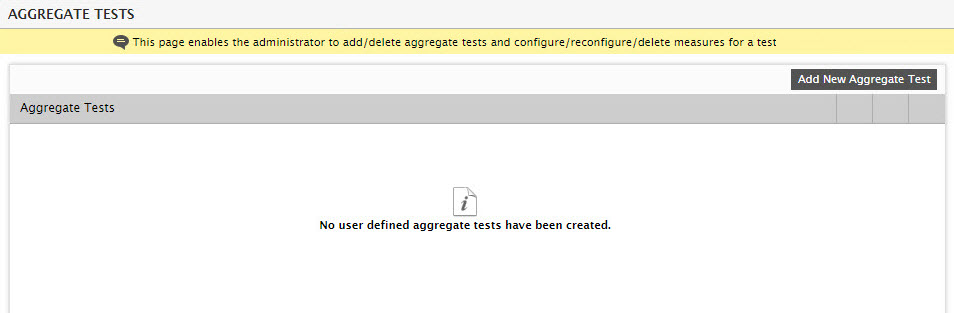
Figure 1 : A message indicating that no user-defined aggregate tests pre-exist
-
If no user-defined aggregate tests pre-exist, then Figure 1 will display a message to that effect. To add a new test, click the Add New Aggregate Test button in Figure 1. This will open Figure 2.
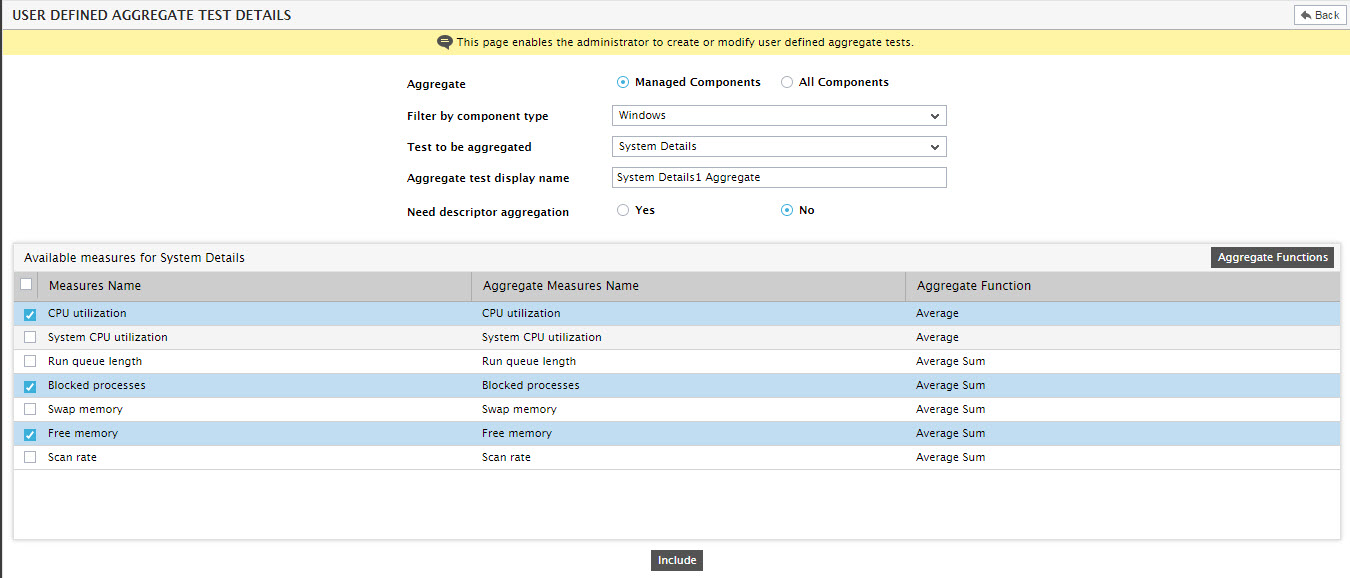
- If you want to create a new aggregate test for a managed component type, set the Aggregate flag in Figure 2 to Managed Components. In this case, the Filter by component type list will display only those types of which at least one component is currently managed. On the other hand, if you want to create a new aggregate test for any component type (managed or unmanaged), then set the Aggregate flag to All Components. In this case, the Filter by component type list will display all component types that are supported out-of-the-box by the eG Enterprise.
- Pick a component type from the Filter by component type list.
- Select the Test to be aggregated.
- Provide a display name for the new aggregate test in the Aggregate test display name text box.
- The ‘Need descriptor aggregation’ flag gains relevance only if the new aggregate test being added is a descriptor-based test. If you want the new aggregate test to report measure values that are aggregated across descriptors, then set the Need descriptor aggregation flag to Yes. If you want the new aggregate test to report measures that are aggregated per descriptor, then set this flag to No.
- The Available measures section will then display all measures that are reported by the Test to be aggregated. Against every measure name, the Aggregate Measure Name set by default for that measure and the Aggregate Function that is applied by default when aggregating that measure will be displayed.
-
You can override the default Aggregate Measure Name and Aggregate Function of any measure listed in the Available measures section. To change an Aggregate Measure Name, just click it. The name will now become editable (see Figure 3). Make the changes you deem fit.
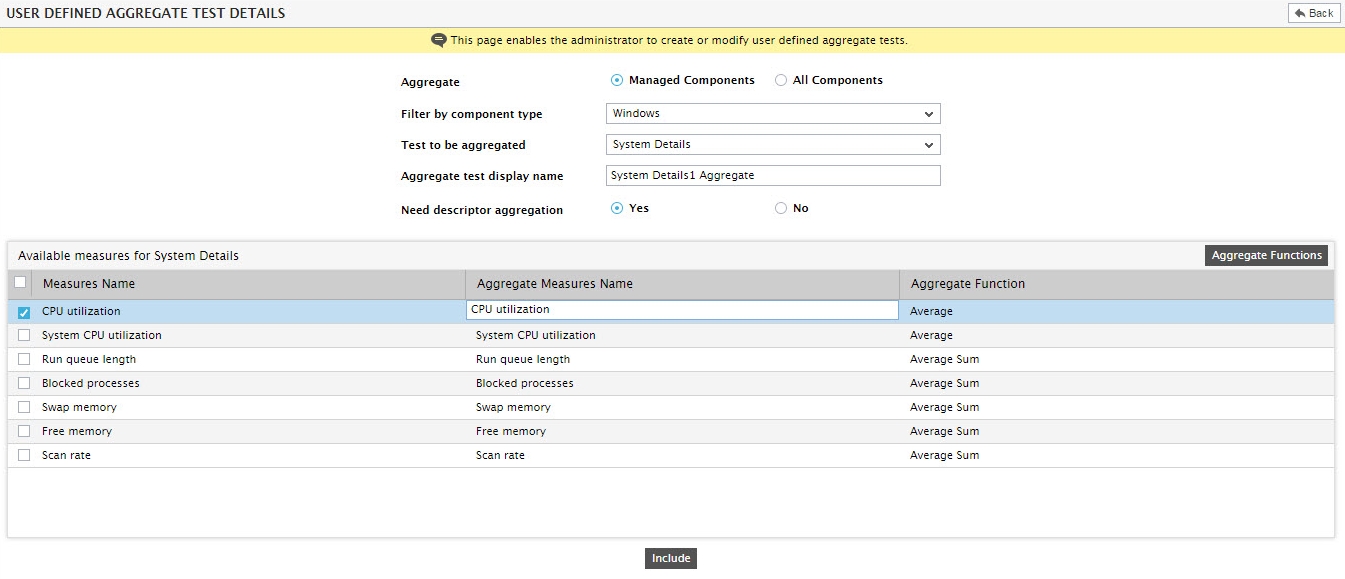
Figure 3 : Changing the display name of an aggregate measure
Likewise, to change the Aggregate Function, just click on the aggregate function you want to change. An Aggregate Function drop-down list will now be available to you. Select any aggregate function you prefer from this list (see Figure 4). If your selection is a mathematical function such as Average, Minimum, Maximum, Sum, or Average Sum, then proceed as described from step 10 to step 20 below. On the other hand, if your selection is a non-mathematical function such as Condition or Multi-condition, then refer to the section on Conditional Aggregation and learn how and when these two options are to be used.
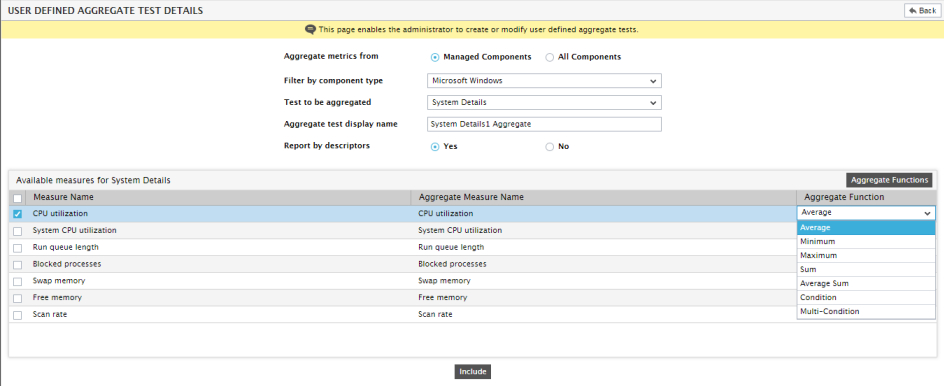
Figure 4 : Changing the aggregate function to be applied on a measure
- You can, if you so need, add only a few of the measures listed in the Available measures section to the aggregate test being created. For instance, let us try to create a System Details 1 Aggregate test that reports only the CPU utilization, Free memory, and Blocked processes measures. For this, first select the check box corresponding to each of these measures, as depicted by Figure 2. Then, click the Include button therein.
-
Figure 5 will then appear providing a summary of your selection.

Figure 5 : Reviewing the measures that will be reported by the new aggregate test that you created
-
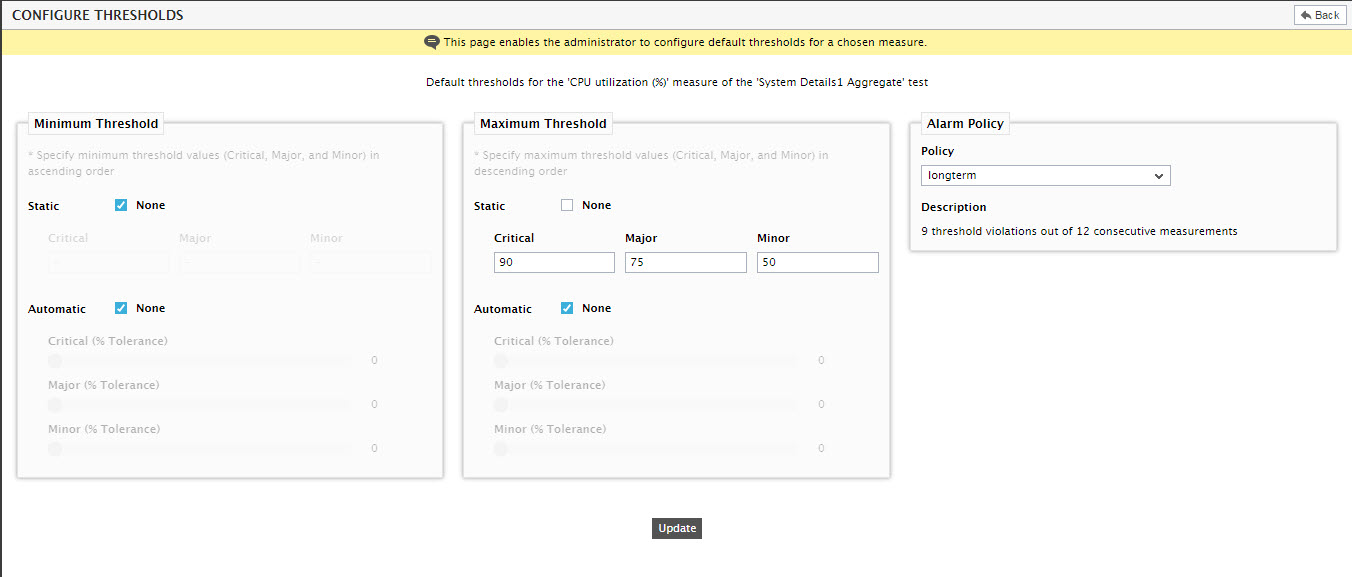
By default, no thresholds will govern the measures added to a custom-defined aggregate test. To configure thresholds for these measures, click on a measure name in Figure 5. This will open Figure 6, using which you can configure maximum and/or minimum thresholds for that aggregate measure.
-
After threshold configuration, click the Update button in Figure 6 to save the threshold settings. You will now return to Figure 7, where you can see which aggregate measures have been configured with thresholds and which ones are awaiting threshold configuration.
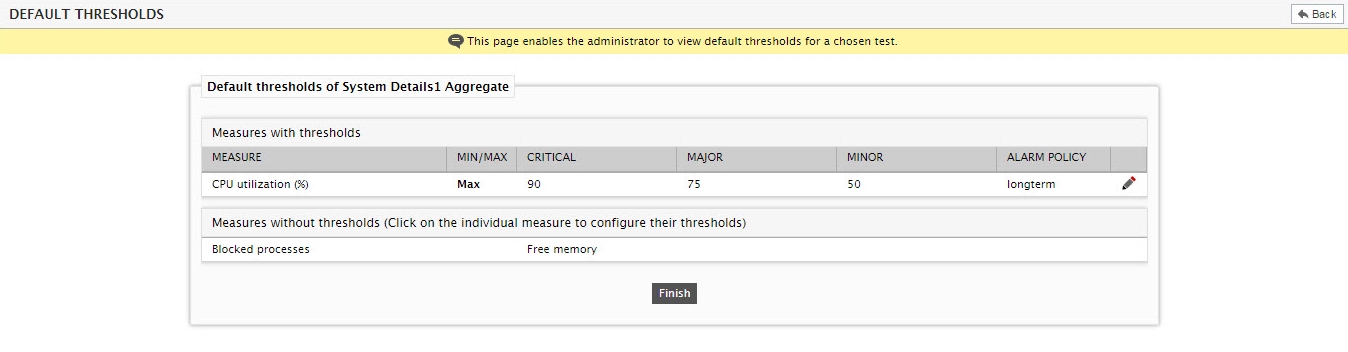
Figure 7 : A page displaying the aggregate measures for which thresholds have been configured and the ones without thresholds
- You can click on an aggregate measure in the Measures without thresholds section of
Figure 7 to configure its thresholds. You can even modify the threshold settings of a Measure with thresholds, by clicking the
 icon corresponding to that measure.
 - If you have finished configuring thresholds for all aggregate measures you want, click the Finish button in Figure 7 to save the changes.
-
By default, as soon as a user-defined aggregate test is added, it will be automatically mapped to all managed aggregate component types to which its base test – i.e., the test chosen from the Test to be aggregated list of Figure 13.24 – is mapped. For instance, in the example illustrated by Figure 2, the System Details 1 Aggregate test was created from the System Details test. Accordingly, the System Details 1 Aggregate test will be automatically associated with all the ‘managed’ aggregate component types to which the System Details Aggregate test is mapped. However, if no aggregate component of such a type is currently managed, then the message depicted by Figure 8 will appear, as soon as you click on the Finish button in Figure 7.
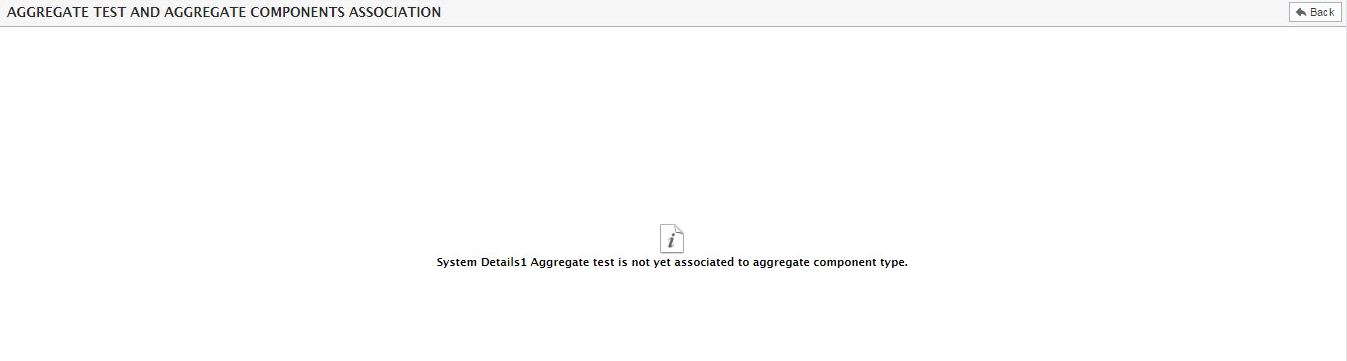
Figure 8 : A message indicating that the new aggregate test is not mapped to any aggregate component type
-
On the other hand, if you have already managed one/more components of the aggregate component types with which the System Details test is mapped, then, clicking the Finish button in Figure 7 will reveal the list of component types to which the System Details 1 Aggregate test is automatically mapped.

Figure 9 : The aggregate component types to which a custom-defined aggregate test is automatically mapped
-
Clicking the Back button in Figure 9 will lead you to Figure 10, where you can see the aggregate test that you created newly.

-
You can view the aggregate component types with which a user-defined aggregate test is currently associated by clicking the
 icon corresponding to that test in Figure 10. You can click the
  icon against a custom-defined aggregate test to delete it (see Figure 10). To modify a test configuration, click the button corresponding to it. This will open Figure 11.
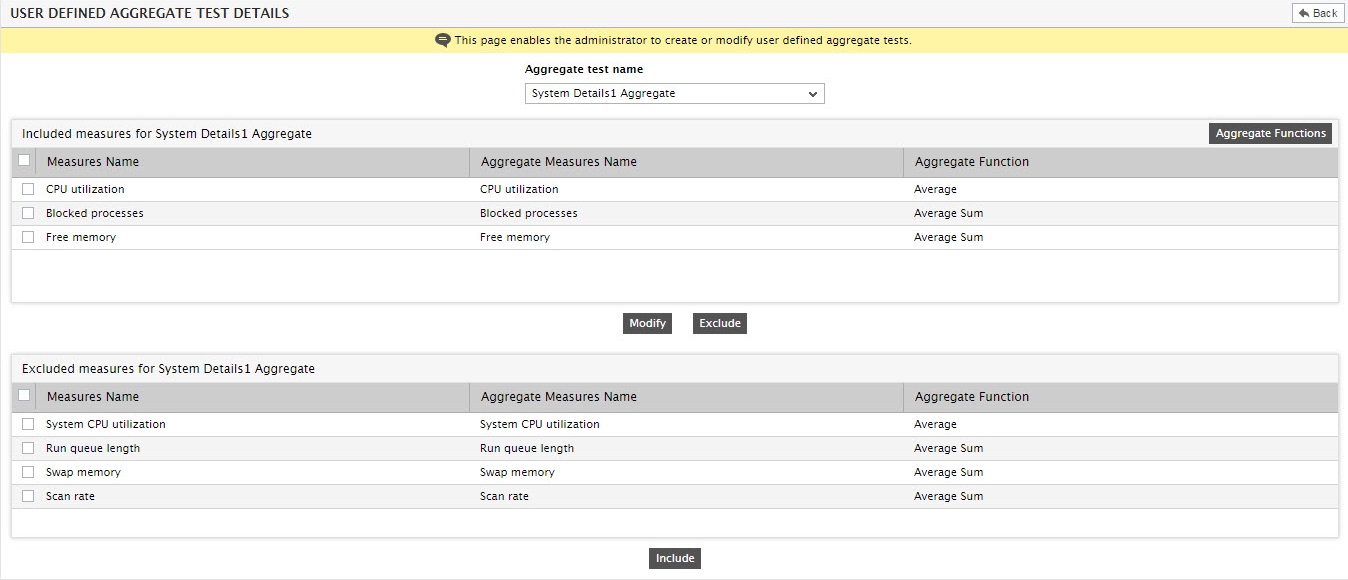
Figure 11 : Modifying the configuration of a user-defined aggregate test
- Using Figure 11, you can Include more measures to the new aggregate test. For this, select the check boxes preceding the measures in the Excluded measures section of Figure 11, and click the Include button below that section. You can exclude any of the measures that were already added to the test. For this, select the check boxes preceding the measures in the Included measures section of Figure 11, and click the Exclude button below that section. You can change the Aggregate Measure Name and Aggregate Function of any measure in the Included measures list. Finally, you can click the Update button to save the changes.