Discovering Public Clouds
eG Enterprise is a 'Cloud-Ready' monitoring system that provides monitoring From the cloud, of the cloud, and For the cloud! As part of its ongoing efforts to deliver performance management FOR the cloud, the solution currently lends out-of-the-box monitoring support for the AWS Public Cloud and its regions. To this end, the solution offers two specialized monitoring models - the AWS Cloud model and the AWS Region model. The AWS Cloud monitoring model provides you with proactive updates on the overall health and status of the cloud and points you to unavailable regions/availability zones and resource-hungry instances in the cloud. To zoom into the health of specific regions and the instances operating within those regions, use the AWS Region model.
The first step to monitoring an AWS Region is to automatically discover the regions available for monitoring in an AWS Cloud infrastructure. The Public Clouds node in the Discovery tree structure facilitates the auto-discovery of these regions. To auto-discover one/more regions, do the following:
-
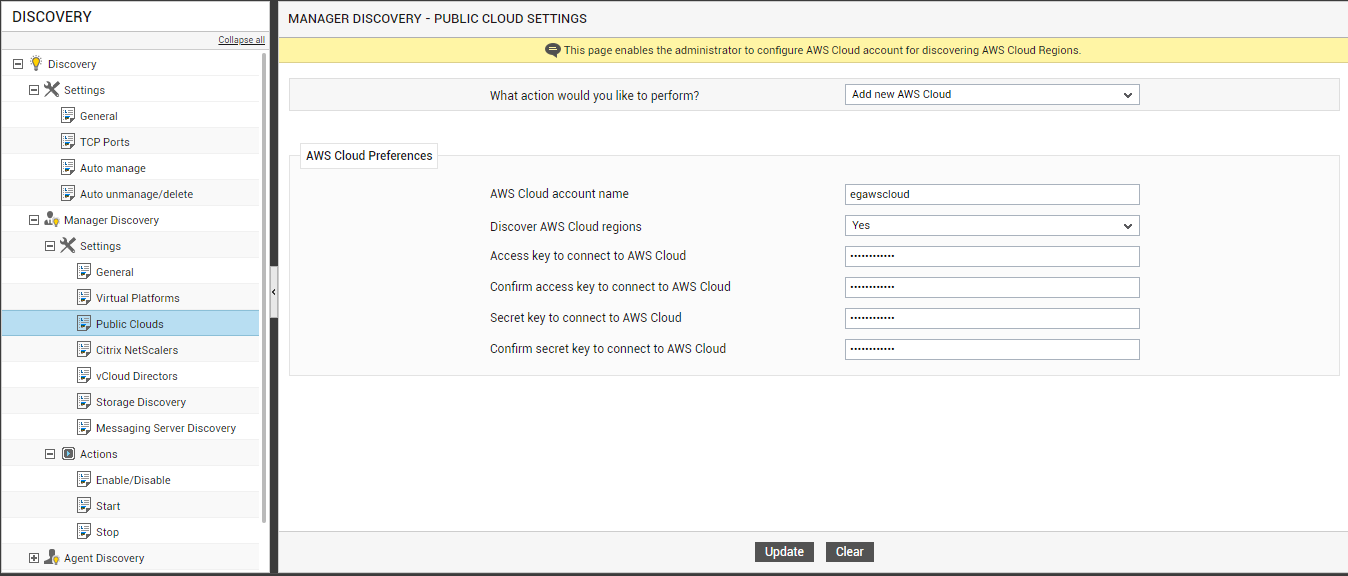
First, you need to configure the AWS Cloud account with which the eG manager should connect for automatically discovering the regions that require monitoring. For this, select the Add new AWS Cloud option from the What action would you like to perform? drop-down in the right panel (see Figure 1).
-
In the right panel of Figure 1, specify the following:
-
AWS Cloud account name: Specify the name of a valid AWS cloud account with which the solution should connect for discovering the regions. To obtain a cloud account, do the following:
- Sign up for a new AWS account from the http://aws.amazon.com/ec2/ page.
- Provide the details of the user for whom you wish to create the AWS account.
- Based on the AWS regions, you will be requested to choose the pricing for an instance to be deployed in the AWS.
- Once the payment is made, the user will be automatically signed in to the AWS account.
- Specify the name of this account in the AWS cloud account name text box.
- Discover AWS cloud regions: If you want to discover the regions configured in the specified cloud account, set this flag to Yes.
- Access key to connect to AWS Cloud and Confirm access key to connect to AWS Cloud: To monitor an AWS region, the eG agent has to be configured with the "access key" of a user with access to the AWS account specified in the AWS Cloud account name text box. To obtain an access key, login to the account specified in the AWS Cloud account name text box, and request for an 'access key'. You will then be provided with an 'access key' and 'secret key'. Specify the "access key" in the Access key to connect to AWS Cloudtext box and confirm it by retyping it in the Confirm access key to connect to AWS Cloud text box.
- Secret key to connect to AWS Cloud and Confirm secret key to connect to AWS Cloud: When you request for an "access key" by logging into the AWS cloud specified, you will be provided with an access key and its corresponding secret key. Enter the secret key in the Secret key to connect to AWS Cloud text box and confirm it by retyping it in the Confirm secret key to connect to AWS Cloud text box.
-
- Finally, click the Update button in Figure 1.
-
A message box requesting your confirmation to proceed with the discovery will then appear (see Figure 2). Click the ok button in the message to trigger the discovery. Clicking the Cancel button will save the details of the AWS EC2 cloud account, but will not start the discovery. In this case, you can use the cloud account so saved to perform discovery at a later point in time.
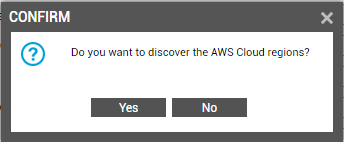
Figure 2 : A message box requesting confirmation to discover the cloud regions
- This way, you can add the details of multiple AWS cloud accounts to the eG Enterprise system.
-
To view the details of all the cloud accounts that are added, select the View configured AWS Clouds option from the What action would you like to perform? drop-down in the right panel of Figure 3. The right panel will then change to display the names and other details of the cloud accounts that have been configured.
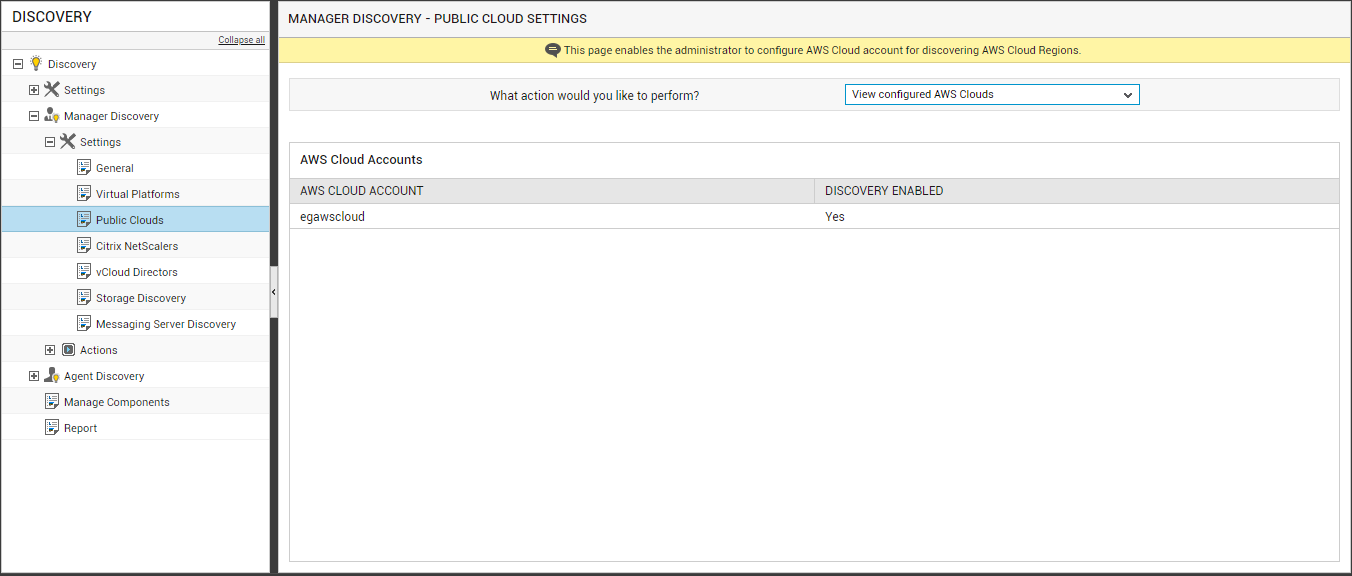
Figure 3 : Viewing the details of existing AWS cloud accounts
To modify the details of a cloud account, pick the Modify configured AWS Clouds option from the What action would you like to perform? drop-down (see Figure 4). From the AWS Cloud account name list in the right panel, select the cloud account to be modified. Upon selection of the cloud account, the other parameters in the right panel will be populated with the corresponding details. You can change any of the displayed details to suit your needs. Finally, click the Update button to save the changes.
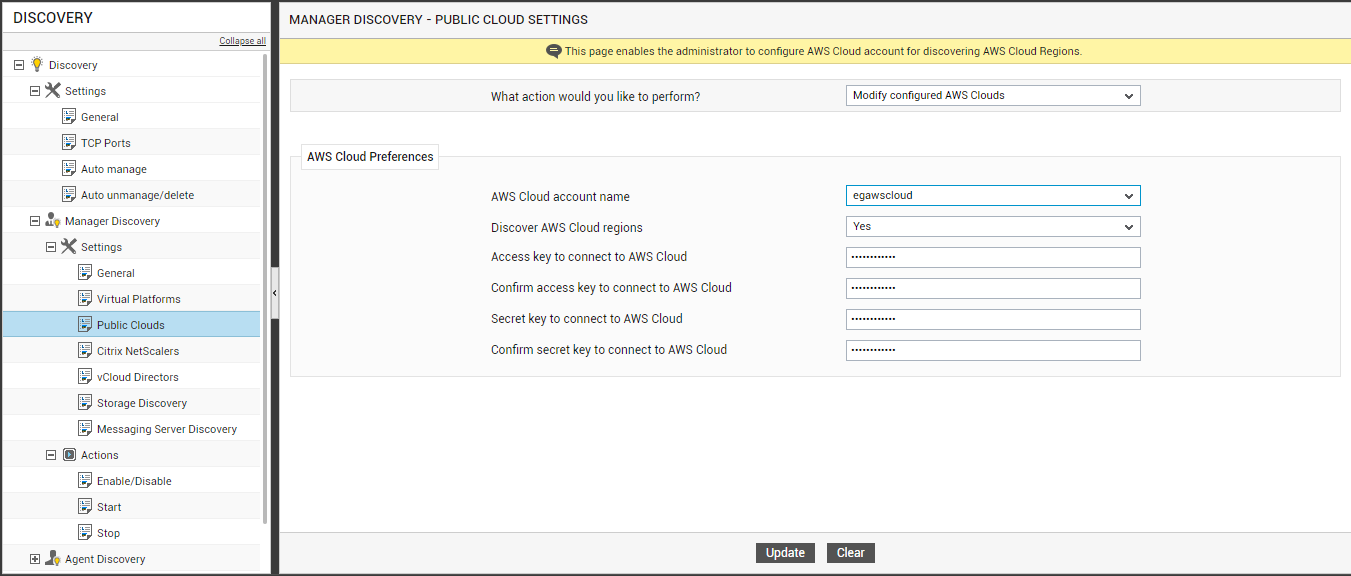
Figure 4 : Modifying the cloud account’s configuration
To delete a cloud account, choose the Delete configured AWS Clouds option from the What action would you like to perform? drop-down. Select the check box corresponding to the cloud account to be deleted and click the Delete button to delete it. To delete all the displayed cloud accounts at one shot, select the check box just before the column heading, AWS Cloud account, and click the Delete button.
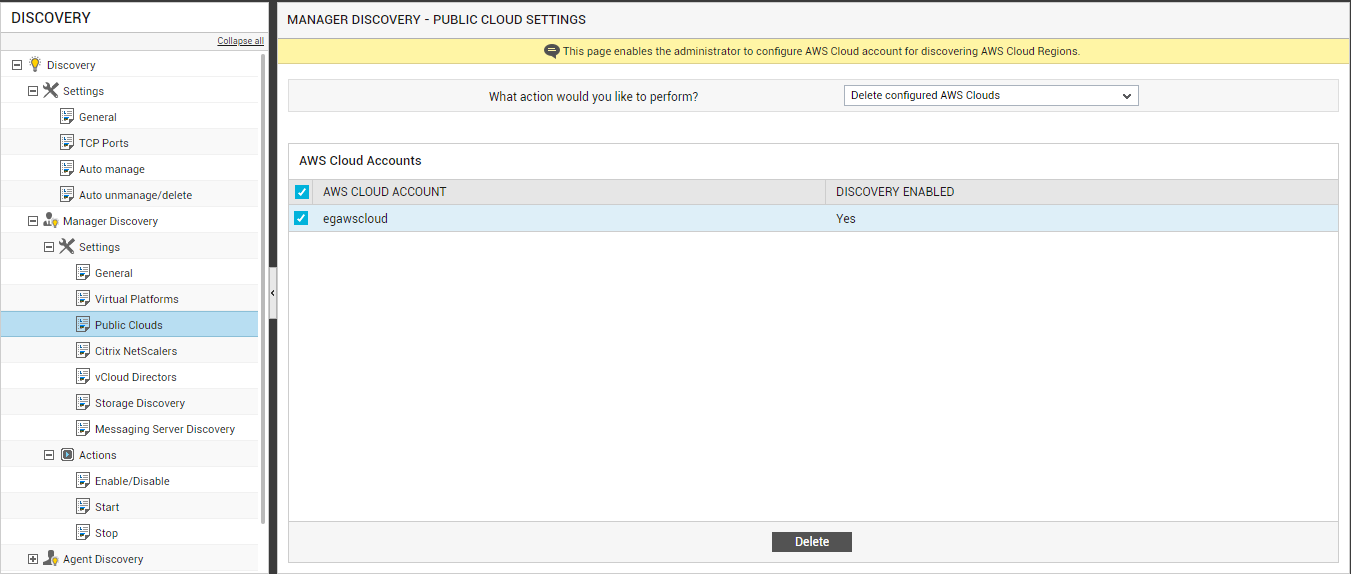
Figure 5 : Deleting an AWS cloud account