Managing an Oracle Database Server
While most components are identified uniquely by a host and port number, Oracle database servers are identified uniquely by a combination of host, port number, and an instance identifier (referred to as SID). While eG’s discovery process can auto-discover an Oracle database server, it cannot auto-discover the SID(s) of that server. This is why, any newly discovered Oracle database server will not have an SID suffix. If such an Oracle database server is later managed using the components – manage/unmanage page, you will have to manually change the profile of that server in the eG Enterprise system to configure its SID. If this is not done, eG Enterprise cannot monitor the Oracle database server.
This is why, if an Oracle database server is managed without its SID, the manager notifications window keeps alerting the user to the absence of the SID and prompts the user to configure the SID for the server (see Figure 1).
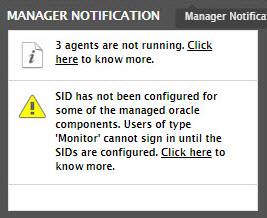
Figure 1 : The Manager Notification window alerting users to the absence of the SID of a managed Oracle database server
To configure the SID of the managed Oracle database server, do the following:
- Click the Click here hyperlink in the SID-related alert message displayed in the manager notification window of Figure 1.
-
Figure 2 will then appear listing all Oracle database servers that have been managed without an SID.

Figure 2 : List of managed Oracle database servers without an SID
-
To configure the SID, click on any of the Oracle database servers listed in Figure 2. The profile of that Oracle database server will then appear as depicted by Figure 3.
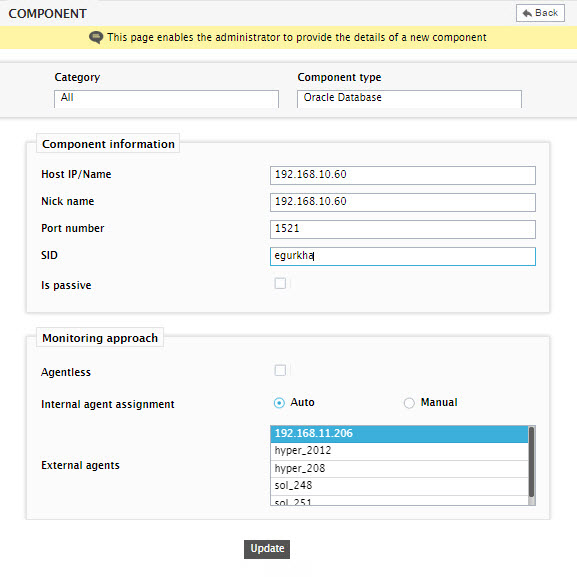
Figure 3 : Configuring the SID of the Oracle database server
- In Figure 3, enter the sid of the Oracle database server. You can also configure multiple SIDs as a comma-separated list.
- Finally, click the Update button.
-
If, for any reason, you do not want to configure the SID of a managed Oracle database server, you can unmange that server instead. For this, click on the Click here link in Figure 2. Figure 4 will then appear. From the Managed components list of Figure 4, pick the Oracle database server to be unmanaged and click the > button to unmanage it. Finally, click the Update button in .
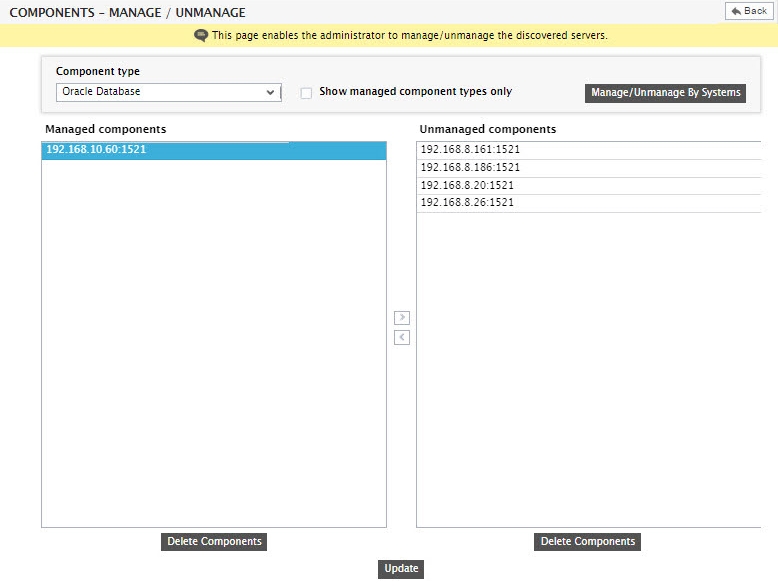
Figure 4 : Selecting the Oracle database server that is to be unmanaged
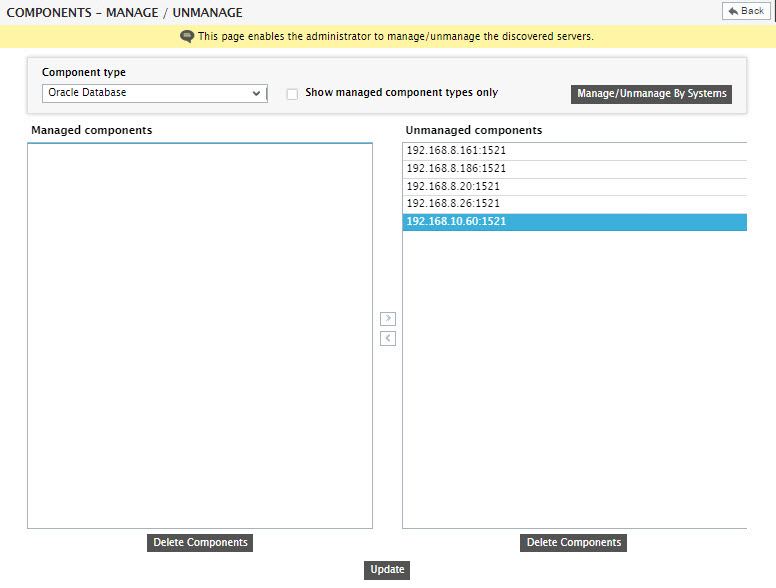
Figure 5 : Unmanaging the Oracle database server