SSL-Enabling the eG Manager and AD Communication
If the AD server with which the eG manager integrates is SSL-enabled, then before attempting the integration, you will have to SSL-enable the eG manager and AD communication. The broad steps in this process are as follows:
- Copy the SSL certificate to the eG manager host,
- Import the certificate to the eG manager.
The sub-sections that follow will discuss each of the steps above elaborately.
Copying the SSL Certificate to the eG Manager Host
To achieve this, follow the instructions furnished below:
- Login to any Windows host in the domain.
-
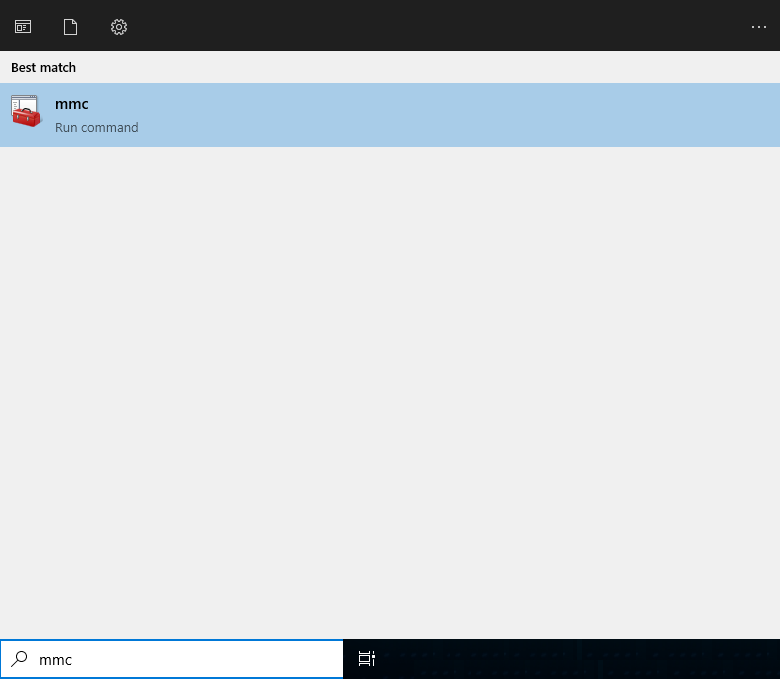
In the Search text box next to the Start button, type mmc. When the mmc option appears, click on it to open it (see Figure 1).
-
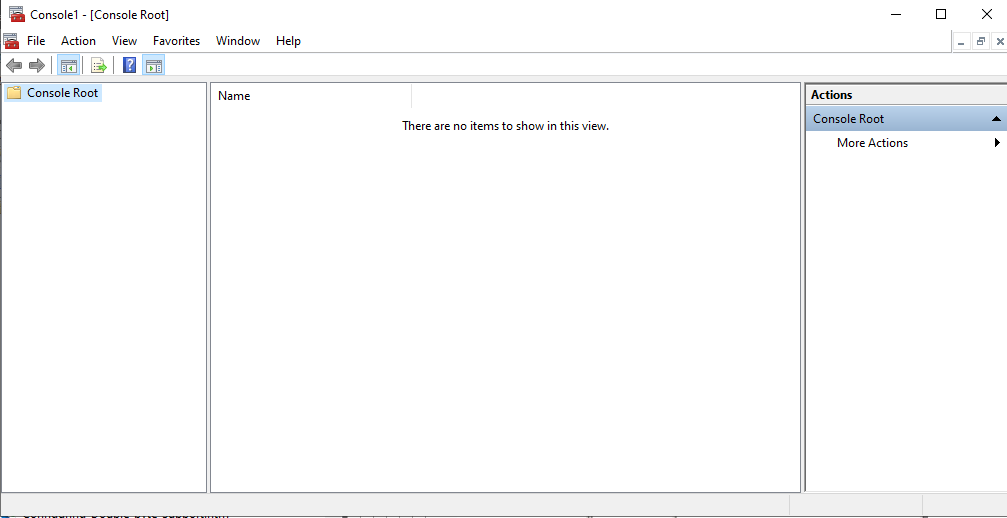
A snap-in Console will then appear (see Figure 2).
-
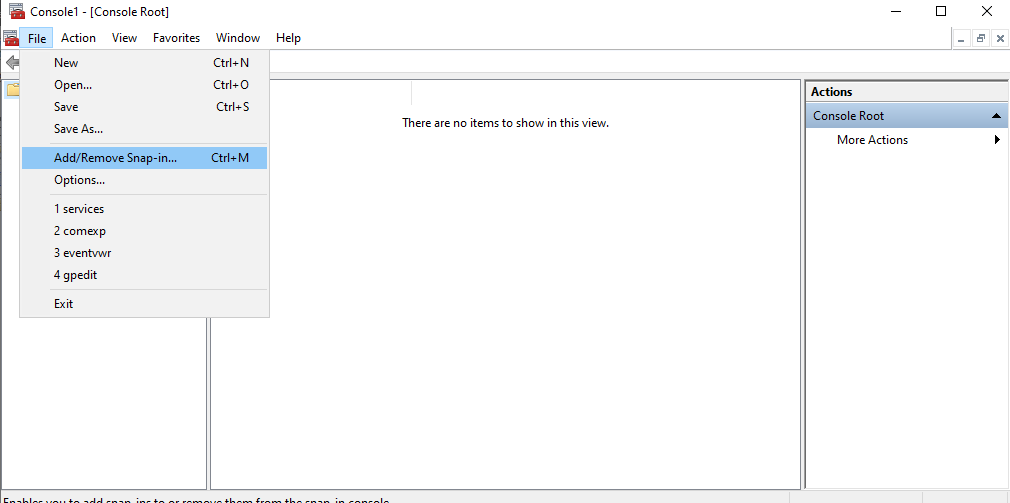
Follow the File -> Add/Remove Snap-in menu sequence as depicted by Figure 3.
-
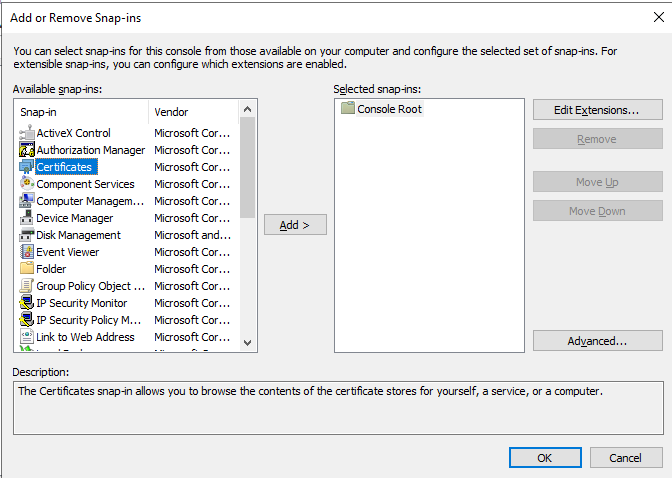
Figure 4 will then appear. From the Available Snap-ins list in Figure 4, select the Certificates snap-in and click the Add > button alongside.
-
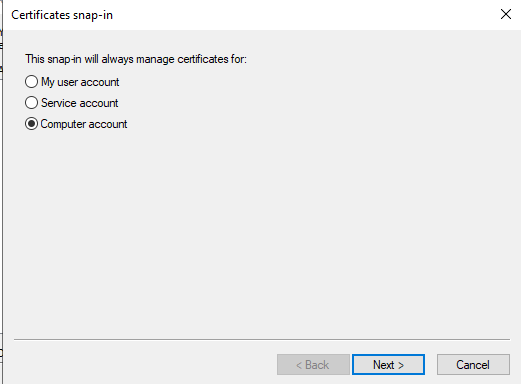
Figure 5 will then appear. Pick the Computer option in Figure 5 and click on the Next button.
-
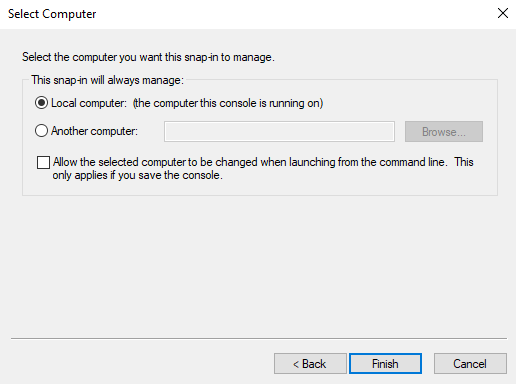
When Figure 6 appears, indicate whether the AD server is located on the local host or on a remote computer. If the AD server is available on the local host itself, then, select the Local computer option followed by the Finish button. On the other hand, if the domain server exists on a remote computer, then indicate the name of the remote host in the Another computer text box and then click the Finish button.
-
Once the Finish button is clicked, Figure 7 will appear. Here, you will find that the Certificates snap-in you had chosen to add at step 5 above has been successfully added, and appears in the Selected snap-ins list. Click the OK button here to proceed.
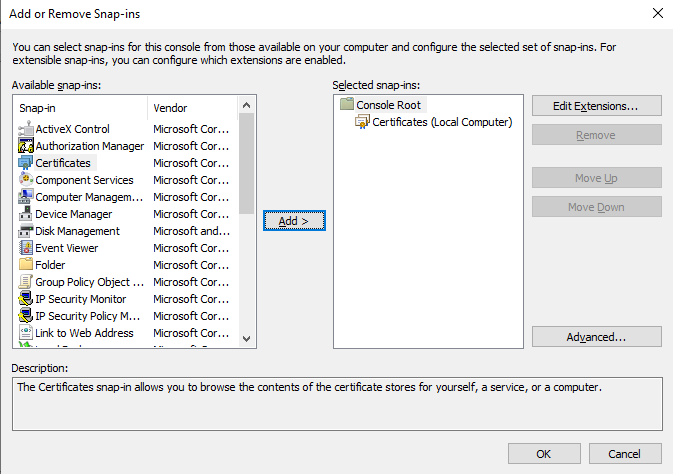
Figure 7 : The Certificates snap-in appears in the Selected snap-ins list
-
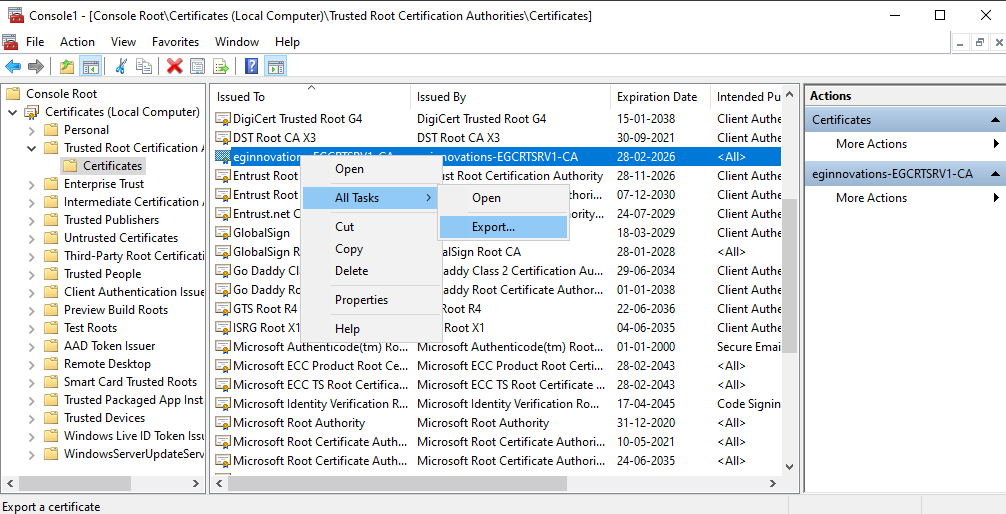
This will lead you back to the Snap-in Console which now displays the Certificates snap-in that was added in its left pane (see Figure 8). Now, expand the Certificates node in the left pane, then expand the Trusted Root Certificates sub-node within, and click on another Certificates sub-node that appears The right pane will then change to display all the Trusted root certificates in the domain server.
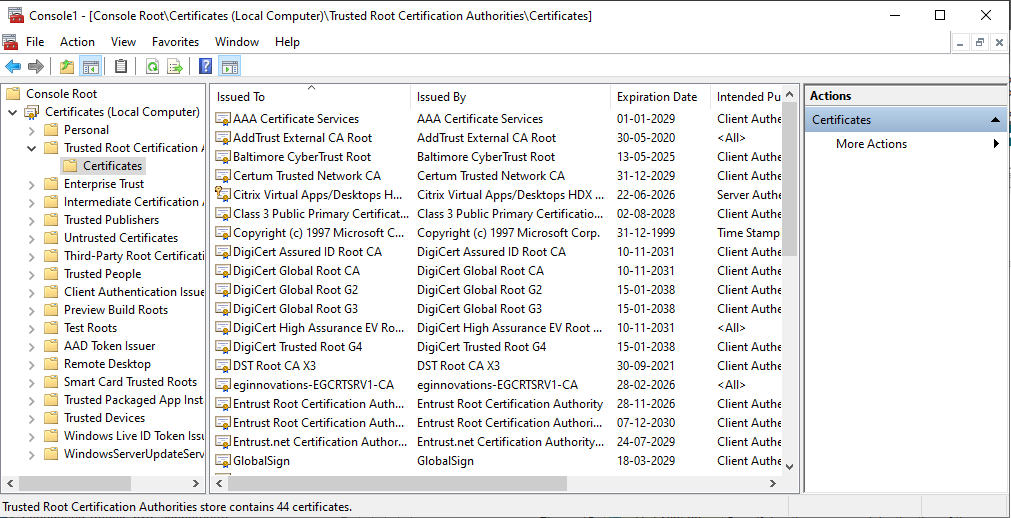
Figure 8 : The Snap-in Console displaying the Trusted Root Certificates in the domain server
-
Browse the list to identify the SSL certificate of the AD server. Once identified, attempt to export the certificate to the local host (i.e., the domain server). For this purpose, select the certificate from the right-panel of Figure 8, right-click on the selection, choose the All Tasks menu, and pick the Export option (see Figure 9).
-
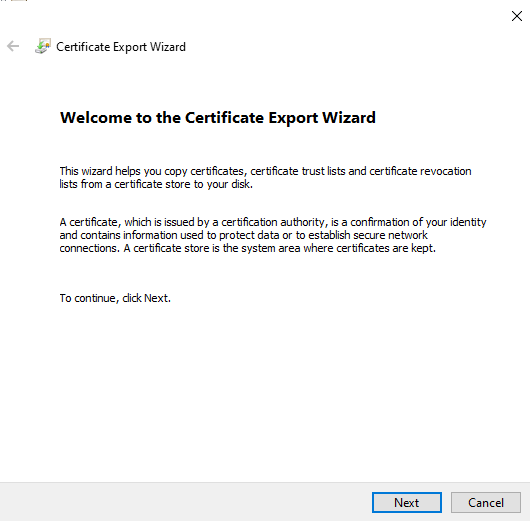
Figure 10 will then appear welcoming you to the Certificate Export Wizard. Click the Next button in Figure 10 to continue exporting.
-
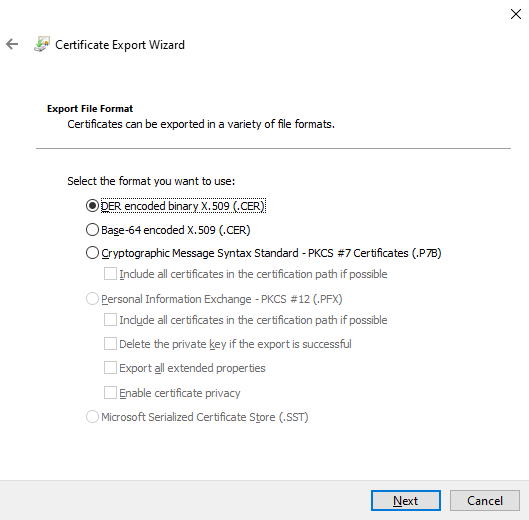
Select the der encoded binary X.509 (.CER) option from Figure 11 as the export file format, and click the Next button to continue.
-
Next, specify the name of the file you want to export and also indicate the directory to which the file is to be exported. You can use the Browse button in Figure 12 to specify the destination directory of the exported file. Then, click the Next button in Figure 12 to continue.
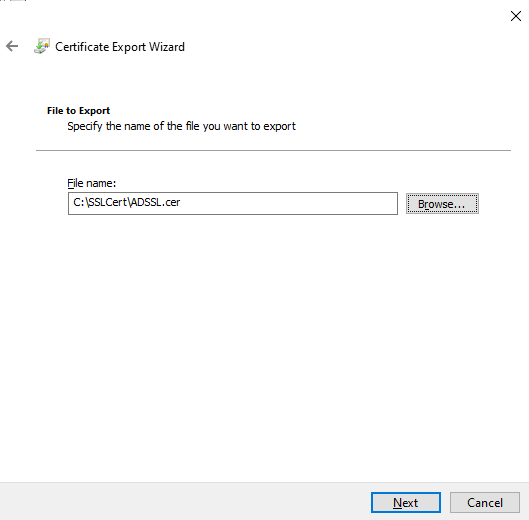
Figure 12 : Specifying the name and destination of the exported file
-
When Figure 13 appears, click the Finish button to complete the export procedure. Once the file is exported successfully, a message box displaying a message to this effect will appear (see Figure 14).
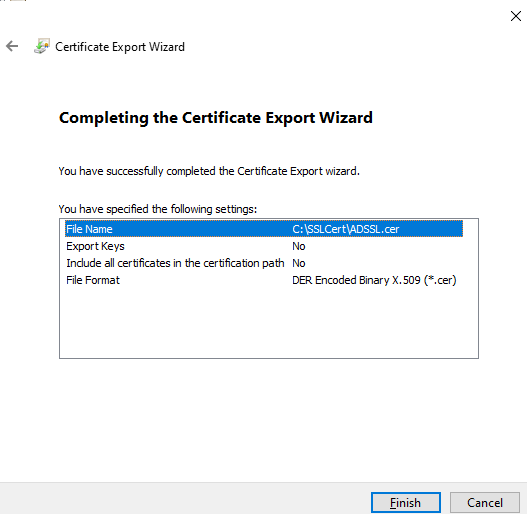
Figure 13 : Finishing the export
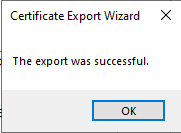
Figure 14 : A message box confirming the success of the certificate export
- Finally, copy the exported file from the local Windows host to any folder on the eG manager host.
Importing the SSL Certificate to the eG Manager
The steps in this regard are as follows:
-
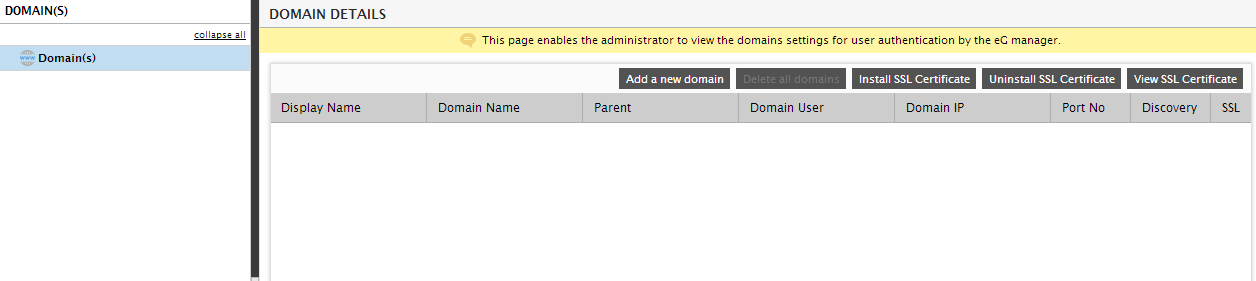
Click the global Domain(s) node in the domain(s) tree of Figure 15. Then, click on the Install SSL Certificate button in the right panel.
-
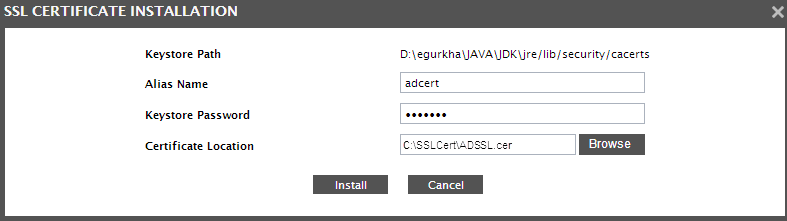
A SSL Certificate Installation page then appears (see Figure 16).
-
Here, specify the following:
- Keystore Path: Specify the full path to the certificate file that the JDK used by the eG manager checks for trusted certificates
- Alias name: Provide an alias name for the certificate being imported.
- Keystore password: The default keystore password provided by Java is changeit. Provide this password against Keystore password.
- Certificate Location: Specify the full path to the SSL certificate that was copied to the eG manager using the procedure discussed in Copying the SSL Certificate to the eG Manager Host. You can use the Browse button in Figure 16 to specify the path.
- Finally, click the Install button in Figure 16 to install the SSL certificate on the eG manager.
- In the same way, you can install many SSL certificates on the eG manager and enable its SSL communication with many domain servers in the target environment.
- You can view all the SSL certificates so installed by clicking the View SSL Certificate button in the right panel of Figure 15.
Uninstalling the SSL Certificate
At any given point in time, you can disable SSL communication between the eG manager and AD, by uninstalling the SSL certificate. The steps to be followed are:
- Click the global Domain(s) node in the domain(s) tree of Figure 15. Then, click on the Uninstall SSL Certificate button in the right panel.
-
The Uninstall SSL Certificate page then appears.

Figure 17 : Uninstalling the SSL Certificate from the eG manager
- Choose the Alias Name of the certificate to be uninstalled, and then click on the Uninstall button in Figure 17.
Troubleshooting eG Integration with Active Directory
If you have difficulty in validating domain users or are unable to login to the eG manager as a domain user, do the following:
-
Go to the command prompt on the eG manager host and do the following:
-
First, set the classpath of the eG manager using the following command:
set classpath=<EG_INSTALL_DIR>\lib\eg_manager.jar;<eg_install_dir>\lib\jaas.jar;%classpath%
-
Next, execute the following command:
java com.eg.KerberosAuthentication <EG_INSTALL_DIR>\manager\config\egAD_<domain>.ini <domainIP> <domainUser> <domainPass> <ValidUser> <UserBase>
For example:
java com.eg.KerberosAuthentication c:\egurkha\manager\config\egAD_chn.egurkha.com.ini 192.168.10.5 egtest egurkha2007 Raja DC=CHN,DC=EGURKHA,DC=COM
-
This command, upon execution, will report an exception if there is a problem connecting to the domain. If no connection errors have occurred, then an output similar to the sample output displayed below will appear.
The target Domain IP Address = 192.168.10.5
The connect username is = egtest
The connect password is = xxxxxxxxxx
The search username is = Raja2
The userBase is = DC=CHN,DC=EGURKHA,DC=COM
The logged in user is egtest@CHN.EGURKHA.COM
0
The logged in user is egtest@CHN.EGURKHA.COM
falseThe penultimate line of the resulting output will display the logged in user name. The last line of the output will indicate whether the user name passed to the command above (i.e, <ValidUser>) is valid or not. If valid, you will find true in the last line, and if invalid, false will be displayed therein.
-