Obtaining an Access key and Secret key
To monitor the Amazon cloud infrastructure, the eG agent has to be configured with the access key and secret key of a user with a valid AWS account.
For this purpose, you need to follow the following broad steps:
-
Create a special user on the AWS cloud for monitoring purposes.
-
Configure the eG agent with the access key and secret key of the special user.
To create a user on the AWS cloud, do the following:
-
Login to the AWS management console as a root user.
-
Upon successful login, Figure 1 will appear. Keep scrolling down Figure 1 until you view the IAM option (highlighted by Figure 2).
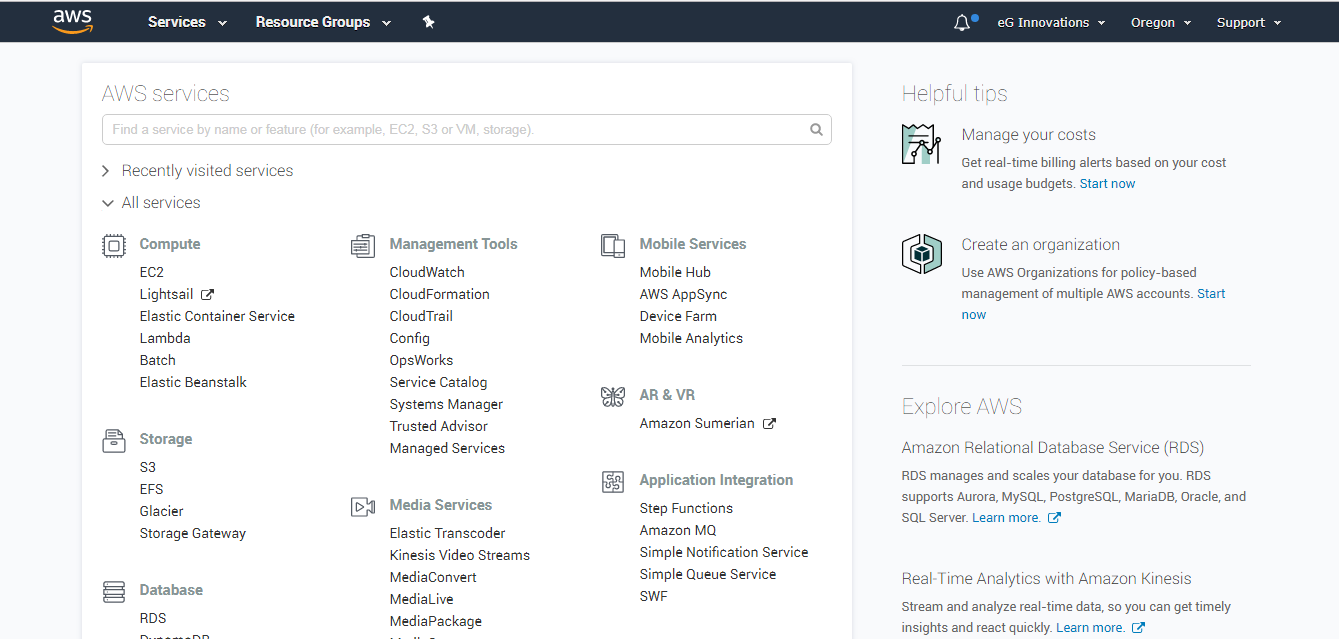
Figure 1 : The AWS Services page that appears as soon as a root user logs into the AWS management console
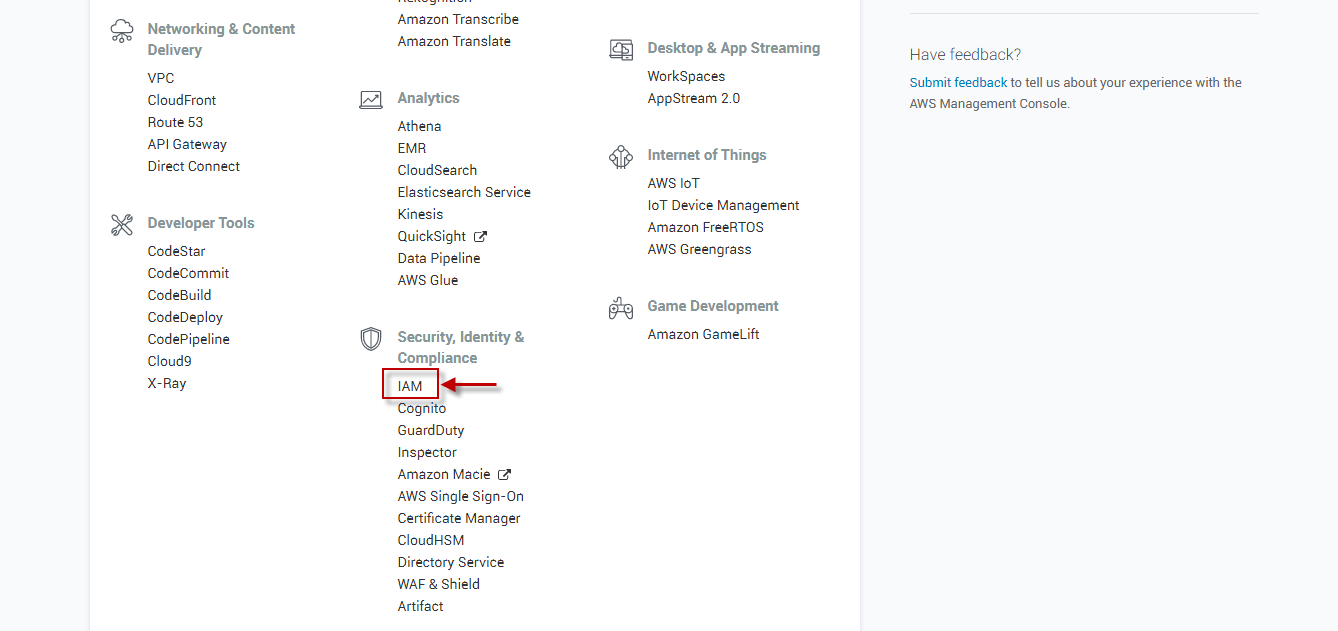
Figure 2 : Scrolling down the AWS Services page to view the IAM option
-
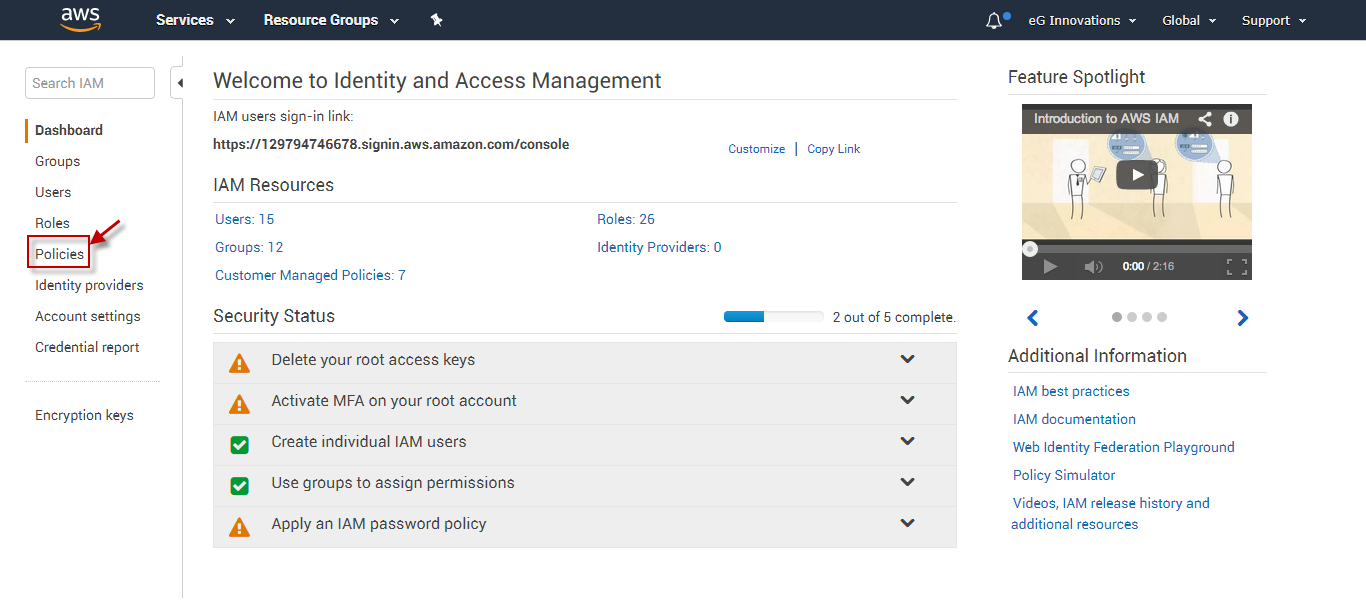
Figure 3 will then appear. The first step to creating a user is to create a policy that defines the rights and privileges of that user. To create a policy, click on the Policies link in the left panel (as indicated by Figure 3).
-
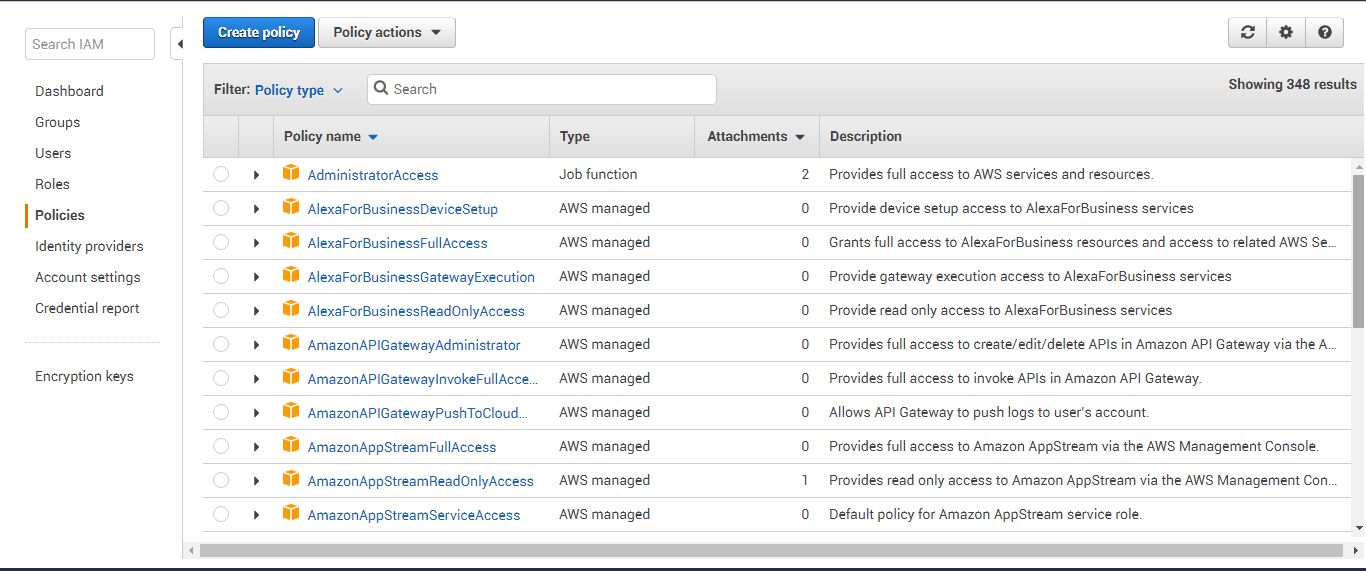
Figure 4 will then appear listing all the policies that pre-exist. Click on Create Policy to create a new policy.
-
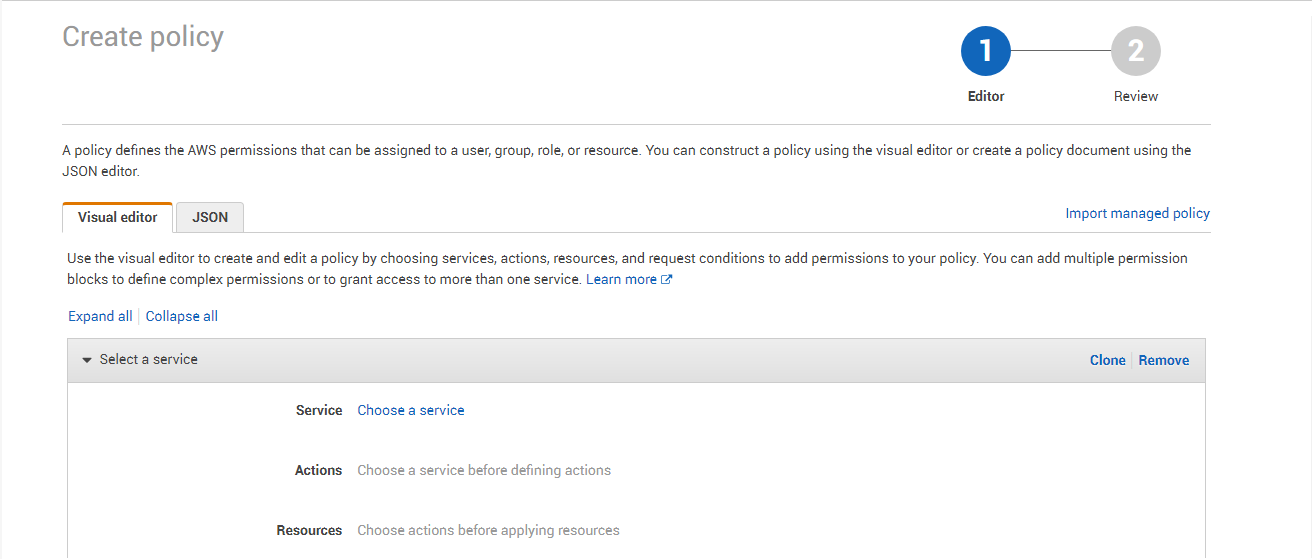
Figure 6 will then appear.
-
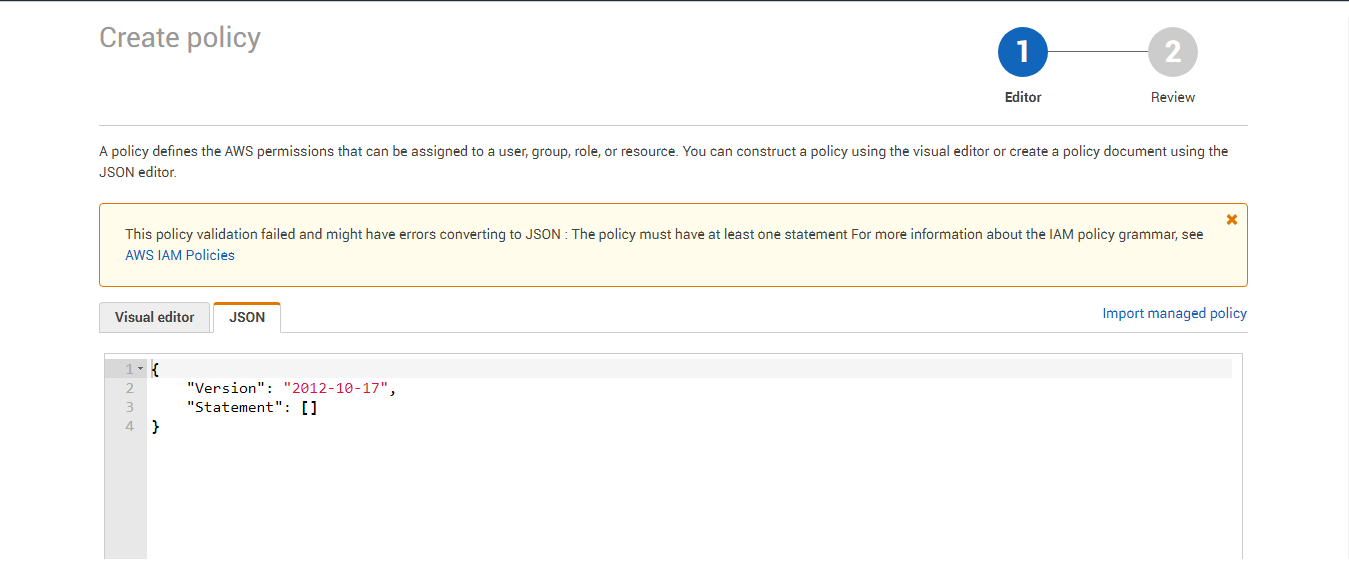
Replace the contents of the JSON tab page with the following (see Figure 7):
{
"Version":"2012-10-17",
"Statement":[
{
"Action":[
"acm:DescribeCertificate",
"acm:ListCertificates",
"acm:GetCertificate",
"acm:*Certificate",
"autoscaling:Describe*",
"budgets:Describe*",
"cloudfront:List*",
"cloudfront:GetDistributionConfig",
"cloudfront:GetStreamingDistributionConfig",
"cloudsearch:Describe*",
"cloudtrail:DescribeTrails",
"cloudtrail:GetTrailStatus",
"cloudwatch:Describe*",
"cloudwatch:Get*",
"cloudwatch:List*",
"dynamodb:List*",
"dynamodb:Describe*",
"ec2:Describe*",
"ec2:Get*",
"ecs:List*",
"ecs:Describe*",
"elasticache:Describe*",
"elasticache:List*",
"elasticbeanstalk:Describe*",
"elasticbeanstalk:List*",
"elasticfilesystem:Describe*",
"elasticloadbalancing:Describe*",
"elasticmapreduce:Describe*",
"elasticmapreduce:List*",
"iam:Get*",
"iam:List*",
"iam:GenerateCredentialReport",
"iot:Describe*",
"iot:List*",
"kinesis:List*",
"kinesis:Describe*",
"kinesis:Get*",
"lambda:List*",
"logs:Get*",
"logs:Describe*",
"logs:FilterLogEvents",
"logs:TestMetricFilter",
"logs:PutLogEvents",
"opsworks:Describe*",
"polly:Describe*",
"polly:GetLexicon",
"polly:ListLexicons",
"rds:Describe*",
"rds:List*",
"redshift:Describe*",
"redshift:ViewQueriesInConsole",
"route53:List*",
"s3:Get*",
"s3:List*",
"s3:*Object",
"s3:Object*",
"ses:ListIdentities",
"ses:Get*",
"support:*",
"sns:Get*",
"sns:List*",
"sns:Publish",
"sqs:List*",
"sqs:Get*",
"storagegateway:Describe*",
"storagegateway:List*",
"waf:List*",
"waf:Get*",
"workspaces:Describe*",
"Organizations:List*",
"Organizations:Describe*",
"appstream:ListAssociated*",
"appstream:Describe*",
"ce:Get*"
],
"Effect":"Allow",
"Resource":"*"
}
]
}
Note:
If you copy the above code block directly from this document and paste it in the JSON tab page, you will find that the page numbers in the document also get copied on to the tab page inadvertently. Therefore, after copying the code block to the JSON tab page, make sure you remove the page numbers from the code block and then proceed.
-
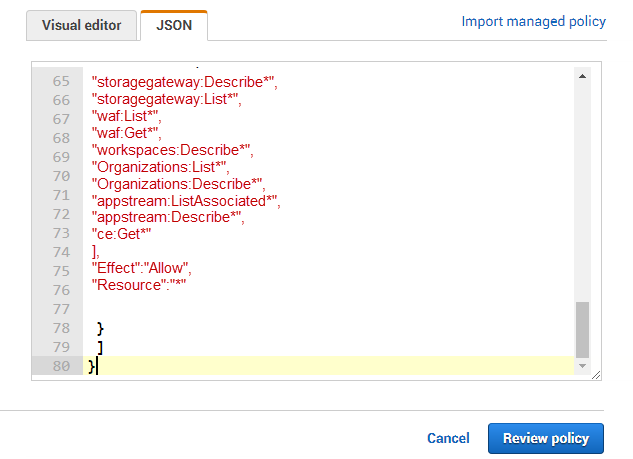
Then, click the Review policy button in Figure 7 to review the policy that you have defined. This will open Figure 8, where you have to provide a name for the new policy and a brief description of the policy.

-
The Summary section of Figure 8 lists all the services that this policy allows access to, the level of access (whether Full or Limited), and the resources that can be accessed.
-
Then, click on the Create Policy button in Figure 8 to create the new policy.
-
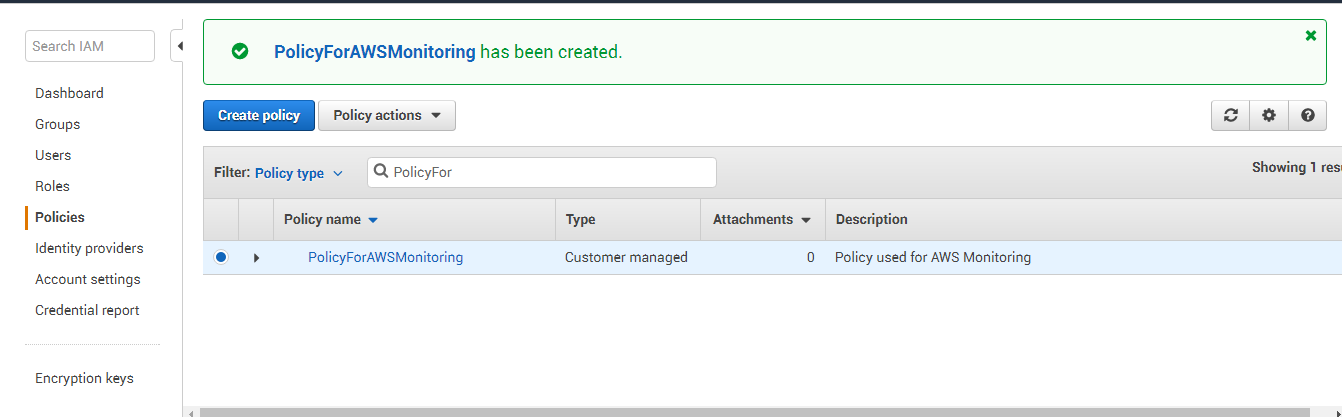
Figure 9 will then appear displaying the new policy.
-
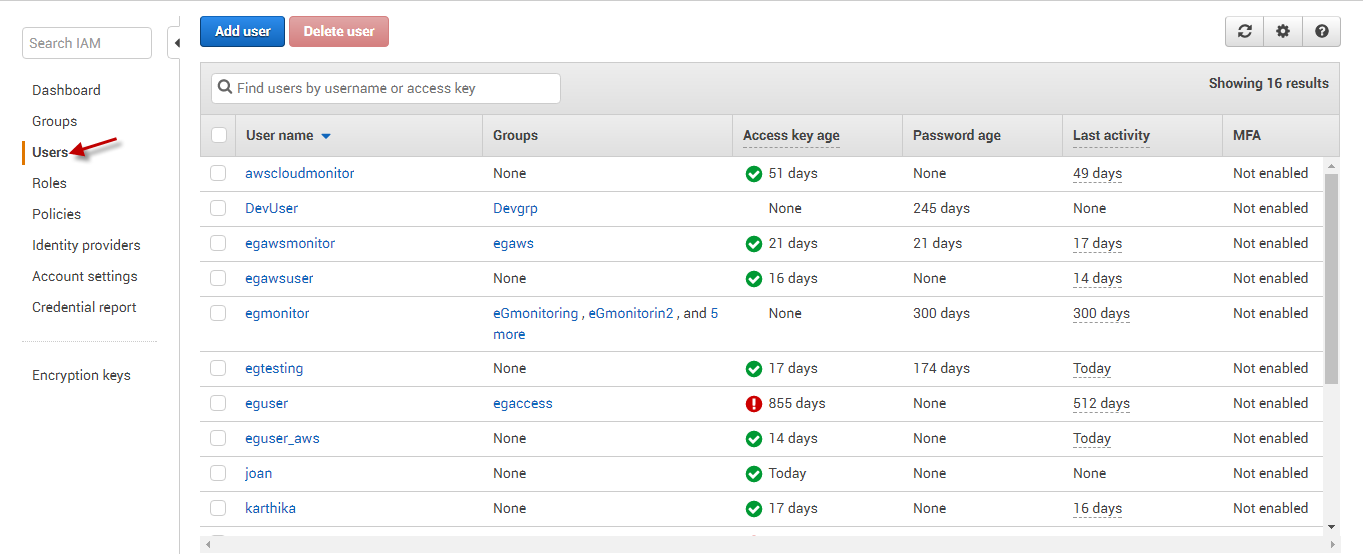
Now, proceed to create a new user. For that, first click the Users option in the left panel (as indicated by Figure 10).
-
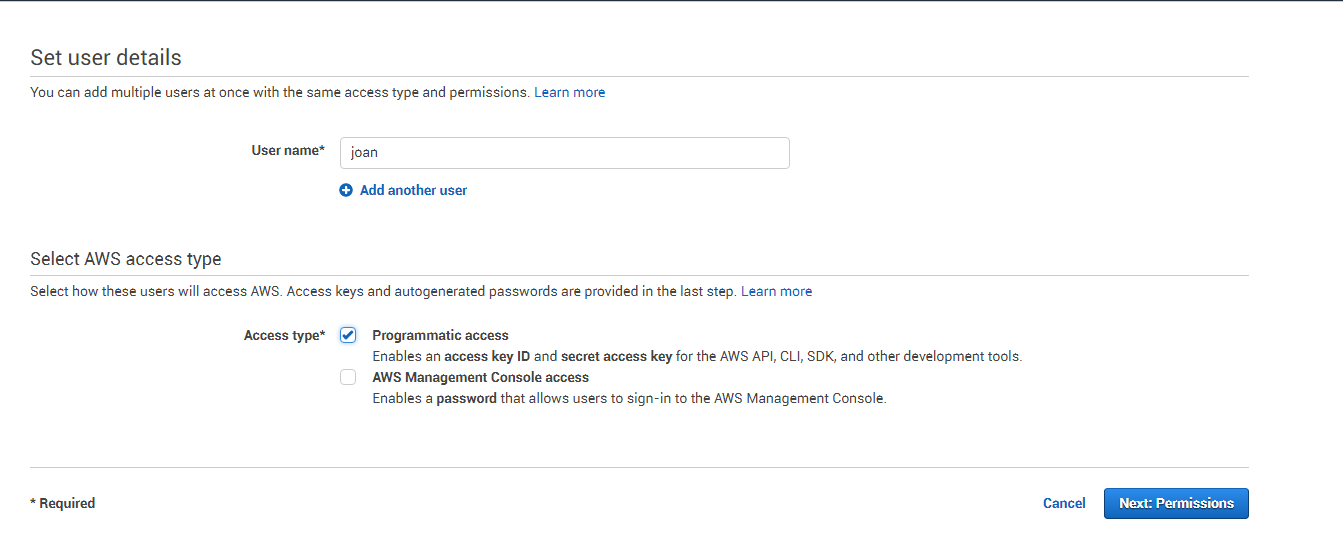
This will open Figure 11. Here, specify the name of the new user and set Programmatic access as the Access type. Then, click the Next: Permissions button to move to the next step of the user creation.
-
Clicking on the Next: Permissions button, will invoke Figure 12. Click the Attach Existing Policies Directly button in Figure 12 to associate the newly created policy with the new user. Then, from the list of policies displayed therein, click the check box corresponding to the policy that you created newly, and then click the Next: Review button.
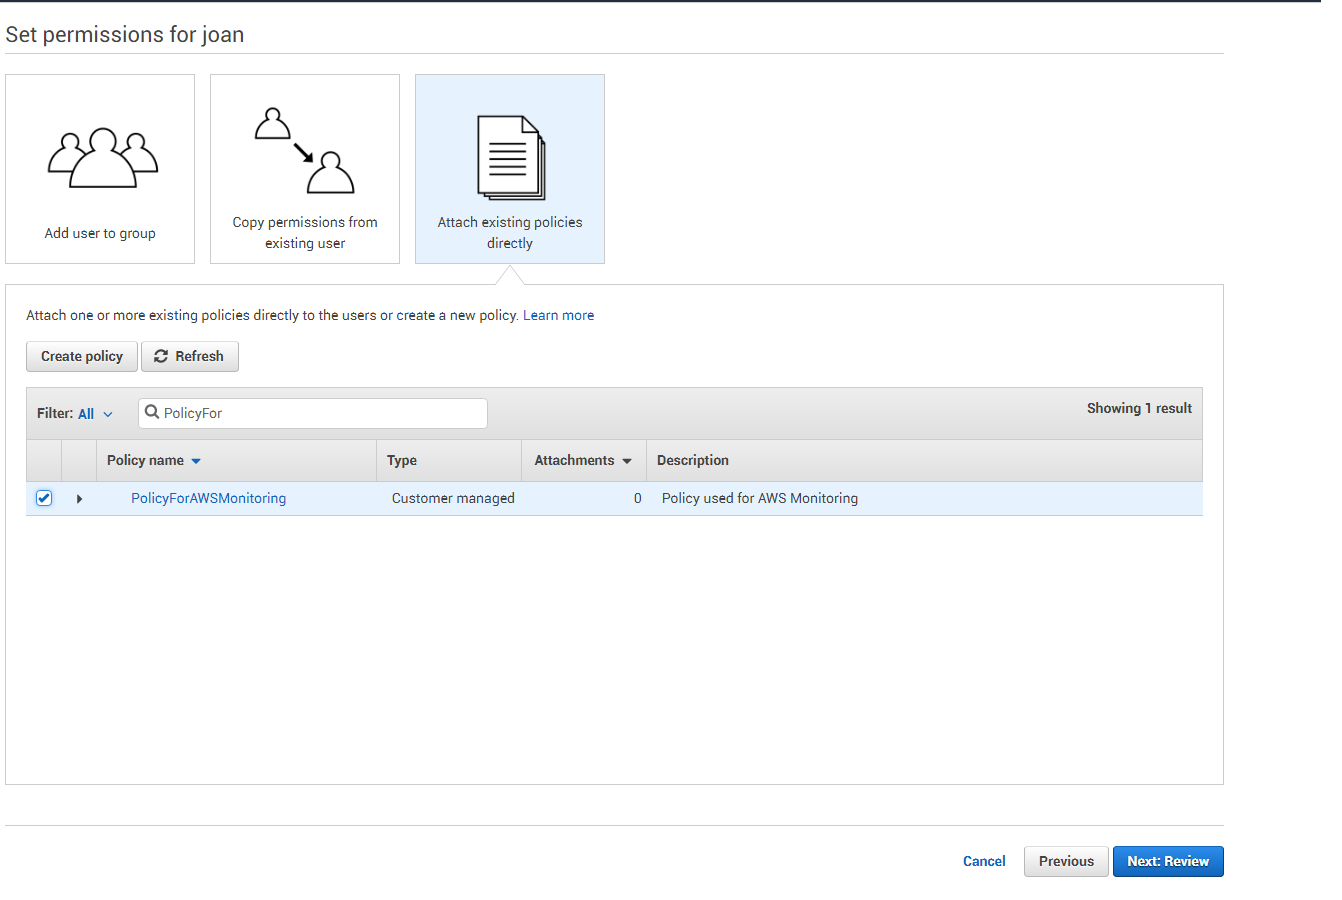
Figure 12 : Associating the new policy with the new user
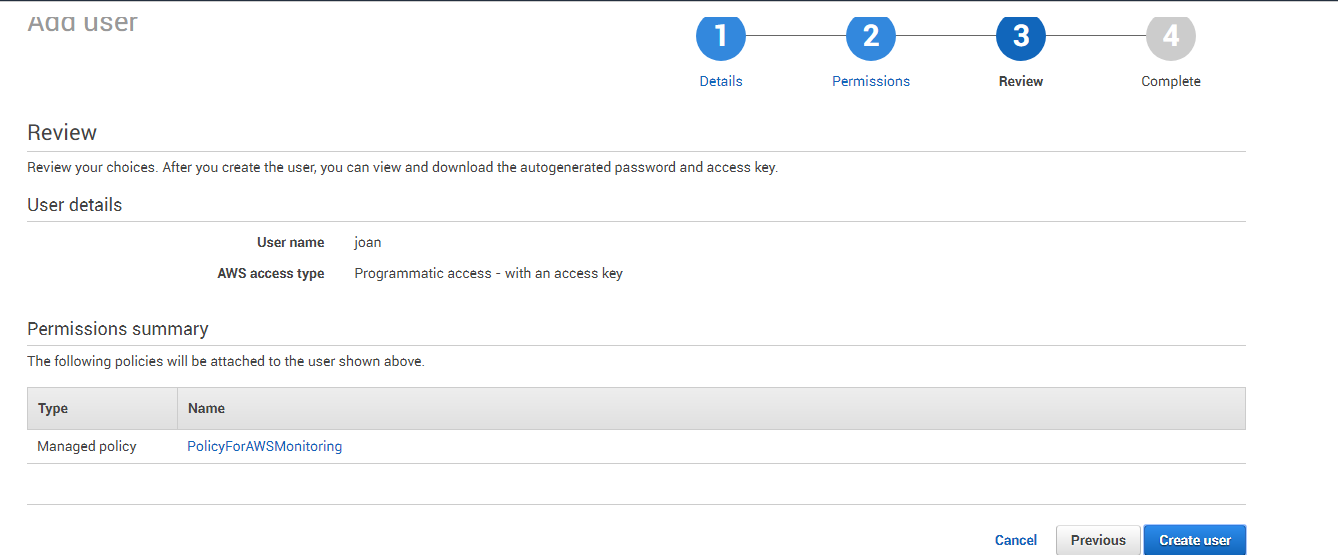
Figure 13 : Reviewing the new user's details
-
Figure 14 will then appear displaying the new user and the access and secret keys assigned to the new user. Click on the Show link adjacent to the encrypted secret key to view it. Once you are able to view both keys, make a note of the keys.
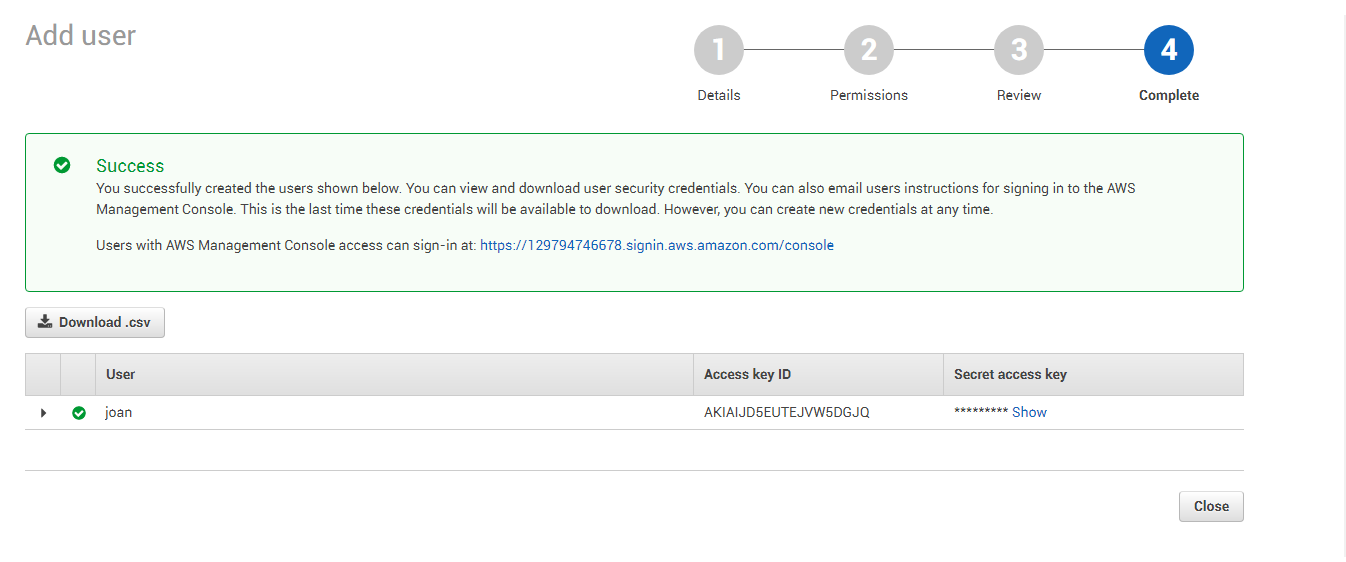
Figure 14 : Viewing the access and secret key of the new user
Make sure to configure the eG tests with the access key and secret key that you see in Figure 14.