How to Monitor Atlassian Confluence Using eG Enterprise?
Once the pre-requisites for monitoring Confluence are fulfilled, proceed to manage the target Confluence server using the eG user interface. The steps in this regard are as follows:
- Login to the eG administrative interface as a user who is assigned the Admin role.
- Invoke the Admin tile menu. In the Infrastructure tile, follow the Components -> Add/Modify menu sequence.
- In the page that appears next, select Atlassian Confluence as the Component type and click the Add New Component button.
-
Figure 1 will then appear.
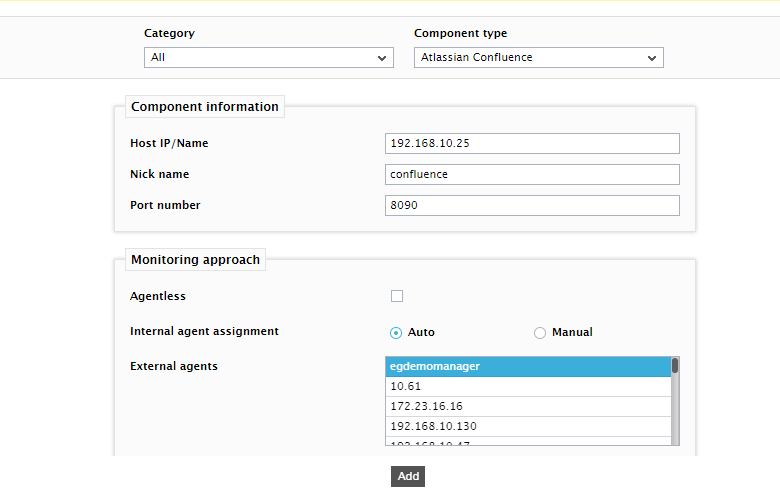
Figure 1 : Managing an Atlassian Confluence server in an agent-based manner
- In Figure 1, provide the IP address / host name of the Confluence server and assign a unique Nick name to it.
- By default, Confluence listens on port 8090. The same will be displayed against Port number. You can change it if required.
-
To manage Confluence in an agent-based manner, do the following:
- Leave the Agentless check box in Figure 1 unchecked.
- Select an External Agent.
-
Click the Add button to add the server for monitoring.
-
To manage Confluence in an agentless manner, do the following:
-
Select the Agentless check box in Figure 1. This will throw additional options, as depicted by Figure 2.
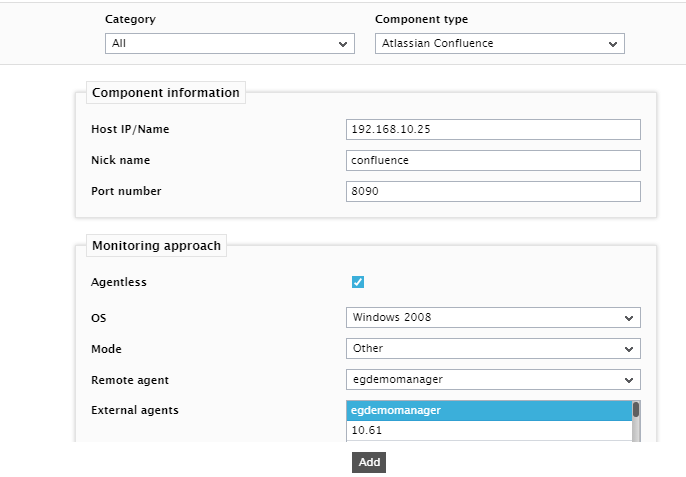
- Next, select the OS on which Confluence is running.
- Set Mode of monitoring to Other.
- Pick a Remote agent, which will remotely monitor Confluence.
- Assign an External agent to Confluence.
-
Finally, click the Add button to add the server for monitoring.
-
- After adding the component, sign out of the eG admin interface by clicking the Signout icon at the top, left corner of the page.
-
Figure 3 will then appear listing the unconfigured tests for Confluence.
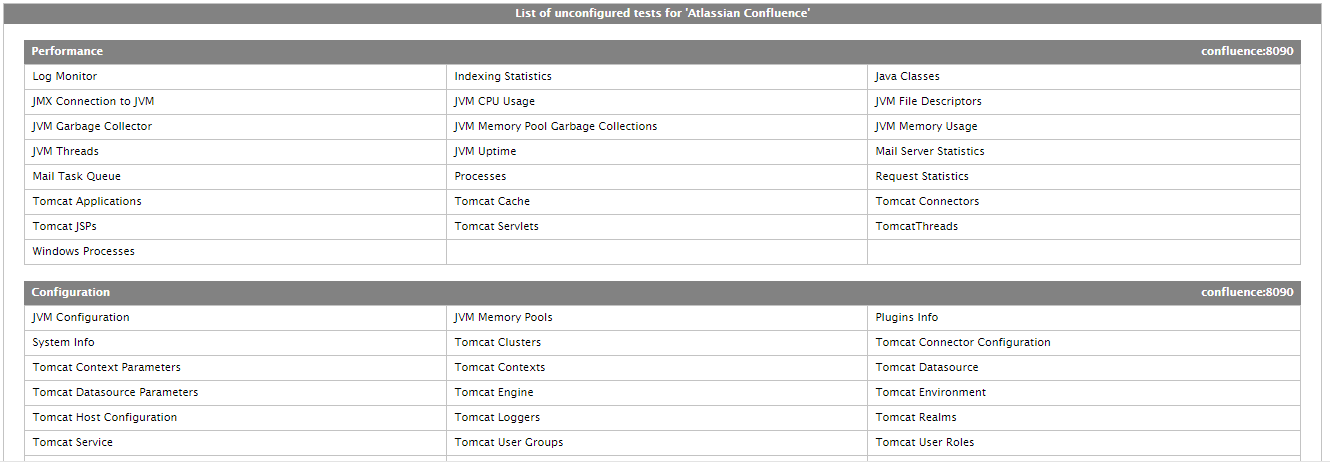
Figure 3 : List of unconfigured tests for Atlassian Confluence
-
Click on any Performance test in Figure 3 to configure it. For instance, click on the Indexing Statistics test.
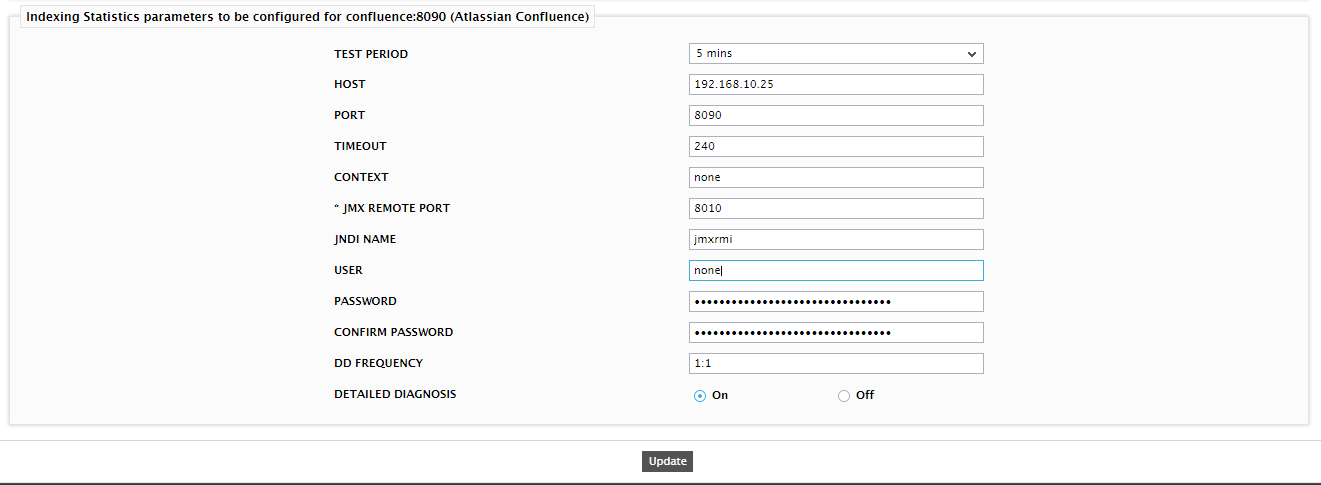
Figure 4 : Configuring the Indexing Statistics test
- To know what this test does and how to configure it, refer to the Indexing Statistics test topic.
- After configuring the test, click Update in Figure 5 to register the configuration. Then, try to signout once again.
-
This time, you will be prompted to configure the following tests:
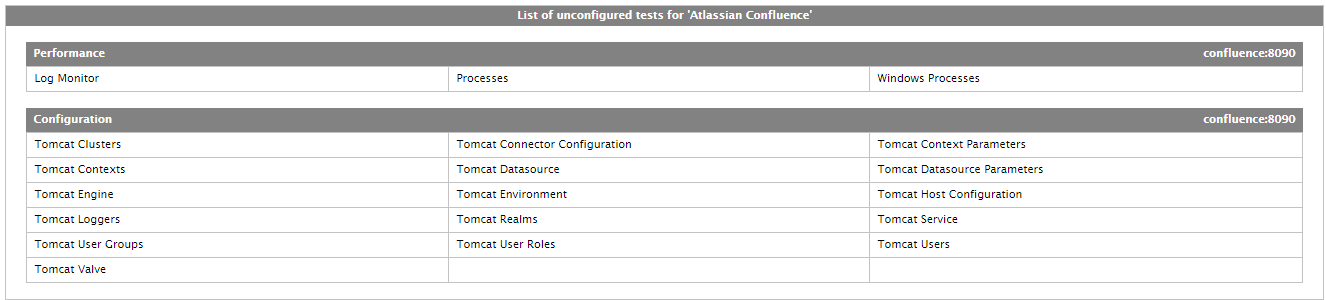
Figure 5 : Some more tests to be configured for Atlassian Confluence
- The tests displayed in Figure 5 are operating system-level tests. To know what these tests do and how to configure. Then, configure each test one after another.
- Finally, sign out of the eG administrative interface.