Single-click eG Agent Installation on an AVD Host Pool
This is ideal if you want to install eG agents on all AVD session hosts in specific host pools.
The broad steps to achieve this are as follows:
-
Create the agent installation script
-
Run the installation script on the target AVD host pools
The procedure below includes all the steps mentioned above.
-
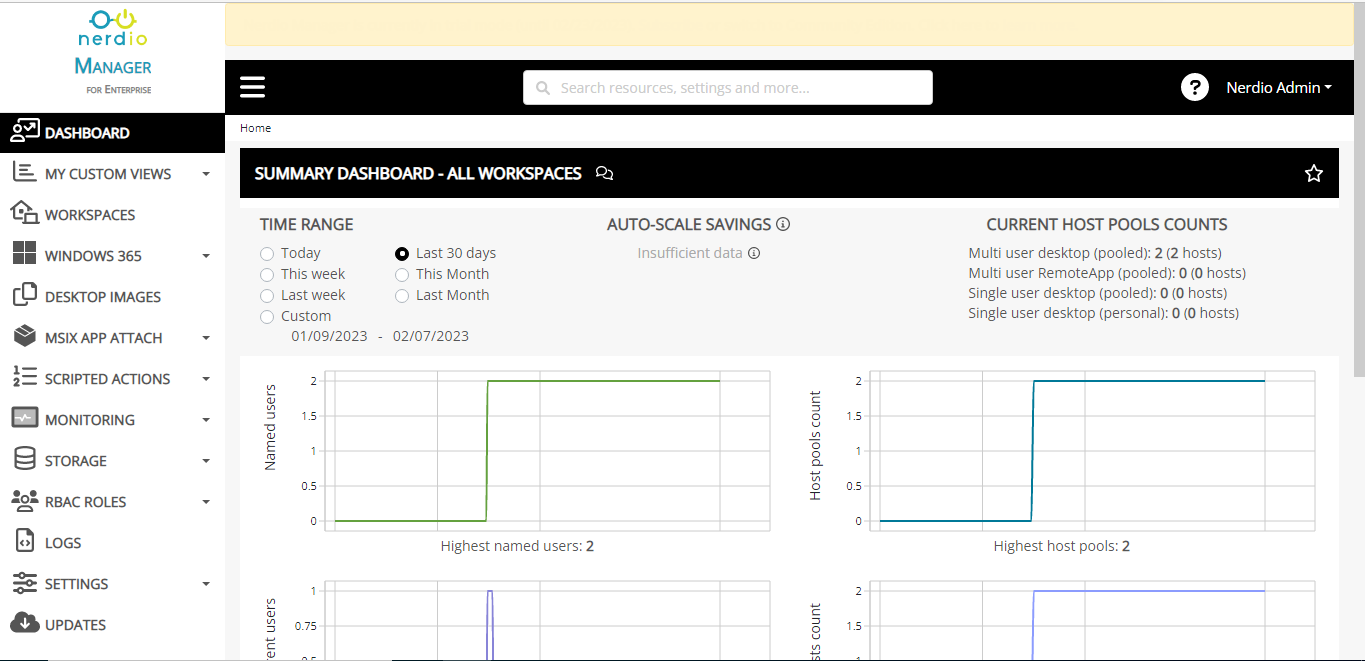
Login to the admin portal of the Nerdio Manager.
-
Figure 1 will then appear.
-
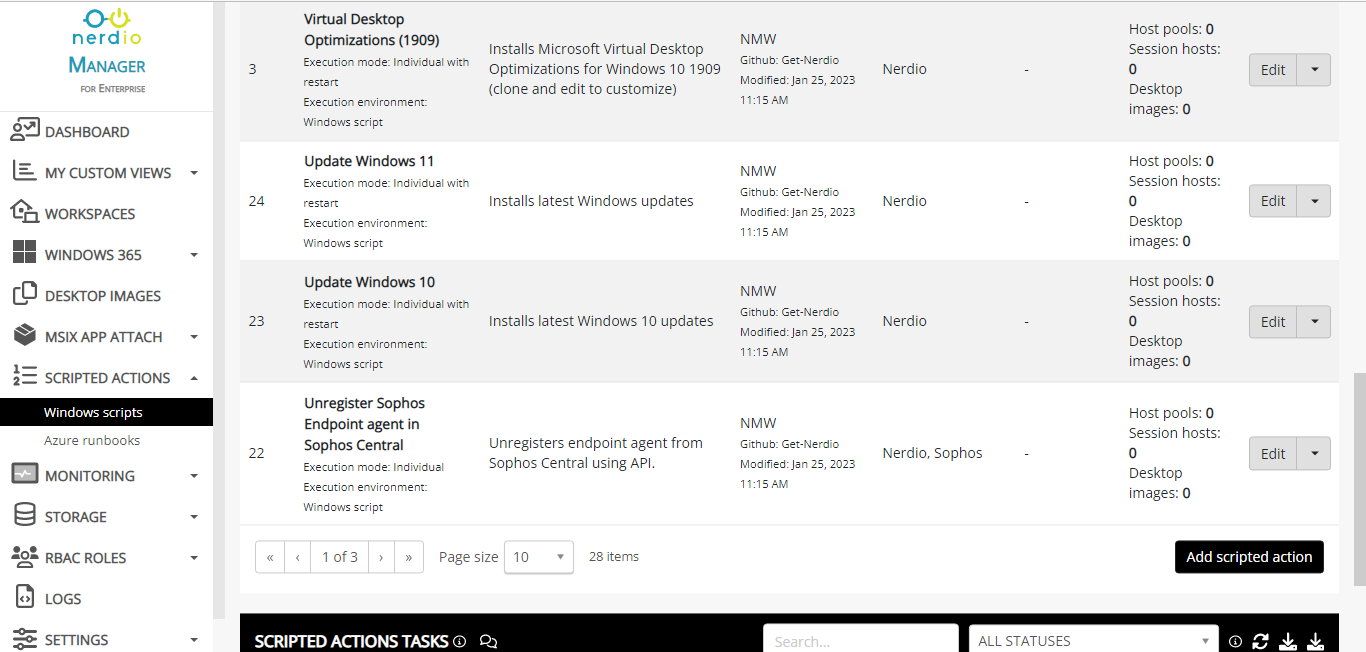
To create the agent installation script, first. expand the SCRIPTED ACTIONS node in the left panel, and click on the Windows scripts option within. The right panel will then change as depicted by Figure 2. Click on the Add scripted action button in the right panel to add a new script.
-
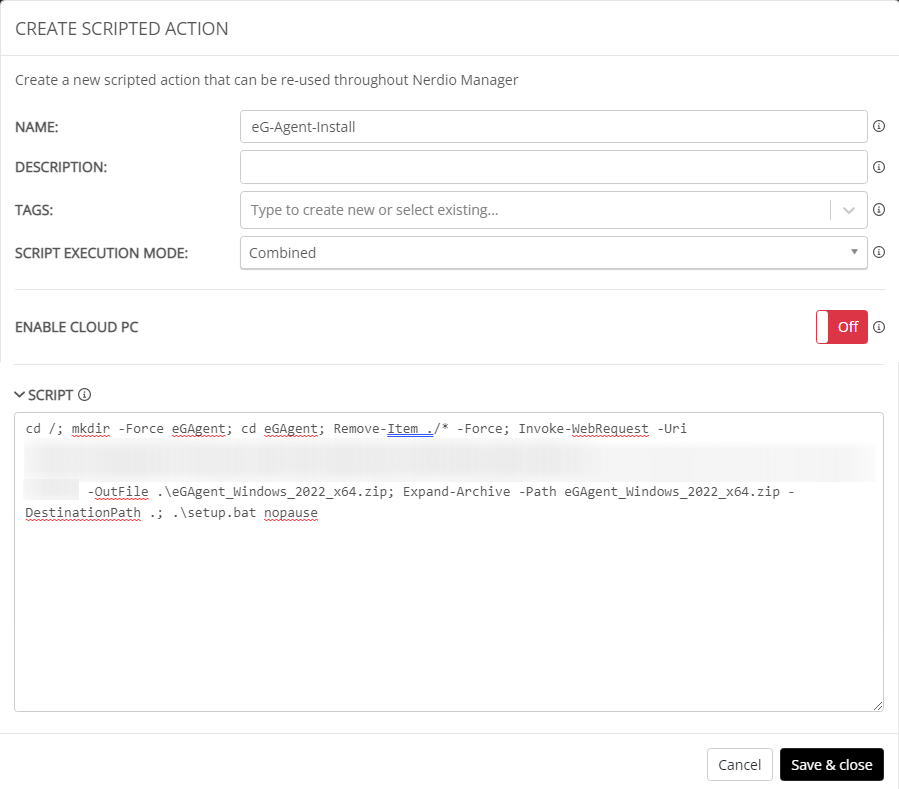
Figure 3 will then appear. Here, provide a unique NAME for the new script.
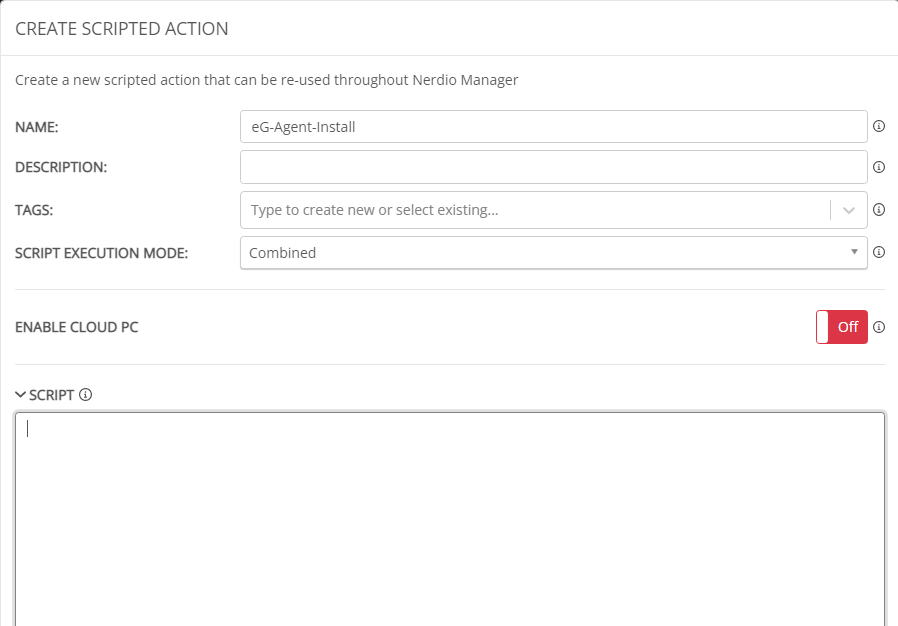
Figure 3 : Assigning a NAME to the new agent installation script
-
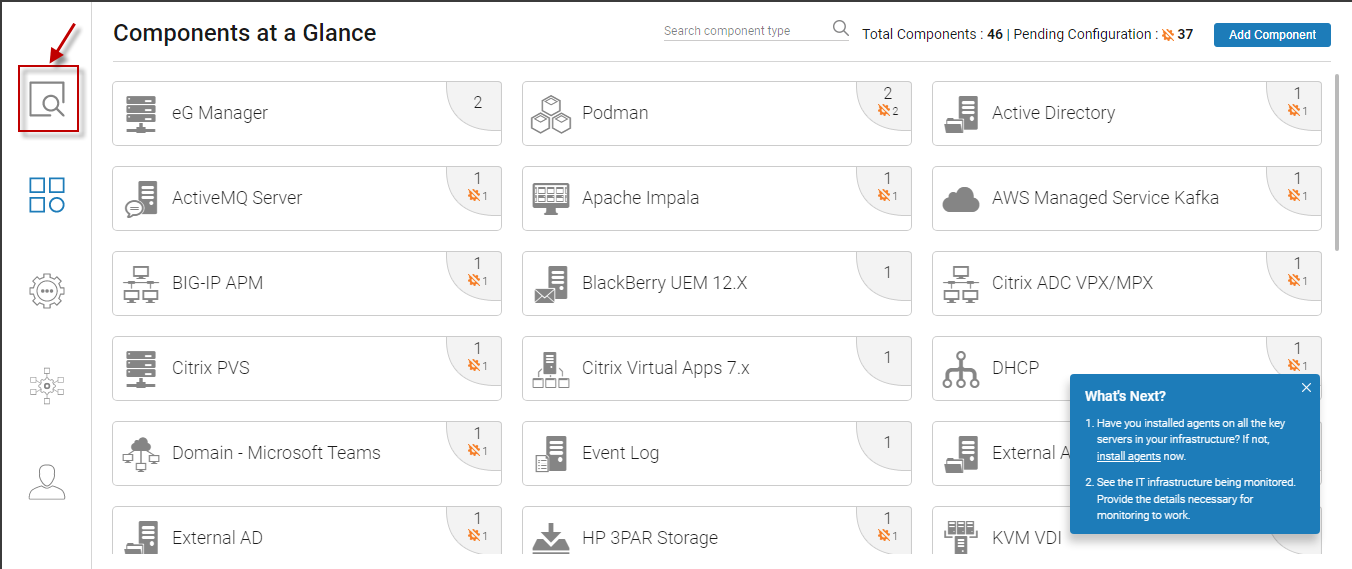
Then, proceed to configure the entire agent installation script in the SCRIPT text area of Figure 3. For that, using another browser tab page, connect to the eG manager to which the eG agents on AVD session hosts should report. Login to the admin interface of the eG manager. Figure 4 will then appear.
-
Click on the button indicated by Figure 4 above. Figure 5 will then appear. Click on Microsoft AVD Session Hosts in Figure 5.
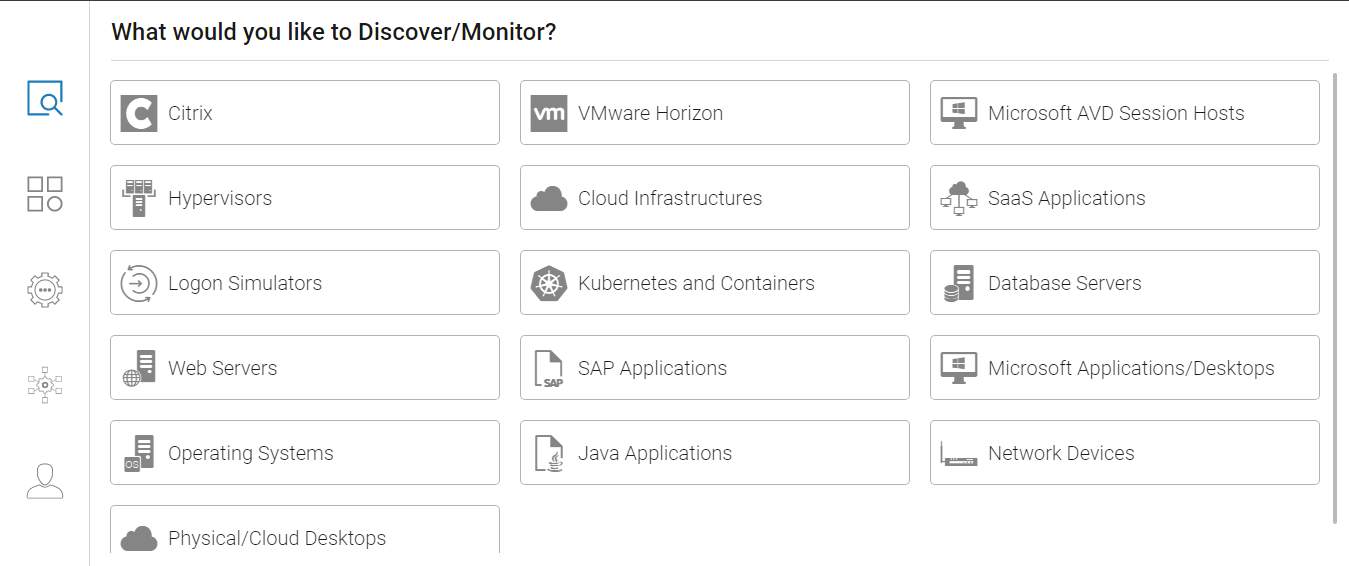
Figure 5 : Choosing to discover/monitor Microsoft AVD Session Hosts
-
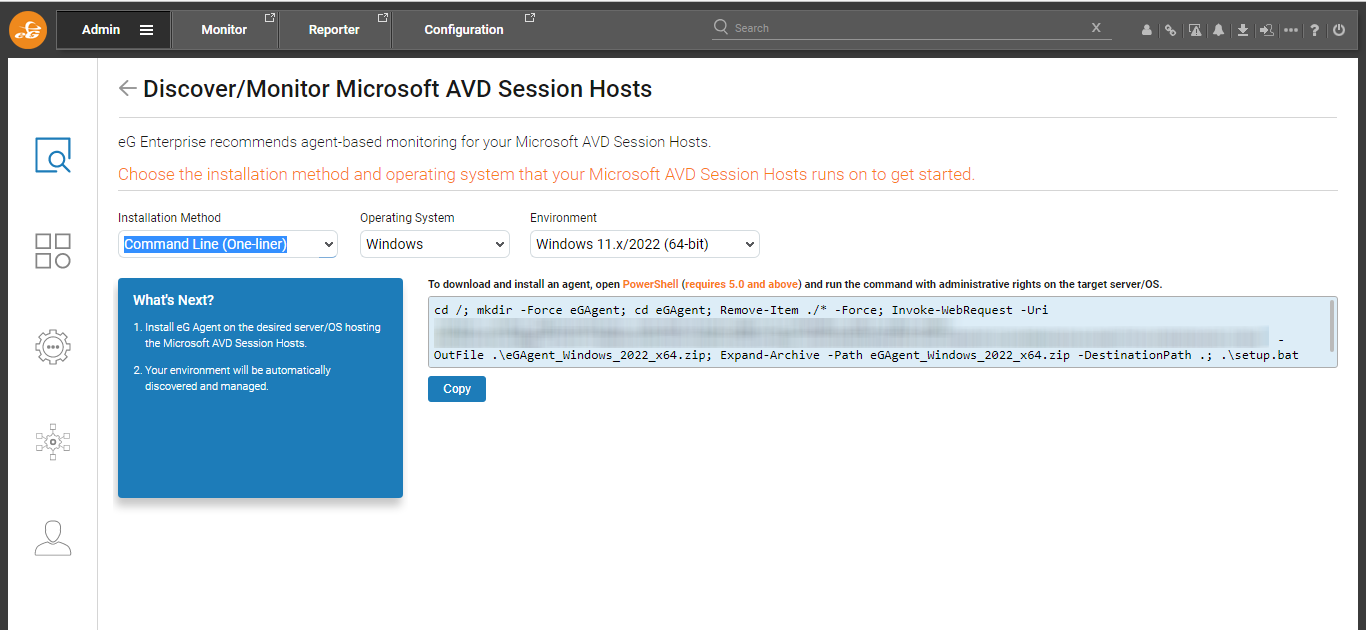
This will open Figure 6. Select Command Line as the Installation Method. Then, pick an Operating System and Environment that match the OS and flavor of the session hosts on which the agent is to be installed. The agent installation PowerShell script that corresponds to your specification will then be displayed. Click on the Copy button below the script.
-
Then, switch back to Figure 3 of the Nerdio Manager , and paste the copied script in the SCRIPT text area (see Figure 7). Finally, click the Save & close button in Figure 7.
-
Now, proceed to run this script on target AVD session hosts. For that, first, click on the WORKSPACES node in the left panel of Figure 2. The right panel will change as depicted by Figure 9.
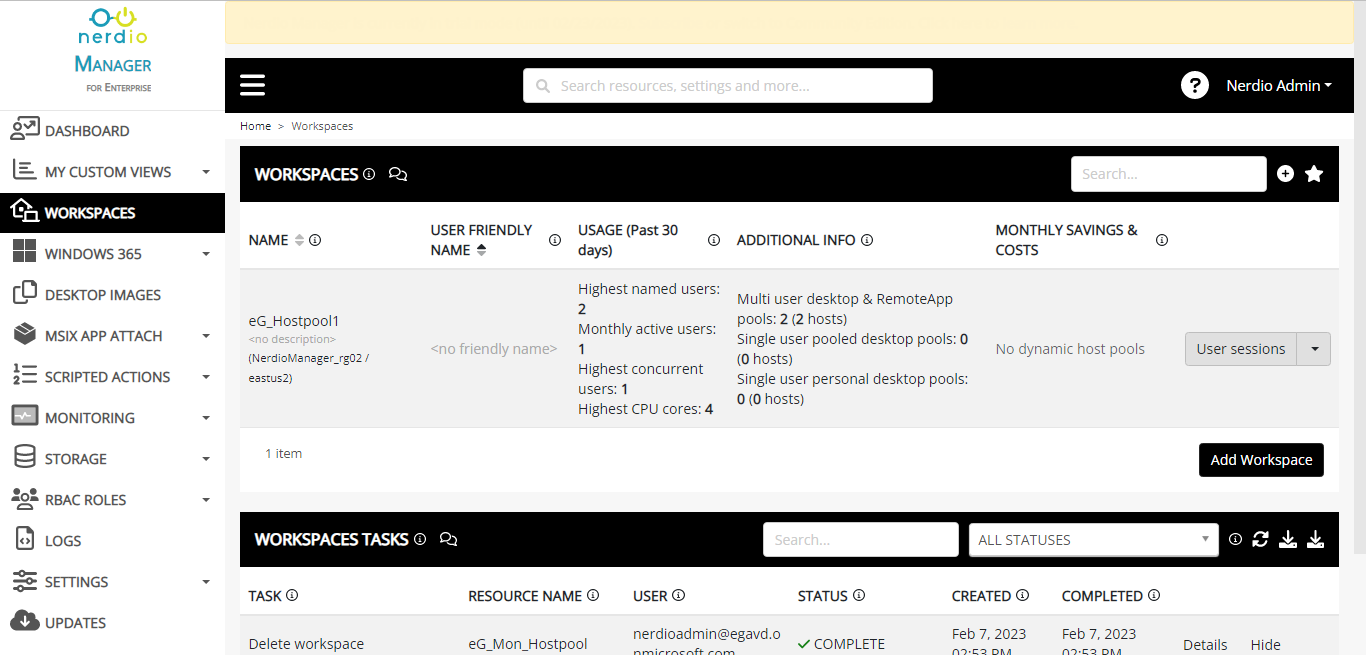
Figure 8 : List of workspaces
-
Click on the workspace that contains the host pools of interest to you. By default, the Dynamic host pools in the chosen workspace will be listed (see Figure 9).
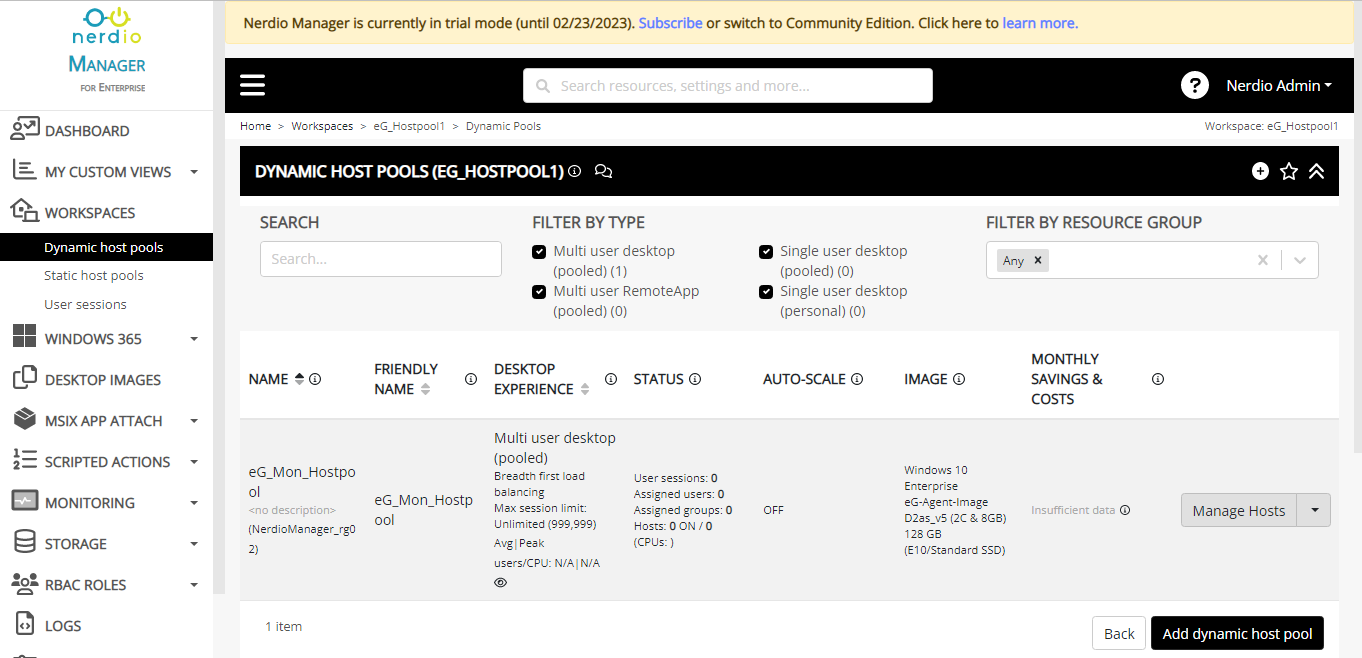
-
Let us say that the AVD session hosts to be monitored are within Static host pools. In this case, click on the Static host pools option under WORKSPACES in the left panel of Figure 9. This will open Figure 10.
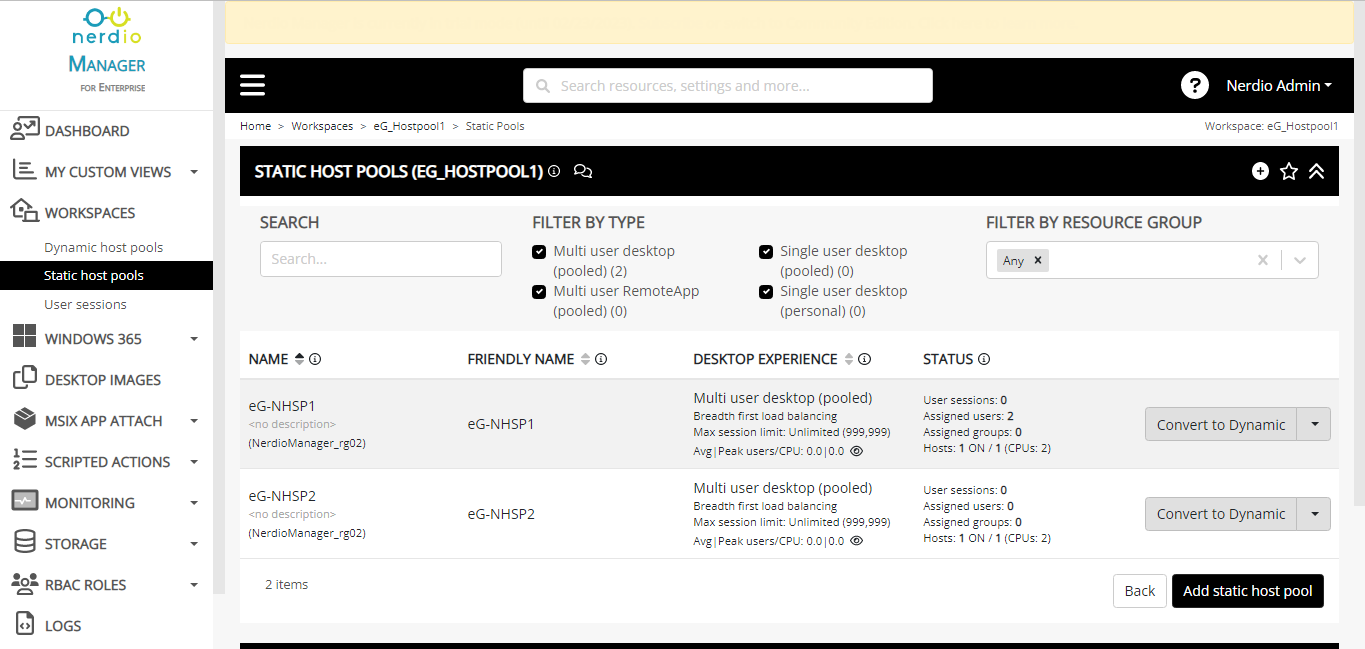
-
To install the eG agent on all AVD session hosts in a host pool, first, click on the down-arrow next to Convert to Dynamic against that host pool. A menu depicted by Figure 11 will then pop up. Hover your mouse pointer over the Hosts menu in Figure 11, and select the Run script option from within,
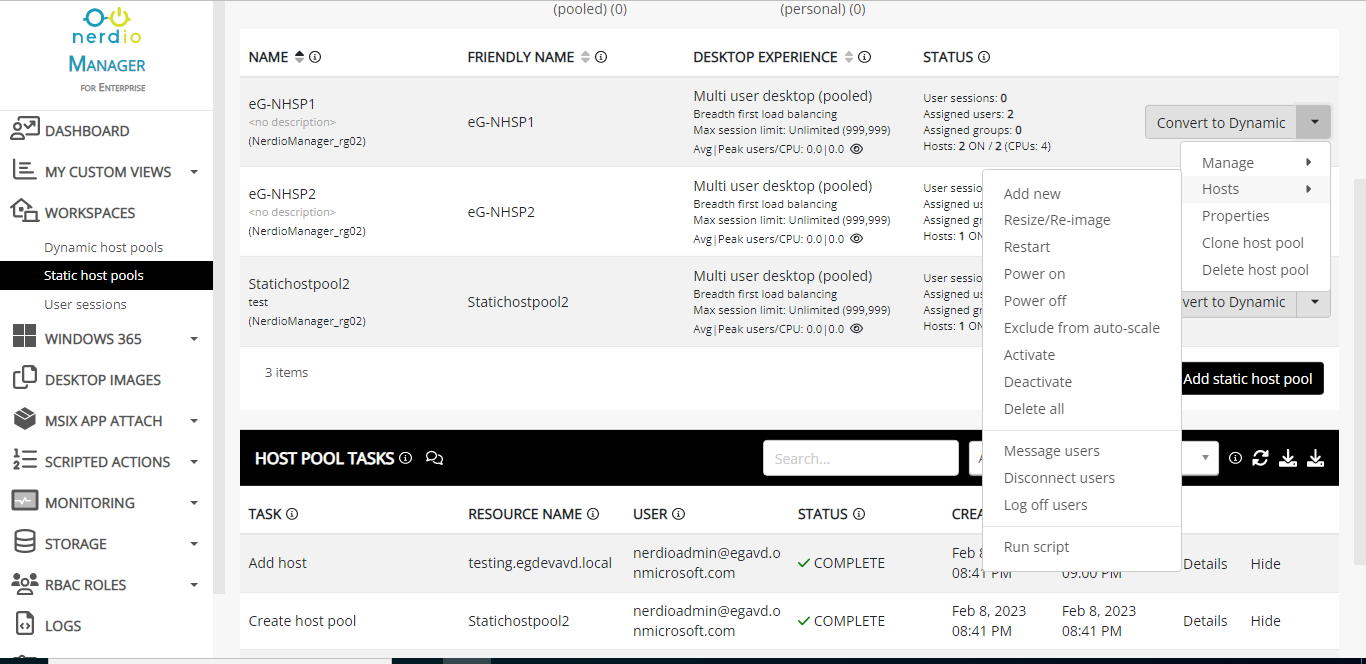
-
Figure 12 will then appear. From the 'Run the following Scripted actions . . .' drop-down, select the agent installation script you created previously.
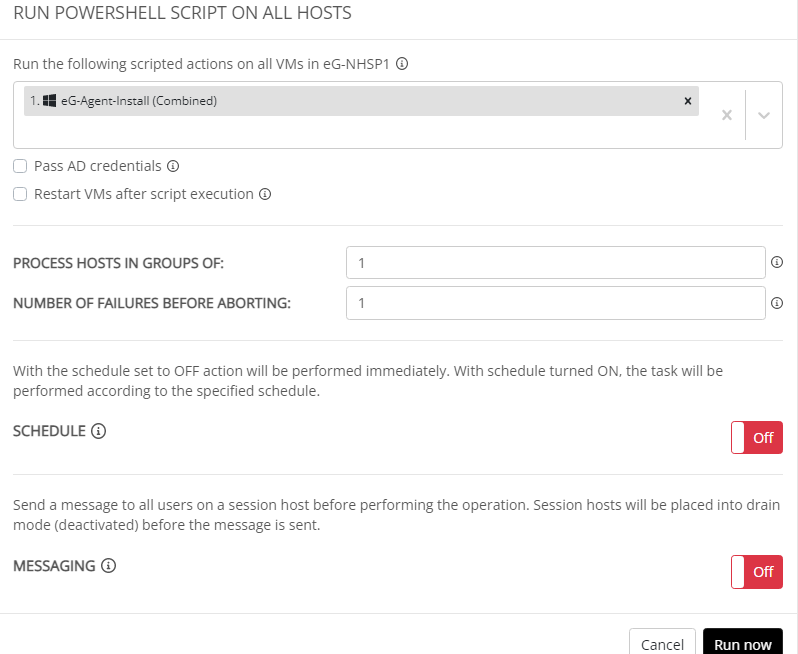
Figure 12 : Running the eG agent installation script on an AVD session host
-
Now, repeat steps 12-14 on every AVD host pool on which you want the agent deployed.