Downloading and Installing eG VM Agent for Monitoring macOS Machines
To download and install the VM agent on a macOS machine, administrators should first make sure that the VM agent packages that correspond to the macOS machines in the target environment are accessible from the eG manager console. For that, the administrators should do the following:
- Login to the system hosting the eG manager as a user with administrative privileges.
- From a browser, connect to the URL: https://www.eginnovations.com/eval<latest_version_number>/VMAgentPackages
- In this location, you will find a set of zip files. Each zip file is a VM agent package that corresponds to different operating systems on which an eG VM agent can be installed.
- Download the agent packages / zip files that correspond to the macOS machines to any folder on the eG manager host. The VM agent package available for macOS is eGVmAgent_macOS.tar.
- Copy the downloaded package to the <EG_INSTALL_DIR>/manager/agents/VM/Latest folder.
If the host to which you have downloaded the package is the target macOS machine for VM agent installation, then login to that host. On the other hand, if you want to install the VM agent on a host different from the one on which the package has been downloaded, then first copy the agent package to any location on the target macOS machine using a file transfer application such as PuTTY pscp (or scp) and FileZilla. Then, login to that macOS machine.
You can now proceed to install the VM agent using the procedure discussed below:
-
Using a browser, connect to the URL of the eG management console and login as a user with administrative privileges.
-
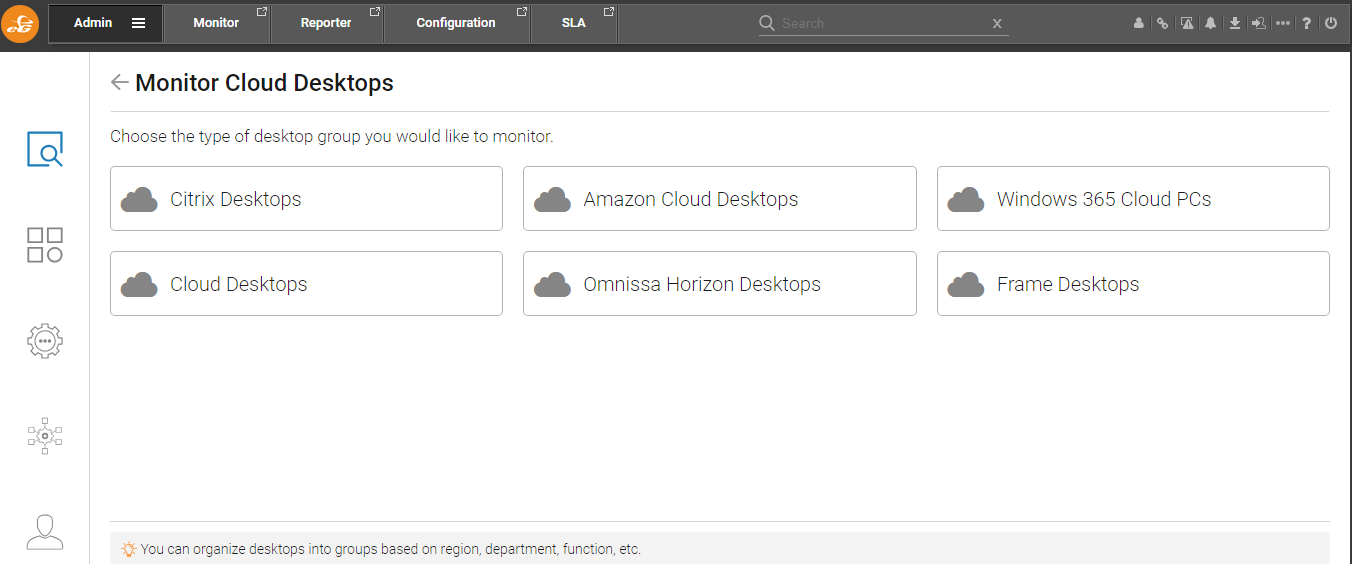
The Components at a Glance page will be displayed upon logging into the eG manager console. Now, click on the Discover/Monitor option in the side navigation menu. This will display the list of categories that can be used to discover/monitor servers/applications using eG Enterprise in the right panel (see Figure 1).

-
In Figure 1, click on the Cloud Desktops tile. This will invoke Figure 2 where you should click on the Citrix Desktops tile.
-
In Figure 2, click on the Citrix Desktops tile. This will invoke Figure 3 where you should configure the details to add a Citrix Desktop Group component for monitoring the macOS machines.
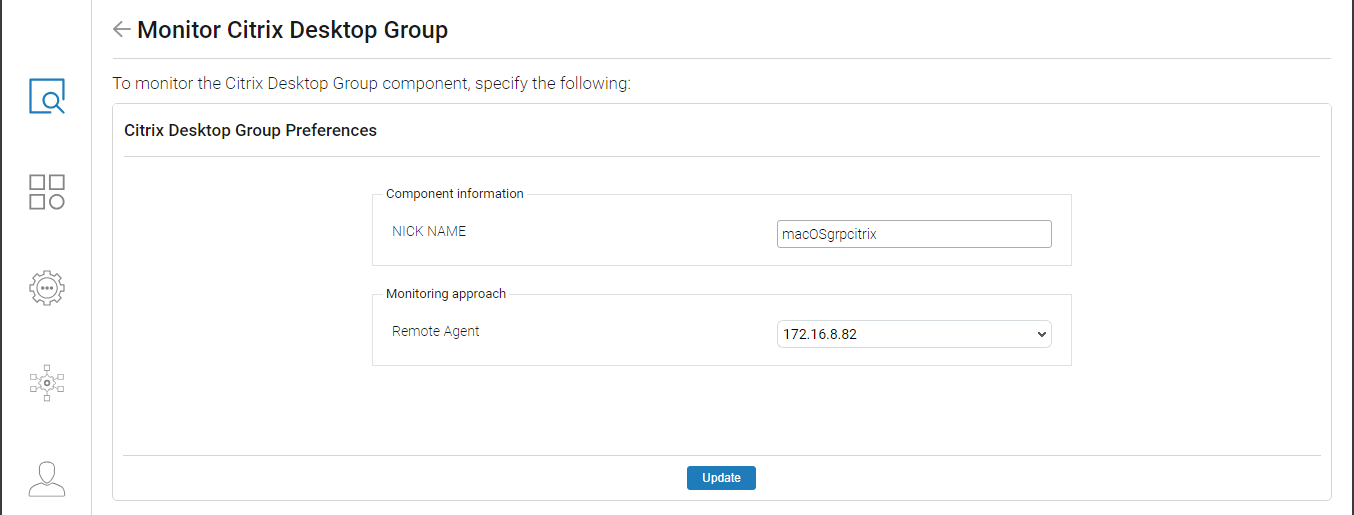
Figure 3 : Managing a Citrix Desktop Group component for monitoring macOS machines
-
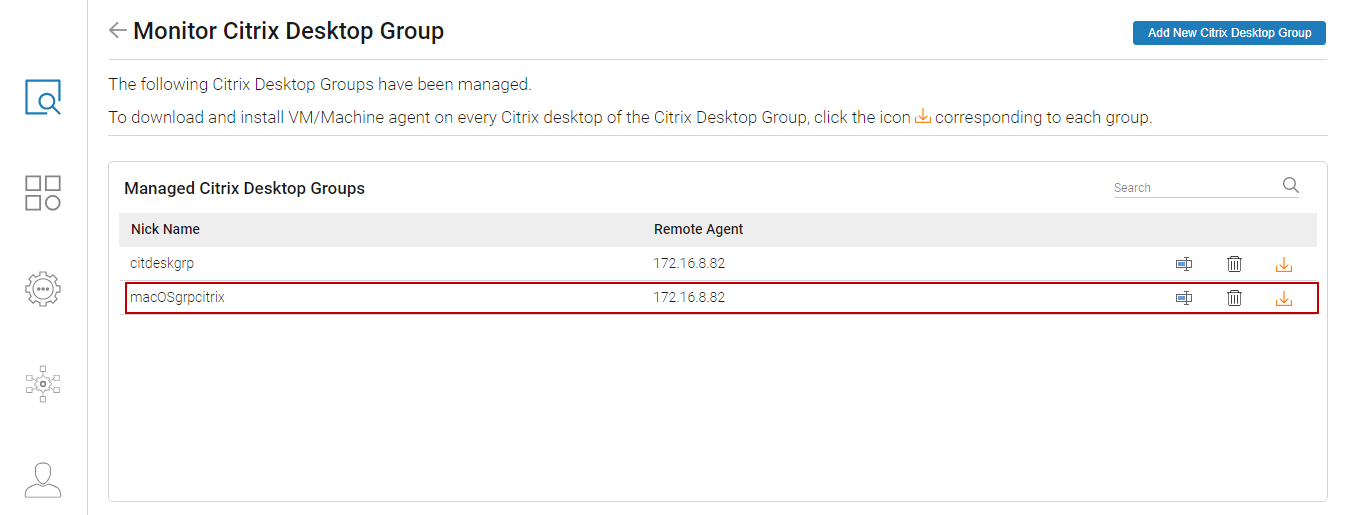
Specify the nick name for the target Citrix Desktop Group component in the nick name field and also select the Remote Agent from the drop-down list as shown in Figure 3. Then, click on the Update button to save the configuration. Next, the managed component will be displayed as shown in Figure 4.
-
To download the VM agent, click on the
 icon in Figure 4. The Download eG Enterprise VM or Machine Agent page where in choose macOS as an Operating System to view a dedicated macOS VM agent package as shown in Figure 5.
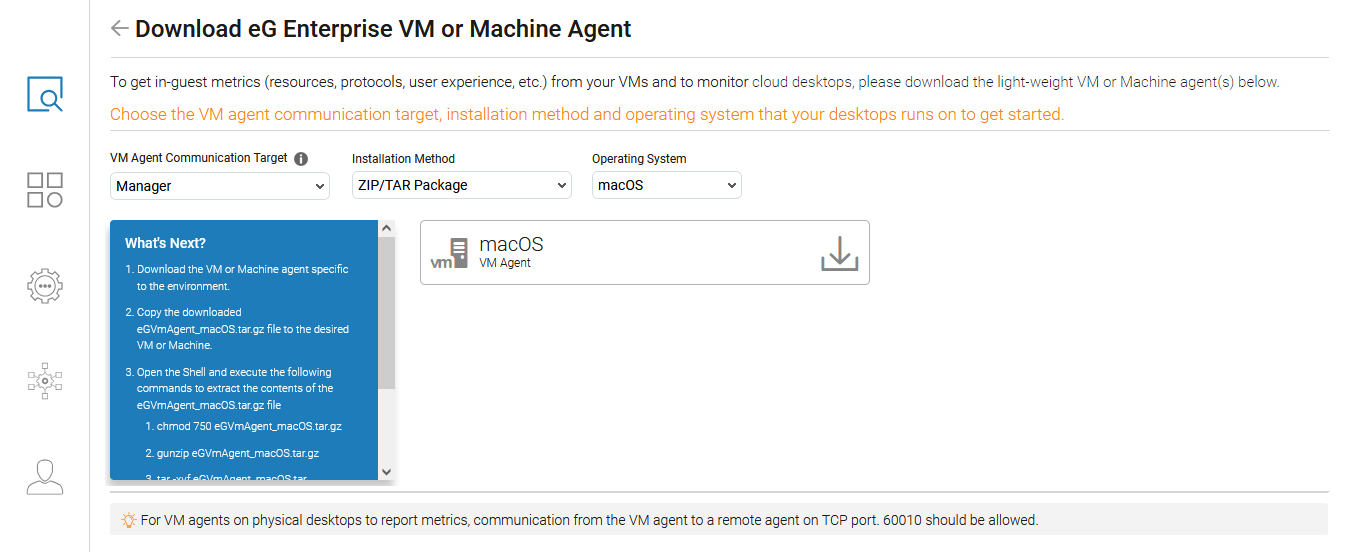
-
From Figure 5, you can download the VM agent executable which you wish to install on the macOS machine by clicking on a package tile. By default, the Manager option is selected from the VM Agent Communication Target list indicating that the VM agent will communicate with the manager to figure out the details of the remote agent to which it should report to. However, choosing the Remote Agent option will ensure that the VM agent directly communicates to the remote agent.
-
Next, select the Installation Method. The VM agent can be installed using any of the following methods:
-
Using ZIP/TAR Package for Agent Installation
-
Using the Command line
Using ZIP/TAR Package for VM Agent Installation
Here, for example, lets say the VM agent package is copied, extracted and installed on the target macOS machine through the PuTTY scp session. To use this option, follow the steps below:
-
First, extract the copied package to install the eG agent on the macOS machine silently by executing the relevant commands. Once the files are extracted, run the setup.sh file as a root user (see Figure 6).
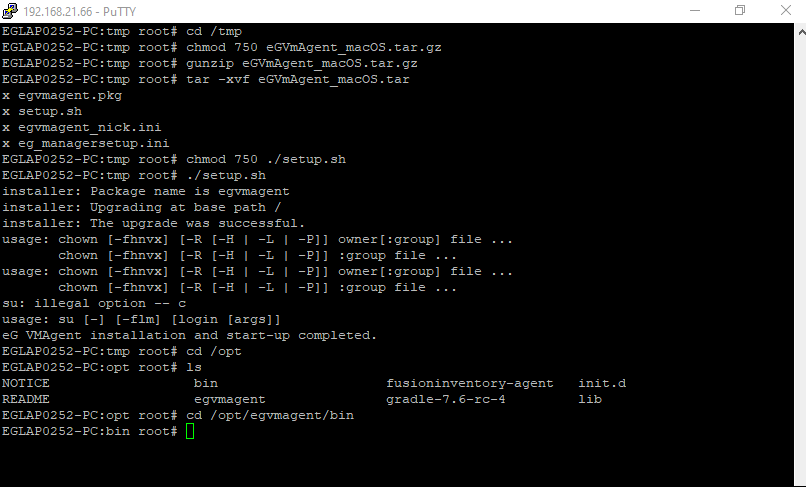
Figure 6 : Extracting and installing the VM agent package on macOS machine
-
This will automatically install the VM agent on the target macOS machine. The eG VM Agent package will be installed at /opt folder, by default. Then, restart the installed VM agent as shown below:
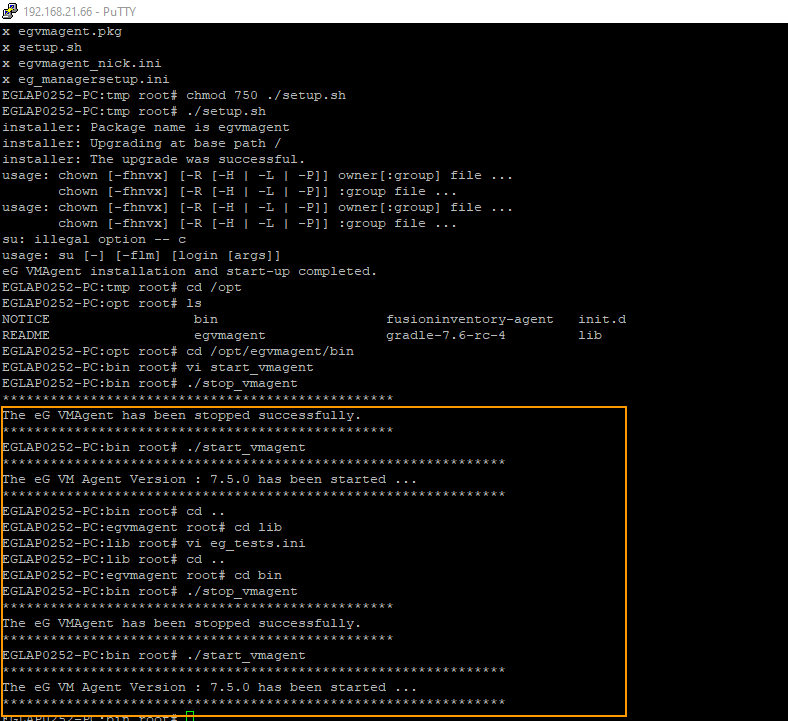
Figure 7 : Starting the VM agent installed on the macOS machine
This agent will automatically report metrics to the remote agent.
-
You can also execute the setup.sh file from the Terminal window on the macOS machine. To achieve this, do the following:
-
In the target machine, run the Terminal window as a root user.
-
Go to the terminal window and navigate to the extracted folder where the setup.sh file is available.
-
Run the following command:
Sudo installer -pkg /Users/eginnovations/work/egvmagent/app/build/distributions/egvmagent.pkg -target /,
where /Users/eginnovations/work/egvmagent/app/build/distributions/egvmagent.pkg is the location of eG VM Agent package. This will install the eG VM Agent package at /opt folder, by default.
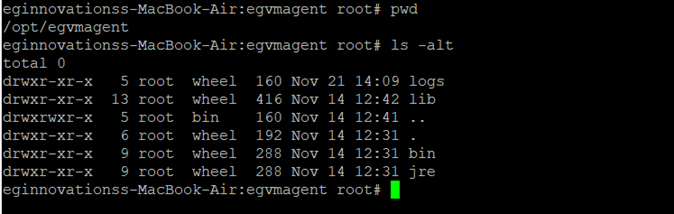
Figure 8 : Installing eG VM Agent package on macOS machine using Terminal window
-
Now, to configure and control eG VM agent, go to the terminal window, and execute the following commands in the /opt/egvmagent/bin folder:
-
./start_vmagent – to start the VM agent
-
./stop_vmagent -to stop the VM agent
-
./setmanagerinfo – to run VM agent in push mode
-
./uninstall_agent – to uninstall the software
-
./start_agent – to directly start the eG VM agent daemon
-
./stop_agent – to directly stop the eG VM agent daemon
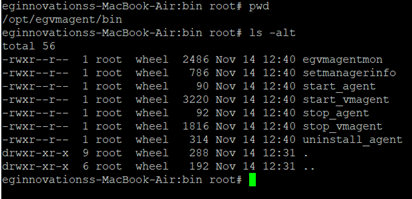
Figure 9 : Configuring eG VM agent on macOS machine using Terminal window
-
-
Using the Command Line to Install the VM Agent
For this, you need to execute the cURL or wget commands that eG Enterprise provides, from the macOS Terminal / wget (as the case may be) of the target macOS machine. The cURL/wget command will automatically install and start the VM agent on that machine. Also, the agent will be automatically configured to report to the remote agent.
To install an eG agent on a macOS machine using the cURL or wget command, do the following:
-
In Figure 5, set Command Line (One-liner) as the Installation Method.
-
Then, pick macOS as the Operating System. The cURL and wget commands that corresponds to your specification will then be displayed, as depicted by Figure 10.
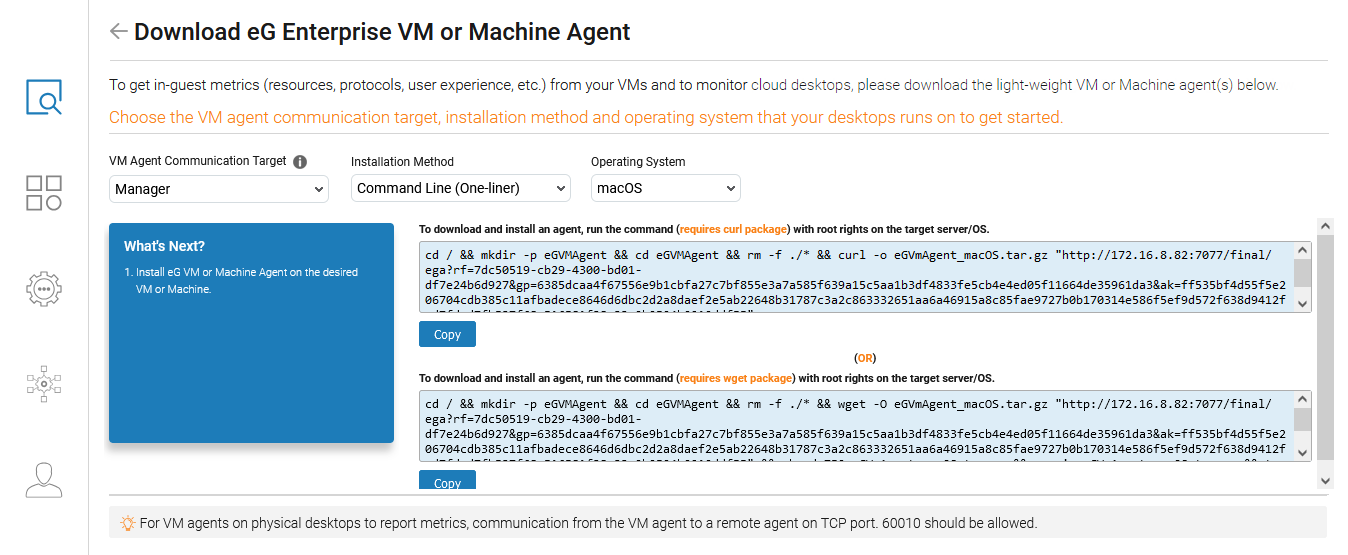
Figure 10 : cURL and wget commands offered by eG Enterprise for installing VM agent on macOS machine
-
Now, click on the Copy button below the commands to copy them to the clipboard.
-
Next, open the Terminal window or wget window on the target macOS machine, paste the script therein, and run it as a root user.
-
The commands, upon execution, will automatically install, start, and configure the VM agent.
-
Repeat the steps above on each machine to install the VM agent on it.
-