Generating Secret Key for TOTP based User Authentication
In order to generate a secret key for TOTP-based dynamic 2FA, you need to first register your logon simulation endpoint on a Citrix NetScaler Gateway or Citrix Workspace or Citrix NetScaler Gateway/Citrix Workspace integrated with Microsoft Azure AD. Let us now discuss elaborately on how to register your logon simulation endpoint and generate the secret key using Citrix NetScaler Gateway, Citrix Workspace and Microsoft Azure AD in the forthcoming sections.
Registering the Logon Simulation Endpoint on Citrix NetScaler Gateway
To register your logon simulation endpoint on on-premises Citrix NetScaler Gateway and generate a secret key, follow the instructions mentioned below:
-
Open any browser and navigate to the URL: https://<Fully Qualified Domain Name of the Citrix NetScaler ADC>/manageotp. For example, your URL can be: https://xendeskv1912.eginnovations.com/manageotp. Figure 1 will then appear.
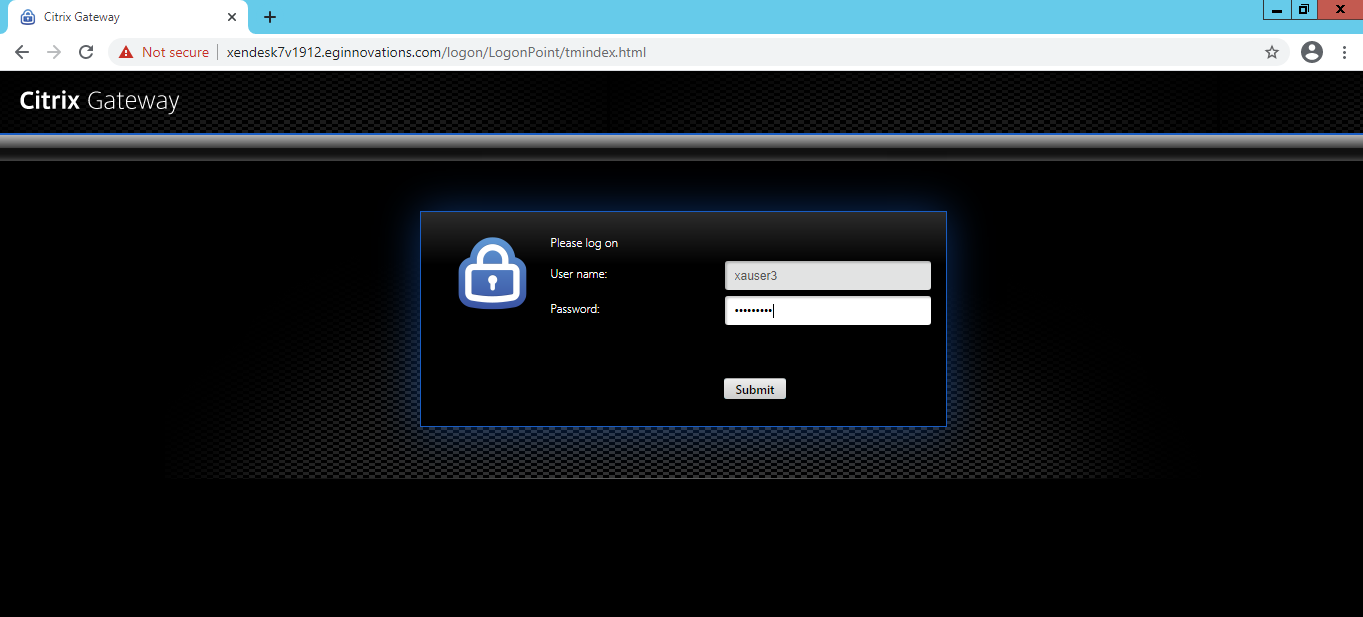
Figure 1 : Logging in through the on-premises Citrix NetScaler Gateway
-
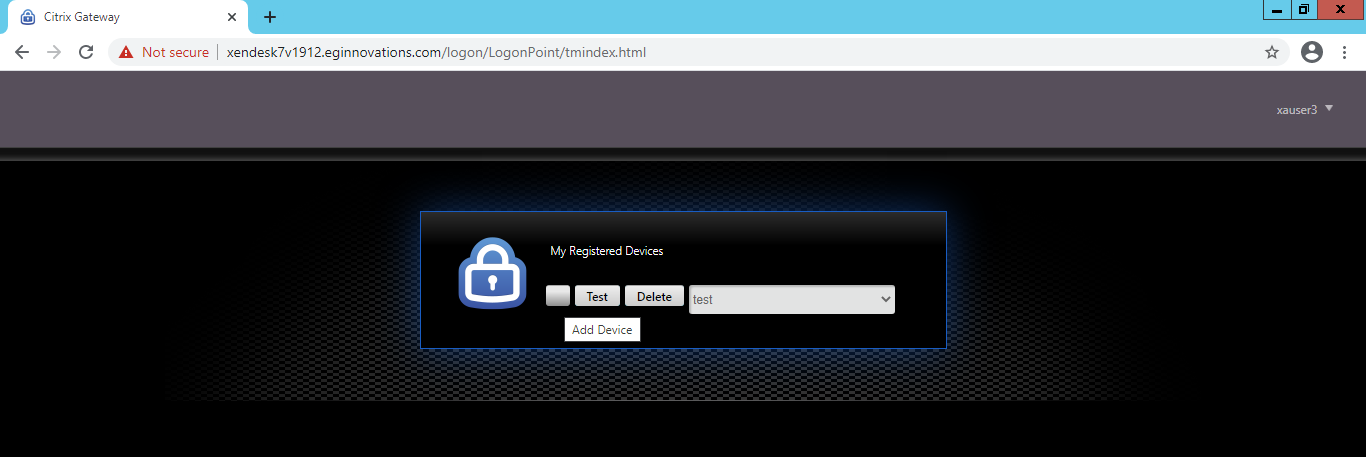
In Figure 1, specify the credentials of the user who is authorized to perform the logon simulation and click the Submit button. Figure 2 then appears.
-
Clicking the Add Device button in Figure 2 will reveal Figure 3. Here, specify the name of the device i.e., the name of the logon simulation endpoint that you wish to register in the text box that appears alongside the Go button.

Figure 3 : Specifying the name of the device that is to be registered
-
Once you have specified the name of the device, click the Go button. A 16 digit secret key along with a QR code will appear as shown in Figure 4. Ensure that you note down this secret key as this should later be specified in the text box that appears when you set the Is 2FA enabled? flag to Yes while configuring the simulation.
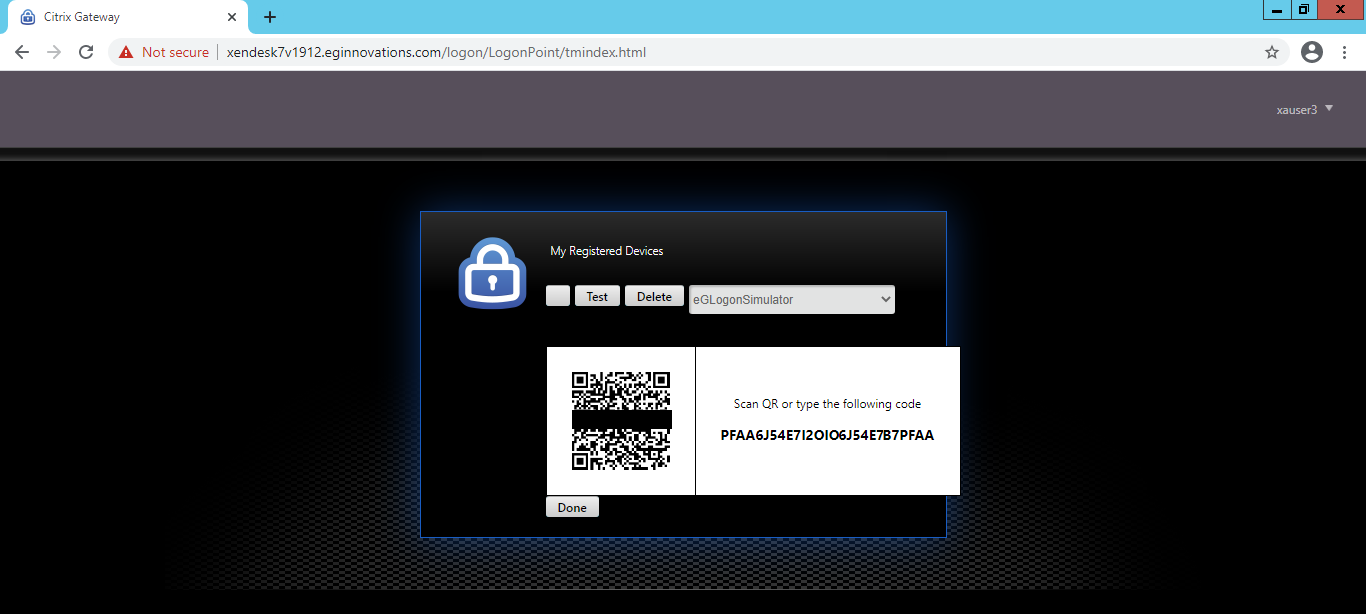
Figure 4 : QR code and Secret Key displayed for the registered endpoint
-
Clicking the Done button in Figure 4 will ensure that your device has been successfully registered with the Citrix NetScaler Gateway.
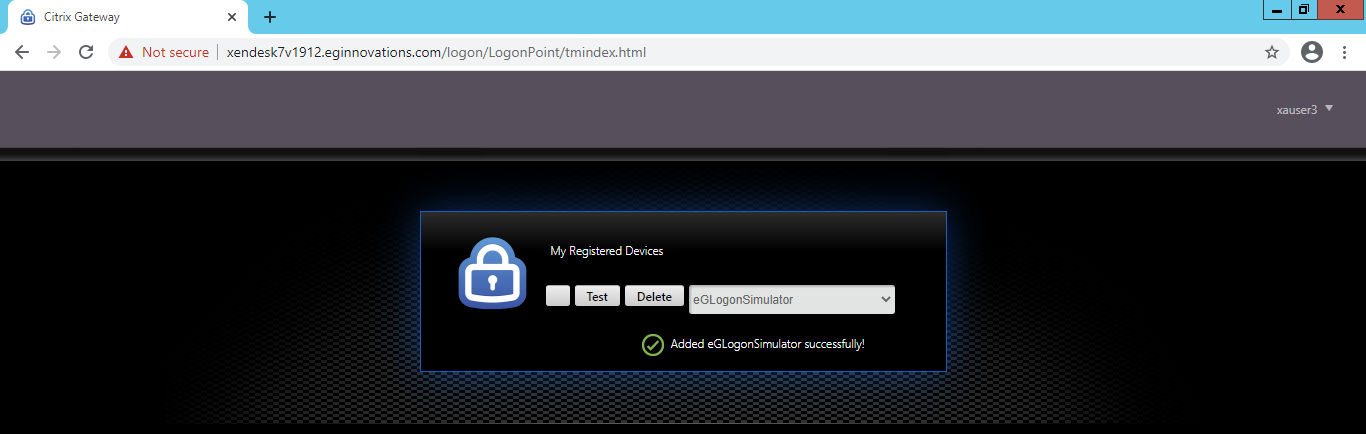
Figure 5 : A message stating that the registration is successful
Registering the Logon Simulation Endpoint on Citrix Workspace
To register your logon simulation endpoint on Citrix Workspace and generate a secret key, follow the instructions mentioned below:
-
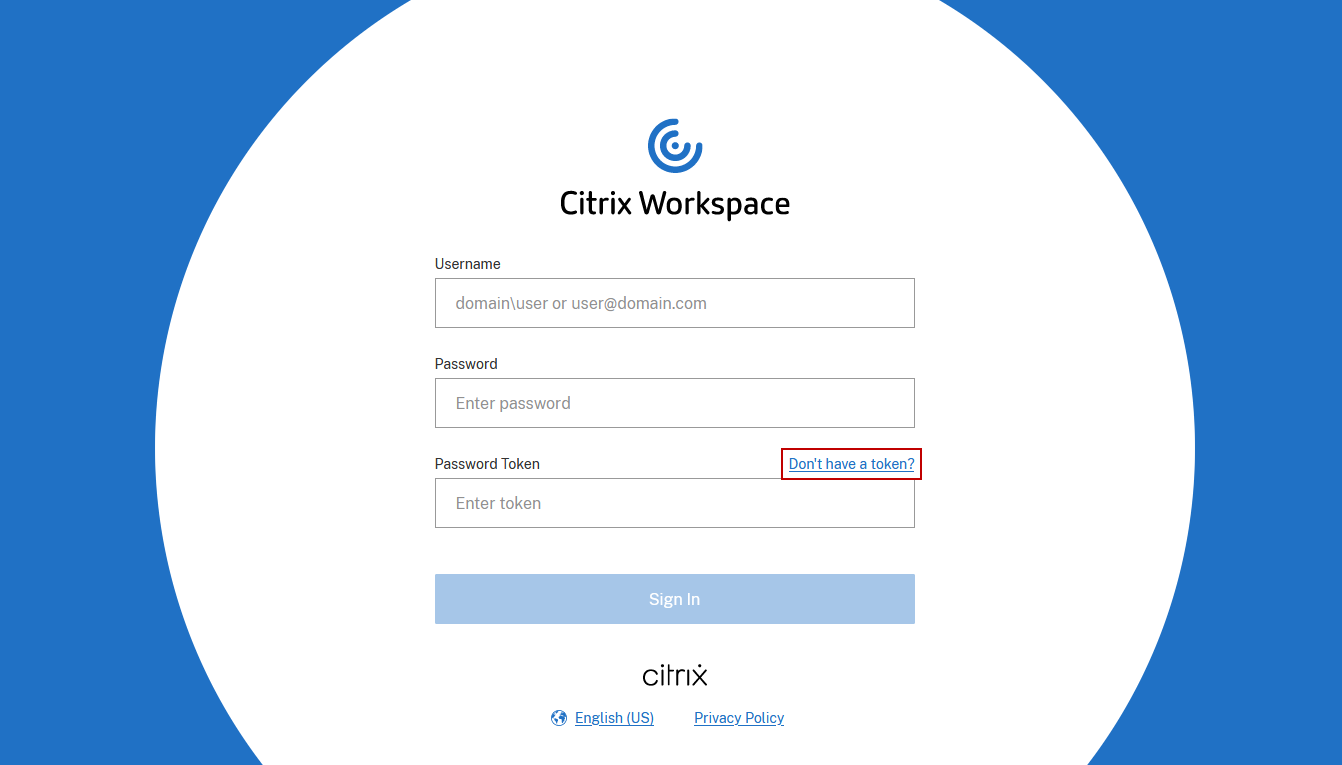
Open any browser and hit the site URL of the Citrix Workspace in your environment. Figure 6 then appears. To register the logon simulation endpoint on Citrix Workspace, the user who is authorized to perform logon simulation should posses a valid token. To generate this token, click on the Don't have a token? link in Figure 6.
-
In Figure 7 that appears, specify the name of the user who is authorized to perform logon simulation in the Username text box. As soon as the Next button is clicked, a verification code will be sent to the email ID of the specified user.

Figure 7 : Specifying the name of the user who is authorized to perform logon simulation
-
In Figure 8 that appears, specify the Verification Code received by email and the password corresponding to the user who is authorized to perform the simulation.
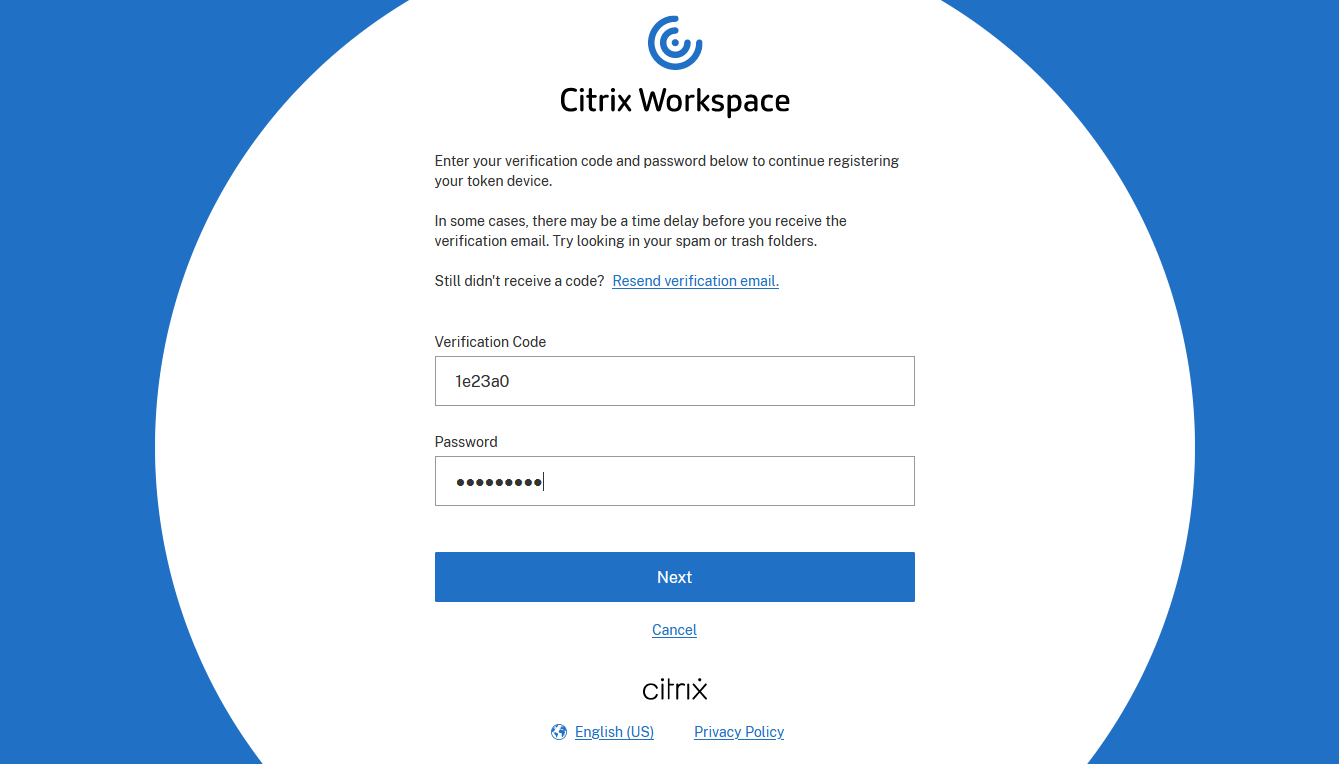
-
Clicking the Next button will lead you to Figure 9 which reveals the QR code and the secret key for the registered logon simulation endpoint. Ensure that you note down this secret key as this should later be specified in the text box that appears when you set the Is 2FA enabled? flag to Yes while configuring the simulation.
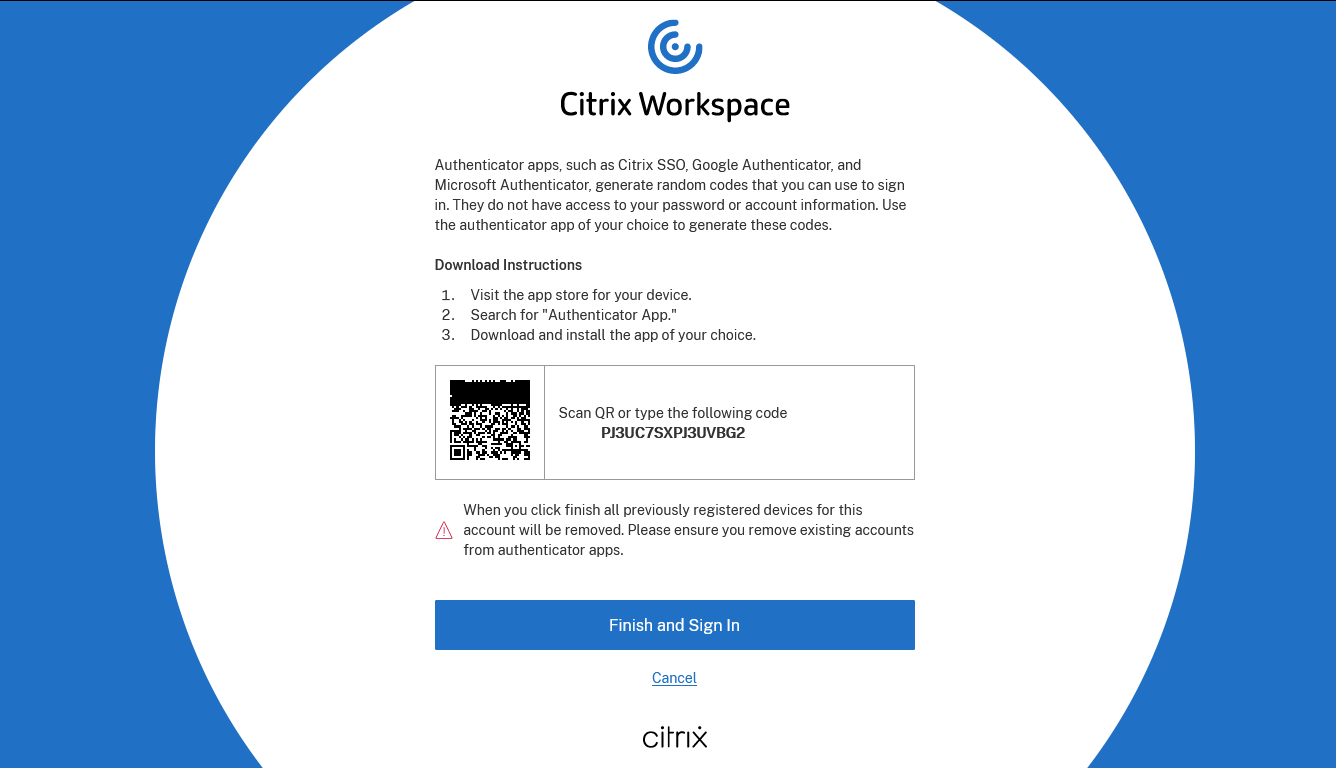
Figure 9 : QR code and secret key displayed for the registered endpoint
-
Clicking the Finish and Sign In button will ensure that your logon simulation endpoint is registered and is ready for monitoring.
Registering the Logon Simulation Endpoint as an Application to generate OATH Soft token in Microsoft Azure AD
Prior to registering the logon simulation endpoint, you need to download and install an Authenticator App ( for e.g., Microsoft Authenticator, Google Authenticator, Citrix SSO) on your mobile from Android Play Store or Apple Store based on the operating system of your mobile.
If the user who is authorized to perform logon simulation belongs to Microsoft Azure Active Directory, then, you may need to follow the steps mentioned below to register the logon simulation endpoint and generate a secret key/code.
-
Log in to the URL: https://<Fully Qualified Domain Name of Microsoft Office 365 site in your environment>/securityinfo with the credentials of the user who is authorized to perform logon simulation. Figure 10 then appears.
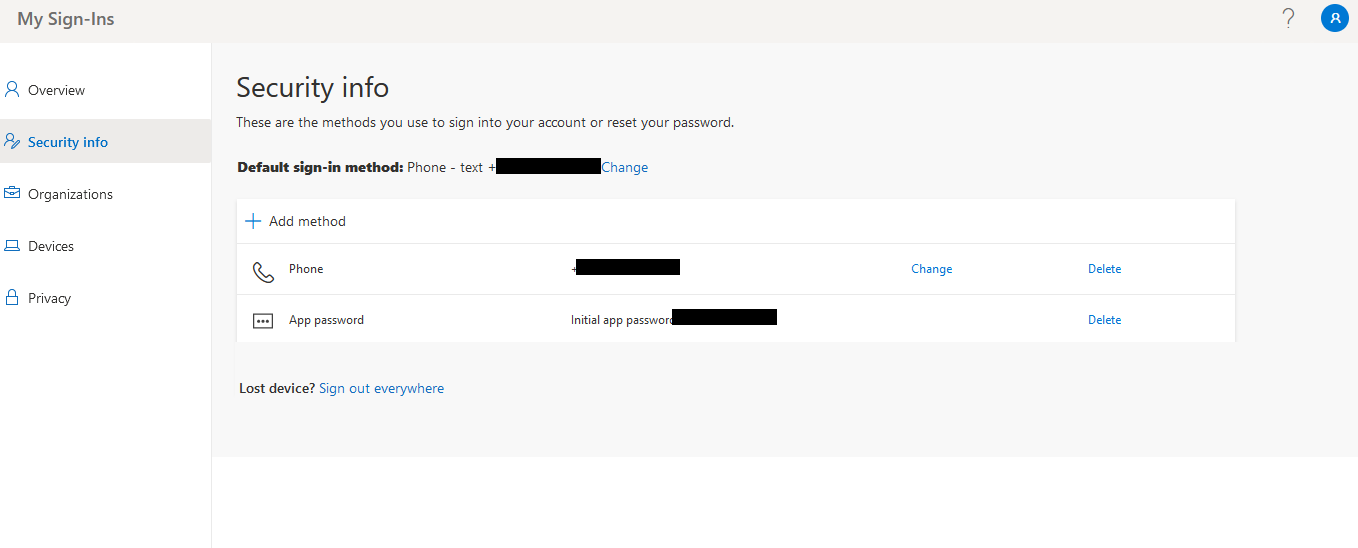
-
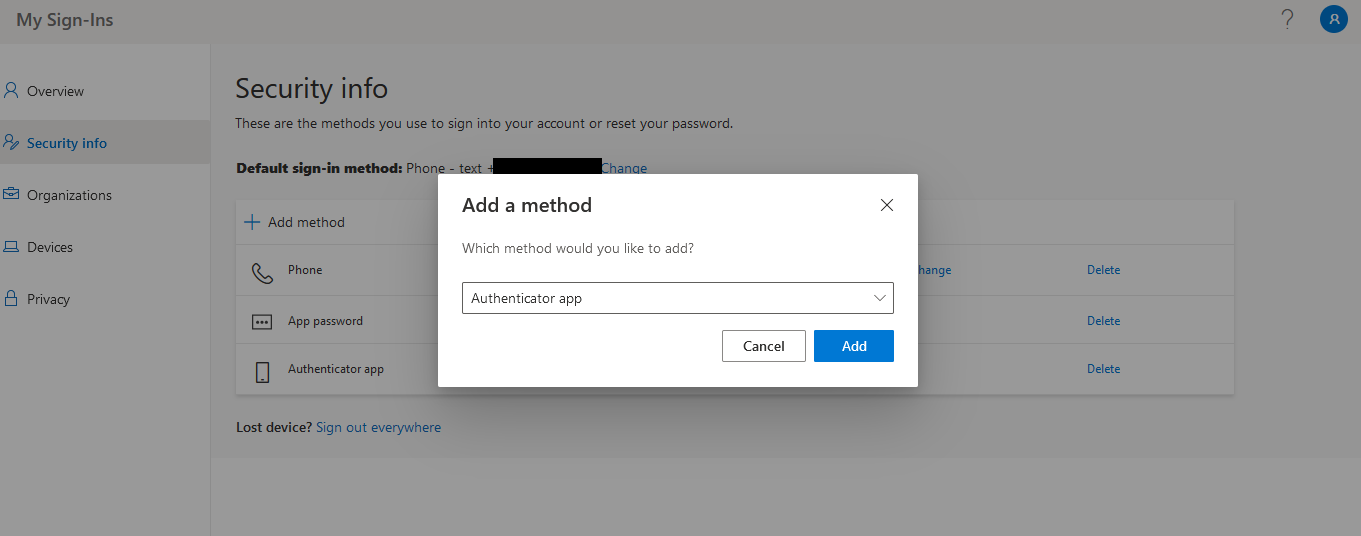
In Figure 10, click the Add method. This will invoke the Add a method pop up window as shown in Figure 11.
-
In Figure 11, choose Authenticator App from the Which method would you like to add? drop-down list and click the Add button. Figure 12 then appears.
-
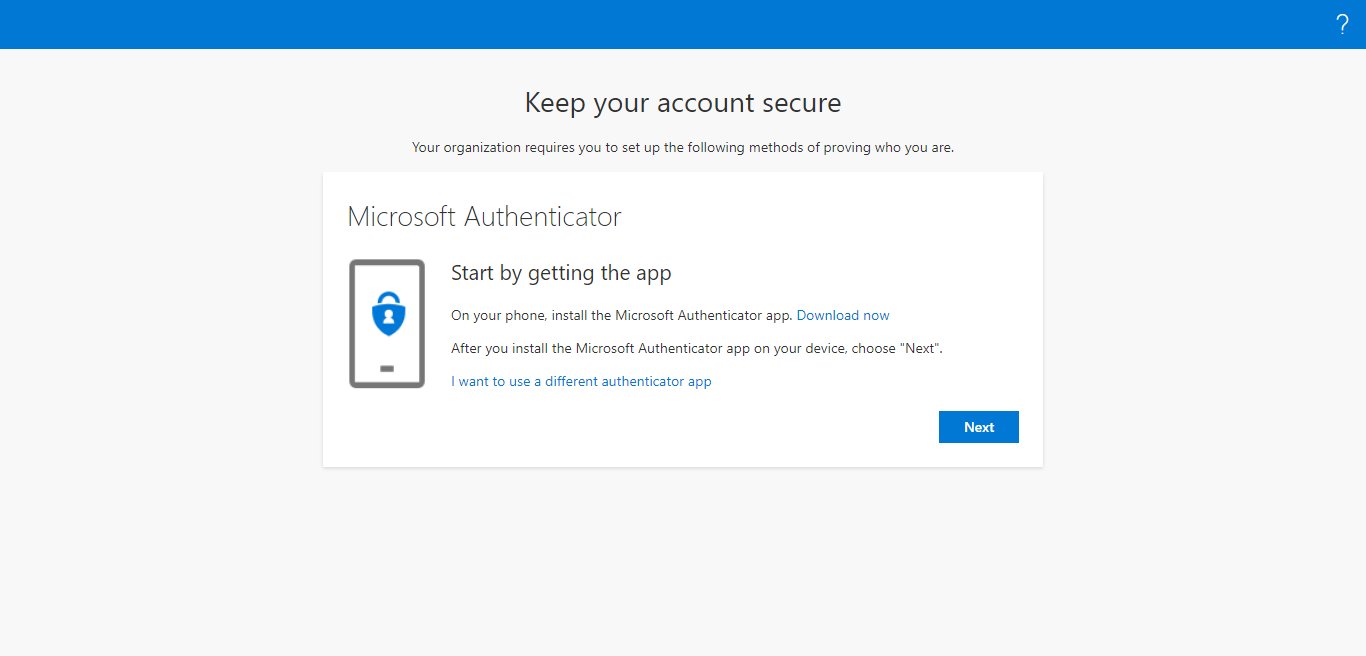
In Figure 12, click the I want to use a different authenticator app link and click the Next button. This will start setting up the account for the authenticator app.
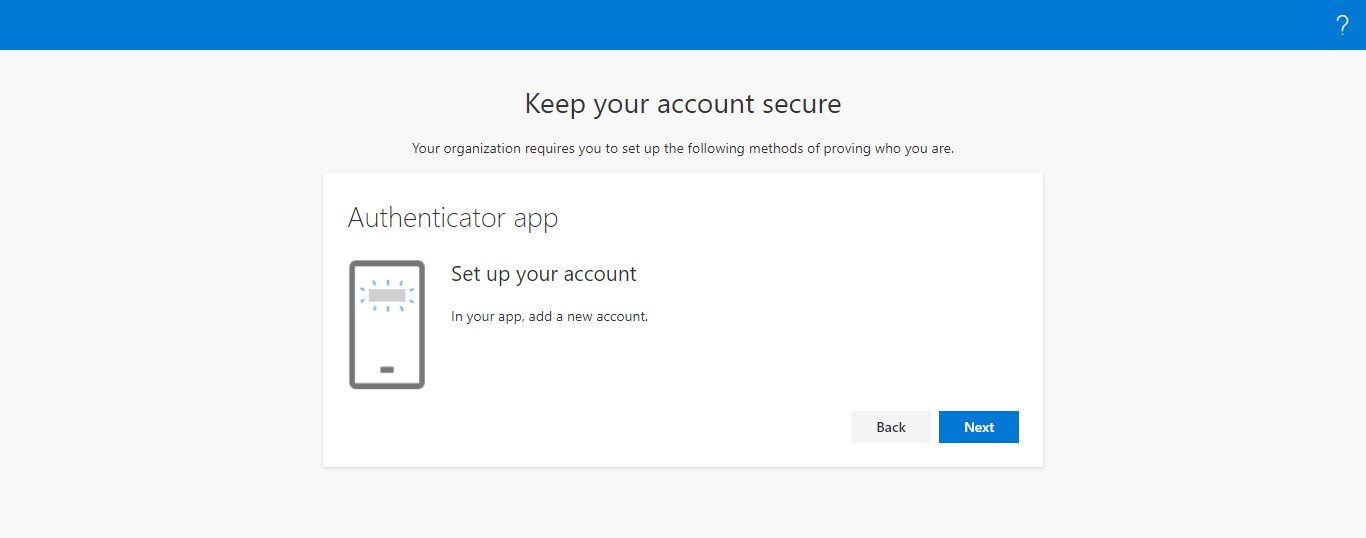
Figure 13 : Setting up your account for a different authenticator app
-
Clicking the Next button in Figure 13 will reveal the QR code and secret key as shown in Figure 14. Ensure that you note down this secret key as this should later be specified in the text box that appears when you set the Is 2FA enabled? flag to Yes while configuring the simulation.
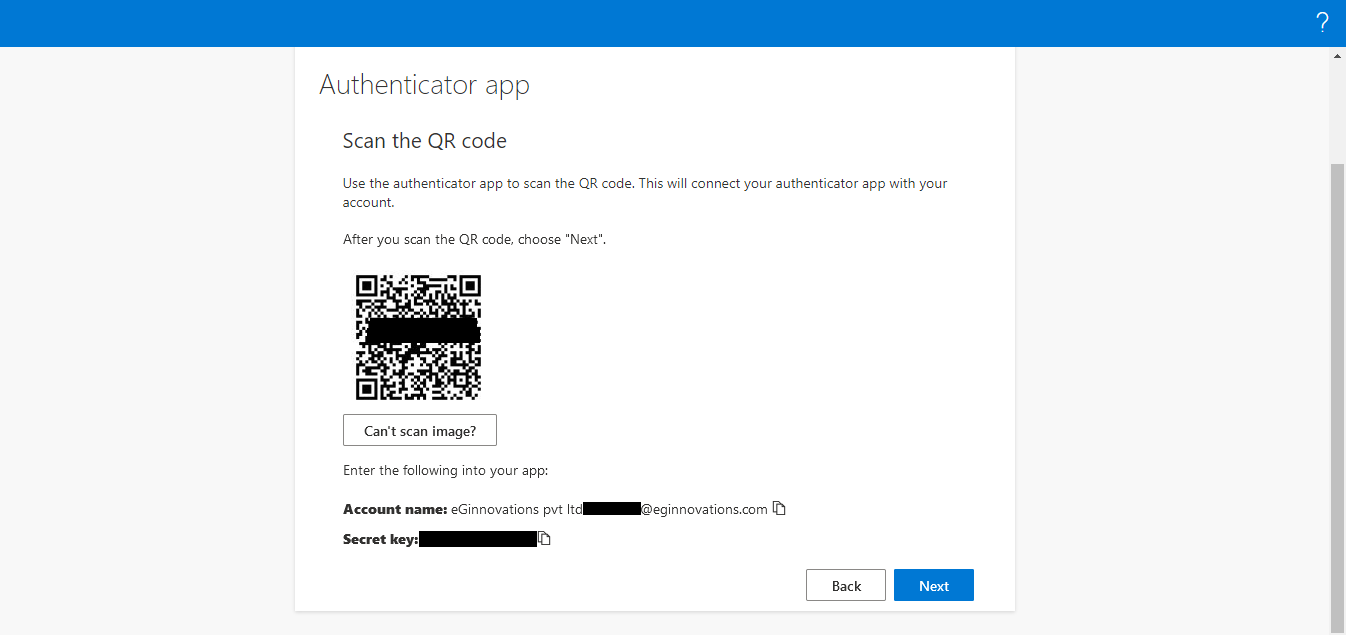
Figure 14 : QR code and secret key displayed for the registered endpoint
-
Clicking the Next button will lead you to Figure 15 where you will be required to enter the passcode generated on your Authenticator App. This is an additional layer of security that is required for registering the logon simulation endpoint. In our example, to generate the passcode, the QR code/Secret Key shown in Figure 14 is scanned using/entered in the Microsoft Authenticator App.
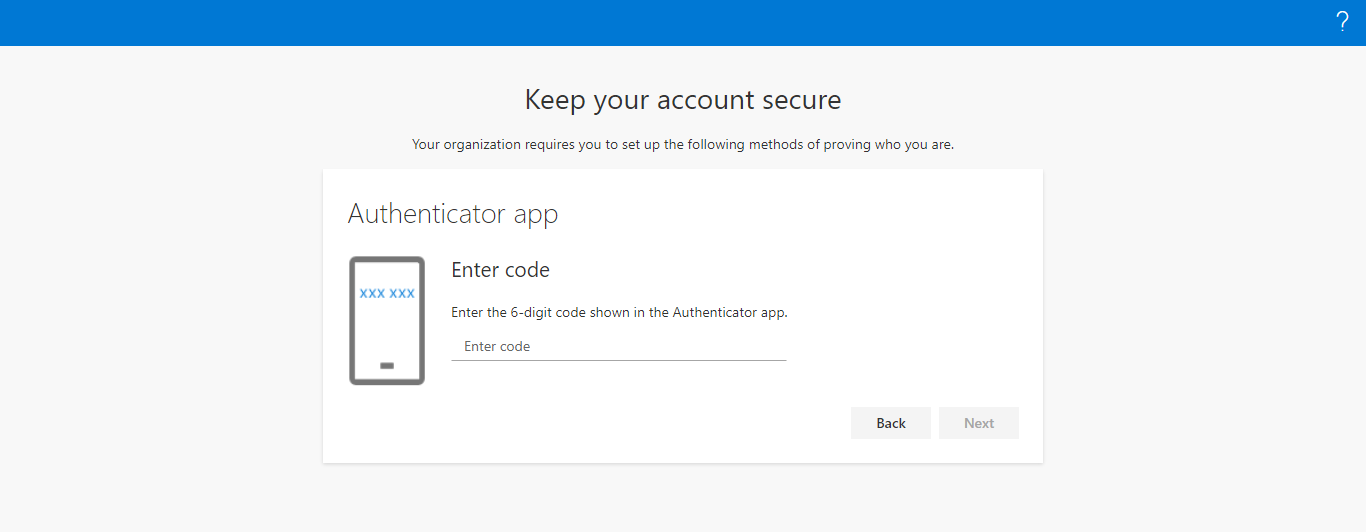
Figure 15 : Authenticating the user credentials with a passcode from the Authenticator App
-
Once the code is specified in Figure 15, clicking the Next button will ensure that your logon simulation endpoint is successfully registered as shown in Figure 16.

Figure 16 : A message stating that the logon simulation endpoint registration is successful
- Once the logon simulation endpoint registration is successful, you are required to set the Authenticator App as the default sign in method in your Microsoft Office 365 account. For this, you need to navigate to the Security Info page and click the Change link against the Default sign-in method: label (see Figure 17).
-
The Change default method pop up window will then be invoked. Here, select the Authenticator app or hardware token - code option from the Which method would you like to use to sign in? list.
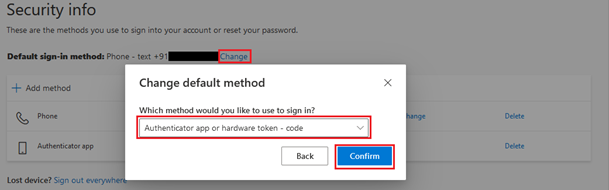
- Clicking the Confirm button will ensure that your logon simulation endpoint is registered and is ready for monitoring.