How to Monitor Citrix Provisioning Server Using eG Enterprise?
eG Enterprise monitors the Citrix Provisioning Server using an agent-based approach. For this purpose, an eG agent should be deployed on the Citrix Provisioning Server that is to be monitored. This agent runs variety of tests on the target server to collect the wealth of information about the critical services offered by the target server. Each test executes a command supported by the Management Command Line Interface (MCLI) of the server to collect the required metrics. To enable the tests to use MCLI, the eG agent should fulfill the certain pre-requisites that are detailed in the section below.
Pre-requisites for monitoring the Citrix Provisioning Server
To enable the tests to use the MCLI, the eG agent should fulfill the following pre-requisites:
-
The eG agent should be deployed on the Citrix Provisioning server;
Note:
The Citrix Provisioning server cannot be monitored in an agentless manner.
-
The eG agent should run using the permissions of a user who fulfills the following requirements:
- Should belong to the Security group with 'Farm Administrator' access.
- Should be assigned the Allow log on locally security privilege on the Citrix PVS host.
The steps for assigning such a user are as follows:
-
To add the security group to Citrix PVS and grant 'Farm Administrator' rights to it. The steps in this regard are as follows:
-
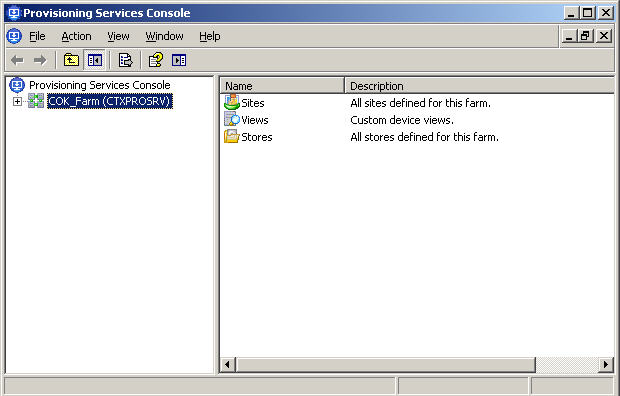
Login to the Citrix PVS host and open the Citrix Provisioning Services console. Figure 1 will then appear.
-
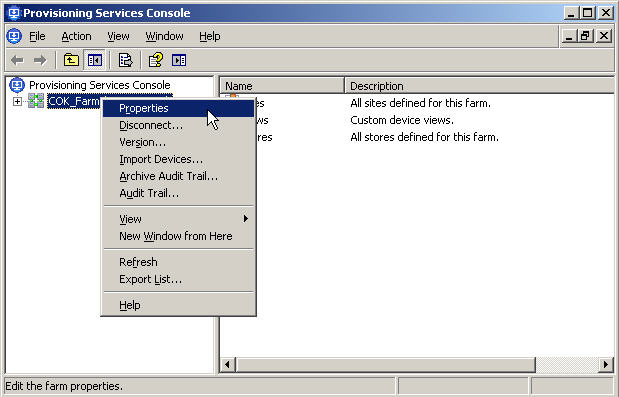
Right-click on the node representing the PVS farm in the tree structure in the left panel of the console, and pick the Properties option from the shortcut menu that pops up (see Figure 2).
-
Once the Farm Properties dialog box appears, click the Groups tab page within to view the security groups in PVS. By default, only the Administrators group will be available therein, and it will be selected by default indicating that only users in the Administrators group are allowed full access to the PVS farm. To add a new group, click the Add button in Figure 3.
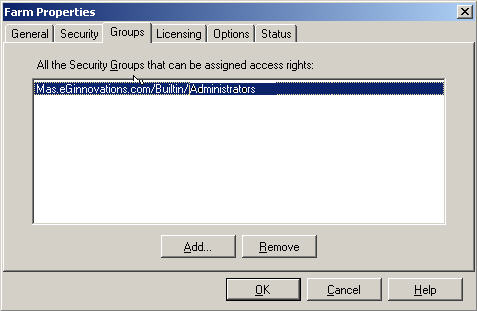
Figure 3 : Viewing the Security Group that is allowed access to the PVS farm by default
-
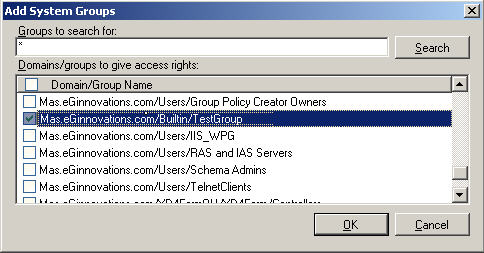
Figure 4 then appears. To search for the security group to be added to PVS, click the Search button in Figure 5. Doing so will display all available domains/groups. From this list, select the security group that contains the user using whose credentials the eG agent needs to run. For selection, click on the check box that pre-fixes the security group, and click the ok button in Figure 4.
-
This will lead you to Figure 5, where the newly added group will be displayed. Select the new addition to grant access rights to it.
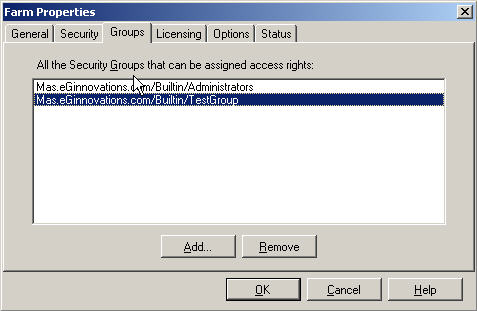
Figure 5 : Selecting the new group to set it as the Security Group that is allowed access to the PVS farm
-
Then, click the Security tab page. Here again, the newly added group will be displayed. To grant 'Farm Administrator' access to it, select the new security group and click the ok button.
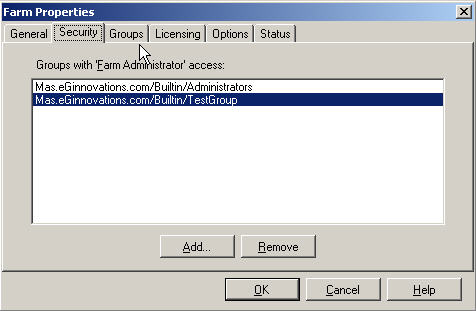
Figure 6 : Granting 'Farm Administrator' access to the newly added Security group
-
Next, the user who is the part of the security group should also be assigned the Allow log on locally security privilege on the Citrix Provisioning host. To assign this privilege, do the following;
- Go to the Control Panel in the host.
- From the list of control panel items, click the Administrative Tools to view the set of tools available for system administrators and advanced users.
- Upon selecting the Local Security Policy tool in the Administrative Tools location, the Local Security Policy settings console will appear.
- Next, navigate to the User Rights Assignment node in the Local Policies tree in the left panel of the settings console. This will display the security policies corresponding to the user rights in the right panel.
- Now, select the Allow log on locally policy to assign the security privilege to the user.
- Once this is done, you can proceed to configure every test that the eG agent executes on Citrix PVS with the domain name, domain user, and domain password of the domain user who is part of the Security Group and assigned with the Allow log on locally security privilege.
Once the above-said requirements are set in place, manage the Citrix Provisioning sServer component for monitoring using eG administrative interface. The steps for achieving this have been explained in the following section.
Managing the Citrix Provisioning Server
To administer the eG Manager to monitor the Citrix Provisioning Server, do the following:
- Log into the eG administrative interface.
-
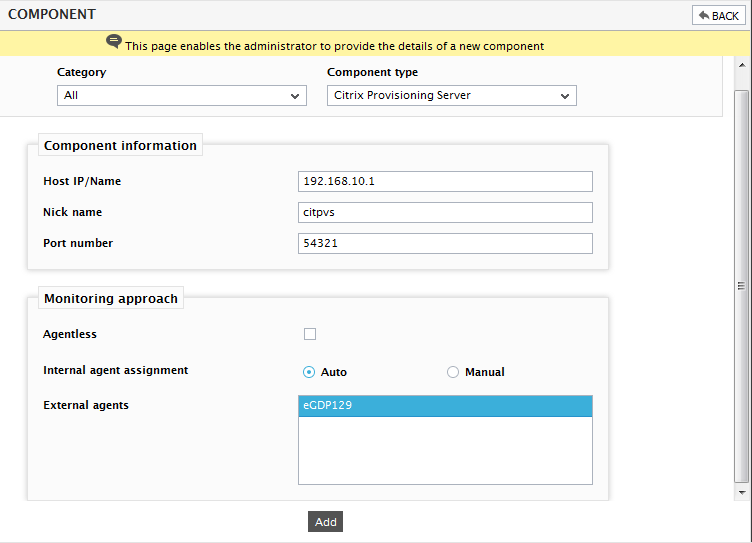
eG Enterprise cannot automatically discover the Citrix Provisioning Server. You need to manually add the server using the COMPONENTS page (see Figure 7) that appears when the Infrastructure -> Components -> Add/Modify menu sequence is followed. Remember that components manually added are managed automatically.
-
When you attempt to sign out, a list of unconfigured tests appears as shown in Figure 8.

Figure 8 : List of unconfigured tests to be configured for the Citrix NetScaler VPX
- Click on the PVS Availability test in Figure 8 to configure it. To know how to configure the test,Monitoring Citrix provisioning Server .
- Once all the tests are configured, signout of the eG administrative interface.