Creating a New Component-type Using the Integration Console
To achieve this, follow the steps below:
- Select the Component option from the Integration Console tile of Figure 1.
-
Figure 1 will then appear.
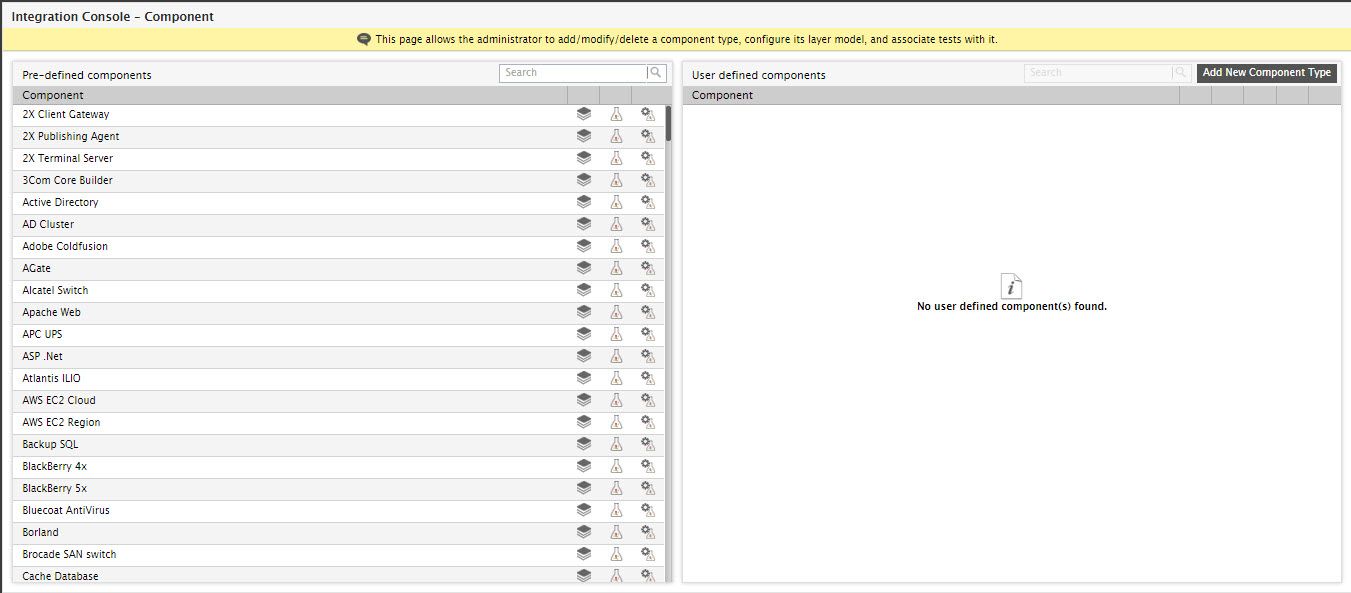
Figure 1 : Viewing the user-defined and pre-defined component types
- Figure 1 displays two panels: one is the Pre-defined components panel, which lists all component-types that are supported out-of-the-box by eG Enterprise, and the other is the User-defined components panel, which lists all custom defined component-types (if any), added using the Integration Console.
-
To add a new component type, click the Add New Component Type button in Figure 2. Figure 2 will then appear.
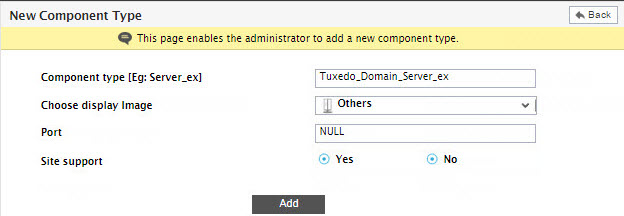
Figure 2 : Adding a new component type using Integration Console
-
Provide the details of the new component-type in Figure 2. This includes:
- Component type: The name of the new component-type, suffixed by _ex. In the case of our example, this will be Tuxedo_Domain_Server_ex.
- Choose display image: Select the image that you want to use to represent the new component-type in the eG user interface.
- Port: If the component-type is port-based, then specify the port number at which the component listens by default. In the case of our example, leave the port as NULL.
- Site support: Indicate whether/not the component-type supports web sites. If so, set this flag to Yes. If not, set this flag to No. In the case of our example, set this flag as No.
- Duplicate: This flag will appear only if one/more user-defined components pre-exist. You can set this flag to Yes if you want the new component-type to inherit the properties of an existing user-defined component-type. In this case, you will be additionally required to pick the Component Type to be duplicated (see Figure 3).
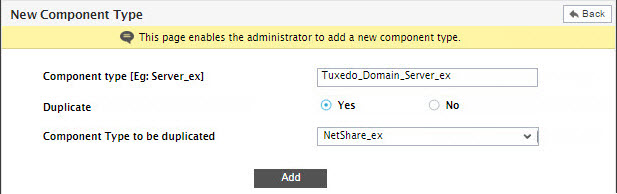
Figure 3 : Duplicating a component type
Once a component type to be duplicated is chosen, the Display image, Port, and Site support settings of that component-type will automatically apply to the component-type being added.
On the other hand, if the new component-type is not a duplicate of an existing user-defined component-type, set this flag to No. In this case, you will have to explicitly define a display image, port, and site support settings for the new component-type.
- Finally, click the Add button in Figure 3 to add the new component-type.
-
The newly added component-type will then appear as a User-defined component (see Figure 4).
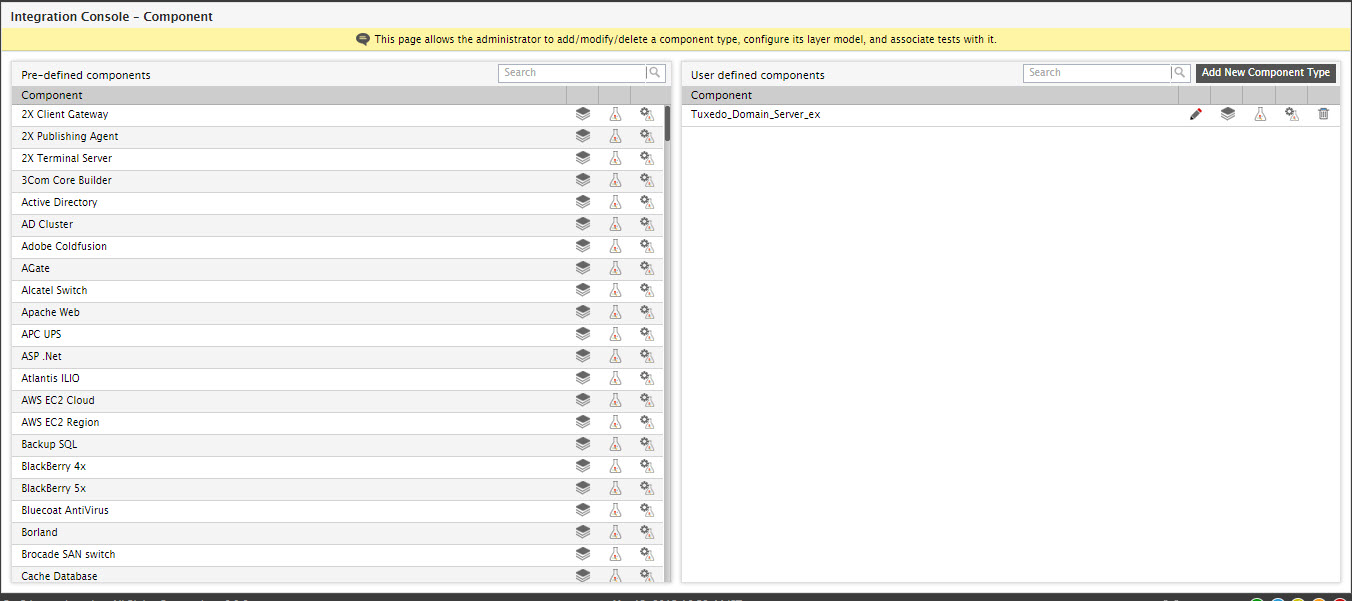
Figure 4 : The User-defined components panel displaying the newly added component-type
-
You can modify the details of the new component-type, if you so need, by clicking the
 button corresponding to it in Figure 4. Figure 5 will then appear. In the Modify mode, you canchoose a different display image for the component. However, you cannot change the name of the Component type; nor can you change the Port and Site support settings. After making the required changes, click the Update button in Figure 5 to save the changes.
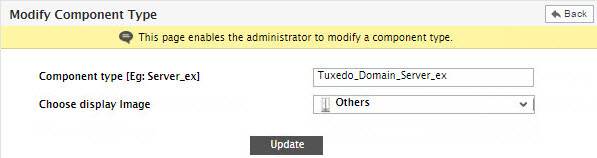
Figure 5 : Modifying the details of a user-defined component-type
- You can even delete a user-defined component-type by clicking the
 button corresponding to that component-type in the User defined components list of Figure 4.
Note:
Pre-defined components can neither be modified nor deleted.