Adding/Modifying Components
Before attempting to add a new component, the tenant must make sure that there is at least one eG agent that is installed and running in the tenant environment.
To begin adding a component, do the following:
- Click the
 icon in the left panel of the Overview page.
 -
Click the Add/Modify Component option that appears in the right panel (see Figure 1).
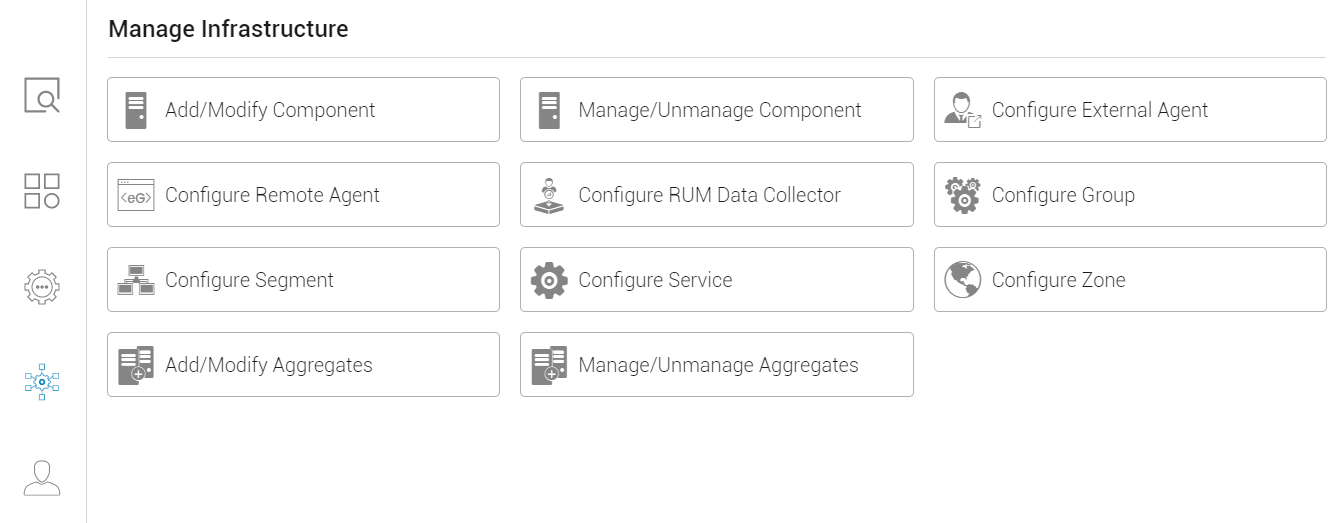
Figure 1 : Clicking the Adding/Modifying Component option
Note:
You can also use the Infrastructure -> Component -> Add/Modify menu sequence to begin adding a new component. Alternatively, you can click the
 icon in the left panel to access the Components At-A-Glance section. In that section, you can click on any managed component type displayed to add a component of that type, or click on Add Component to add a component of any type you later choose.
 -
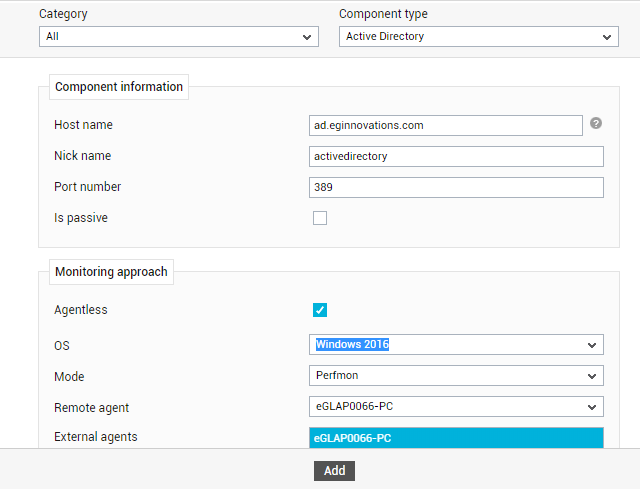
Figure 2 will then appear. Select the type of component you want to add from the Component type drop-down.
-
When specifying the details of a new component, pay attention to the following:
- Host name: In a SaaS deployment of eG Enterprise, target components should be managed using their host name and not their IP address. Even components that are configured to be auto-managed are managed using their host name only. This is because, IP addresses may not be unique across tenant environments, but host names can be. So, specify a DNS-resolvable fully qualified domain name of the target component here.
- Nick name: Assign a unique nick name of the component being added. In the case of components that are auto-managed, the host name is automatically assigned as the nick name.
- Port number: Specify the port at which the target component listens. This parameter will appear only for port-based components.
- Is passive: This parameter is applicable only if the target component is part of a cluster. Turn on this flag if the component being added is a passive component of a cluster. No alerts will be generated if the server is not running. Measures will be reported as “Not applicable" by the agent if the server is not up.
- Agentless: Enable this flag if the component being added is to be monitored in an agentless manner.
- OS: This parameter is applicable only if the Agentless flag is turned on. Select the OS on which the target component is operating.
- Mode: This parameter is applicable only if the Agentless flag is turned on. From the Mode drop-down, select the agentless mechanism using which the target component is to be monitored.
- Remote Agent: This parameter is applicable only if the Agentless flag is turned on. Select the Remote Agent that will monitor this component in an agentless manner.
- External Agent: Assign an external agent to the component being added.
- Finally, click the Add button.
-
The component so added will then be listed, as depicted by Figure 3.

Figure 3 : Component that was newly added being listed in the COMPONENTS page
You can also modify the configuration of an auto-managed or a manually managed component. For instance, when auto-managing a component, eG Enterprise auto-discovers the host name of the component and assigns that host name as its nick name as well. Later, the tenant may want to modify the nick name of that component. For that, the tenant should follow the steps below:
- Click the icon in the left panel of the Overview page.
-
Click the Add/Modify Component option that appears in the right panel (see Figure 1).
- Figure 3 will then appear. Select the type of component you want to modify from the Component type drop-down.
- All auto-managed and manually added components of the chosen type will then appear. To modify the details of a component, click the
 icon corresponding to that component in Figure 3.
 -
Figure 4 will then appear.
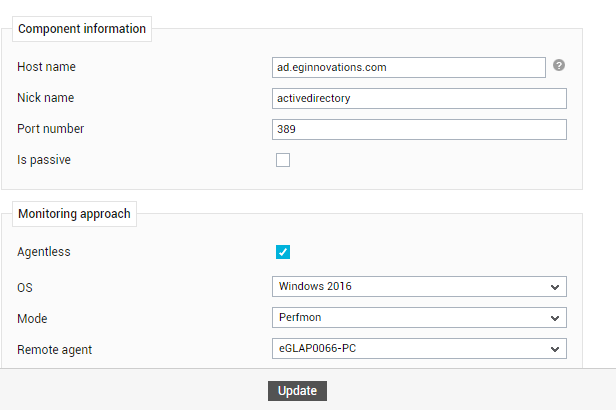
- All details displayed in Figure 4, except the Host name, can be changed.
- Click the Update button to save the changes.