Registering with a SaaS Installation of eG Enterprise
To be able to setup their monitoring environment, tenants should first log into the eG web console. For that, a tenant should first register themselves with the eG manager. To self-register, the following steps need to be followed by a tenant:
-
Open a browser and connect to the eG manager using the URL: http://<eG_Manager_IP/Hostname>:<eG_Manager_Port>. If the eG manager is SSL-enabled, then use the following URL: https://<eG_Manager_IP/Hostname>:<eG_Manager_Port>
-
Figure 2 will then appear. To register, click the REGISTER tab page.
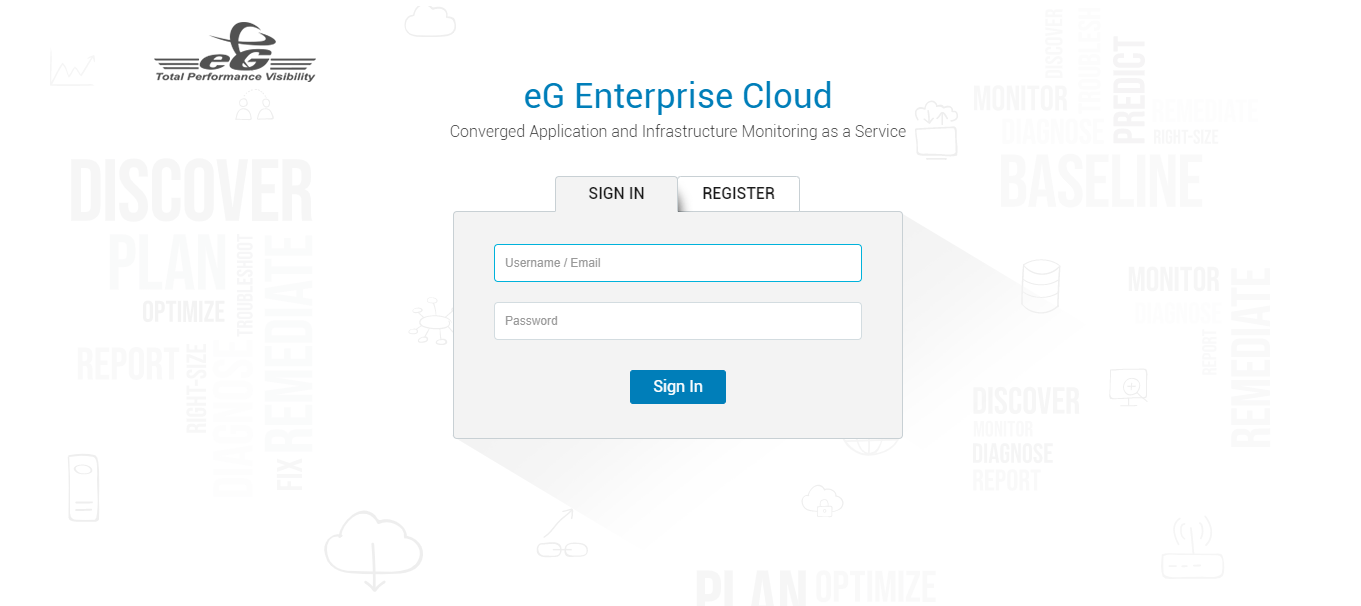
Figure 2 : Login page for a SaaS installation of the eG manager
-
Figure 3 will then appear.

Figure 3 : A tenant self-registering with eG Enterprise for SaaS
-
Registration requires the tenant to specify the following in Figure 3:
- First name
- Last name
- Corporate Email ID: Provide a valid, 'active' email ID here. You can use this email ID to login to the eG management console, post registration. Also, eG Enterprise sends verification codes to a tenant and email alerts of issues to this email ID only.
- Password
- Name of organization
- Phone number
- Time zone
-
Once done, click the Register button to save the specifications. eG Enterprise will then send an OTP / verification code to the email ID mentioned during registration. Type the code/OTP in Figure 4 that appears and click the Verify button.
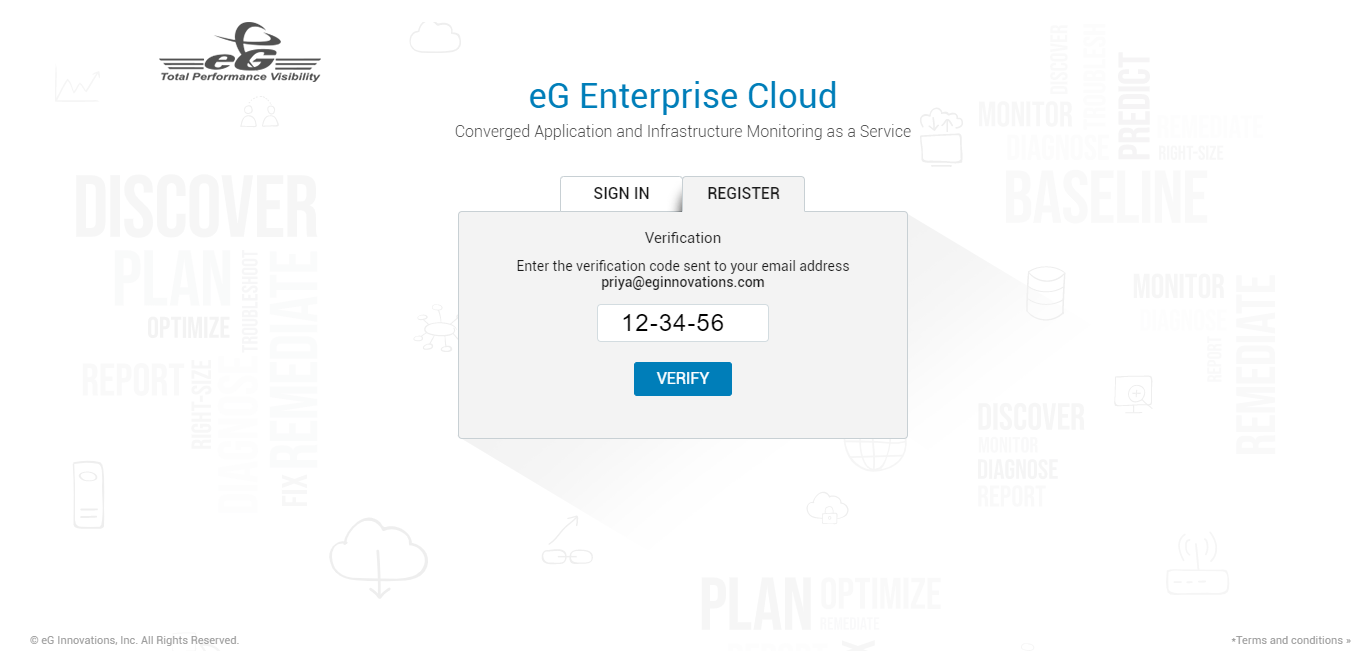
- If the correct OTP/code is specified, registration successfully completes.
-
You can now log into the eG management console using either the First Name and Password, or the Corporate email ID and Password you specified in Figure 3.
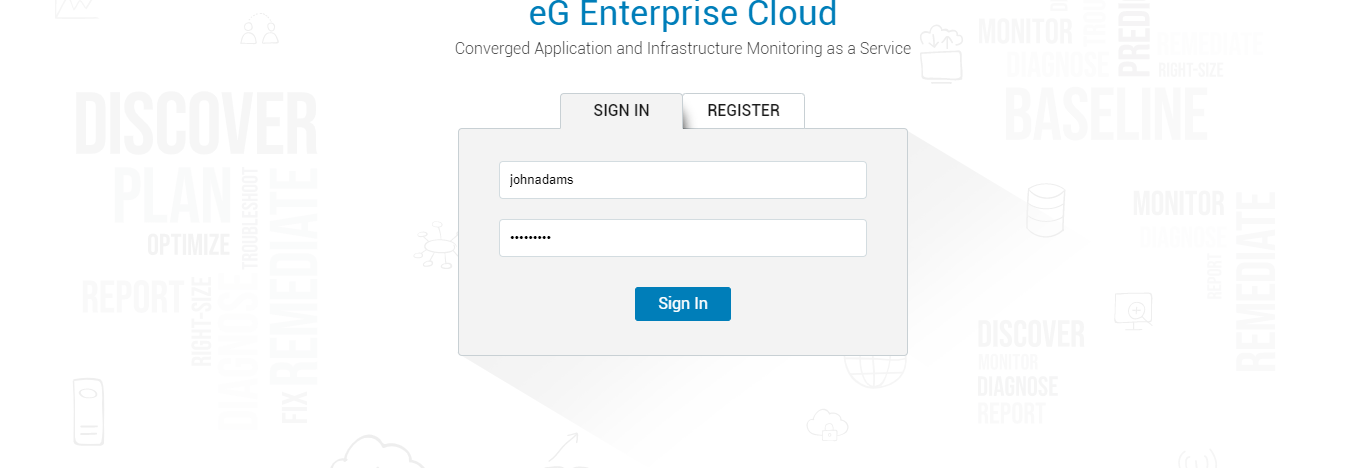
Figure 5 : Logging into the eG Enterprise system using the first name and password