Installing the eG CLI on Windows Environments
As already mentioned, the eG CLI is provided as a set-up program called eGCLI.exe, which can either be installed on the host on which the automation tool (say, HPOO) operates or on any remote Windows client chosen for this purpose.
Follow the steps below to install the eG CLI:
- Login to the system hosting the orchestration engine.
- Run the eGCLI.exe provided to you.
-
Figure 1 then appears.
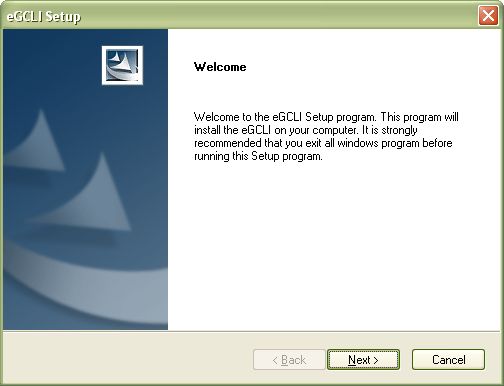
- Click the Next button in Figure 1 to proceed with the setup.
-
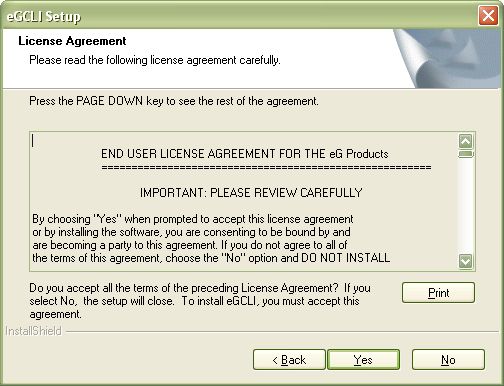
Study the terms of the license agreement provided in Figure 2, and click the Yes button therein to accept the terms.
-
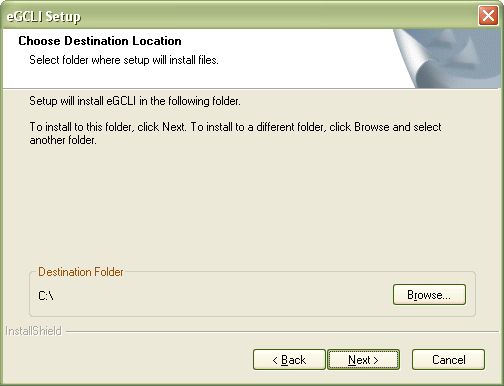
By default, an eGCLI folder will be created in the C drive of the target host, and the eGCLI.bat file will be copied to this folder. You can change the location of the eGCLI folder by clicking on the Browse button in Figure 3 and specifying a different destination directory for the folder.
-
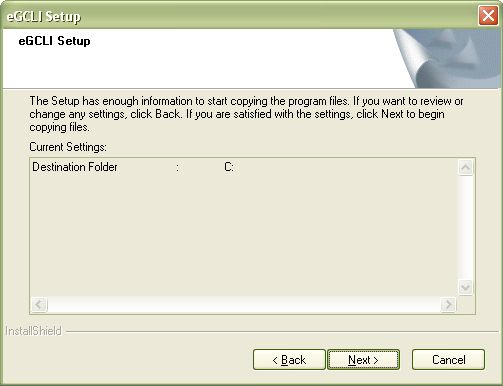
Figure 4 that then appears provides you with a quick summary of your eGCLI specifications. Review the summary and click the Next button to proceed.
-
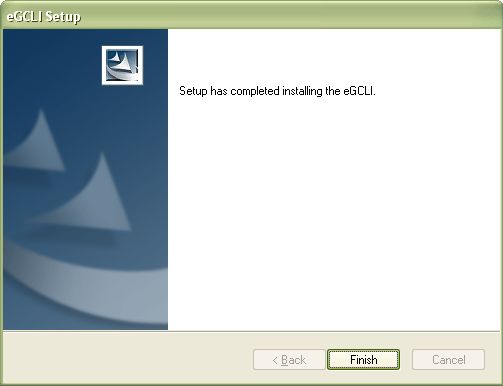
When Figure 5 appears, click the Finish button to complete the setup.
Once the installation ends, an eGCLI folder will be created in the install directory indicated during setup to which all the CLI-related files will be copied. No service is created for the eGCLI on the Windows box.