Administering the eG Manager to monitor the Intersystems Cache Database
- Login to the administrative interface as an administrator (admin).
-
Manually add the Cache Database server using the COMPONENTS page (Infrastructure -> Components -> Add/Modify). The eG Enterprise system automatically manages the manually added components.
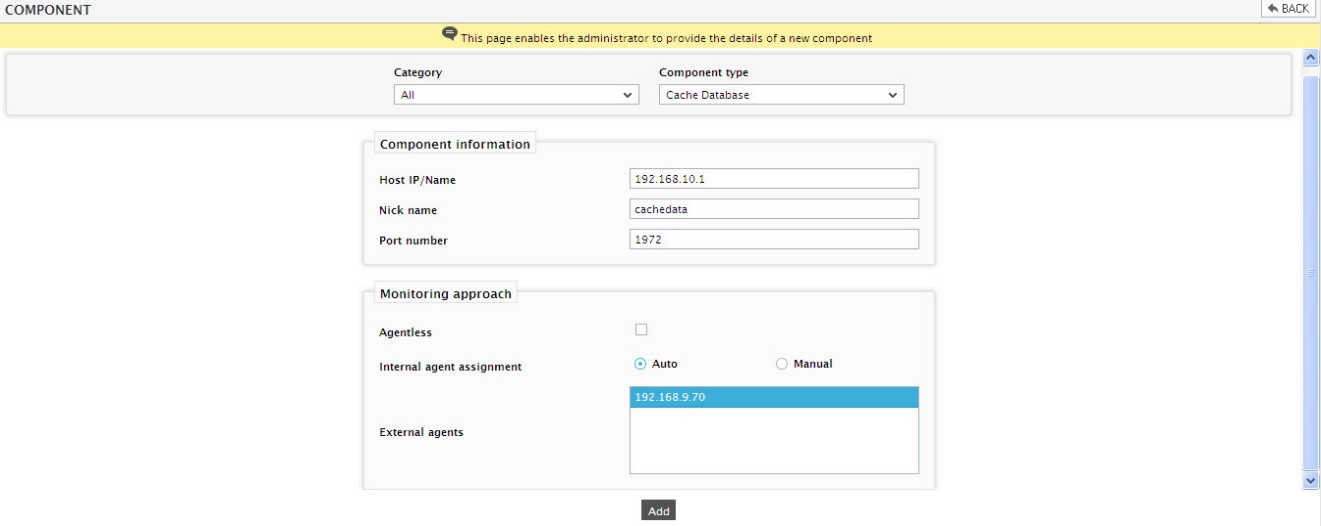
Figure 15 : Managing a Cache Database server
-
Now, if you try to sign out of the user interface, you will be prompted to configure a series of tests for the managed Cache server (see Figure 16).

Figure 16 : A table displaying the list of unconfigured tests for the Cache Database server
- Click on Cache Buffer test to configure it. This test monitors the usage of the buffer pool of every database instance of the Cache database server. To know how to configure the test, click here.
- Click the Update button to register the changes and try signing out of the admin interface once again. This time, when the list of unconfigured tests reappears, choose to configure the Cache Console Log test for the server.
- This test periodically monitors the console log of every configured cache instance to report the number of normal, severe, and fatal errors encountered by the Cache database server. To know how to configure the test,
- To save the test configuration, click the Update button, and then proceed to sign out yet again. This time you will be prompted to configure the Cache Performance test. This test monitors the critical determinants of the performance of a Cache database server. To know how to configure the test,
- Update the test configuration, and finally, sign out the eG administrative interface.