Uninstalling the eG .NET Profiler
Follow the steps below to uninstall the eG .NET Profiler on the Microsoft Azure App service:
-
Go to the SCM web site of the .NET web application that is being traced by the eG .NET Profiler. For that, use the URL: https://<Name_of_web_application>.scm.azurewebsites.net. For instance, if the .NET web application being monitored is egdemoapp, then the SCM URL of the app will be: https://egdemoapp.scm.azurewebsites.net. Once the web site opens in the Kudu console, choose the CMD option from its Debug console menu (see Figure 1).
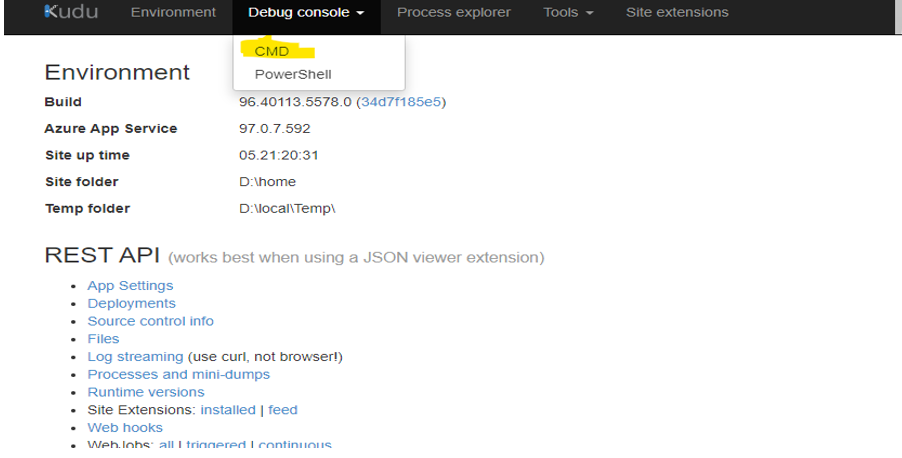
Figure 1 : Choosing the CMD option from the Debug console menu of the Kudu console
-
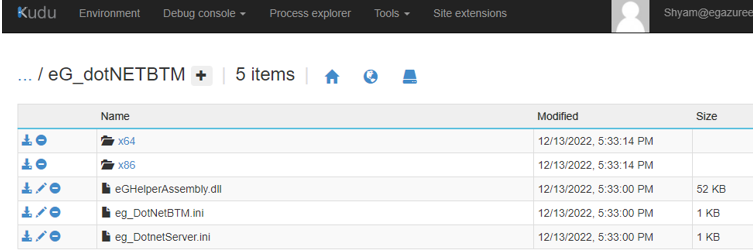
When Figure 2 appears, navigate to the location of the eG_dotNETBTM package you had installed earlier. This will be D:\home\site\eG_dotNETBTM. The contents of the package will be listed as depicted by Figure 2.
-
First, take a backup of all the ini files that are listed in Figure 2.
-
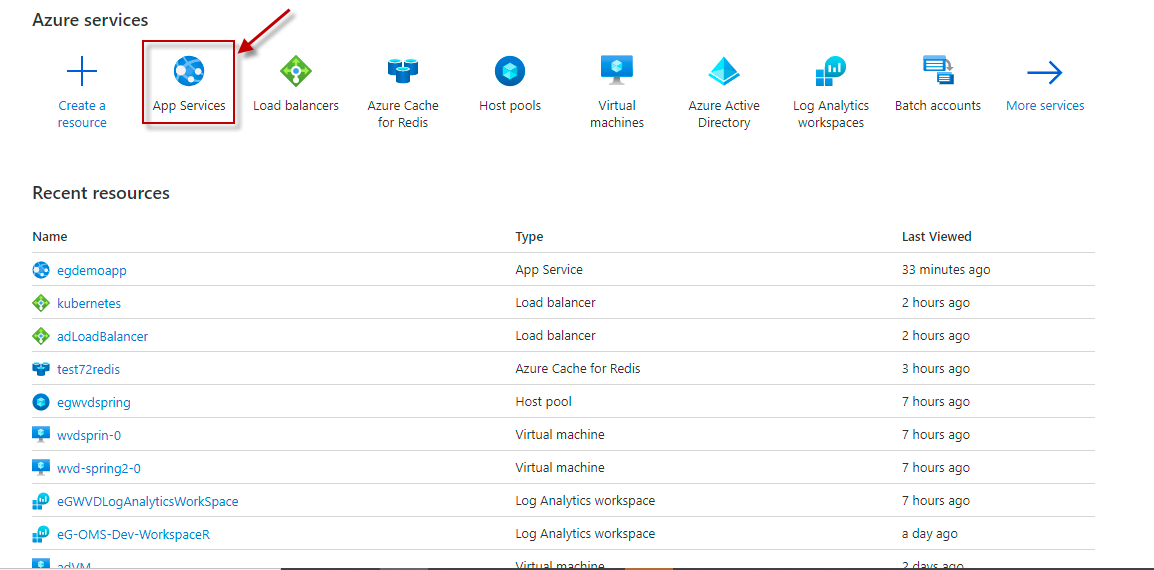
Then, login to the Azure portal. Figure 3 will then appear, From the options listed at the top of Figure 3, select App Services, as indicated.
-
Figure 4 will then appear listing the web applications deployed on the App Services platform. To uninstall the .NET profiler, first locate the .NET application in the list of applications in Figure 4, and then click on it.

Figure 4 : Click on the .NET application deployed on the App Services platform
-
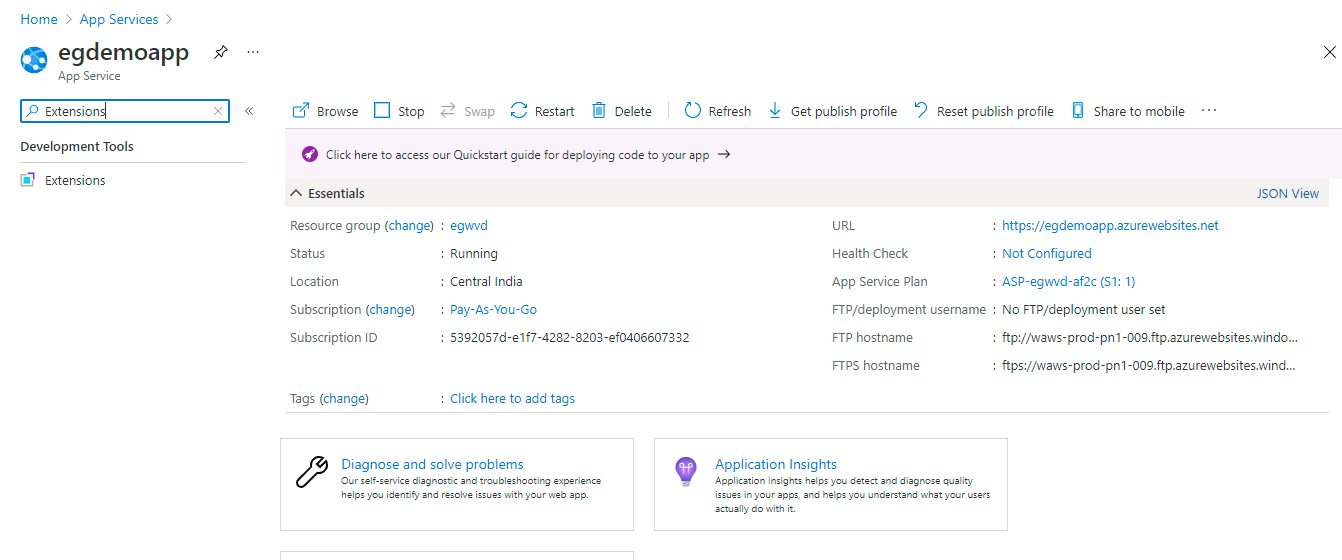
Figure 5 will then appear. Keep scrolling down the options listed in the left pane of Figure 5, until you find the Extensions option. Alternatively, you can type Extensions in the Search text box on the top of the left pane. Doing so, will automatically take you to the Extensions option. Once this option becomes visible, click on it.
-
Upon selecting the Extensions option from the left pane, the right panel will change to display the list of Extensions that pre-exist (if any). Browse that list for the eGEnterprise.dotNET.Azure extension that you added previously. Click on that extension. Figure 6 will then appear.
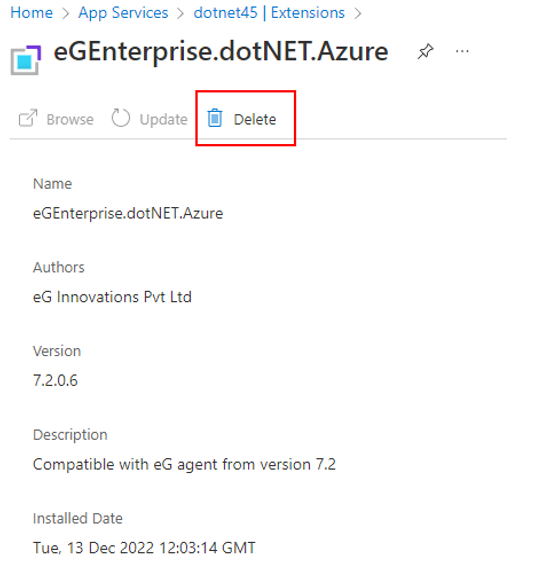
Figure 6 : The properties of the eGEnterprise.dotNET.Azure extension
-
To uninstall the profiler, you first need to delete this extension. Click on the Delete option indicated by Figure 6 to achieve this. Figure 7 will then appear. Click on the Yes button in Figure 7 to confirm deletion.
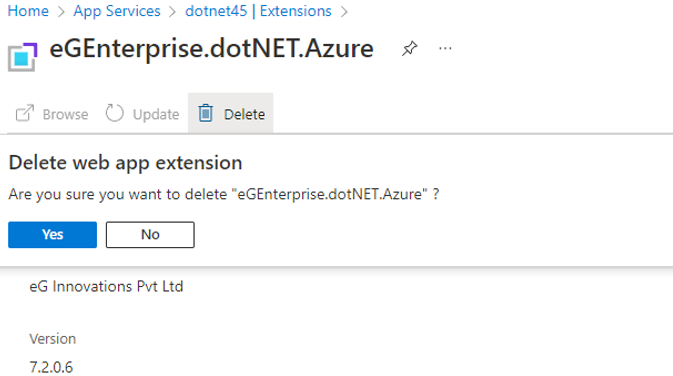
Figure 7 : Confirming the deletion of the eG .NET profiler extension
-
If deletion is successful, then the Figure 8 will appear confirming the same.
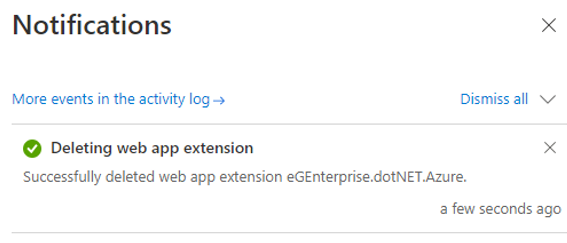
Figure 8 : A notification confirming the deletion of the extension
-
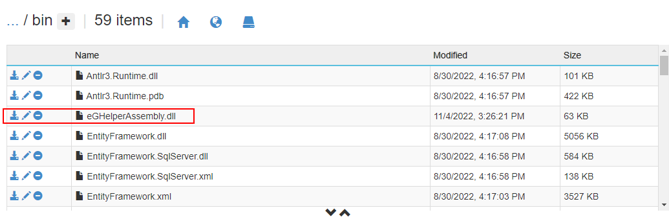
Now, log out of the Azure portal. Once again, go to the SCM web site of the .NET web application that is being traced by the eG .NET Profiler. For that, use the URL: https://<Name_of_web_application>.scm.azurewebsites.net. Using the Kudu console that opens, navigate to the location of the eGHelperAssembly.dll. This will typically be in the D:\home\site\wwwroot\bin folder. Once you switch to that folder, the contents of the folder will be listed (see Figure 9).
-
Proceed to delete the .dll file by clicking on the encircled '-' button alongside the file in Figure 9. Figure 10 will appear prompting you to confirm the deletion.
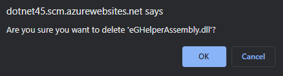
Figure 10 : A prompt requesting you to confirm the deletion of the eGHelperAssembly.dll file
-
Click on the OK button in Figure 10 to proceed with the deletion.
-
Finally, restart the Azure App Service.