Troubleshooting
The Exchange Mail test mimics the mail client activity by using the MAPI (Messaging Application Programming Interface) for sending and receiving mails. If this test does not report measures, then it could indicate that the test is unable to send mails using the test parameters that have been configured. To verify this, run the following command from the command prompt of the Microsoft Outlook 2003 client on which the mailbox that has been configured for this test, exists:
cscript <Path_to_dir_containing_XChgMailTest.vbs>\XChgMailTest.vbs "<The profile name that has been configured for this test>" <Exchange mail box that has been used by this test> <SMTP Server IP configured for this test> <SMTP Port used by this test>
For example, assume that the Exchange Mail test takes the following parameters:
- xchgmailboxname: egtester@egexchange.com
- profilename: Outlook
- smtpserver: 192.168.10.228
- smtpport: 25
Also, assume that the XChgMailTest.vbs is available in the C:\eGurkha\lib directory.
In such a case, the command to execute the test will be as follows:
-
cscript c:\eGurkha\lib\XChgMailTest.vbs "Outlook" egtester@egexchange.com 192.168.10.28 25
If, upon execution, the command returns the measures of the XChgMailTest, it indicates that the test is functioning properly.
If the test does not execute properly, then either of the following may occur:
-
You might receive the following error message:
[C:\eGurkha\lib\XChgMailTest.vbs(66, 1) Collaboration Data Objects: The Microsoft Exchange Server computer is not available. Either there are network problems or the Microsoft Exchange Server computer is down for maintenance. [Microsoft Exchange Server Information Store - [MAPI_E_FAILONEPROVIDER(8004011D)]], ]]
- The message box depicted by Figure 8 may appear:
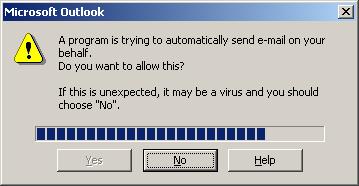
Figure 8 : Message box indicating a problem in sending mails
If the message (a) or any other message bearing references to Collaboration Data Objects (CDO) appears, then it indicates that the Collaboration Data Objects option was not enabled while installing the Microsoft Outlook 2003 client on the box. The Collaboration Data Objects (CDO) library allows you to access the Global Address List and other server objects, in addition to the contents of mailboxes and public folders. As the XChgMailTest actively uses this library, the absence of CDO results in the failure of the test. In such a case, follow the procedure given below to modify your installation, so that CDO is enabled:
- Insert the Microsoft Office CD in your CD drive, and run its Setup.exe on the system hosting the Microsoft Outlook Client that has been configured for the XChgMailTest.
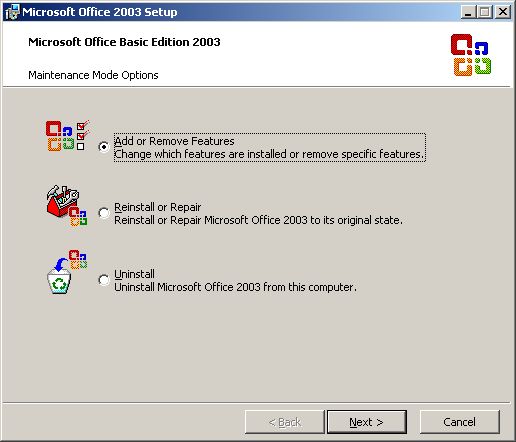
- Figure 9 appears requesting your confirmation to reinstall/uninstall/add or remove features to your existing Microsoft Outlook installation.
-
Choose the Add/Remove Features option and click the Next button to proceed.
-
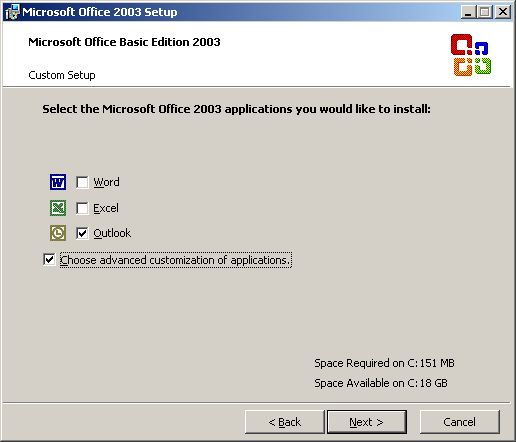
Then, select the Outlook option from Figure 10, and also click the Choose advanced customization of applications check box. Click the Next button to move on.
-
In Figure 11 that appears next, expand the Microsoft Office Outlook tree to view the applications/tools within. By default, the Collaboration Data Objects option in the tree will be prefixed by an X mark, indicating that the option is disabled (see Figure 12). To enable the option, click on the X mark, and select the Run from My Computer option from the shortcut menu that appears (see Figure 12).
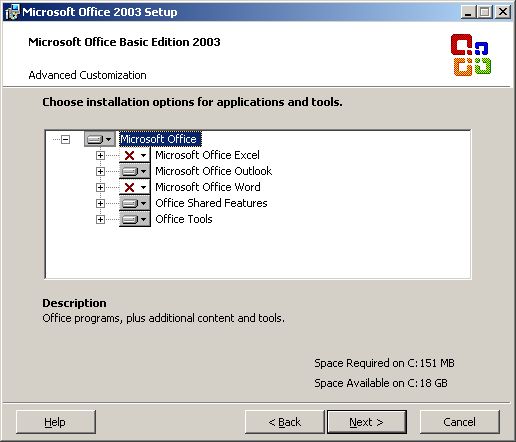
Figure 11 : Viewing the currently installed applications
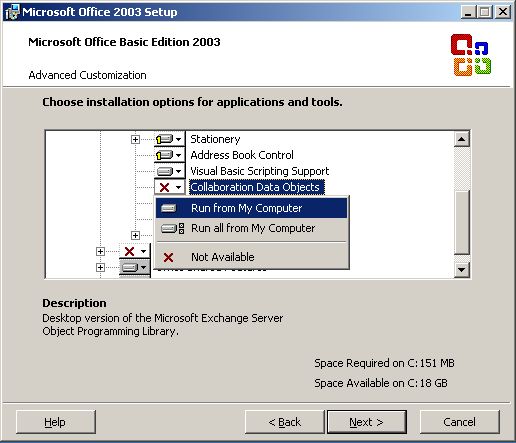
- Click on the Next button in Figure 12 to proceed.
- Finally, when setup completes, click the Finish button to exit.
On the other hand, if manual command execution returned the message box depicted by Figure 8, it indicates that a security patch named O2kSp3.exe is installed on the Outlook client. To ensure that this patch does not affect the functioning of the XchgMail test, do the following:
- Download Orktools.exe and admpack.exe from the following URL: http://www.microsoft.com/office/orkarchive/2000ddl.htm to the Outlook client.
-
Begin installing Orktools.exe on the Outlook client by double-clicking on it. Figure 13 will appear first.
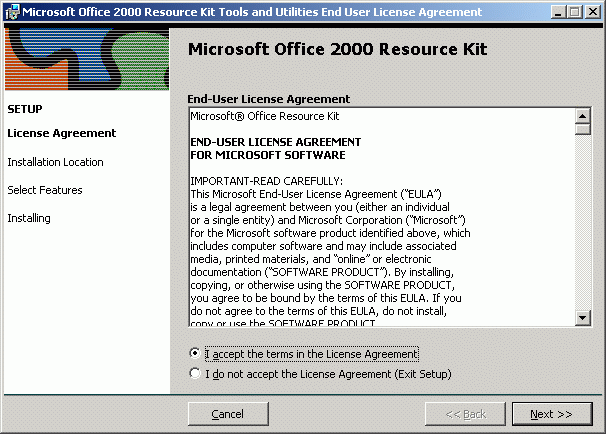
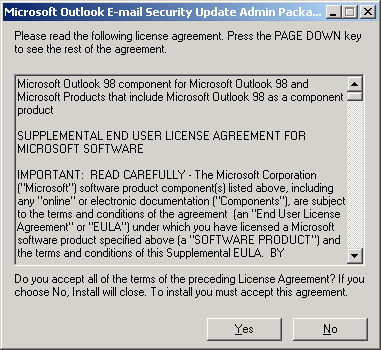
- Accept the license agreement displayed in Figure 13 by selecting the I accept the terms in the License Agreement option and clicking the Next >> button.
-
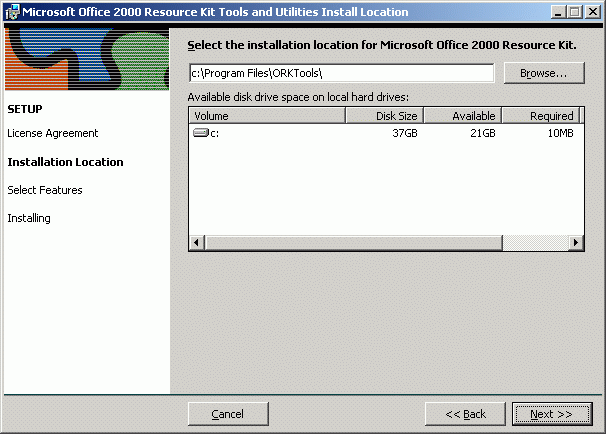
Figure 14 will then appear, from where an installation location will have to be selected. Then, click the Next >> button.
-
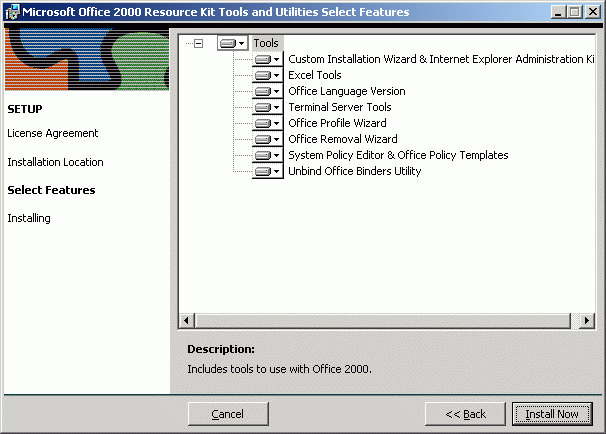
Finally, click on the Install Now button in Figure 15 to begin installing the Orktools.exe.
-
Next, proceed to install admpack.exe on the Outlook client by double-clicking on it. Select Yes from Figure 16 that appears.
-
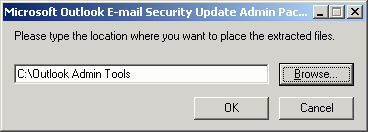
Next, specify the location to which the files of admpack.exe need to be extracted, and then click the OK button (see Figure 17).
-
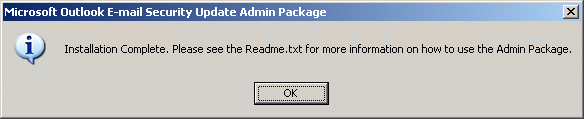
Once installation completes, Figure 18 will appear. Click on the OK button to exit the setup.
-
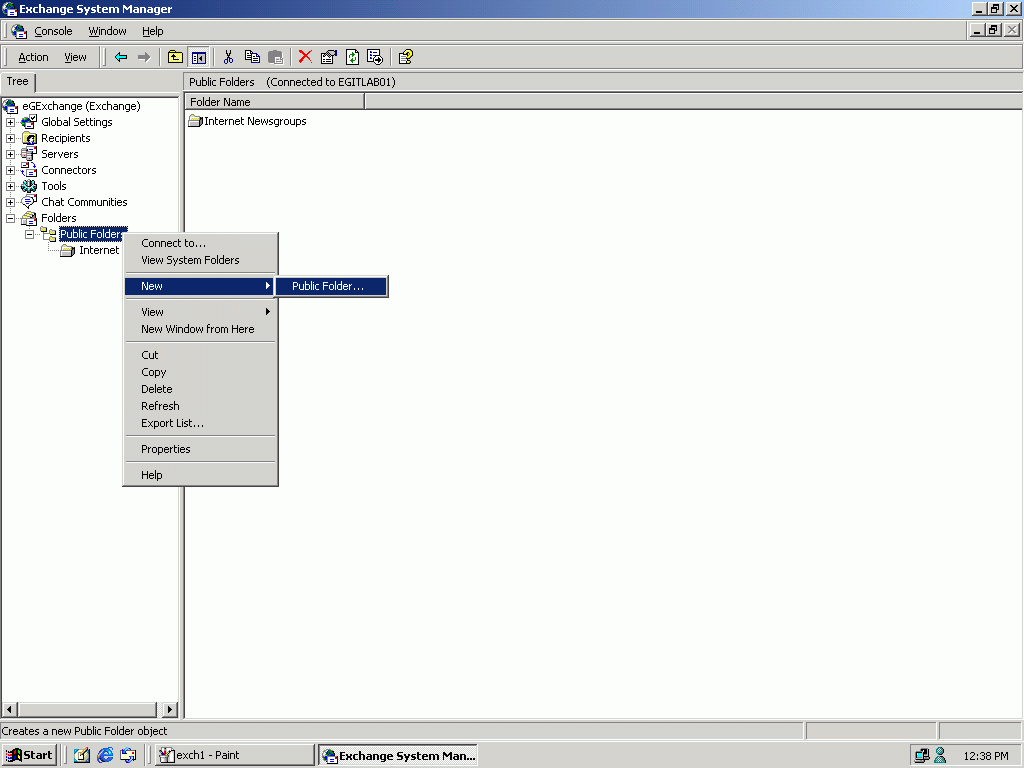
Then, go to the Microsoft Exchange Server and open its System Manager using the menu sequence depicted by Figure 19.
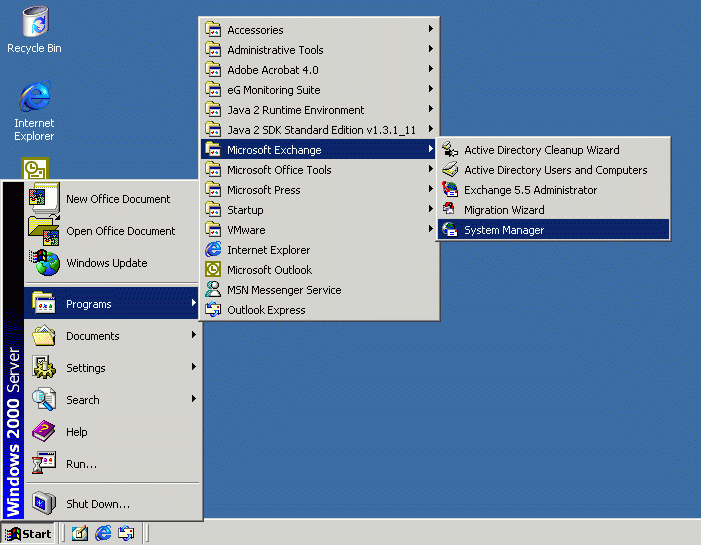
Figure 19 : Opening the System Manager of the Microsoft Exchange Server 2000
-
Expand the Folders node in the tree-structure in the left pane of the System Manager, right-click on the Public Folders sub-node within, select the New sub-menu from the shortcut menu that appears, and then choose the Public Folder option, to create a new public folder on the Exchange server (see Figure 20).
-
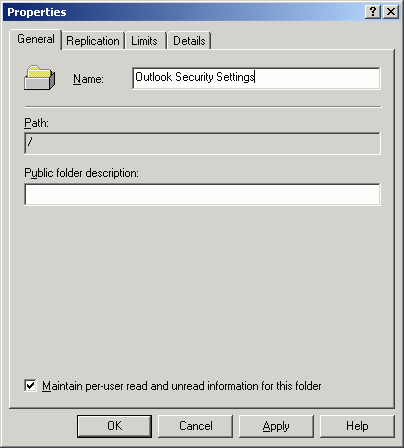
Name the new public folder as Outlook Security Settings (see Figure 21), and then click the Apply and ok buttons therein to register the changes.
-
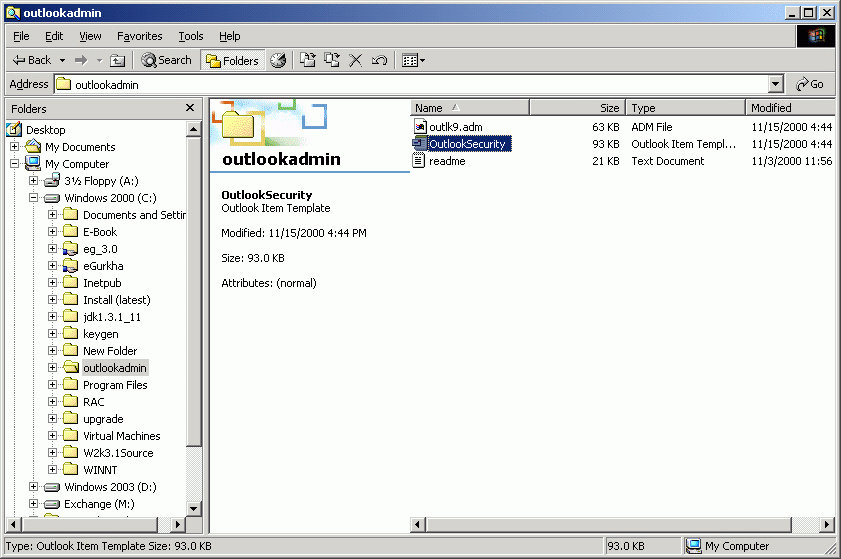
Then, switch back to the Outlook client, and open the directory to which the files of admpack.exe have been extracted. Double-click on the OutlookSecurity.oft within to open the template file (see Figure 22).
-
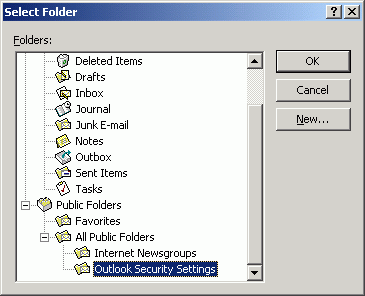
The Select Folder dialog box will then appear (see Figure 23). Expand the Public Folders node within, followed by the All Public Folder sub-node, and then select the Outlook Security Settings folder that was created in the Microsoft Exchange server. Next, click the ok button in Figure 23.
-
The Default Security Settings form (see Figure 24) will open. Now, follow the menu sequence Tools -> Forms -> Publish Form (see Figure 24) to publish the form in the chosen Outlook Security Settings folder.
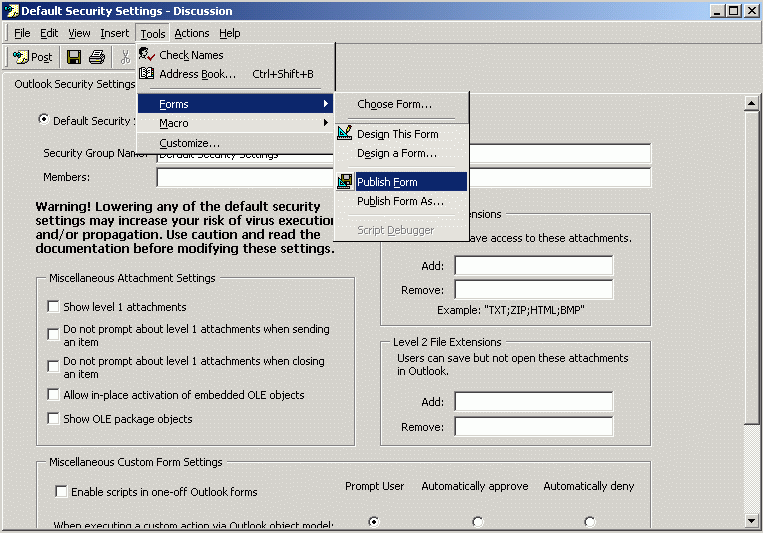
-
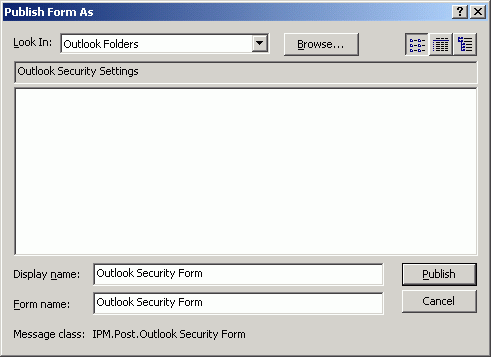
Provide the name Outlook Security Form to the form being published (see Figure 25), and click the Publish button to publish it.
- Close the form you opened from the .oft file.
-
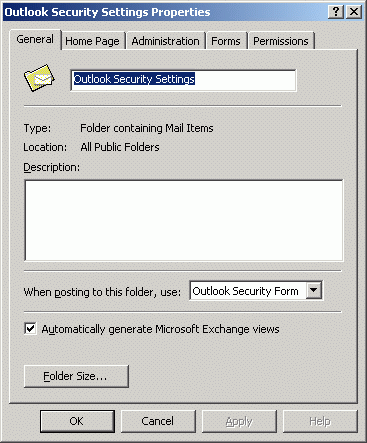
Open Microsoft Outlook, select the Outlook Security Settings public folder, right-click on it, and choose Properties from its shortcut menu. In the General tab of the Properties dialog box that opens (see Figure 26), ensure that Outlook Security Form option is chosen from the When posting to this folder, use list box.
-
Then, click on the Permissions tab in Figure 26, and set the Reviewer role for the Default user (see Figure 27). Give the Editor role only to people who administer Outlook security settings.
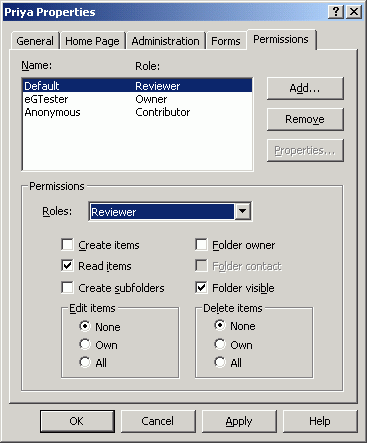
- Finally, click the Apply button and then the OK button to save the changes.