Kiosk Mode
Often, administrators are required to keep track of their environment every other minute. Though the dashboards offered by eG Enterprise help administrators achieve this, they are forced to navigate through multiple dashboards to track what is hampering their environment. To ease the pain of the administrators from juggling across different dashboards and also to view the dashboards on a larger screen in a display loop, eG Enterprise offers the Kiosk mode capability. The KIOSK MODE page in the eG monitor console can be played to view the dashboards offered by eG Enterprise on a larger screen.
To access this page, follow the Miscellaneous -> Kiosk Mode menu sequence. will then appear.
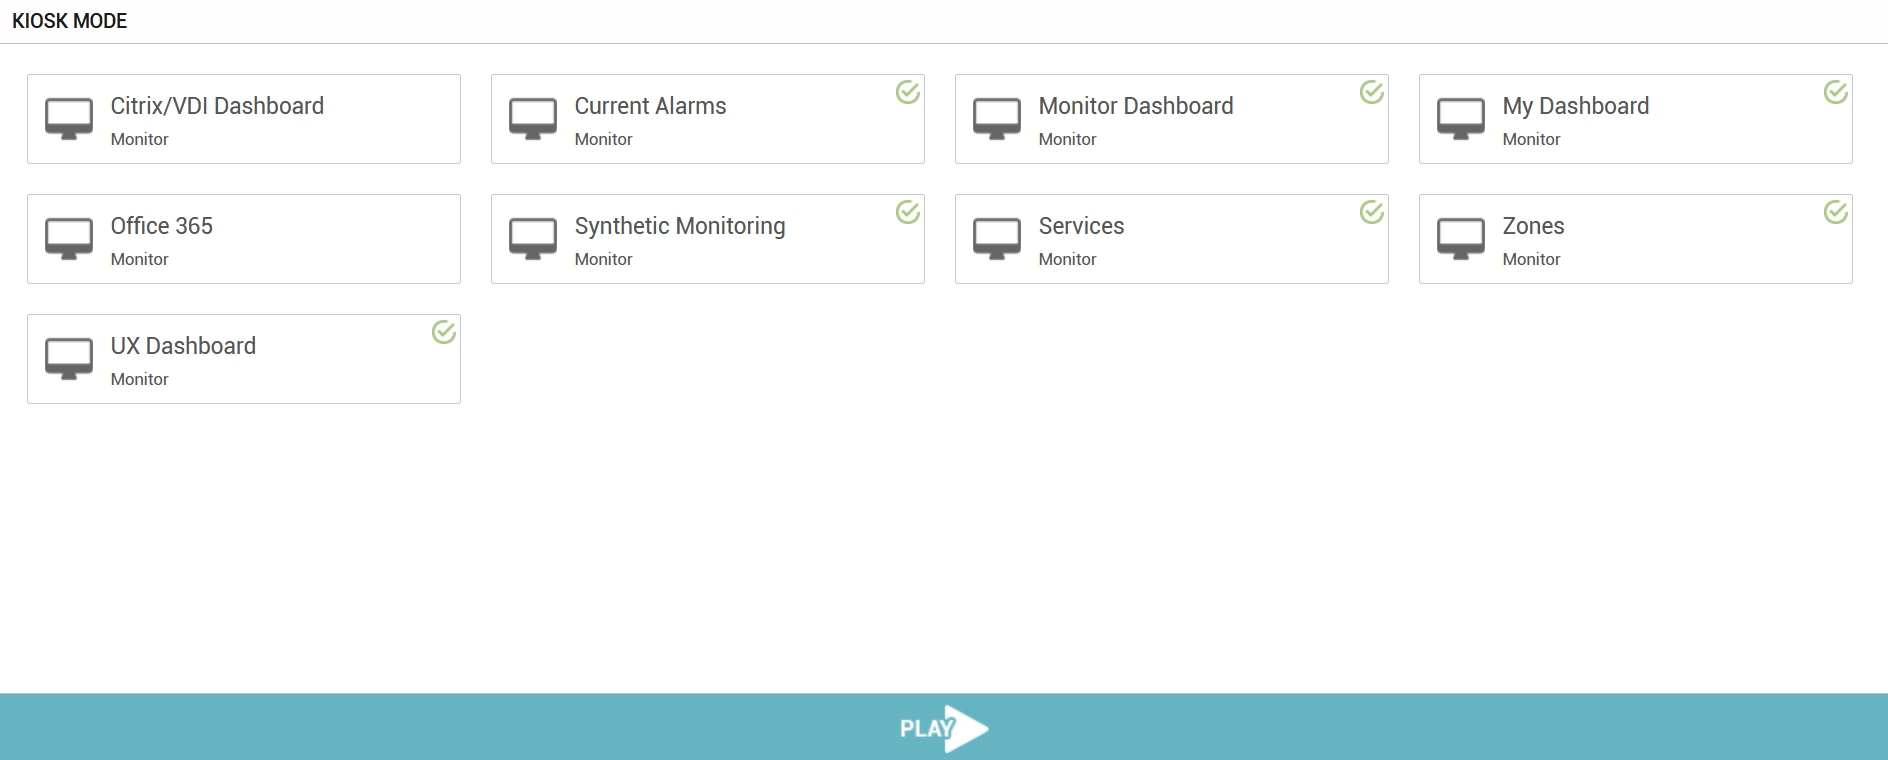
Figure 1 : The Kiosk Mode page
To play the dashboards using this page on a larger screen, all you have to do is to just click the PLAY button available at the bottom of the page (see Figure 1).
By default, each dashboard will be displayed on the screen for 10 seconds. This default time delay of 10 seconds between each dashboard screen can be modified to suit the administrator’s needs. For this, simply hover over the dashboard tile for which you wish to set a longer screen time. Figure 2 then appears.
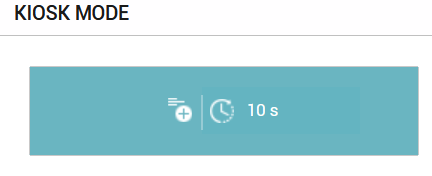
Figure 2 : Hovering over the dashboard tile to set a longer screen time
In Figure 2, clicking the  icon will introduce a drop-down list as shown in Figure 3.

Figure 3 : Choosing your own screen display time
Use the drop-down list shown in Figure 3 to choose a screen display time. By default, you can choose a maximum time of 180 seconds i.e., each dashboard will be displayed on screen for 180 seconds.
In infrastructures where multiple application dashboards are created, administrators may often want to view only a few dashboards in kiosk mode. For this, administrators can use the Kiosk Filter ( ) icon as shown in Figure 4 to select the dashboards that they want to run in the Kiosk mode. Administrators can also choose the infrastructure elements (e.g., components, services, zones etc.) for which dashboards need to be displayed in the Kiosk mode using this filter.
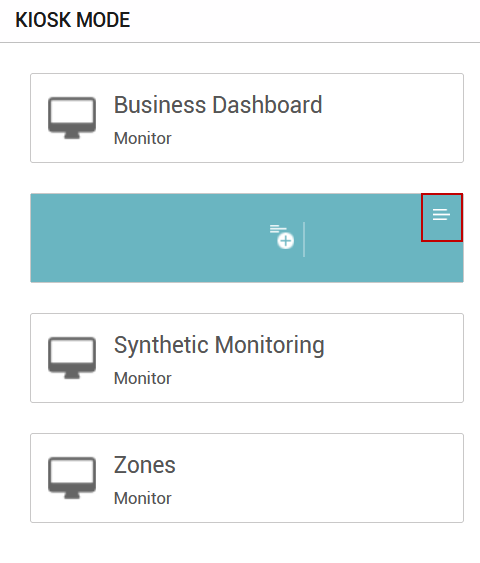
Figure 4 : The Kiosk Filter icon
Clicking the icon will display a drop-down window that will list all the dashboards of that type available in the target environment (see Figure 5). By default, all the dashboards that were created in the target environment will be chosen for display in Kiosk mode. To this effect, the check box preceding the Select All option will be checked and all other check boxes preceding the dashboards too will be checked. If you wish to choose the ones of your interest, you can do so by unchecking the check box preceding the Select All option and then select the check boxes preceding the name of the dashboards of your interest. Clicking the Save button will register your changes.
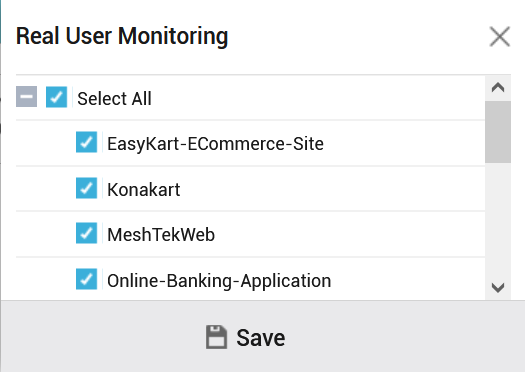
Figure 5 : Choosing the dashboards to play in Kiosk Mode
Note that the Kiosk Filter is applicable only to a few dashboards for e.g., Real User Monitoring, My Dashboard, Citrix/VDI Dashboard etc.
To add a dashboard tile to play in Kiosk Mode, simply click the  icon in Figure 2.
At any point of time, if you wish to stop a dashboard from playing in the kiosk mode, simply click the  icon as shown in Figure 6.
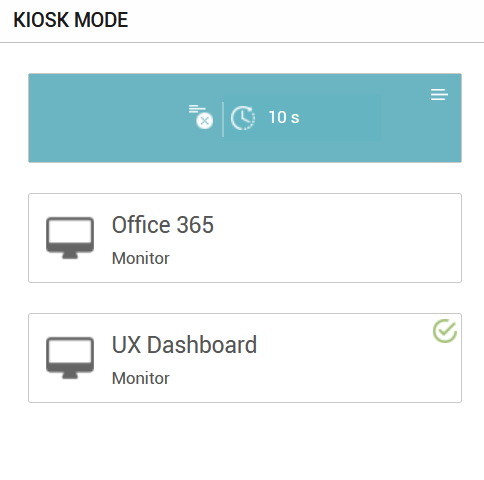
Figure 6 : Icon to remove the dashboard from playlist
The  icon available in the top right corner of a dashboard tile( see Figure 6) indicates that the dashboard has been added to the Kiosk Mode playlist.