Automatically Limiting MS Graph App's Mailbox Access
One of the requirements for monitoring Office 365 using modern authentication is that a Microsoft Graph App be created and assigned a prescribed set of application and delegated permissions. To know what these permissions are, refer to Pre-requisites for Monitoring Office 365 Environments where Modern Authentication is Enabled.
A couple of the application permissions granted to the MS Graph App allow the app unrestricted access to all mailboxes in an organization on Exchange Online. For instance, where modern authentication is enabled, the Mail.Read.Write permission granted to the MS Graph app allows the app to read mails from and write mails to any mailbox in the organization, without even signing in as a valid Office 365 user.
To protect mailboxes and the Exchange Online ecosystem from abuse by malicious users, it is recommended that the MS Graph App's mailbox access be restricted - i.e., it is recommended that the Graph app be allowed to access only specific mailboxes on Exchange Online and not all of them.
This can be achieved either manually or automatically using a proprietary PowerShell script that eG Enterprise provides.
To know how to use the PowerShell script to automatically fulfill this requirement, follow the steps below:
-
Login to the eG agent host.
-
Open the PowerShell ISE in elevated mode.
-
Run the O365LimitAccessToMailFlowUsers.ps1 script from the <EG_AGENT_INSTALL_DIR>\lib directory.
-
Figure 110 will then appear.
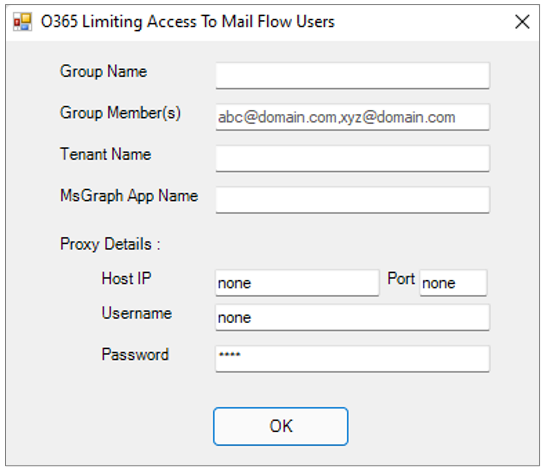
Figure 110 : Allowing the MS Graph App to access the mailboxes of users in a configured Mail Security Group alone
-
In the Group Name text box of Figure 110, specify the name of the Mail Security Group, which the MS Graph App should be allowed to access. You can either specify the name of a new Mail Security Group here, or that of an existing group.
-
If you specify the name of a new Mail Security Group in the Group Name text box, then, in the Group Member(s) text box, provide the fully-qualified names of the users who need to be added as the members of this group, as a comma-separated list.
-
Then, specify the name of the Office 365 Tenant that is being monitored.
-
Next, specify the MS Graph App Name. This should be the name of the Microsoft Graph App that you have either manually registered with Azure AD, or have automatically created using the PowerShell script, for the purpose of monitoring Office 365. The script will limit the mailbox access of this Graph app only.
-
If all communications between the eG agent host and the Office 365 portal are routed through a proxy server, then provide the details of that server in the Proxy Details section. The Host IP an Port number of the proxy server should be specified. If the proxy requires authentication, then specify the Username and Password of a valid proxy user. On the other hand, if the agent host does not communicate with the Office 365 portal via a proxy server, specify none in all text boxes in the Proxy Details section.
-
Finally, click the OK button in Figure 110.
-
Figure 111 will then appear. Using Figure 111, login to the Office 365 portal using Global Administrator credentials.
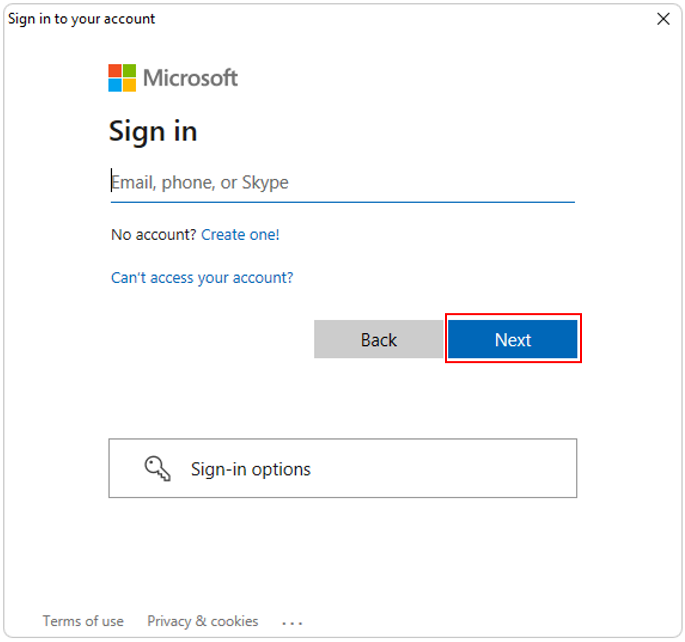
Figure 111 : Logging into the Office 365 portal as Global Administrator