Manually Limiting MS Graph App's Mailbox Access
One of the requirements for monitoring Office 365 using modern authentication is that a Microsoft Graph App be created and assigned a prescribed set of application and delegated permissions. To know what these permissions are, refer to Pre-requisites for Monitoring Office 365 Environments where Modern Authentication is Enabled.
A couple of the application permissions granted to the MS Graph App allow the app unrestricted access to all mailboxes in an organization on Exchange Online. For instance, where modern authentication is enabled, the Mail.Read.Write permission granted to the MS Graph app allows the app to read mails from and write mails to any mailbox in the organization, without even signing in as a valid Office 365 user.
To protect mailboxes and the Exchange Online ecosystem from abuse by malicious users, it is recommended that the MS Graph App's mailbox access be restricted - i.e., it is recommended that the Graph app be allowed to access only specific mailboxes on Exchange Online and not all of them.
This can be achieved either manually or automatically using a proprietary PowerShell script that eG Enterprise provides.
To know how to manually limit the mailbox access of the Microsoft Graph App, follow the steps below:
-
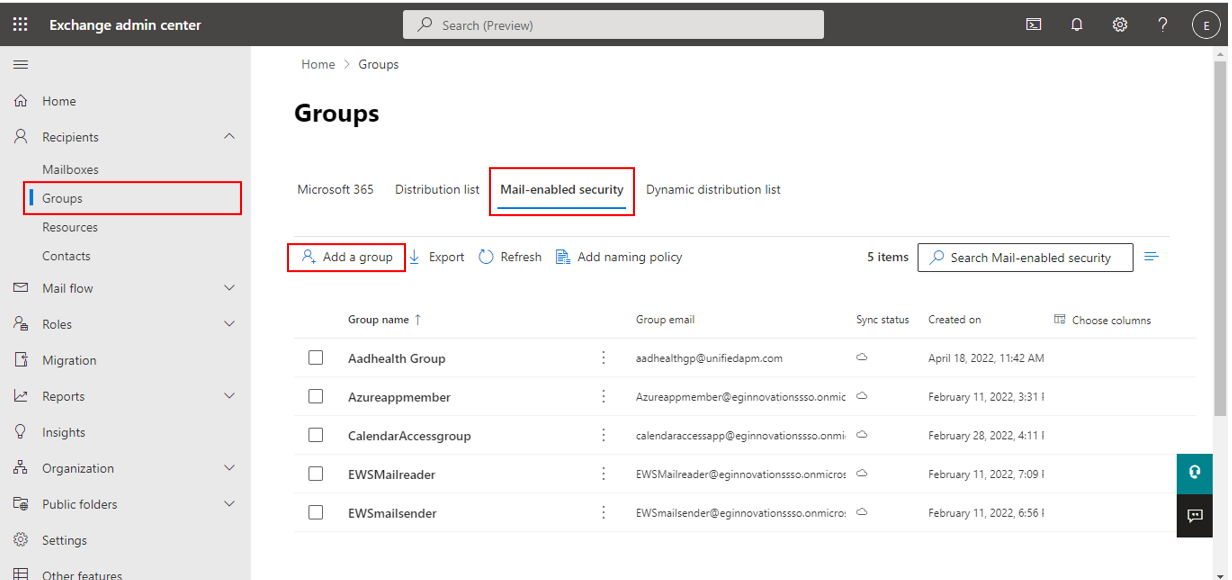
Login to the Exchange Admin Center as a user with Global Administrator rights to the tenant being monitored. Figure 1 will then appear:
-
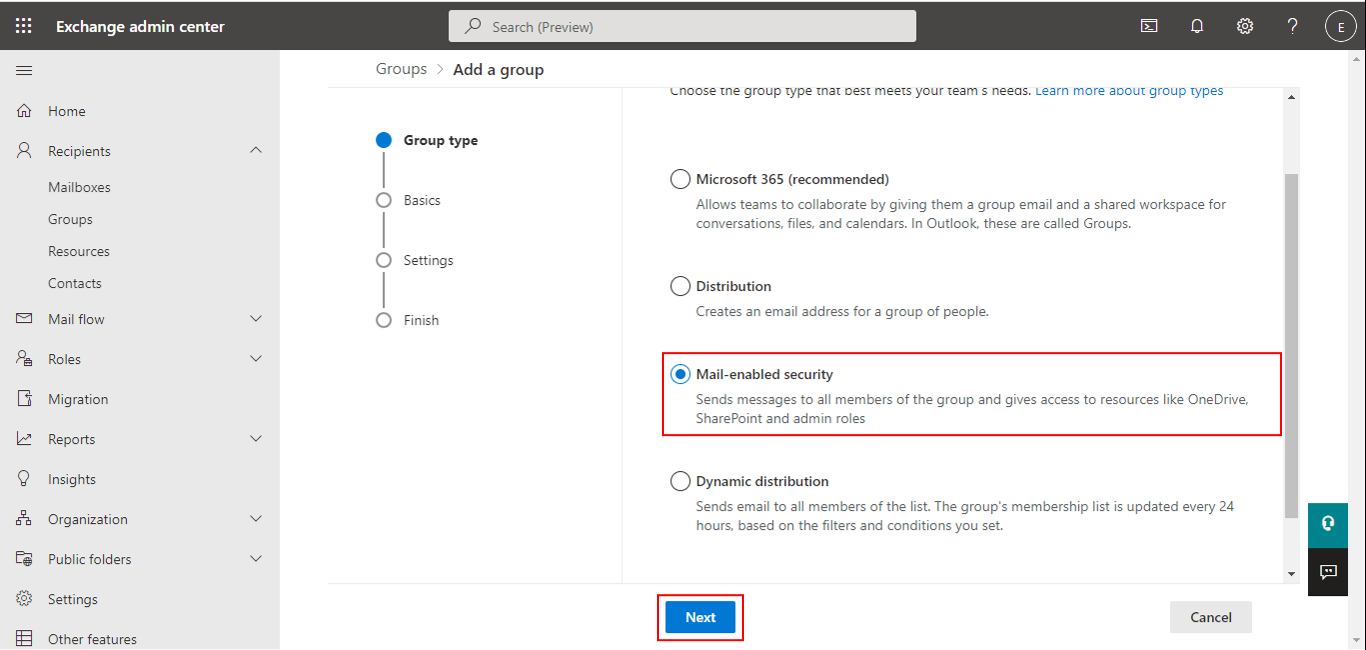
Choose the Groups option from the left panel of Figure 1, select the Mail-enabled security tab page from the left panel, and click on the Add a group link to add a new mail-enabled security group. Figure 2 will then appear. Here again, select the Mail-enabled security flag, and click the Next button.
-
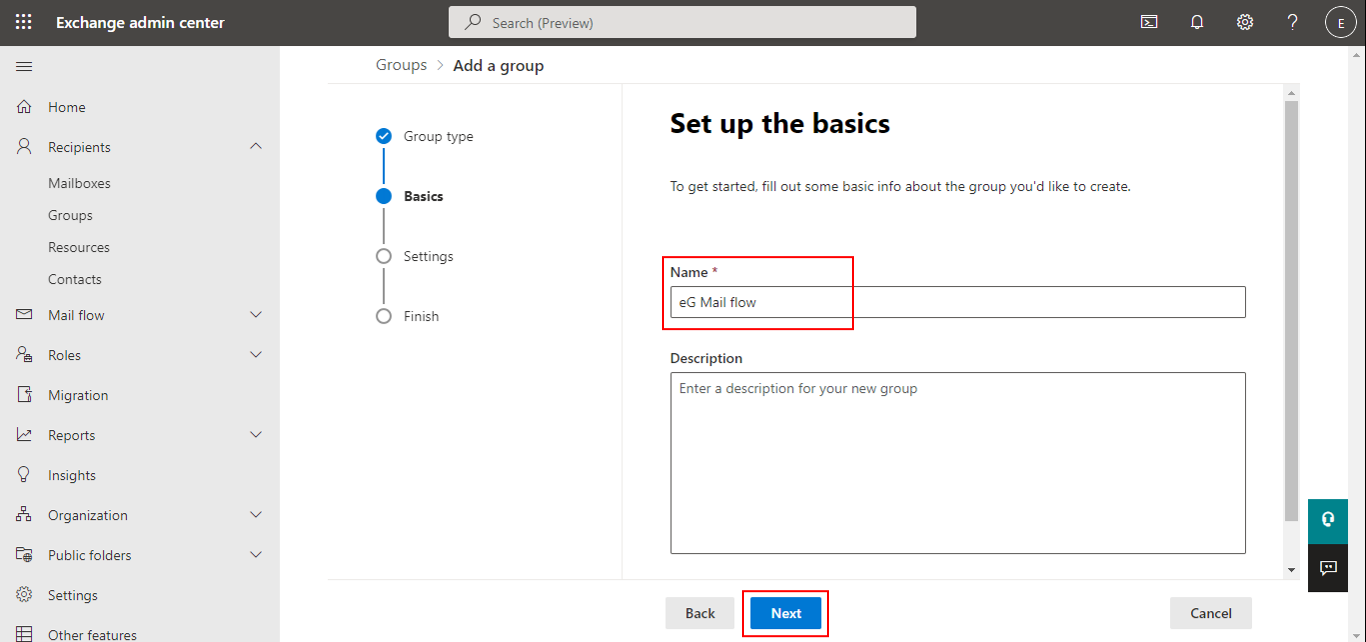
Figure 3 will then appear. Give a unique Name to the new security group and click the Next button.
-
When Figure 4 appears, give an email ID to the new security group against Group email address.
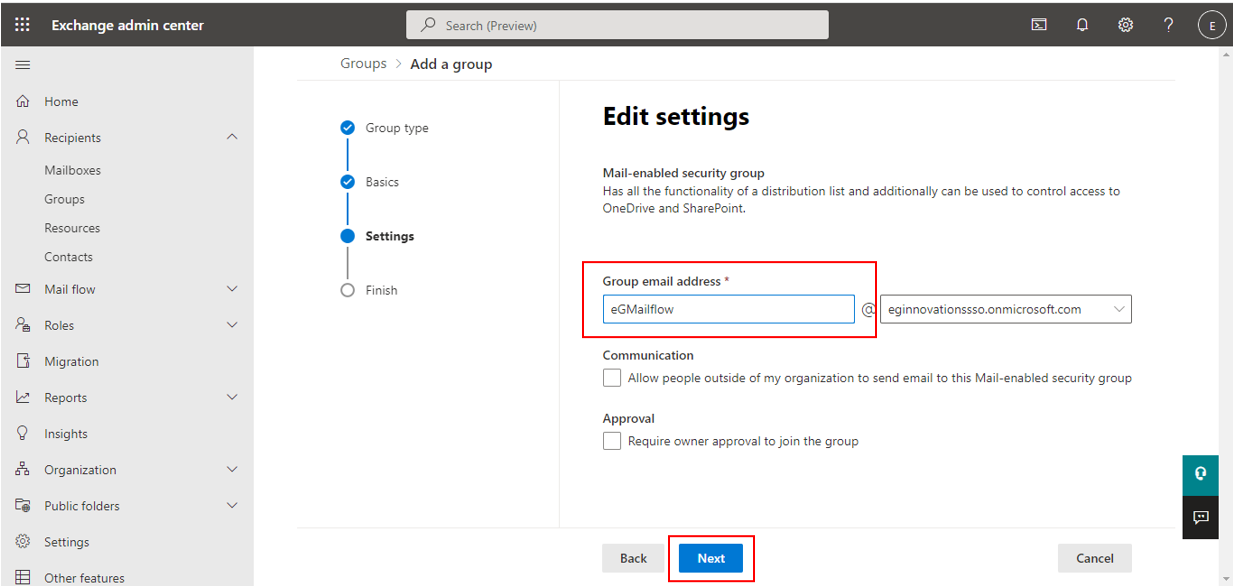
Figure 4 : Configuring the email address of the security group
-
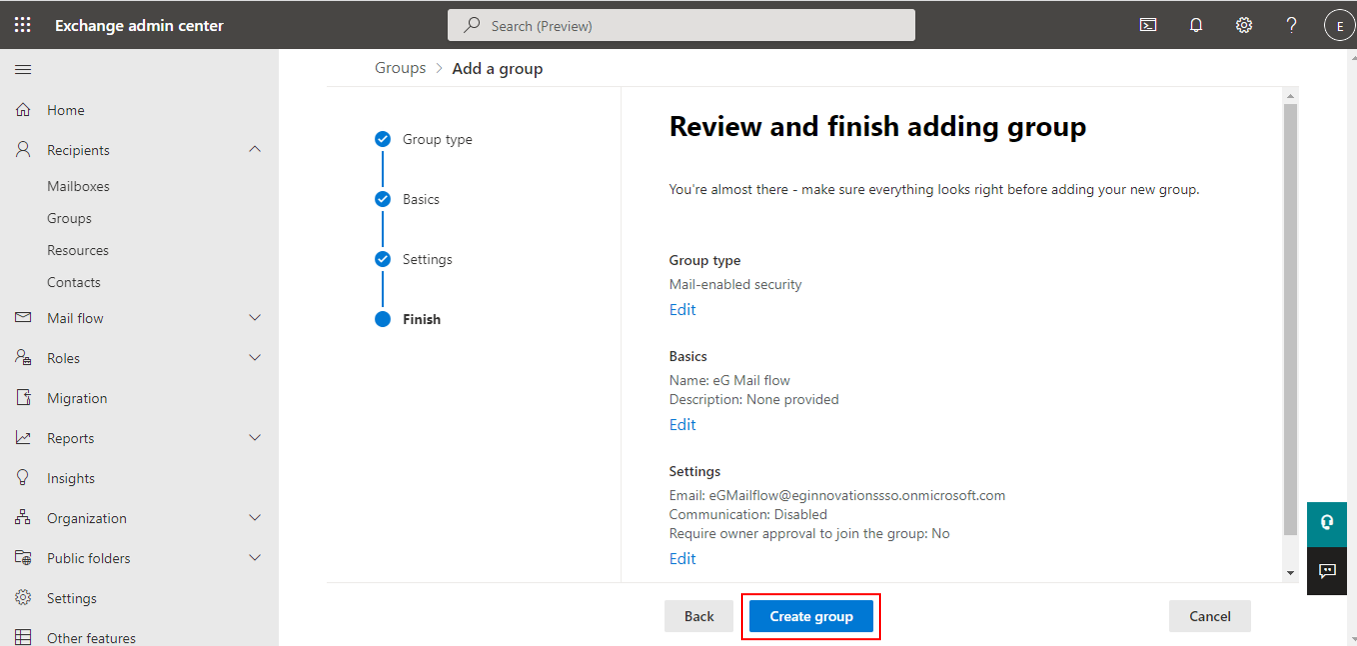
When Figure 5 appears, quickly review the group specifications, and click on the Create group button.
-
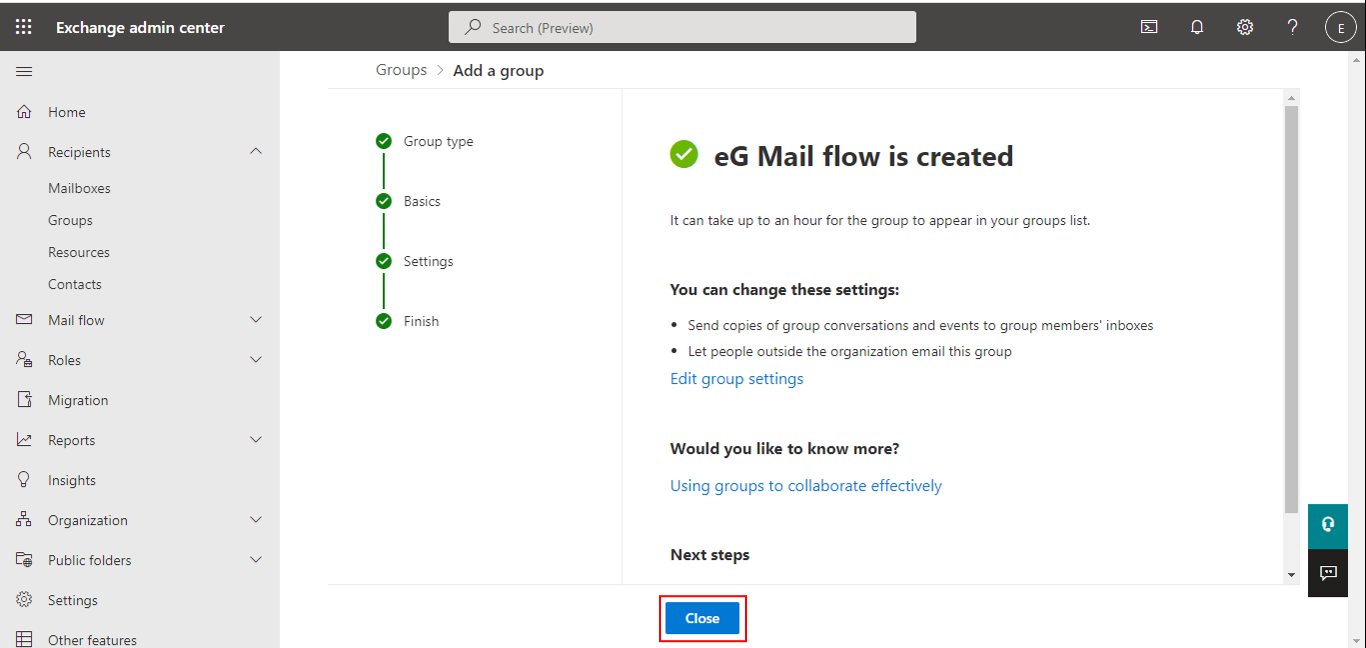
Figure 6 then appears. Click the Close button in Figure 6.
-
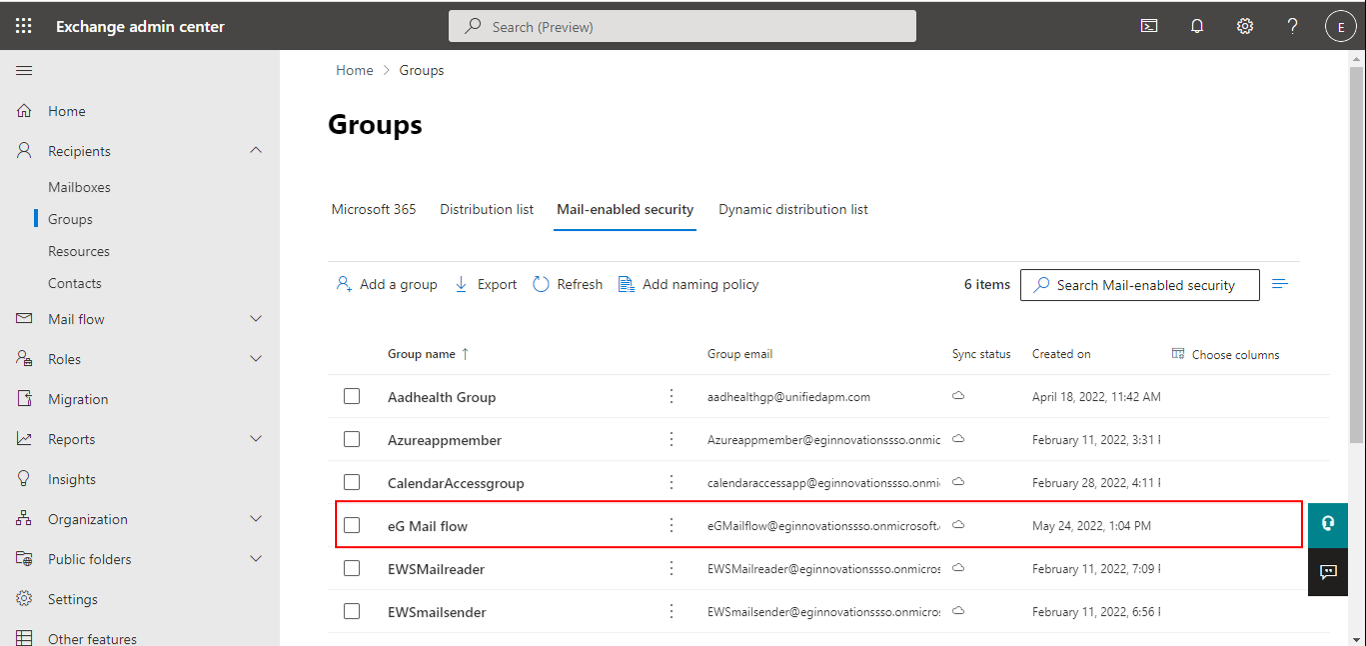
Figure 7 then appears. You will find the new security group you created listed in Figure 7. Double-click on the listing.
-
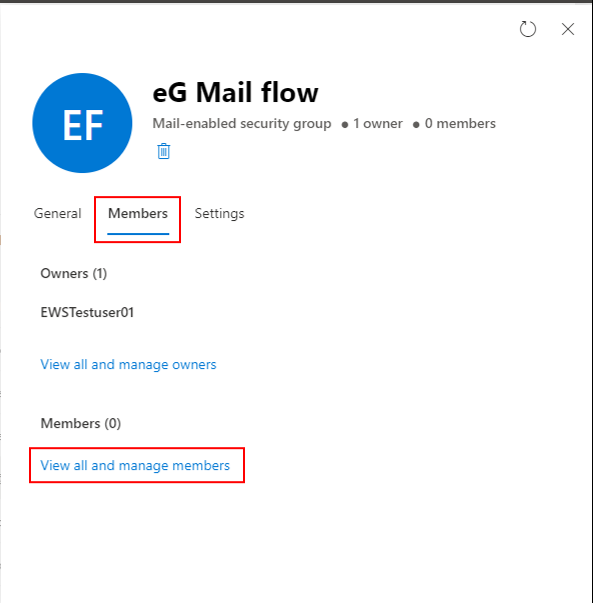
Figure 8 will then appear. Select the Members tab page in Figure 8 and click on the View all and manage members link.
-
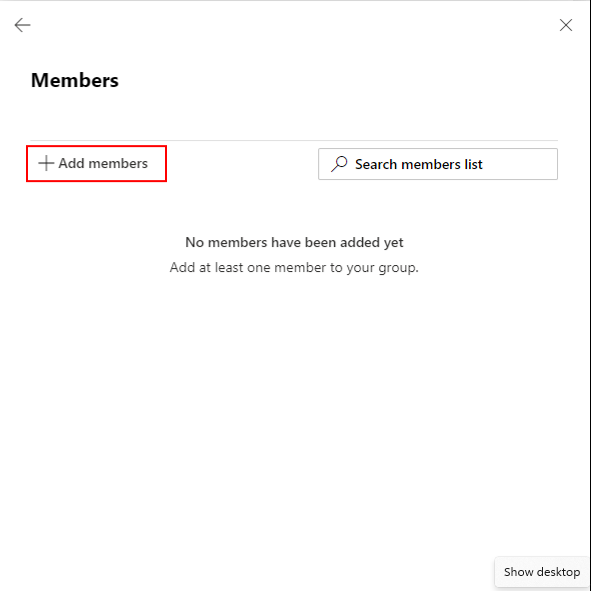
Figure 9 will then appear. Click on the Add members link in Figure 9.
-
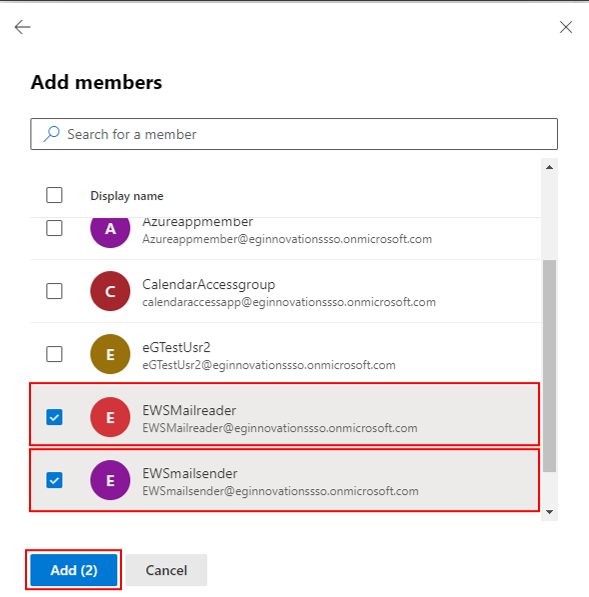
This will invoke Figure 10. From the list of members in Figure 10, select the members you want to add to the new group and click the Add button.
-
If the members are successfully added, then the message indicated by Figure 11 will appear.
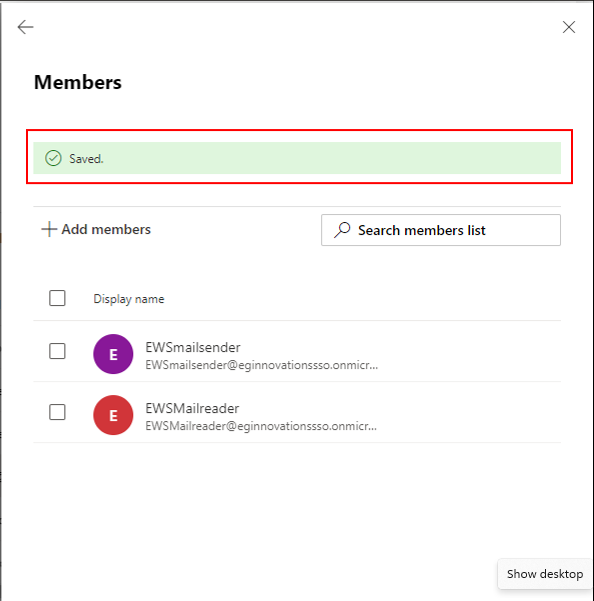
Figure 11 : A message indicating that the members are successfully added and saved
-
Next, log out of the Exchange Admin Center. Then, log into the Microsoft Entra portal, select Identity from the left panel, click on App registrations, and select the Owned applications tab page from the right panel. From the list of apps listed therein, locate the Microsoft Graph App that you created for monitoring purposes. Make a note of the Application (client) ID of that app.
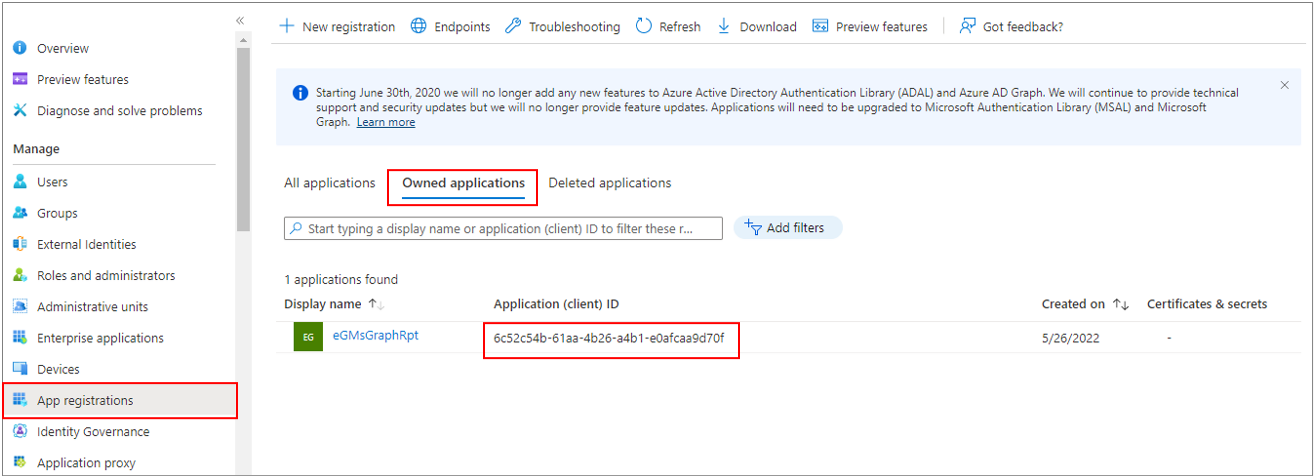
Figure 12 : Making a note of the Application (client) ID
-
Then, log out of the portal, and open the PowerShell ISE in the elevated mode. Copy and paste the script in Figure 13 below in the PowerShell prompt. This script will allow the Microsoft Graph App to access the mailbox of only that group member you specify.

Figure 13 : The script that restricts the Graph app's mailbox access
Before running the script, make sure that you configure the following parameters correctly (as indicated by Figure 14):

Figure 14 : Configuring the script parameters
-AppId: This parameter should be configured with the Application (client) ID of the MS Graph App that was created for monitoring purposes. This is the app ID that you made a note of at step 12 above.
-PolicyScopeGroupID: This parameter should be configured with the email address of the mail-enabled security group you created. To know the email address, refer to step 4 (see Figure 4) of the procedure above.
-Identity: This parameter should be configured with the ID of any of the members you added to the group you created. To know the member IDs, refer to step 11 (see Figure 11) of the procedure above.