Configuring an Execute Queue
To complete the deployment of the egurkha application, create a new execute queue in the WebLogic server. This execute queue has to be named eGQueue.
This section will discuss the steps involved in execute queue creation on all versions of WebLogic.
Configuring an Execute Queue on WebLogic 6.1
To create the special Execute queue for eG on WebLogic 6.1, do the following:
- Connect to the WebLogic server console using the URL: http://<WebLogicServerIP>:<WebLogicPort>/console.
-
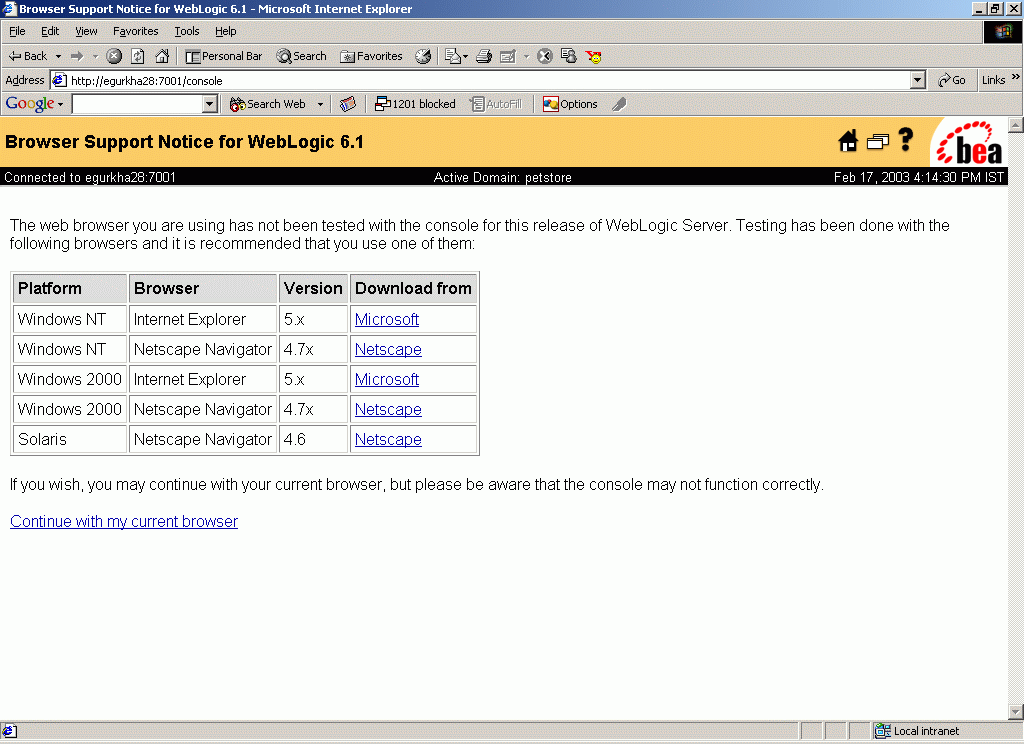
When prompted for a user name and password, provide the valid details and login to the console. Figure 1 then appears.
-
Click on the Continue with my current browser link in Figure 1 to move to the next page. Figure 2 will later appear.

-
Expand the Servers node in the tree structure in the left pane of Figure 2, and click on the petstoreServer entry within. The properties of the selected server will then be displayed in the right pane (see Figure 3).

-
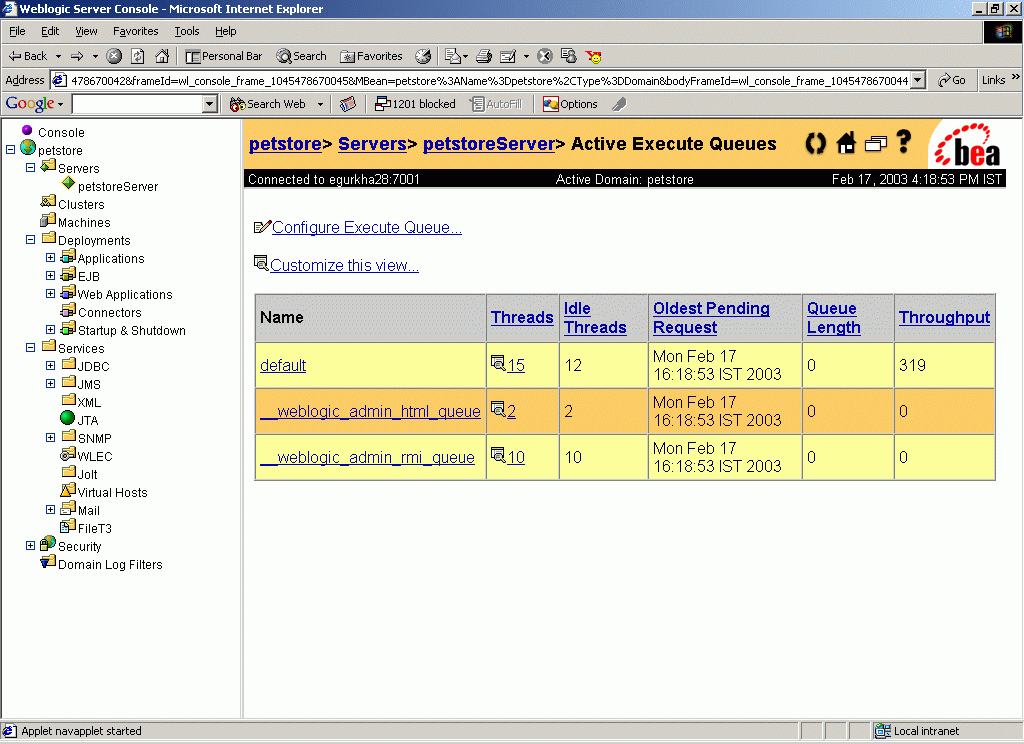
Click on the Monitoring tab in the right pane of Figure 3. Then, to configure a new execute queue, click on the Configure Execute Queue link the Monitoring tab of Figure 4.
-
Figure 5 that appears next will list the default execute queue on the WebLogic server. To create a new queue, click on the Configure a new Execute Queue link in Figure 5.
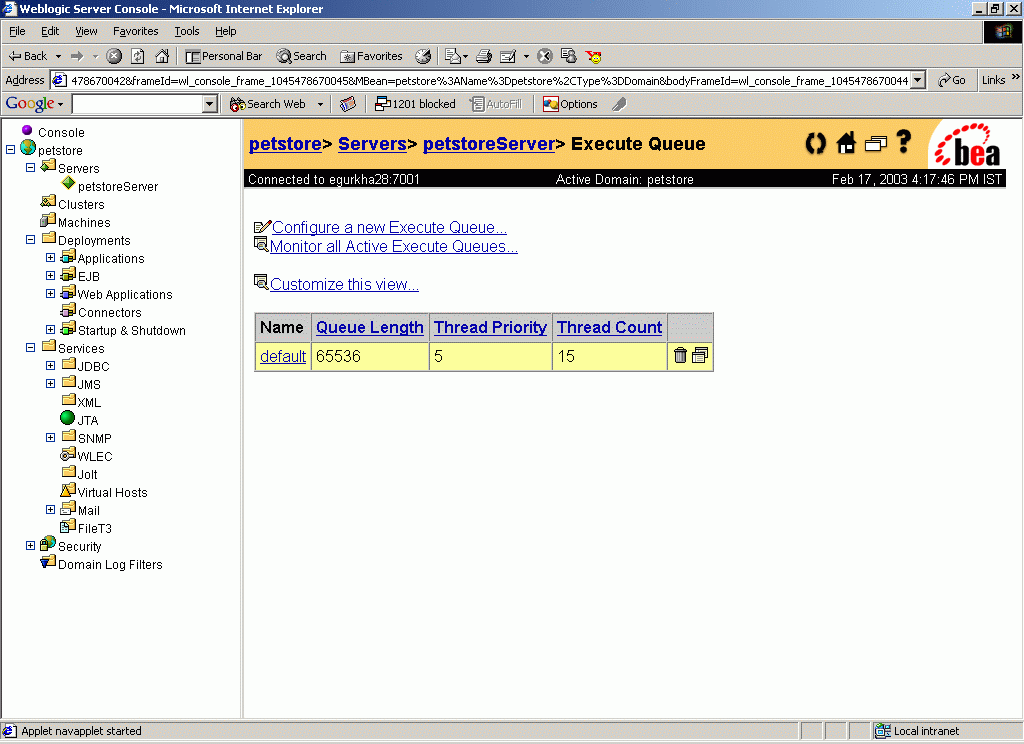
Figure 5 : Clicking on the Configure a new Execute Queue link
-
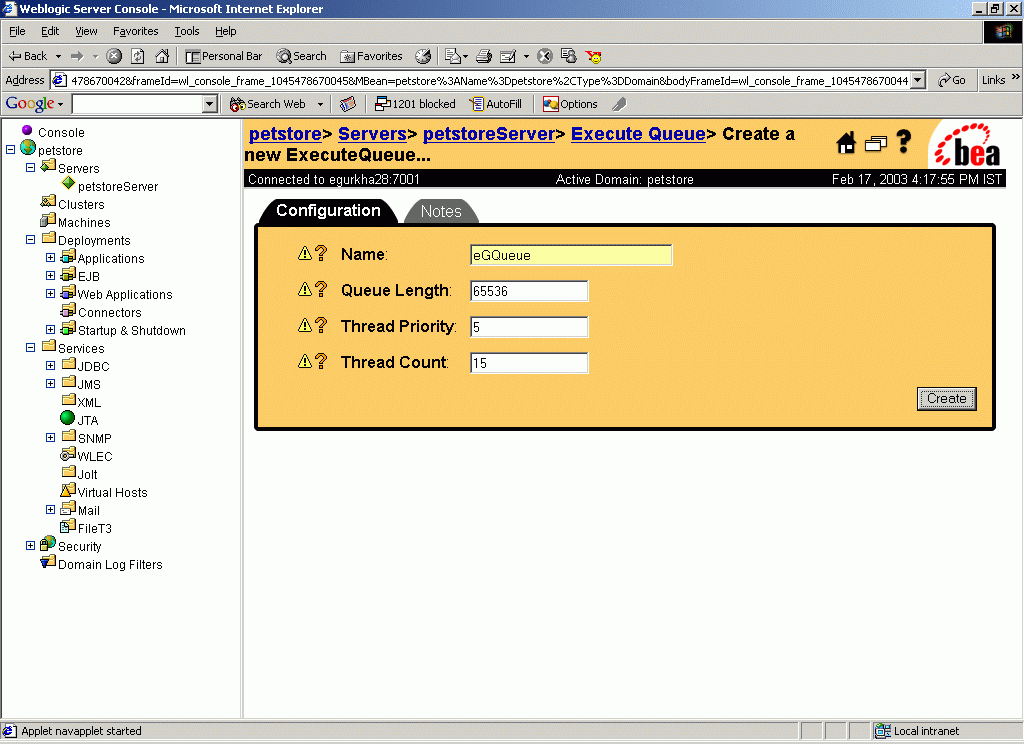
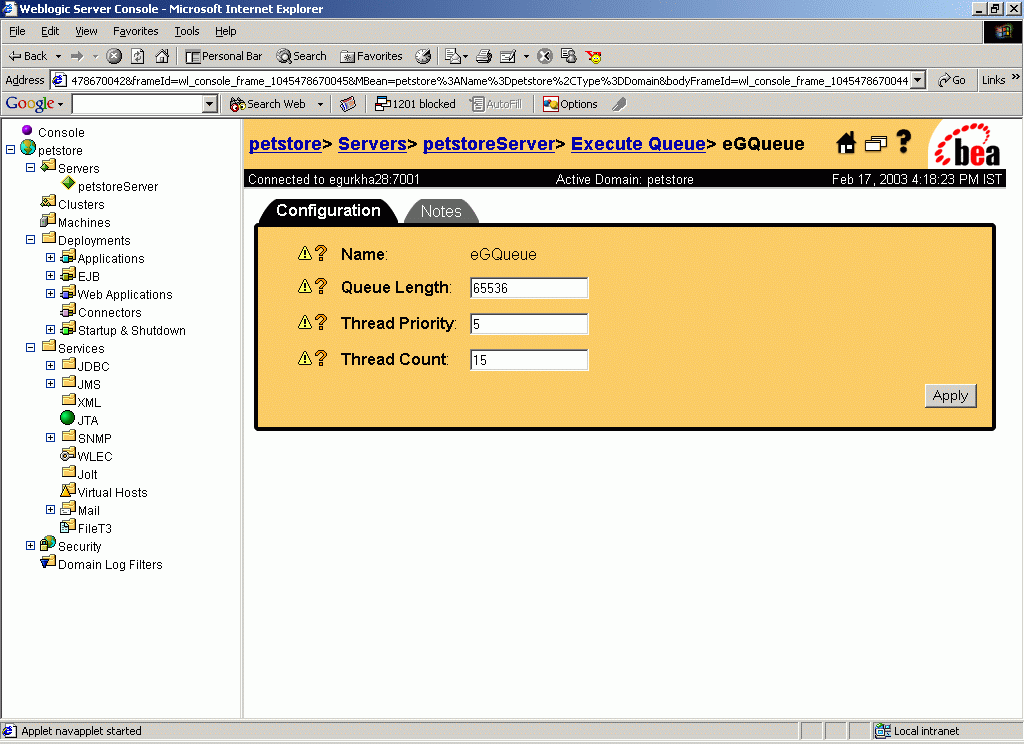
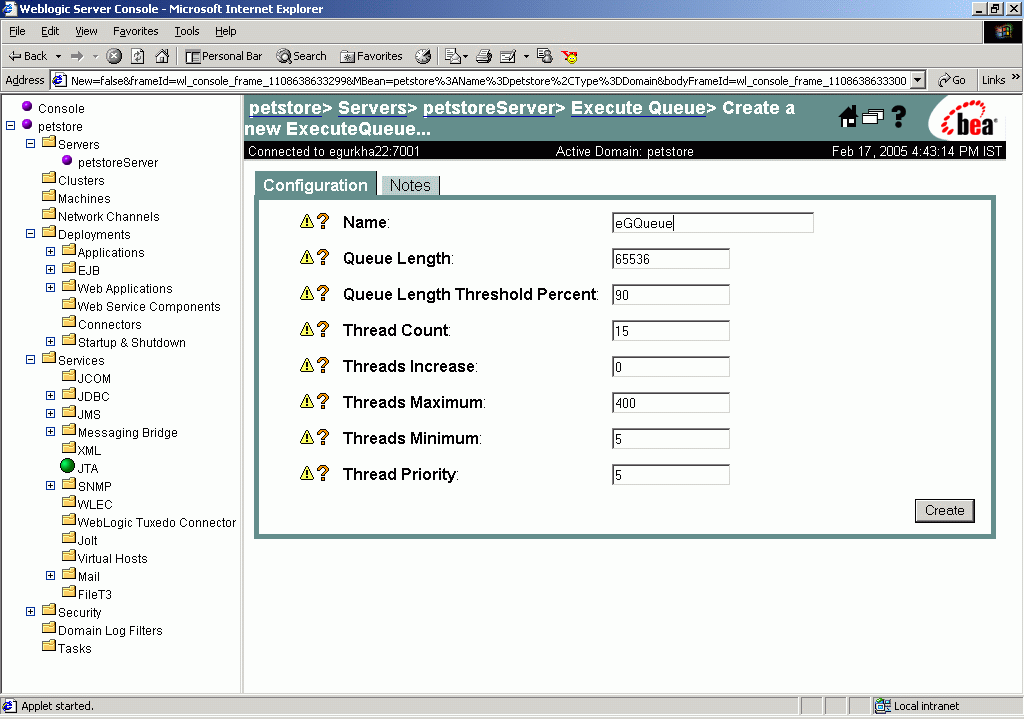
When Figure 6 appears, specify the Name of the new execute queue as eGQueue and click the Create button to create the queue.
-
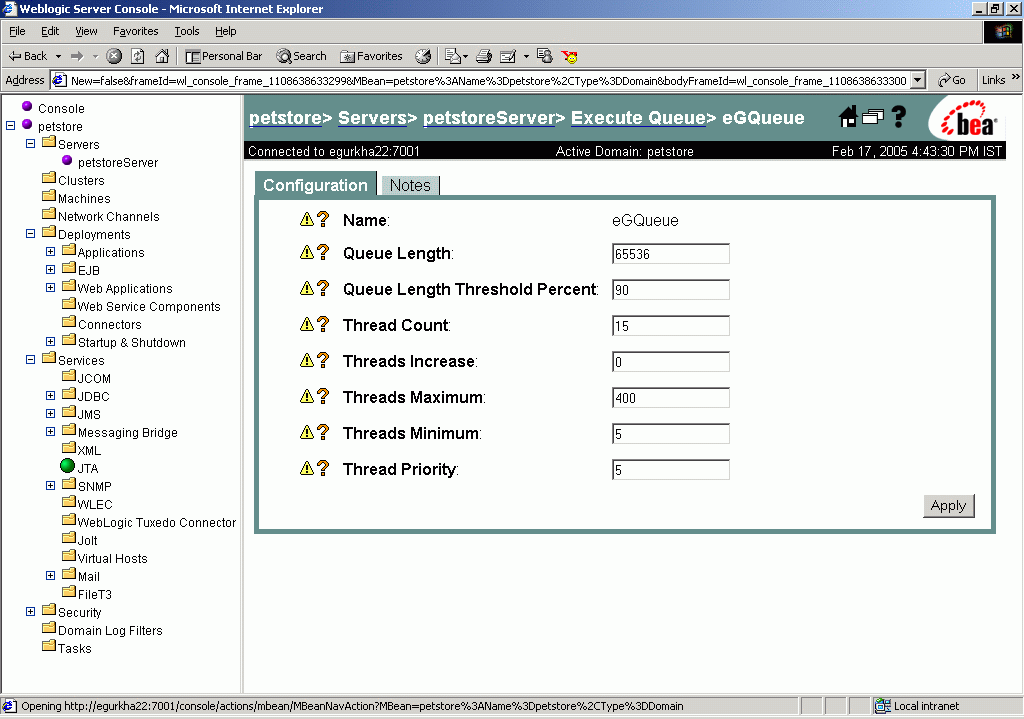
Finally, click on the Apply button in Figure 7 to apply the changes.
- Restart the WebLogic server.
Configuring an Execute Queue on WebLogic 7.0
To configure the special execute queue for eG on a WebLogic server 7.0, do the following:
- Connect to the WebLogic server console using the URL: http://<WebLogicServerIP>:<WebLogicServerPort>/console.
-
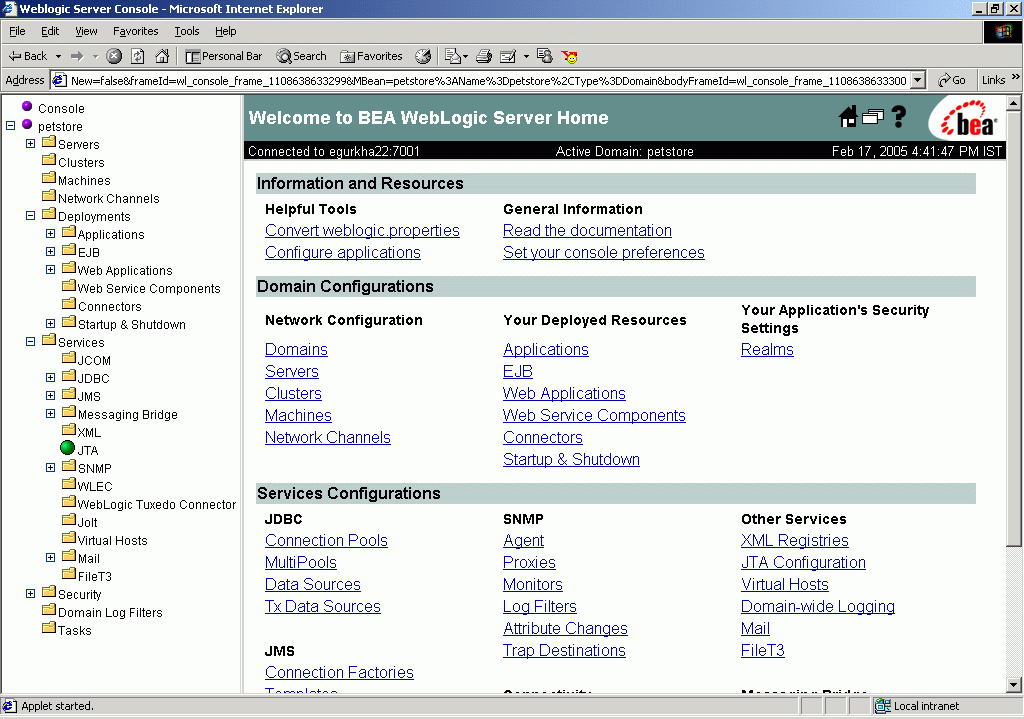
When prompted for a user name and password, provide the valid details and login to the console. Figure 8 then appears.
-
Expand the Servers node in the tree structure in the left pane of Figure 8, and click on the petstoreServer entry within. The properties of the selected server will then be displayed in the right pane (see Figure 9).
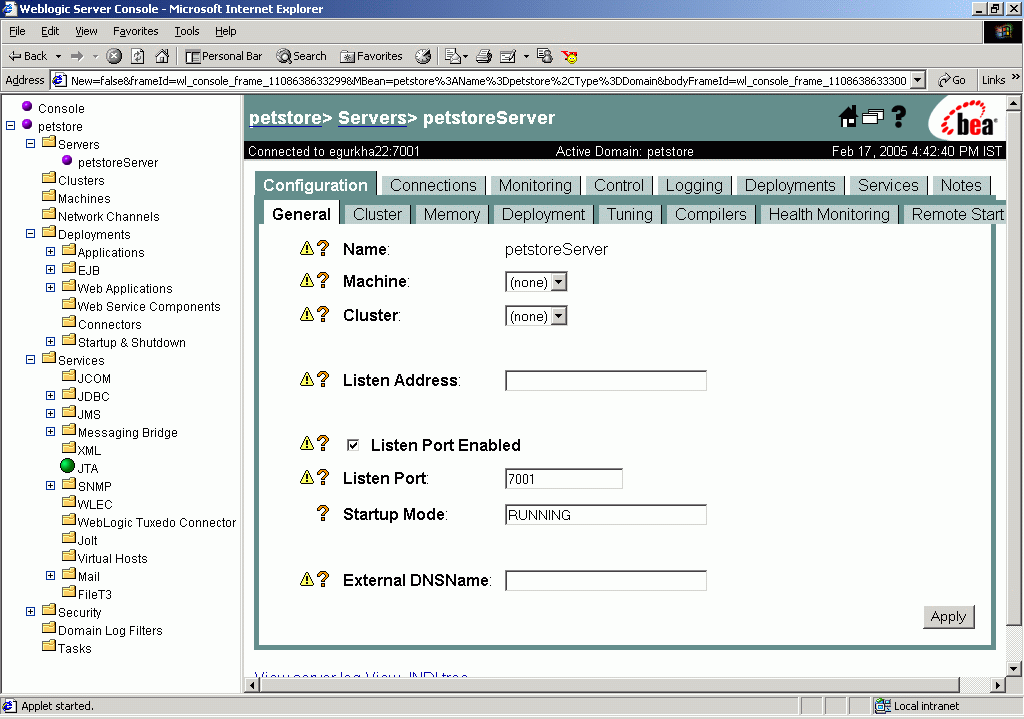
-
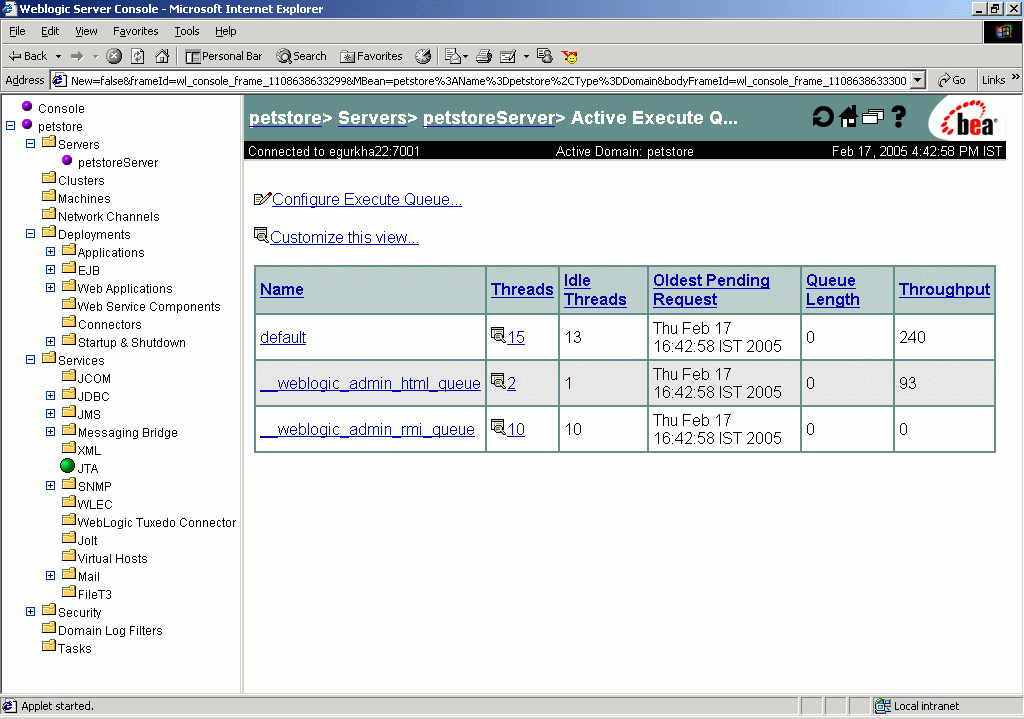
Click on the Monitoring tab in the right pane of Figure 9. Then, to configure a new execute queue, click on the Monitor all Active Queues link in the Monitoring tab of Figure 10.

-
Figure 11 that appears next will list the details of the execute queues on the WebLogic server. To create a new queue, click on the Configure Execute Queue link in Figure 11.
-
When Figure 12 appears, click on the Configure a new Execute Queue link in it.
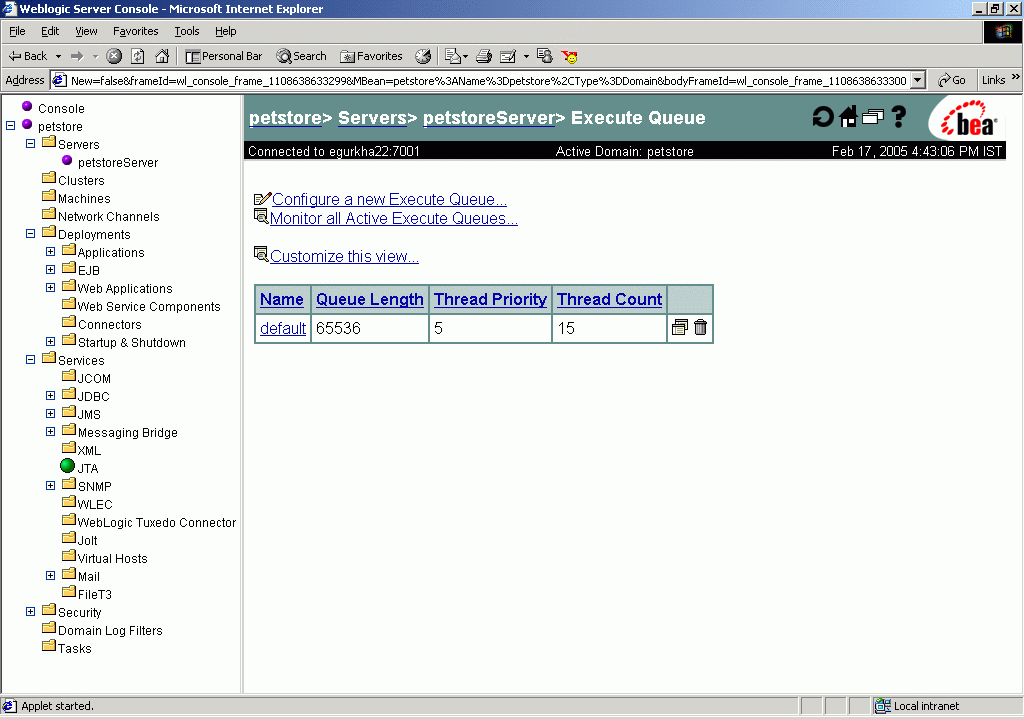
Figure 12 : Clicking on the Configure a new Execute Queue link
-
In Figure 13 that appears, specify eGQueue as the Name of the new execute queue and click the Create button therein to create the new queue.
-
Next, click on the Apply button in Figure 14 to apply the changes.
- Finally, restart the WebLogic server.
Configuring an Execute Queue on a Weblogic Server 8.1
To configure the special execute queue for eG on a WebLogic server 8.1, do the following:
- Connect to the WebLogic server console using the URL: http://<WeLogicServerIP>:<WebLogicPort>.
- When prompted for a user name and password, provide the valid details and login to the console.
-
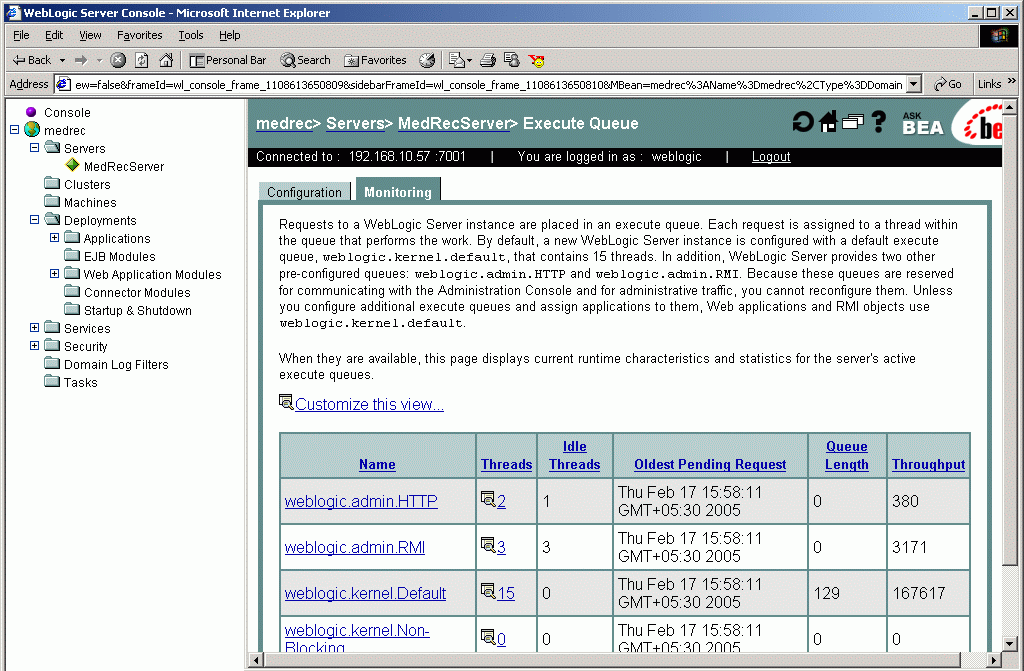
Expand the Servers node in the tree structure in the left pane of the WebLogic console, and click on the MedRecServer entry within. The properties of the selected server will then be displayed in the right pane. Now, click on the Monitoring tab in the right pane and click on the Monitor all Active Queues link within (see Figure 15).
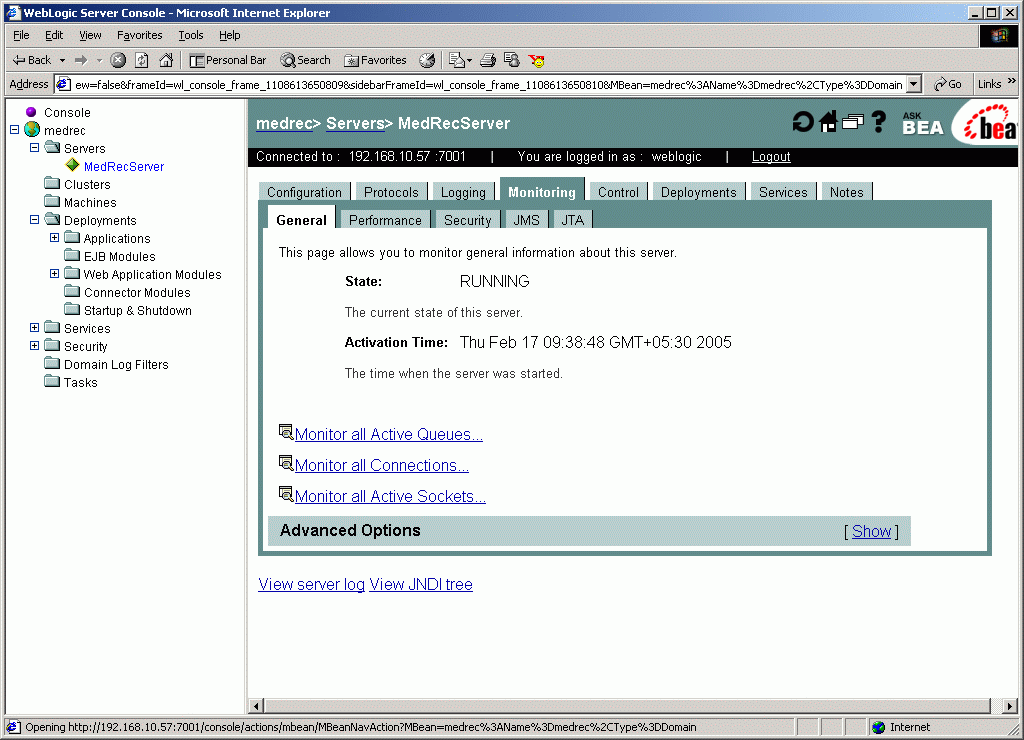
Figure 15 : Selecting the MedRecServer and clicking on the Monitor all Active Queues link
-
Figure 16 that appears next will list the details of the execute queues on the WebLogic server. To create a new queue, first click on the Configuration tab in the right pane of Figure 16.
-
When Figure 17 appears, click on the Configure a new Execute Queue link in it.
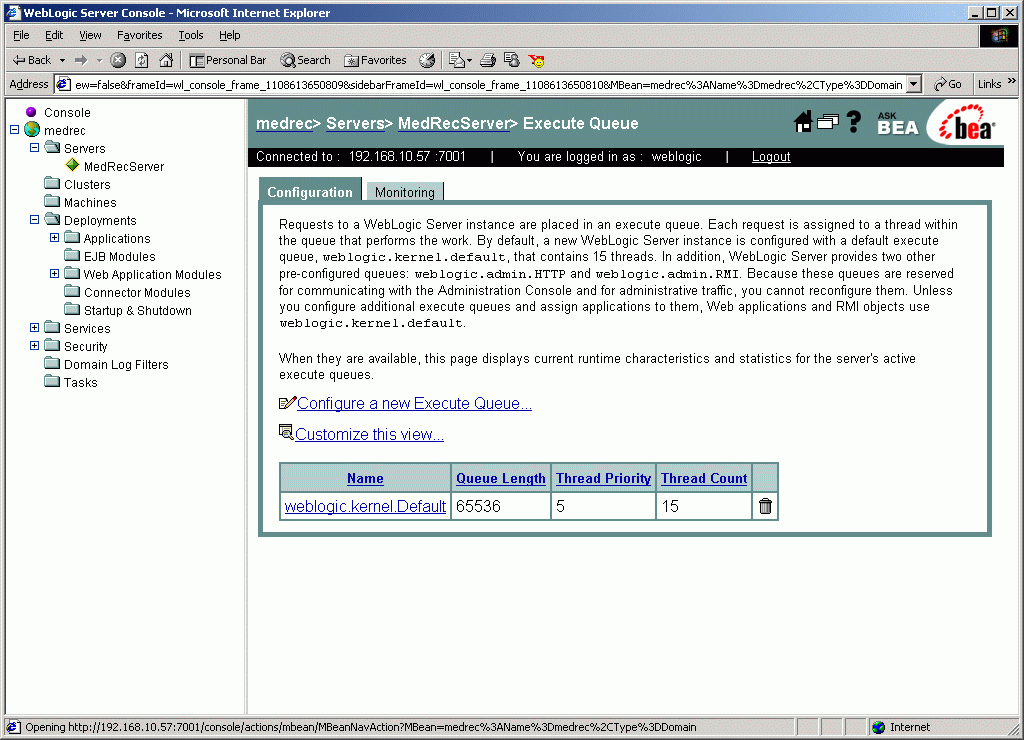
Figure 17 : Clicking on the Configure a new Execute Queue link
-
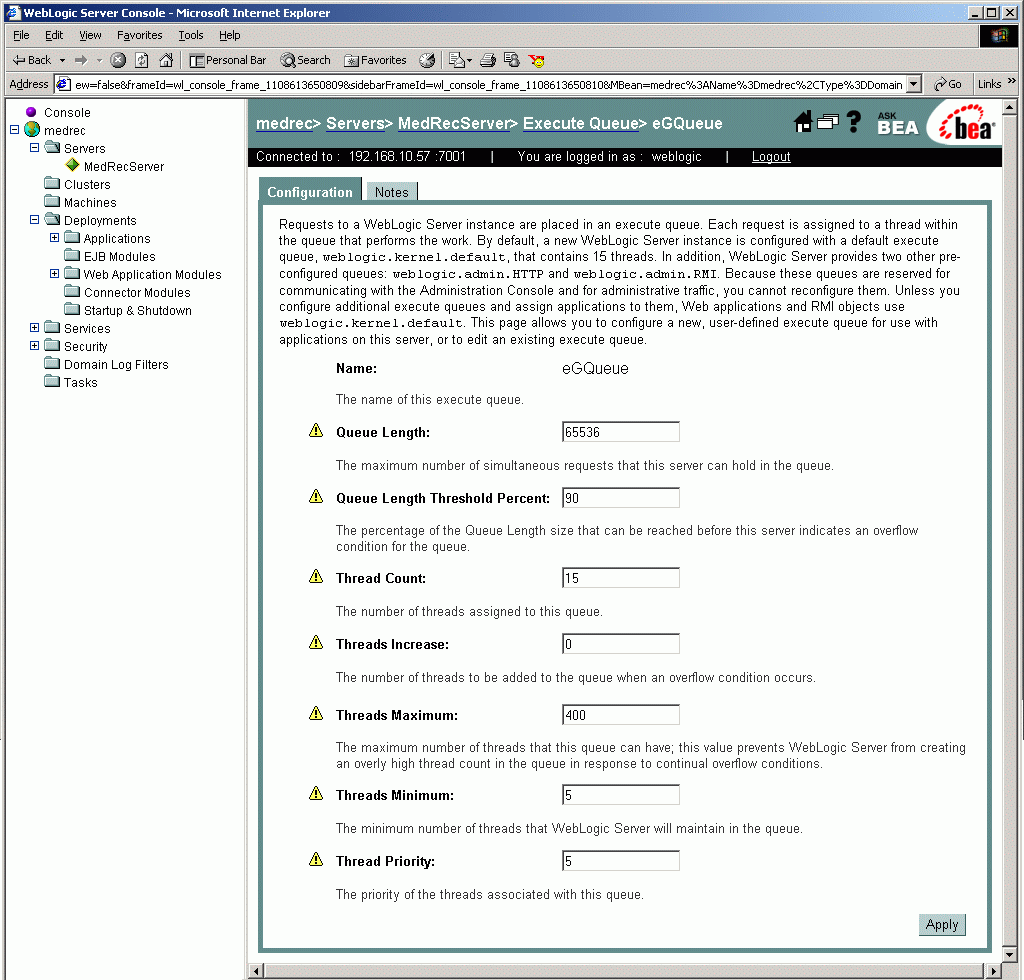
In Figure 18 that appears, specify eGQueue as the Name of the new execute queue and click the Create button therein to create the new queue.

-
Next, click on the Apply button in Figure 19 to apply the changes.
- Finally, restart the WebLogic server.