Deploying the 'egurkha.war' file on a WebLogic Server 8.1 in a Clustered Environment
The eG agent package contains a web archive file called egurkha.war. On Unix environments, this file will be available in the /opt/egurkha/lib location. On Windows environment, this file will be available in the <EG_HOME_DIR>\lib directory. This file has to be installed on the WebLogic 8.0 (and above) server in a cluster, which has to be monitored.
To deploy the egurkha.war file on a Oracle WebLogic application server 8.1 that requires monitoring, do the following:
- Connect to the admin server of the cluster using the URL: http:\\<Admin_server_IP>:<AdminPort>/console
-
Now, an authentication dialog (see Figure 1) that requires a username and password, will appear. Please contact your WebLogic administrator to find out the username and password to use to login to the WebLogic console.
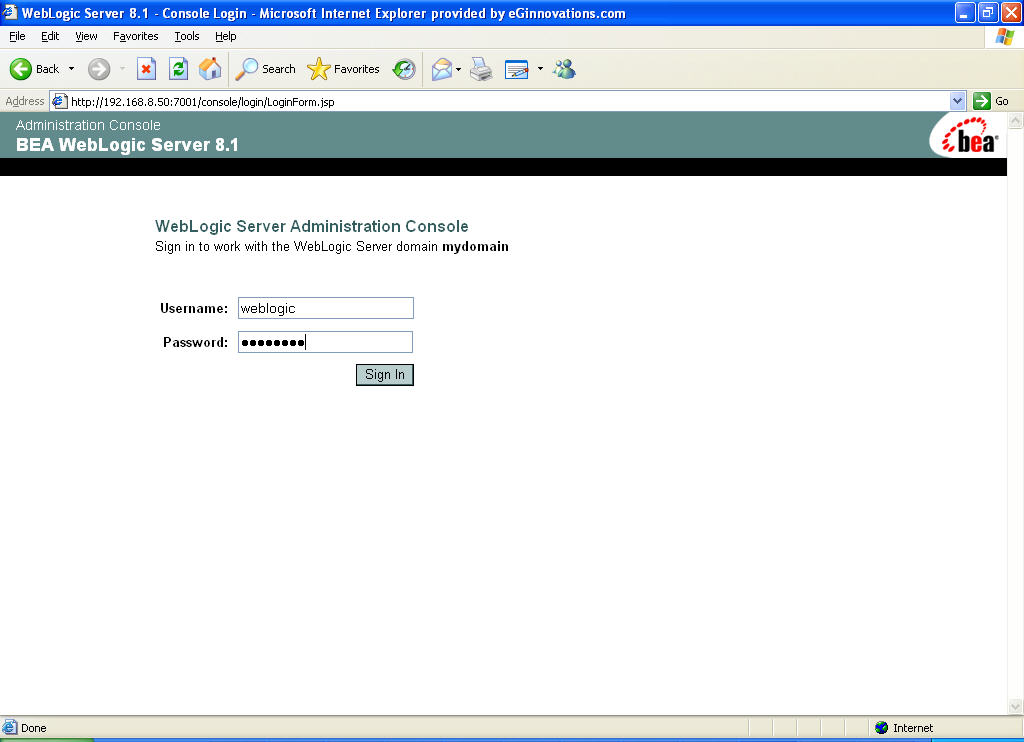
Figure 1 : Specifying user name and password in the authentication dialog box
-
Upon successful authentication, the following WebLogic Administration console will appear (see Figure 2).
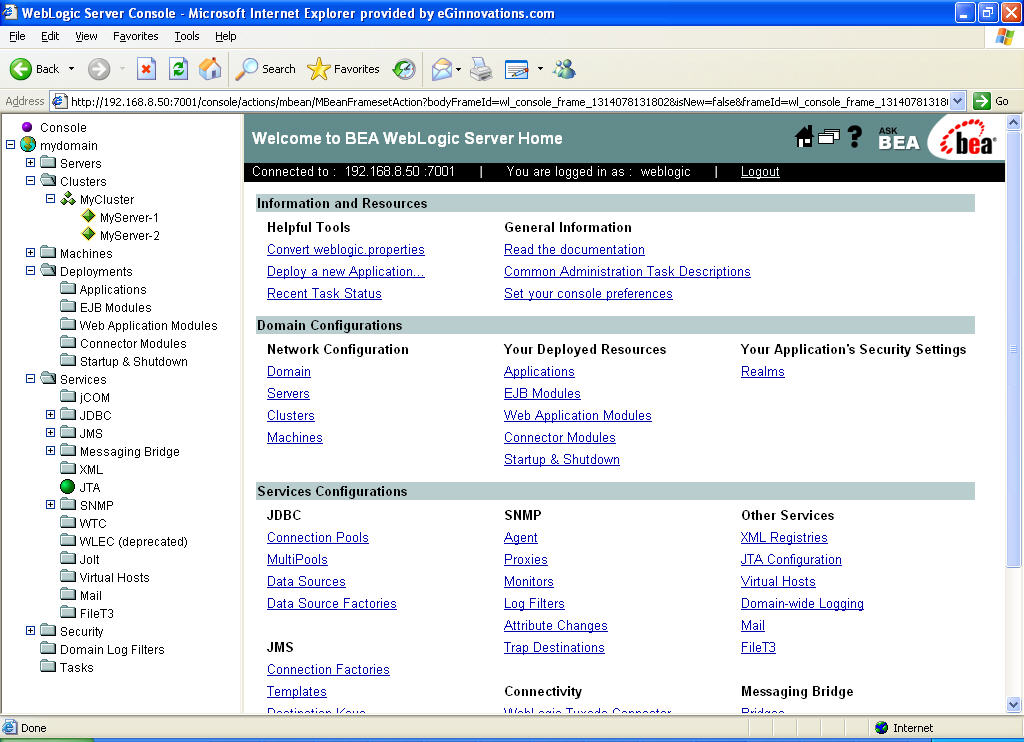
Figure 2 : The Administration Console of the Oracle WebLogic server 8.1
-
From the right panel, choose the Web Application Modules link under the Domain Configurations group. The following screen will then appear:

Figure 3 : Screen where you can install or update an Application
-
From the right panel, choose the Deploy a new Web Application Module option, which will bring the screen represented by Figure 4 to light. Next, using the Browse button in the right panel, select the egurkha.war file (see Figure 4) from the <EG_HOME_DIR>\lib directory (in Unix, this will be /opt/egurkha/lib) and then, click on the Upload button.
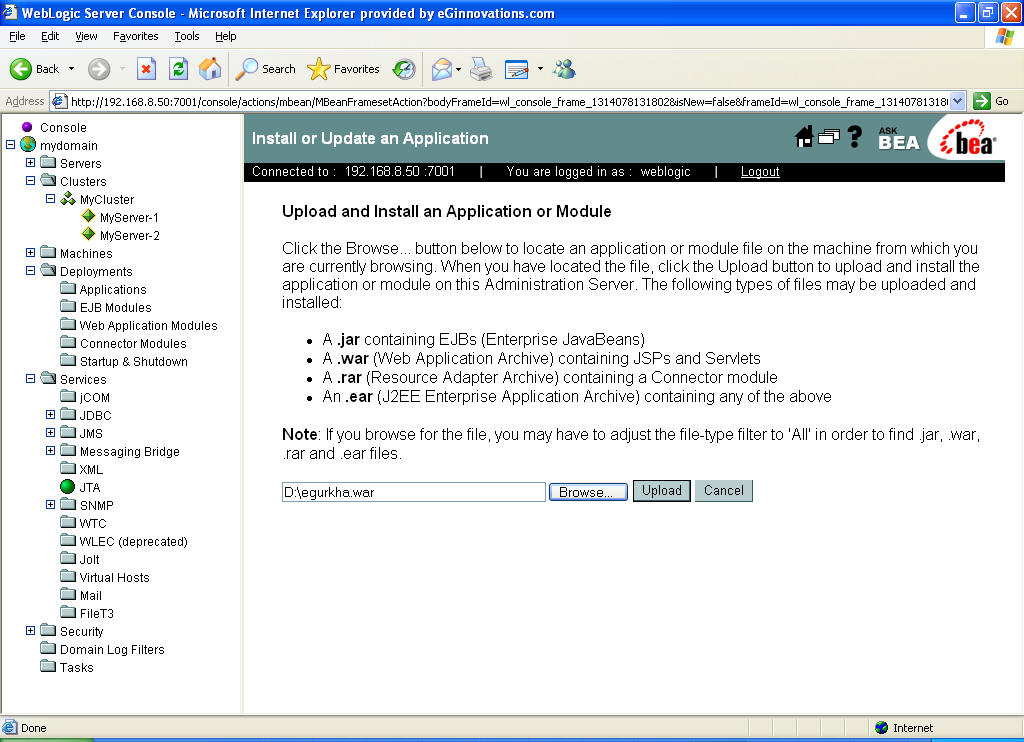
Figure 4 : Specifying the location of the “egurkha.war” file
Note:
By default, the egurkha.war file will be searched for in the local disk of the system from which the browser is launched. Therefore, if you are trying to access the WebLogic console from a system that does not host an eG agent, then, before attempting to deploy the egurkha.war file, copy the war file from the <EG_HOME_DIR>\lib directory (in Windows environments. In Unix, this will be /opt/egurkha/lib) of an agent host, to your local disk. Then, proceed to perform the war deployment.
-
Next, select the archive path for the web application module being deployed. For this, use the Location links in Figure 5 to browse the location of the egurkha.war file, and then select the egurkha.war option as indicated by Figure 6. Then, click on the Target Module button therein.
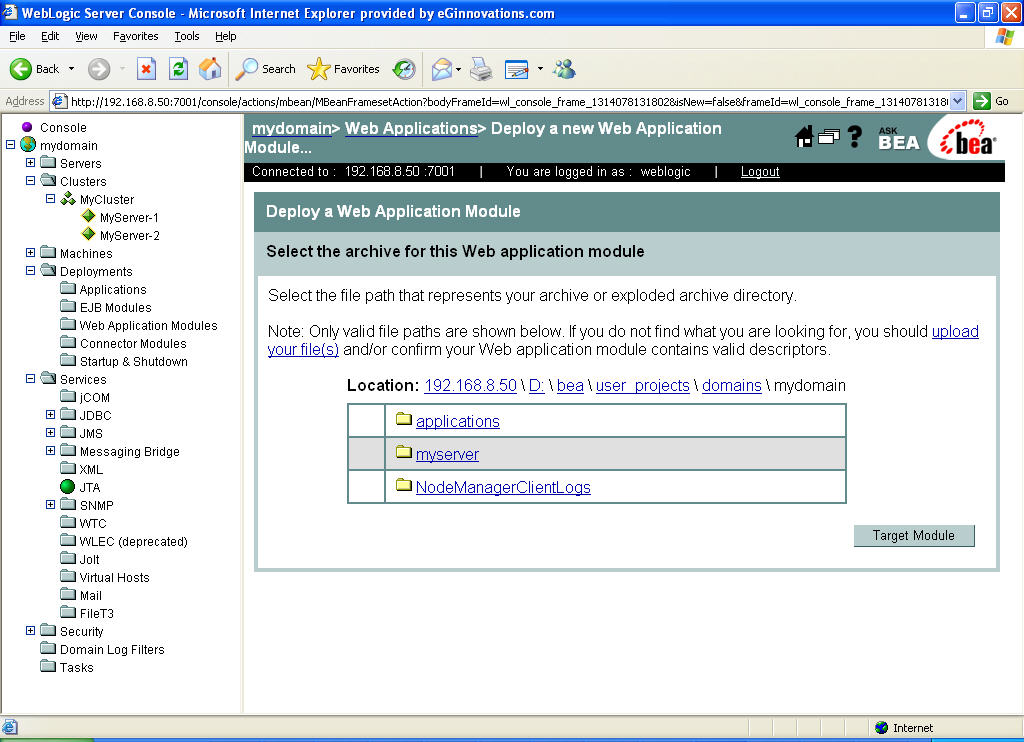
Figure 5 : Browsing the location of the 'egurkha.war' file using the Location links

-
Figure 7 will then appear listing the clustered and non-clustered (independent) WebLogic instances that are available. Select the instance(s) on which the egurkha.war file is to be deployed by selecting the corresponding check boxes or radio buttons. Then, click the Continue button.
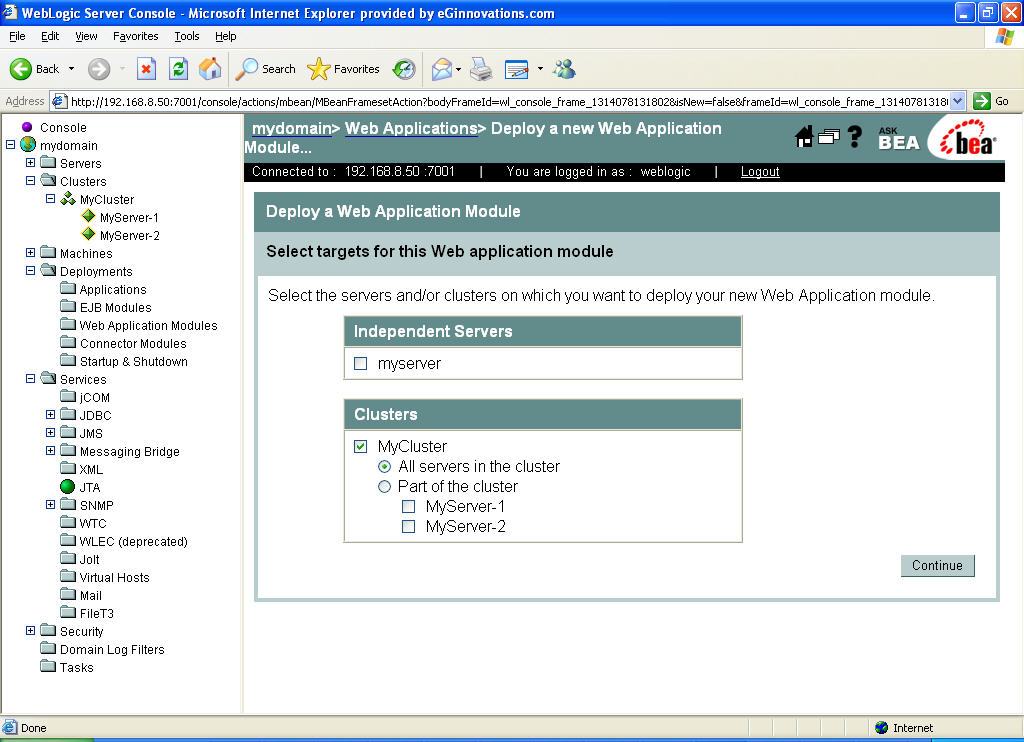
Figure 7 : Selecting the WebLogic instance on which the WAR file is to be deployed
-
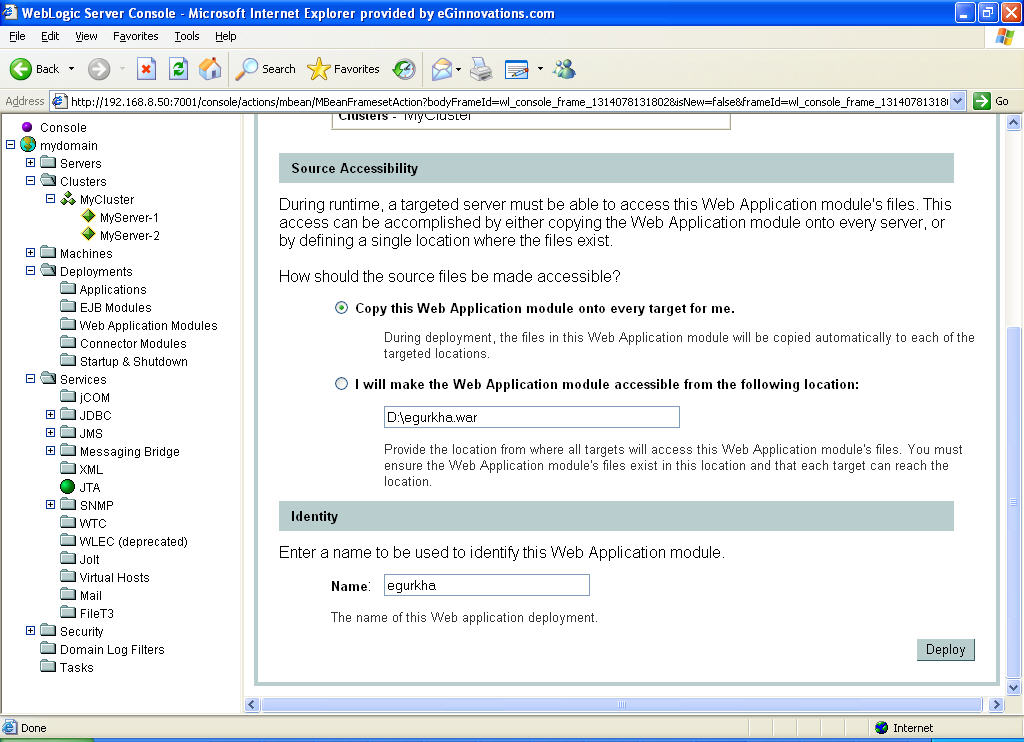
A summary of the details specified will then appear, to enable their review and reconfirmation (see Figure 8). Provide a name to identify the web application module being added in the Name text box of Figure 8.
-
Finally, click on the Deploy button in Figure 8. Upon successful deployment, Figure 9 will appear.
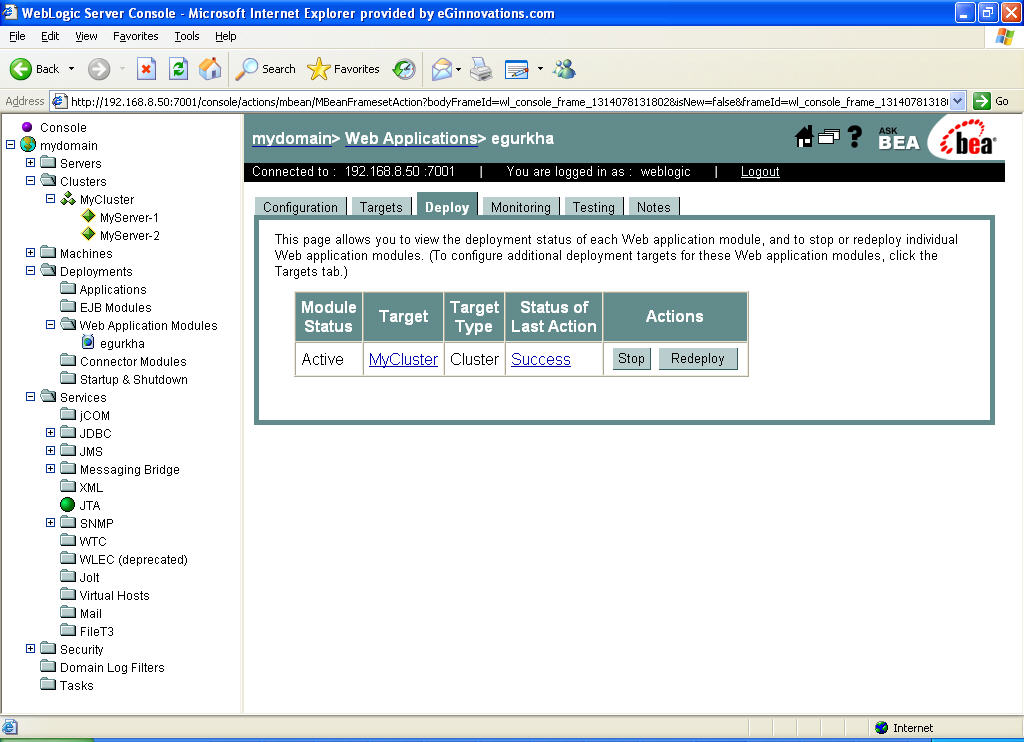
Figure 9 : Successful deployment of the egurkha.war file on a WebLogic Server 8.x in a cluster