
Downloading the SAP JCO Connector files Required for Monitoring
If the target SAP ABAP Instance is installed on a Unix environment, then, execute the uname -a command to figure out the exact operating system name and the kernel bit version of the operating system. Using this information, proceed to locate the appropriate zip file for the operating system and the bit version of the eG agent.
Follow the steps below to download the SAP JCO Connector files:
- Navigate through the SAP Support Portal Home -> Products -> SAP Java Connectors page.
-
Scroll down to the latest Download SAP Java Connector (version) SDK section. Note that version mentioned is the actual release version of SAP Java Connector. If the actual release version is 3.1, you may need to scroll down to the Download SAP Java Connector 3.1 SDK section.
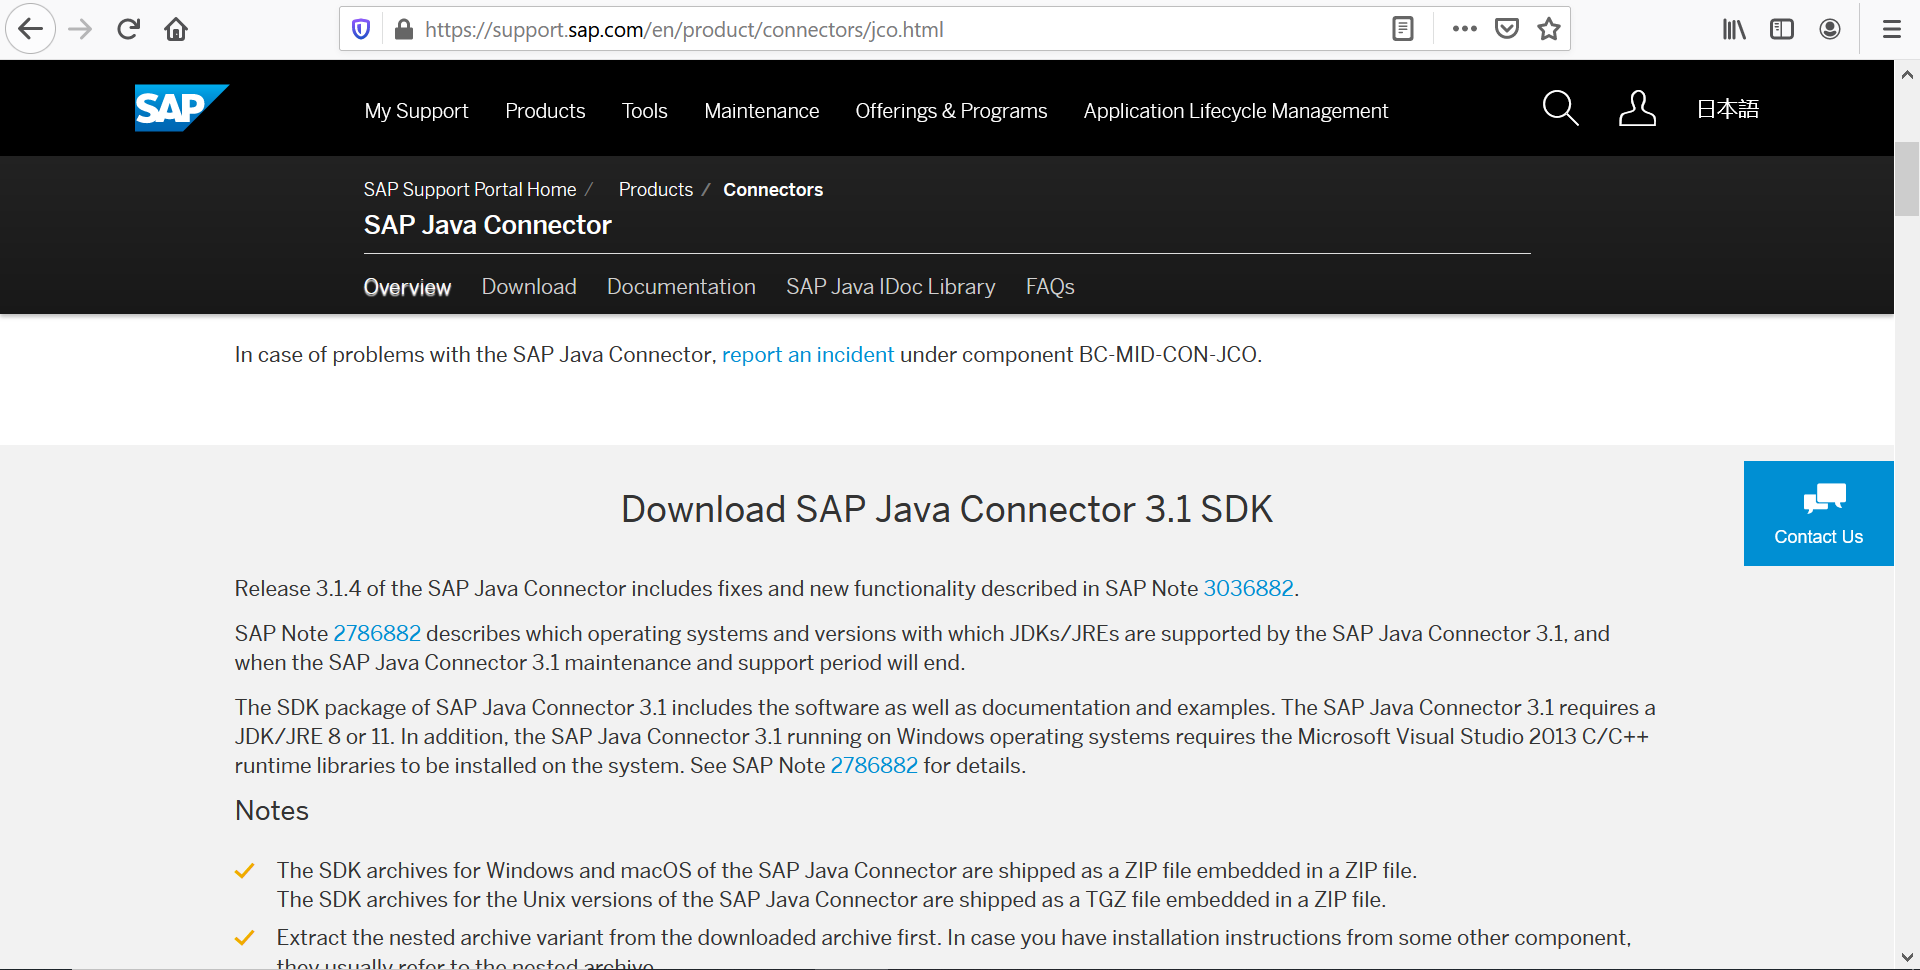
Figure 1 : Locating the Download SAP Java Connector 3.1 SDK section
-
Locate the appropriate link for downloading the JCO based on the operating system and bit version of the eG agent. For example, if a Windows 2012 64-bit agent is to be used for monitoring the SAP ABAP instance, click the link 64-bit x86 in the Processor column against the Microsoft Windows and Windows Server section.
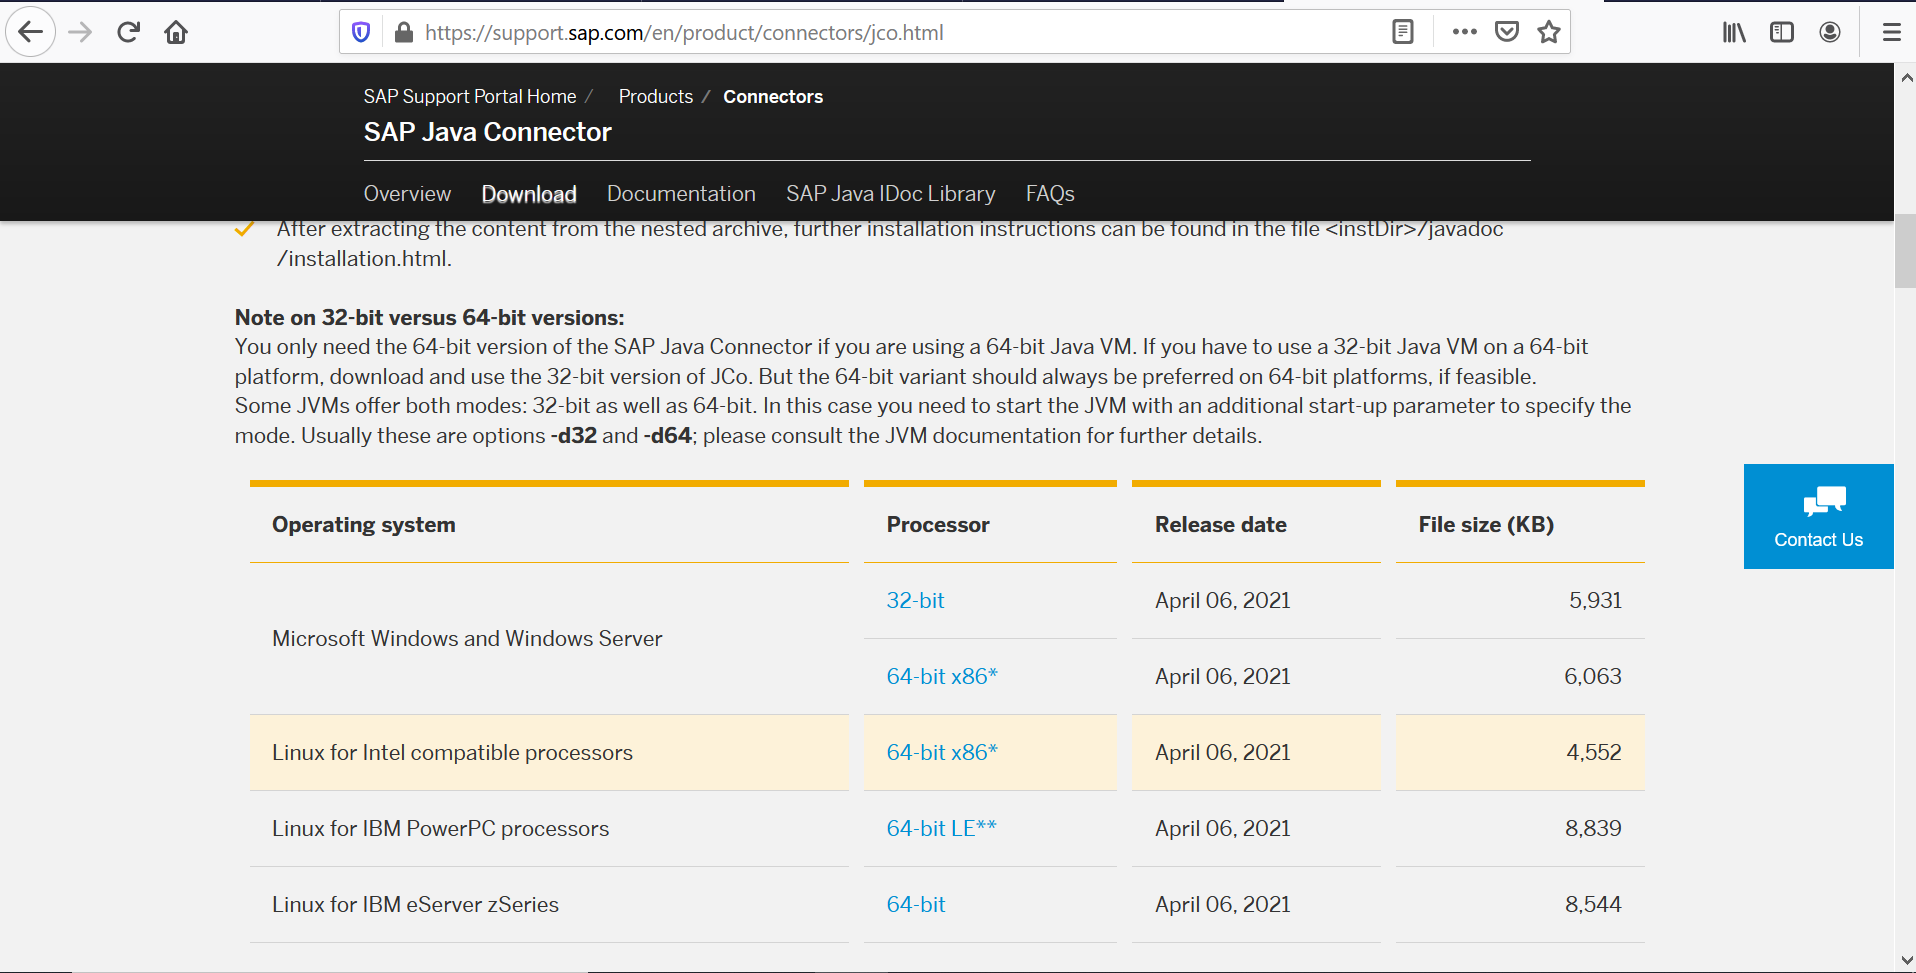
Figure 2 : Downloading the zip file that corresponds to the operating system and bit-rate of eG agent
- Once you click the link, you will be prompted to login with your service market place ID.
- Download the zip file to any location on the eG agent host.
- Extract the contents of the zip file to the same location.
-
If you have downloaded a Windows JCO 3.1 to a Windows agent host, then, from the extracted contents, copy the following files alone to the <EG_AGENT_INSTALL_DIR>\agent\lib directory on Unix, this will be the):
- sapjco3.jar
-
sapjco3.dll
-
If you have downloaded a Unix JCO 3.1 to a Unix agent host, then copy the following files alone to the /opt/egurkha/agent/lib directory:
- libsapjco3.so
- sapjco3.jar
- If you have downloaded the Windows JCO 3.1, then remember that for it to work, appropriate Visual C++ runtime DLL files should also be installed on the eG agent host. For that, first go to the URL: http://www.microsoft.com/en-us/download/details.aspx?id=14431
- Click Download and choose the correct vcredist_<bit_version>.exe file as per the eG agent’s bit version.
- Execute the downloaded vcredist.exe file to install the appropriate VC++ runtime dlls.
- Restart the eG agent.
Troubleshooting
In some Unix environments where a 64-bit eG agent is used to collect metrics from the target SAP ABAP Instance, sometimes, the eG agent failed to detect the downloaded SAP Java Connector. This was because, the eG agent started in 32-bit JVM mode by default instead of the 64-bit JVM mode. This caused a mismatch with the downloaded 64-bit SAP Java Connector. When this happens, the tests pertaining to the SAP ABAP Instance failed validation and invocationtargetexception error was logged in the error log of the eG agent. Sometimes, when the eG agent was run in debug mode, errors such as unsatisfiedlinkerror and exceptionininitializererror were noticed in the agentout file.
To overcome this issue and to ensure that the eG agent detects the downloaded SAP JCO Connector, the eG agent should start in 64-bit JVM mode by default. For this, you may need to edit the start_agent file available in the /opt/egurkha/bin folder. For this, follow the steps below:
-
Stop the eG agent.
-
Take a backup of the start_agent file available in the /opt/egurkha/bin folder.
-
Open the start_agent file and edit the line that starts with ‘nohup’. Include -d64 soon after nohup /opt/egurkha/jre/bin/java as shown below:
nohup /opt/egurkha/jre/bin/java -d64 -Xrs -Xss2m -Deg.name=EgMainAgent -Djavax.xml.soap.SAAJMetaFactory=com.sun.xml.messaging.saaj.soap.SAAJMetaFactoryImpl -XX:+SuppressFatalErrorMessage -XX:ErrorFile=/dev/null -XX:HeapDumpPath=/dev/null -XX:-CreateCoredumpOnCrash --add-opens java.management/sun.management=ALL-UNNAMED --add-opens java.base/java.lang=ALL-UNNAMED -Deg.logback.configurationFile=/opt/egurkha/lib/eg_logback.xml $XMX -Dsun.net.inetaddr.ttl=900 -Dhttp.keepAlive=false -Djdk.http.auth.tunneling.disabledSchemes= -Doracle.jdbc.timezoneAsRegion=false EgMainAgent -manager $host -port $portNo -dir /opt/egurkha -ssl n -highSecurity false > /opt/egurkha/agent/logs/aout 2> /opt/egurkha/agent/logs/aerr & sleep 5
-
Save the file and restart the eG agent.
