Installing the eG Console Tasks Application
The eG Console Tasks application enables users to the SCOM console to instantly launch the eG monitoring console from the SCOM console itself. This way, users can take the help of analytical and daignostic tools provided by the eG monitoring console to investigate performance setbacks experienced by eG-managed components. To install this application, do the following:
- Login to the SCOM console's host.
- Download the eG SCOM Console Tasks.zip file from the URL that is provided to you, to any location on the SCOM host.
- Extract the contents of the zip file and then run the eG SCOM Console Tasks.msi file within.
- Then, switch to the directory that holds the downloaded executable, and double-click on it.
-
Figure 1 will then appear.
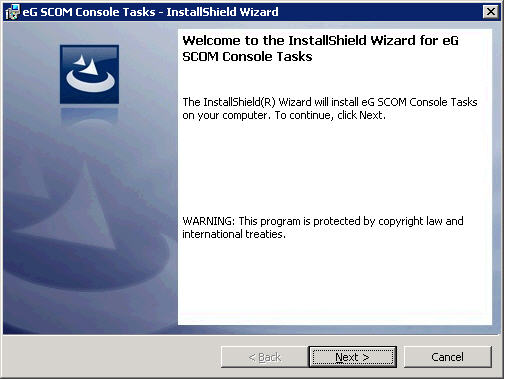
Figure 1 : Welcome screen of the Console Tasks Application wizard
-
Click Next on Figure 1 to proceed. When Figure 2 appears, click Install to begin installing the eG Console Tasks application.
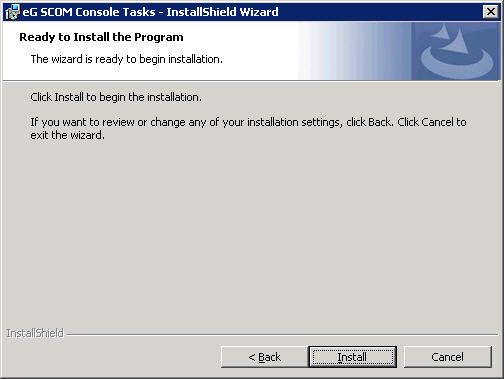
Figure 2 : Click 'Install' to install the eG Console Tasks application
-
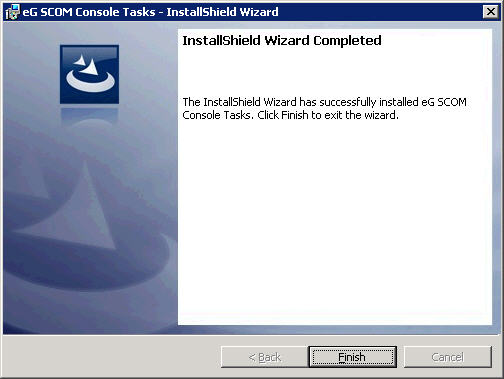
Upon completion of installation, click the Finish button in Figure 3.
-
If you now click on the Diagnose using eG option in the Actions pane of your SCOM console, you will be prompted for the login credentials (see Figure 4) for accessing the eG monitoring console. This prompt will appear only when you click the Diagnose using eG option for the very first time. Provide valid login credentials and click the ok button in Figure 4. This will automatically invoke the eG monitoring console. The same credentials will be used to launch the eG monitoring console during all your subsequent attempts to Diagnose using eG.
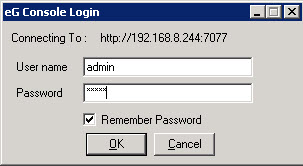
Figure 4 : Login credentials for accessing the eG management console