The User Profile Window
Whenever a user logs into the eG administrative interface, he/she can view/edit his/her profile by clicking the  icon in the toolbar of the eG management console. The USER PROFILE drop-down window then appears (see Figure 1). This window allows the user who is logged into the eG management console to quickly edit his/her profile.
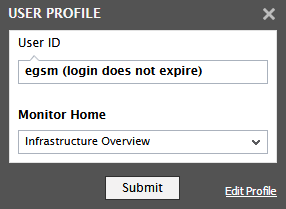
Figure 1 : The User Profile window
By default, Figure 1 shows the current settings of the user. The User ID text box displays the login ID of the user. The default page that the user needs to view upon navigating to the eG monitoring console is displayed in the Monitor Home list. By default, the Infrastructure Overview is chosen from this list. If the user has not configured any of the above, then he/she can configure the same from this window and click the Submit button. If the user wishes to edit his/her profile, then, he/she can click the Edit Profile link in Figure 1.
Upon clicking the Edit Profile link in Figure 1, Figure 2 appears.
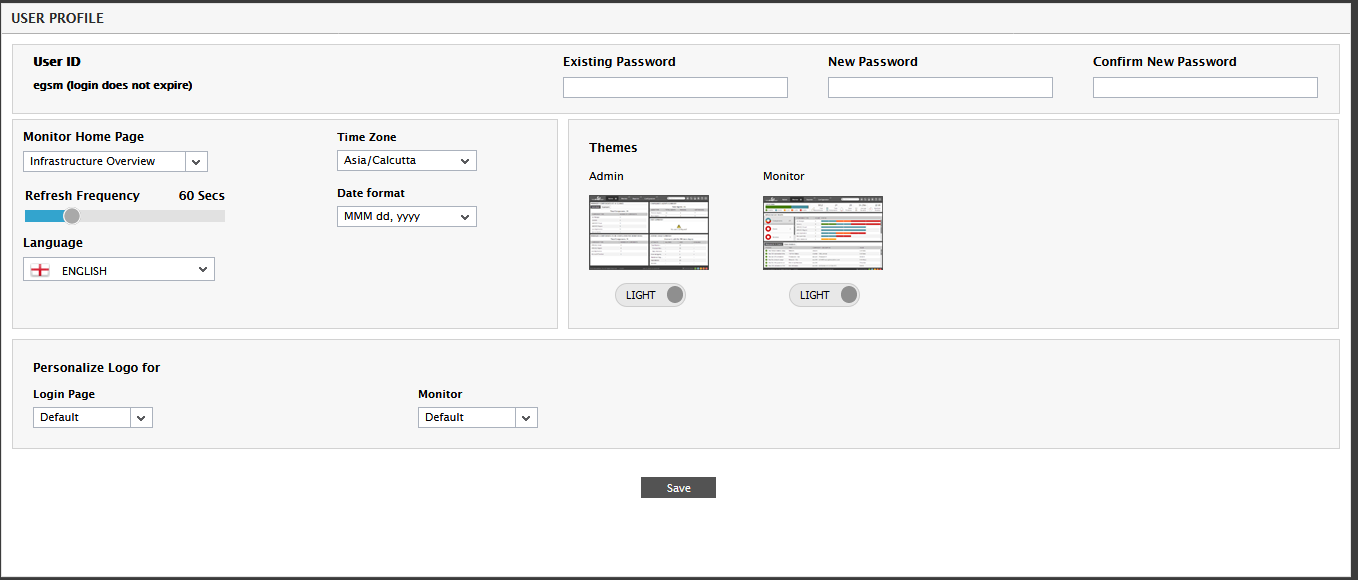
Figure 2 : The USER PROFILE page that is used to edit the user preferences
Using Figure 2, the user is allowed to change his/her password. To provide a new password, the user should specify the Existing Password and then specify a password in the New Password text box. To confirm the password, it is necessary to enter the new password in the Confirm Password text box.
Monitor Home Page: By default, the Infrastructure Overview appears as the home page of the eG monitoring console - i.e., as soon as a user logs into the monitoring console, the Infrastructure Overview appears as the first page by default. eG Enterprise however, allows administrators to set any page they deem fit as the Monitor Home Page for individual users to the eG monitoring console. This way, every user, upon logging into the eG monitor interface, is enabled to view straight up the information that interests him/her the most, thereby saving time and minimizing the mouse clicks that may be required to navigate to that information!
The home page preference is typically driven by the monitoring needs of specific users and the roles assigned to them. For instance, a service manager, who is responsible for minimizing/eliminating service outages, would want to know on login how all the critical services in the environment are performing currently, and which services are in an abnormal state. For this purpose, administrators may want to set the Service List as the home page of such users.
Refresh Frequency: Indicates how often the web pages of the eG monitor module need to be refreshed. By default, this is set to 60 seconds.
Date format to be used: The default date format for the eG user interface is MMM dd, yyyy. This date format can be changed depending upon the country in which the user being created lives, by selecting a different format from the Date format list. Whenever this user logs in, the eG user interface will display dates in the chosen format only. This is particularly useful in MSP environments, where customers of the MSP could be separated by geographies and may require performance and problem reports of their hosted enivonments to be delivered in the date format that applies to their geography.
Language: The eG SuperManager provides multi-language support, but the default language is 'ENGLISH'. To configure the eG SuperManager to support a different language by default, select the language of your choice from the Language list.
Time Zone: eG Enterprise is often deployed to manage servers in different geographies and time zones. For example, a large enterprise may have a central eG Enterprise management console to which agents from different locations can be reporting. In a managed service provider environment, multiple customer infrastructures can be monitored from the same eG SuperManager. In such situations, users (administrators in different geographies, customers of an MSP in different regions) prefer to see the performance metrics reported in their respective time zones. eG Enterprise allows time zones to be associated to each user’s profile. By default, all users are associated with the local time zone of the location where the eG SuperManager is hosted. However, an administrator can change the time zone preferences of a user to suit that user’s requirements. For this, when creating a user profile, the administrator can pick a Time zone for that user. When that user logs into the eG Enterprise console, all the metrics, alerts, and reports that the user accesses will be displayed in the respective local time zone. This capability ensures that eG Enterprise users receive a completely ‘local’ experience, regardless of which part of the world the eG SuperManager is located in.
Themes: eG Enterprise has a refreshing new user interface. Designed based on Web 2.0 concepts, the eG Enterprise interface is visually appealing, easier to navigate, intuitive, and fluid. The interface is designed to be pleasing on the eye, to be easier to navigate, so that users can get to the tasks they need to perform faster, and to function well over local and wide area networks and on any device (including tablets and big screens). A clear separation between the visual representation and the data that is rendered ensures that only changes in data values are sent over the network, leading to bandwidth optimization. Users can now choose between a light and dark color theme based on their tastes for all the modules offered by the eG Enterprise. If the user wishes to choose a dark theme for the monitor module, then he/she may click the Light button below the Monitor option.
Personalize Logo for: Each user of the eG Enterprise system is allowed to configure a custom logo that is displayed in the eG user interface on all the modules. This way, different users can see different logos in the eG user interface. Accordingly, the user can set a different logo for the login screen and set another logo for the different modules offered by the eG Enterprise system. By default, the Default option is chosen from the Login Page. If Custom option is chosen from this list, then an Upload button appears.
Clicking the Upload button opens Figure 3 where the user would be allowed to upload the image of his/her choice. In the Custom Logo text box, the user can specify the full path to the image file to be uploaded using the Browse button therein and click the Upload button.
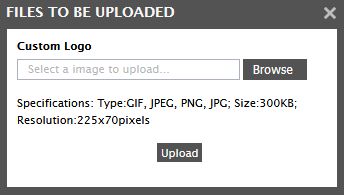
Figure 3 : Uploading a custom logo
Similarly, the custom logo can be applied for the Admin/Monitor consoles of the eG Enterprise system. By default, the check box against the Apply to other modules option is checked implying that the logo that is uploaded would apply to other modules too. If the user wishes to upload for a particular module alone, then he/she can uncheck this check box.
Clicking the Save button will register the changes made.
Note:
The egsm user is alone entitled to modify the user profile settings. The same settings are applicable to all other users logging into the eG SuperManager.