Configuring the eG Agent to Monitor Omnissa Horizon Workspace ONE Access
To enable the eG agent to monitor the target Omnissa Horizon Workspace ONE Access, you need to perform the following broad steps:
- Create a Client in the target Omnissa Horizon Workspace ONE Access
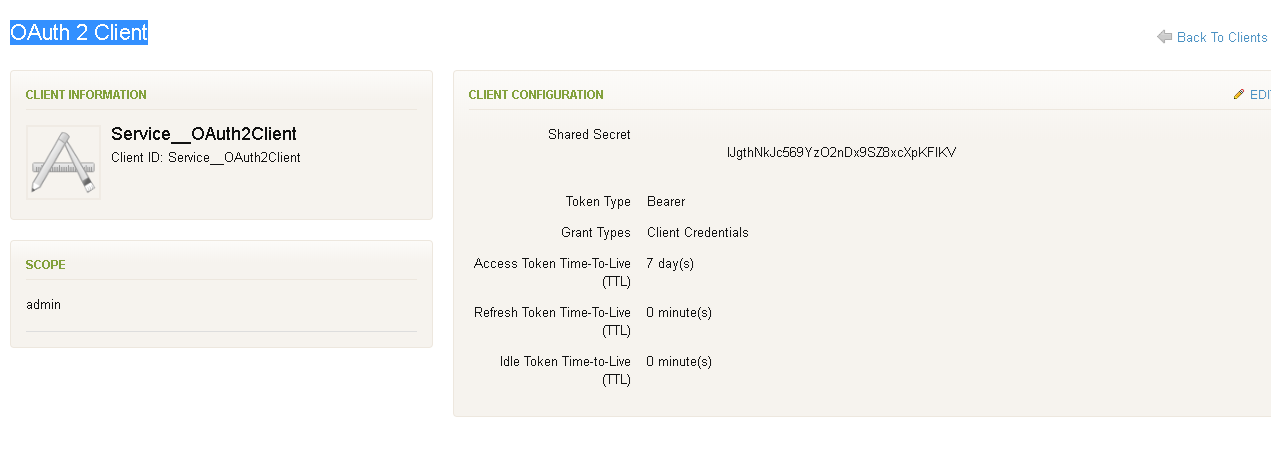
- Obtain the Shared Secret of the created Client
The sections below discuss each of these steps in detail.
Creating a Client with Shared Secret Key in the Omnissa Horizon Workspace ONE Access
The eG agent communicates with the target Omnissa Horizon Workspace ONE Access using REST API. To collect the required metrics, the eG agent requires an Access token in the form of a Client ID and the shared secret value of that client.
If such a client pre-exists in your environment, then, you can use the Client ID and the Shared Secret of that Client to configure the tests of the target Omnissa Horizon Workspace One Access.
To create a Client on the target Omnissa Horizon Workspace ONE Access, do the following:
-
Login to Omnissa Horizon Workspace ONE Access console.
-
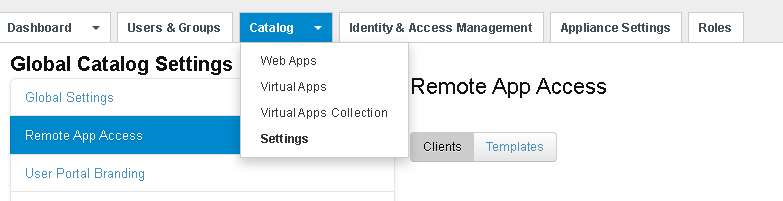
Select the Settings option from the drop-down list that appears when you expand the Catalog tab by clicking the down arrow (see Figure 1).
-
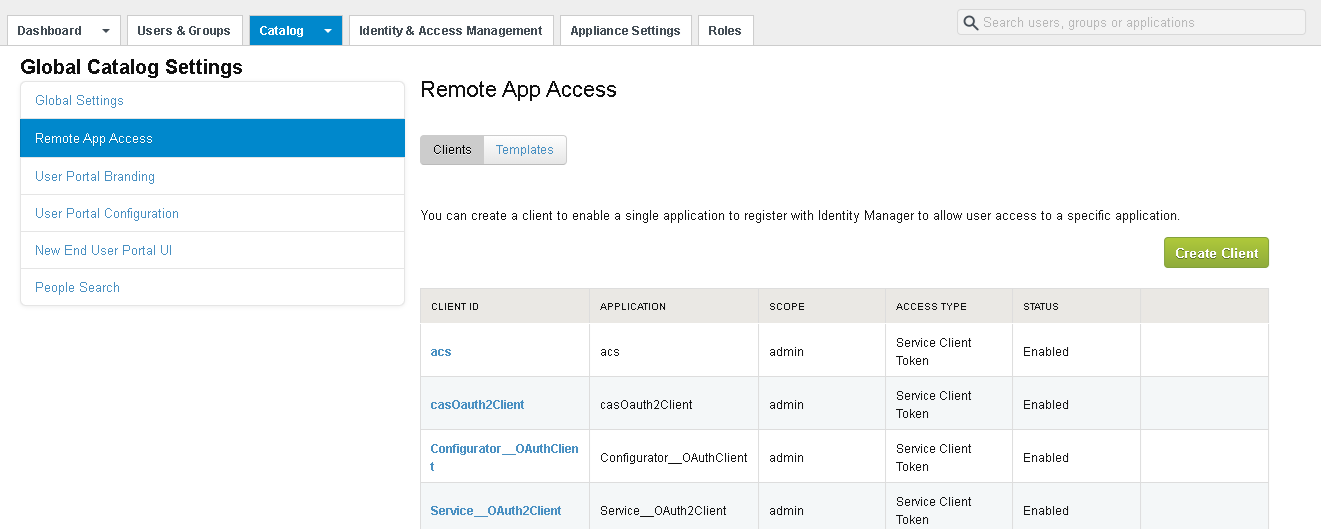
Figure 2 then appears. Clicking the Remote App Access option in the left panel of Figure 2 will display the Remote App Access section in the right panel.
-
Click the Create Client button as shown in Figure 2.
-
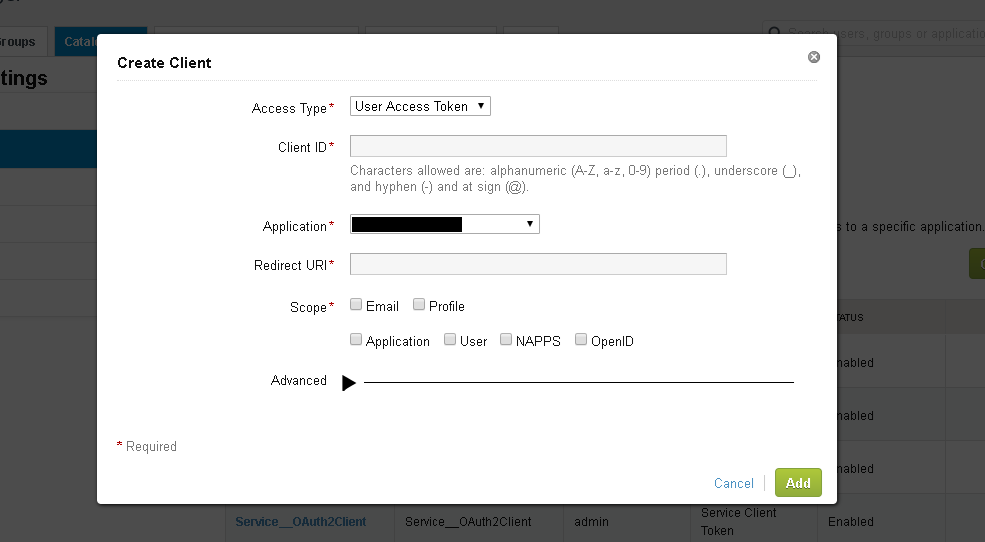
In Figure 3 that appears, do the following:
-
Choose the Service Client Token option from the Access Type list. By default, User Access Token will be displayed in this list.
-
Specify the name of the Client that you are about to create in the Client ID text box.
-
Now, expand the Advanced list (see Figure 3) and click the Generate Shared Secret link underneath the Shared Secret text box. The generated Shared Secret will now be listed in the Shared Secret text box.
-
Note the Client ID that you have created and its corresponding Shared Secret. This should be specified in the test configuration page while you attempt to configure the tests.
-
Then, click the Add button in Figure 3.
-