Importing SSL Certificate into the Windows Trust Store of the eG Agent Host
To import the eG manager's SSL certificate into the Windows Trust Store of the eG agent host, follow the steps discussed below:
- Login to the eG agent host.
- Using Windows Explorer, navigate to the folder containing the SSL certificate file of the eG manager.
-
Right-click on the certificate file within that folder and select the Install Certificate option from the shortcut menu that pops out (see Figure 2).
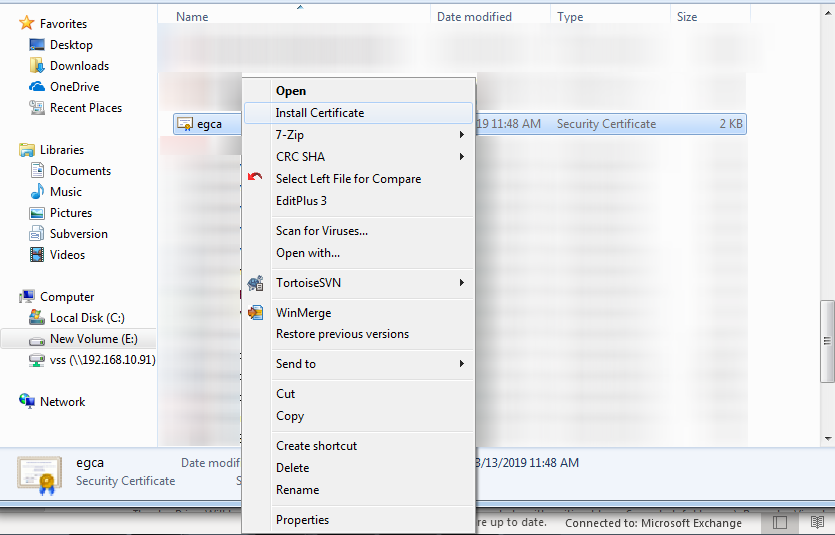
Figure 2 : Selecting to install the eG manager's SSL certificate into the eG agent host's Windows trust store
-
Figure 3 will then appear. Click the Next button in Figure 3 to proceed with the installation.
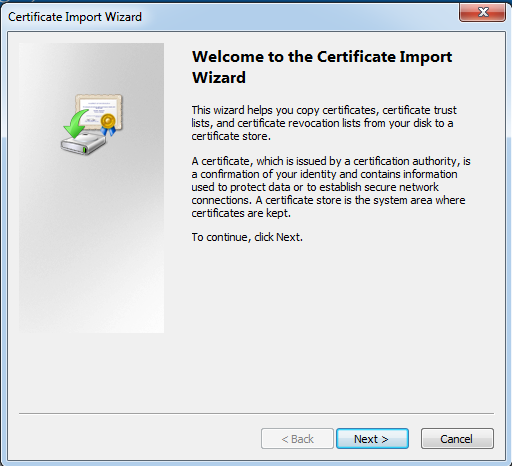
Figure 3 : The Welcome screen of the SSL certificate installation wizard
-
When Figure 4 appears, select the Place all certificate files in the following store option and click the Browse button alongside to browse for the Windows trust store. Select the Trusted Root Certification Authorities option from the list that appears. Upon selection, the chosen option will appear in Figure 4 as the Certificate store. Then, click the Next button in Figure 4 to move to the next step of the installation.
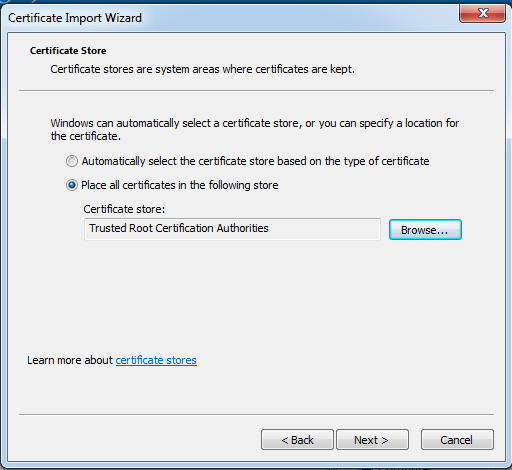
Figure 4 : Choosing to place all certificate files in the Windows trust store
-
When Figure 5 appears, click Finish to end the installation.
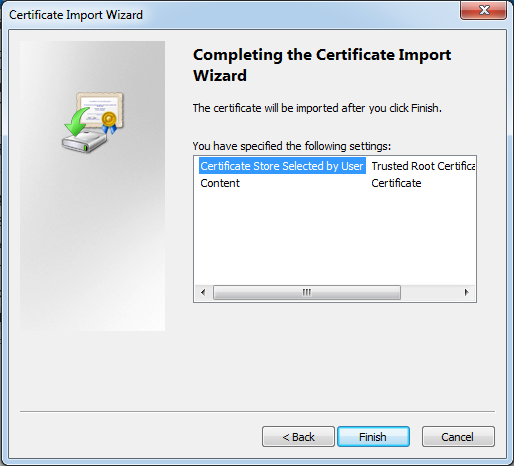
Figure 5 : Clicking the Finish button to end the certificate installation process
-
If the SSL certificate being installed is a self-signed certificate or is signed by an internal certificate authority, then Figure 6 will appear. Figure 6 requests you to confirm the addition of a certificate issued by a non-certified authority to the Windows trust store. Click Yes to confirm the addition and to exit the installation wizard.
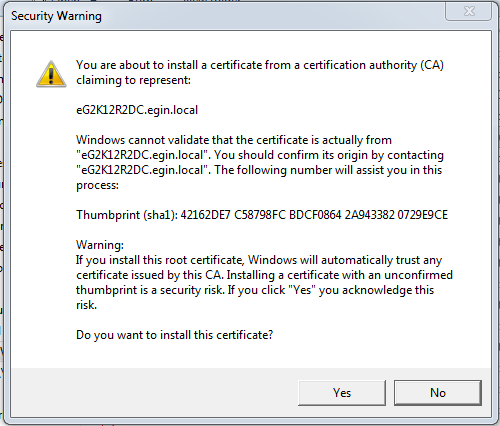
Figure 6 : A message requesting your confirmation to install a self-signed certificate or a certificate from an internal CA to the Windows trust store