Manually Uninstalling the eG Agent
To manually uninstall the eG agent on a 64-bit Windows system hosting an eG agent, do the following:
- Stop the eG Agent using the menu sequence: Start -> eG Monitoring Suite -> eG Agent -> Stop Agent.
-
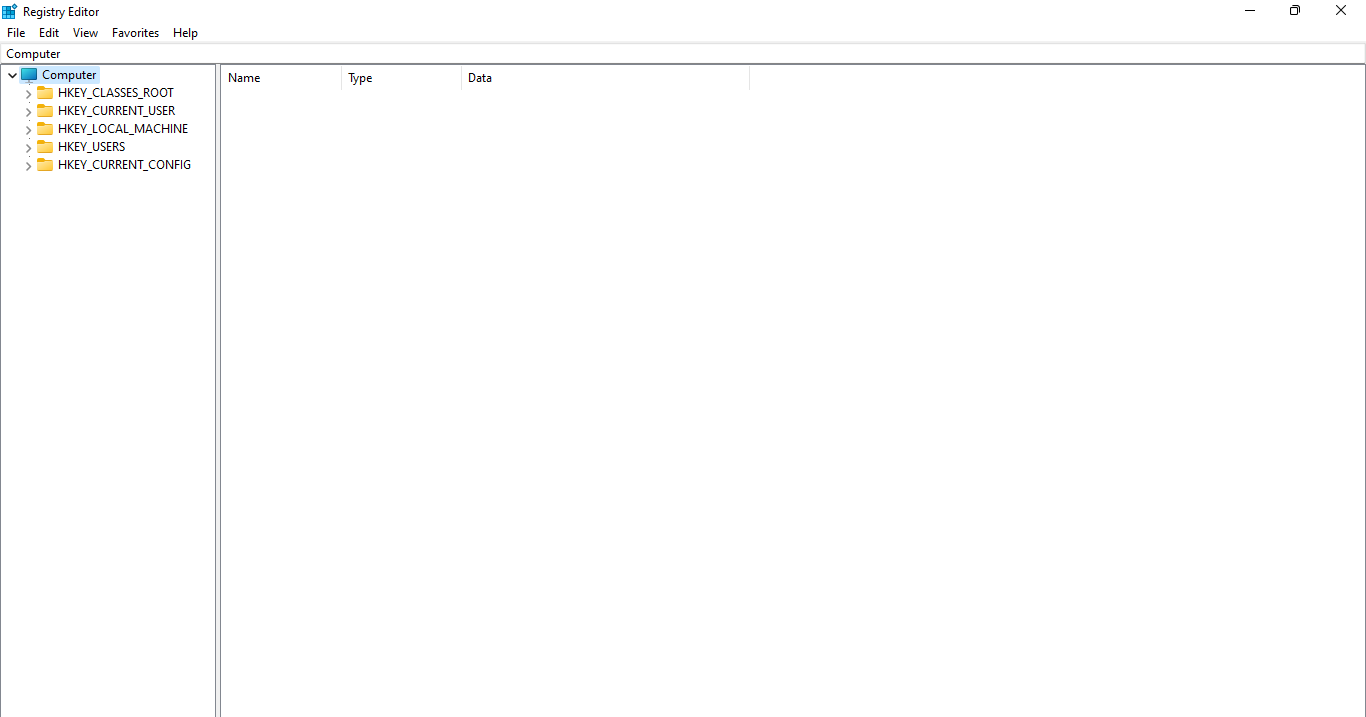
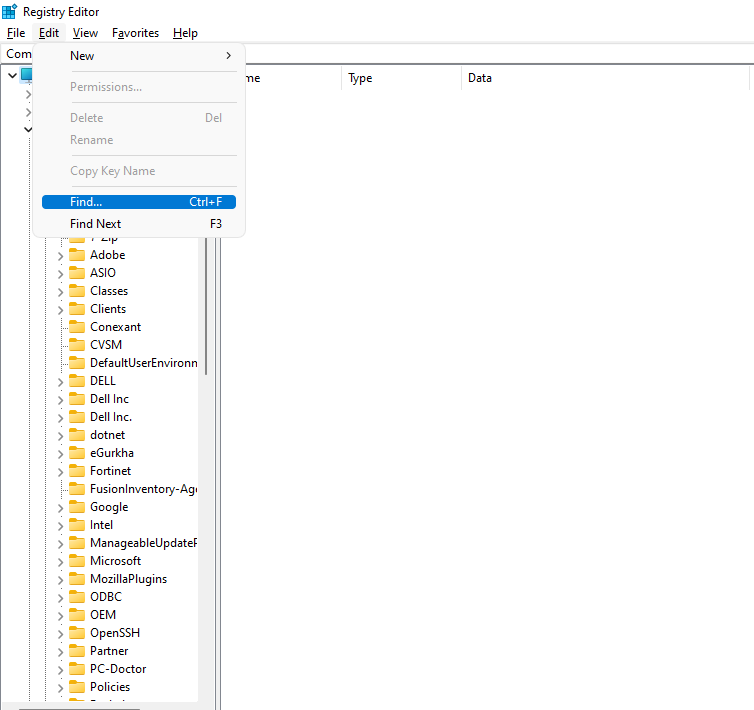
Open the Windows registry by typing regedit in the Search text box that appears as soon as you click on Start. Once you see Registry Editor in the search results, click on it to open the Windows registry editor. Figure 1 will then appear.
-
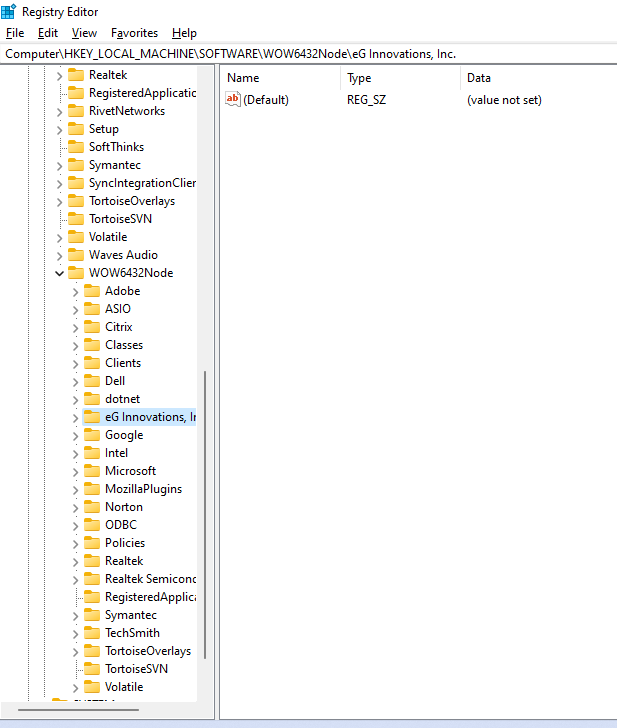
In the Registry Editor (see Figure 1) that opens, look for the eG Innovations, Inc. entry in the Computer\HKEY_LOCAL_MACHINE\SOFTWARE\WOW6432Node node sequence (see Figure 2).
-
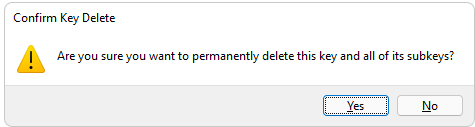
Delete the selected entry by pressing the Delete key on the keyboard, and confirm deletion by clicking the ok button in Figure 3 that appears.
-
Then, place the cursor on the Computer key at the top of the registry tree (see Figure 2) and then proceed to choose the Find option from the Edit menu (see Figure 4).
-
When the Find dialog box appears (see Figure 5), specify eG Agent as the string to search for.
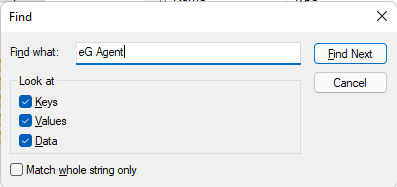
- Then, click the Find Next button in Figure 5 to trigger the search.
-
Continue searching until the eG Agent entry present under the key indicated by Figure 6 is located.
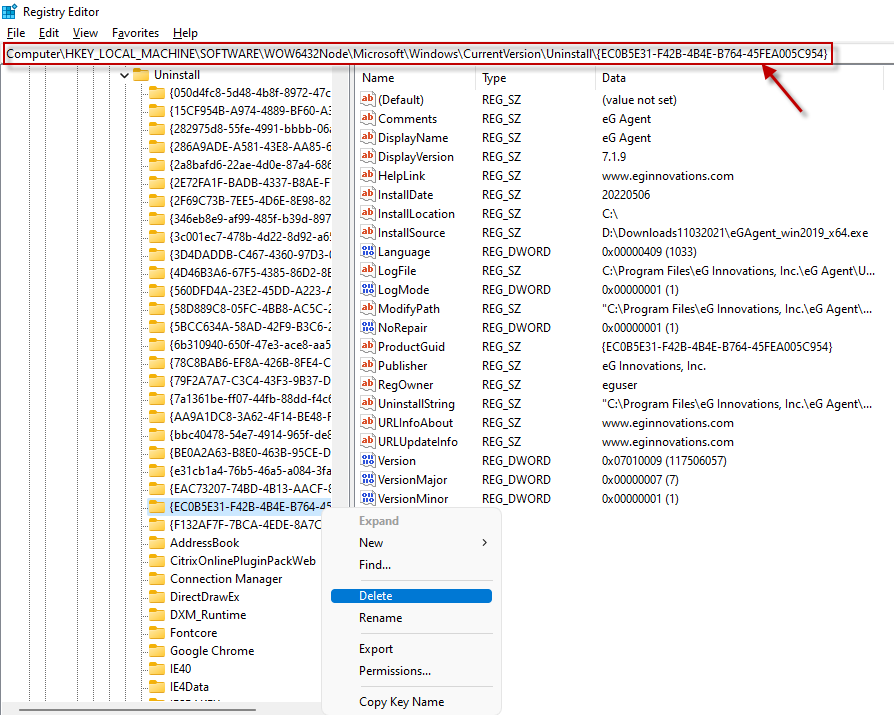
- Next, delete the registry key by first selecting it from the tree-structure in the left pane of Figure 6, right-clicking on it, and choosing the Delete option from the shortcut menu that appears (see Figure 6). This will ensure that the eG Agent program no longer appears in the Add/Remove Programs list of the Control Panel.
-
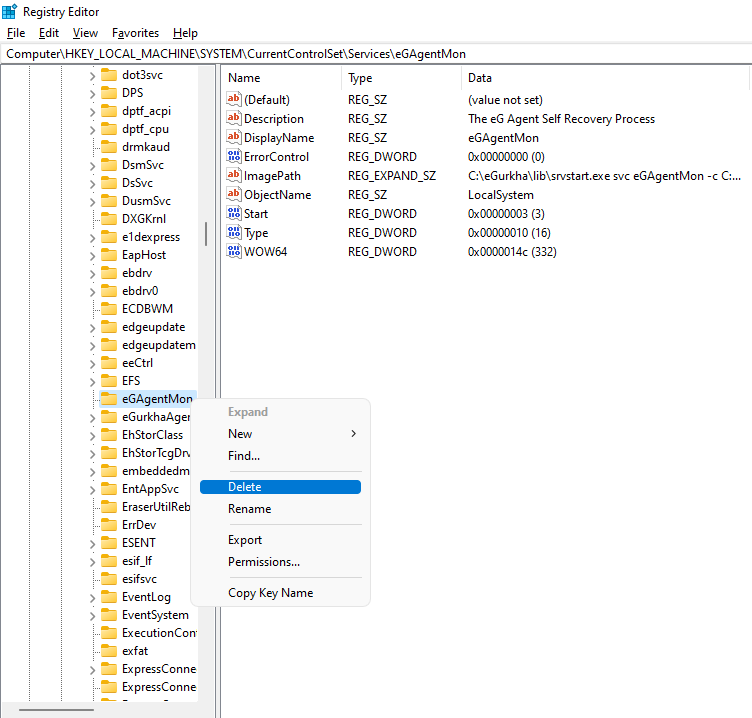
Next, proceed to disable the eGAgentMon and eGurkhaAgent services. To do so, select the registry key corresponding to Computer\HKEY_LOCAL_MACHINE\SYSTEM\CurrentControlSet\Services\eGAgentMon, right-click on it, and choose the Delete option in the quick menu that appears (see Figure 7).
-
Similarly, delete the Computer\HKEY_LOCAL_MACHINE\SYSTEM\CurrentControlSet\Services\eGurkhaAgent key (see Figure 8).
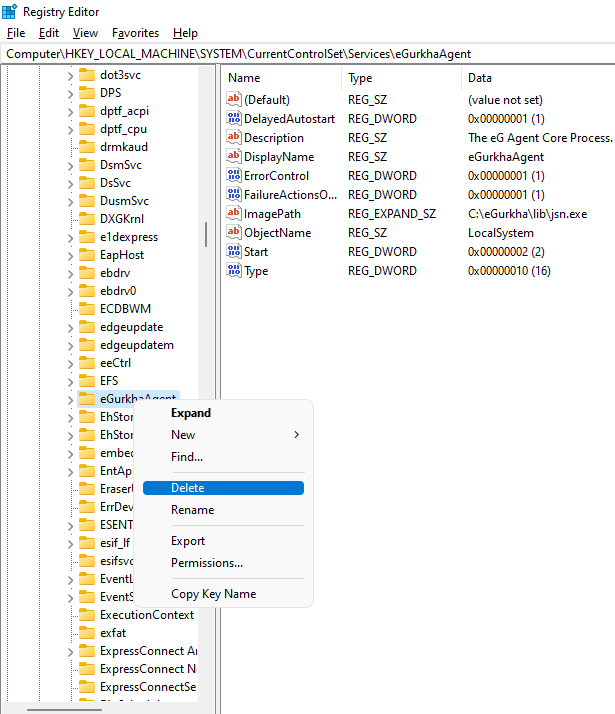
- Deleting the registry keys corresponding to the agent services will only disable the services, and not completely remove them from the Services list. The eGAgentMon and eGurkhaAgent services will continue to appear in the Services list, but control operations (such as starting and stopping) can no longer be performed on them.
-
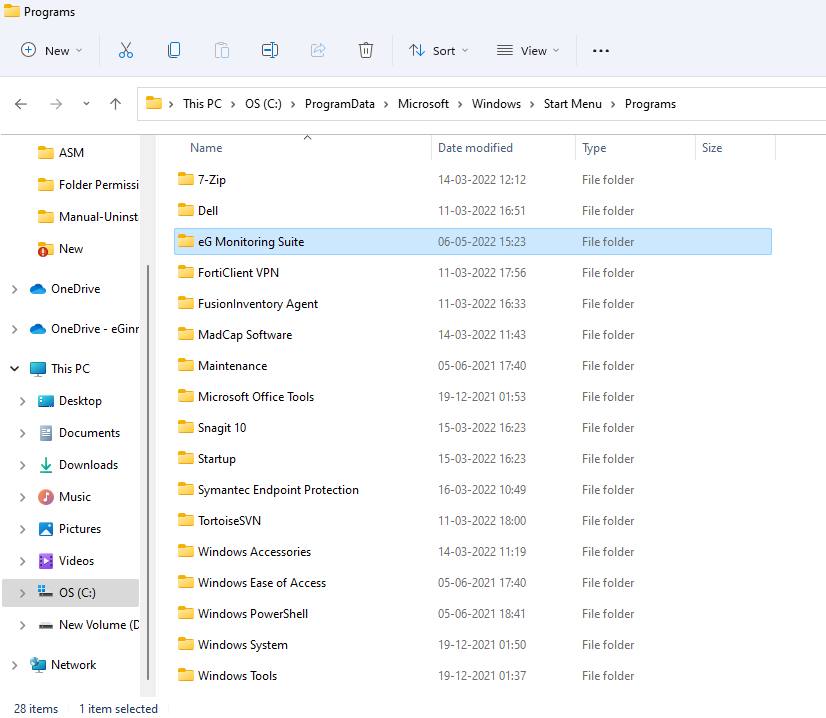
To remove the start menu items corresponding to the eG agent, first, press the Windows key on your keyboard along with the R key to invoke the Run box (see Figure 9). In the text box therein, enter the following (see Figure 9):
%ProgramData%\Microsoft\Windows\Start Menu\Programs
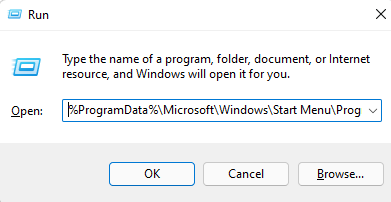
Figure 9 : Typing the environment variable for accessing the start menu items
-
Figure 10 will appear, listing the Start menu items. In the list, locate the eG Monitoring Suite folder (see Figure 10). If you only have the eG agent installed on the target Windows host, then select the eG Monitoring Suite folder, and press the Delete key on the keyboard to delete the entire folder. On the other hand, if both the manager and agent are installed on the host, then click on the eG Monitoring Suite folder to open it. Then, select the eG Agent folder within, and press the Delete key on the keyboard to remove only the eG Agent folder completely.