Integrating with VictorOps
VictorOps is a real-time incident management and collaboration platform for IT and DevOps teams.
By integrating eG Enterprise with VictorOps, you can have the performance alerts that eG generates sent into your VictorOps timeline and automatically trigger and resolve incidents.
To integrate eG Enterprise with VictorOps, do the following:
- Login to the eG administrative interface.
-
Select the Manager option from the Settings tile.
-
Figure 3 will then appear. From the manager settings tree in the left panel of Figure 3, select the ITSM/Collaboration Integration node. The third-party ITSM/Collaboration tools that eG Enterprise can integrate with will be listed in the right panel.
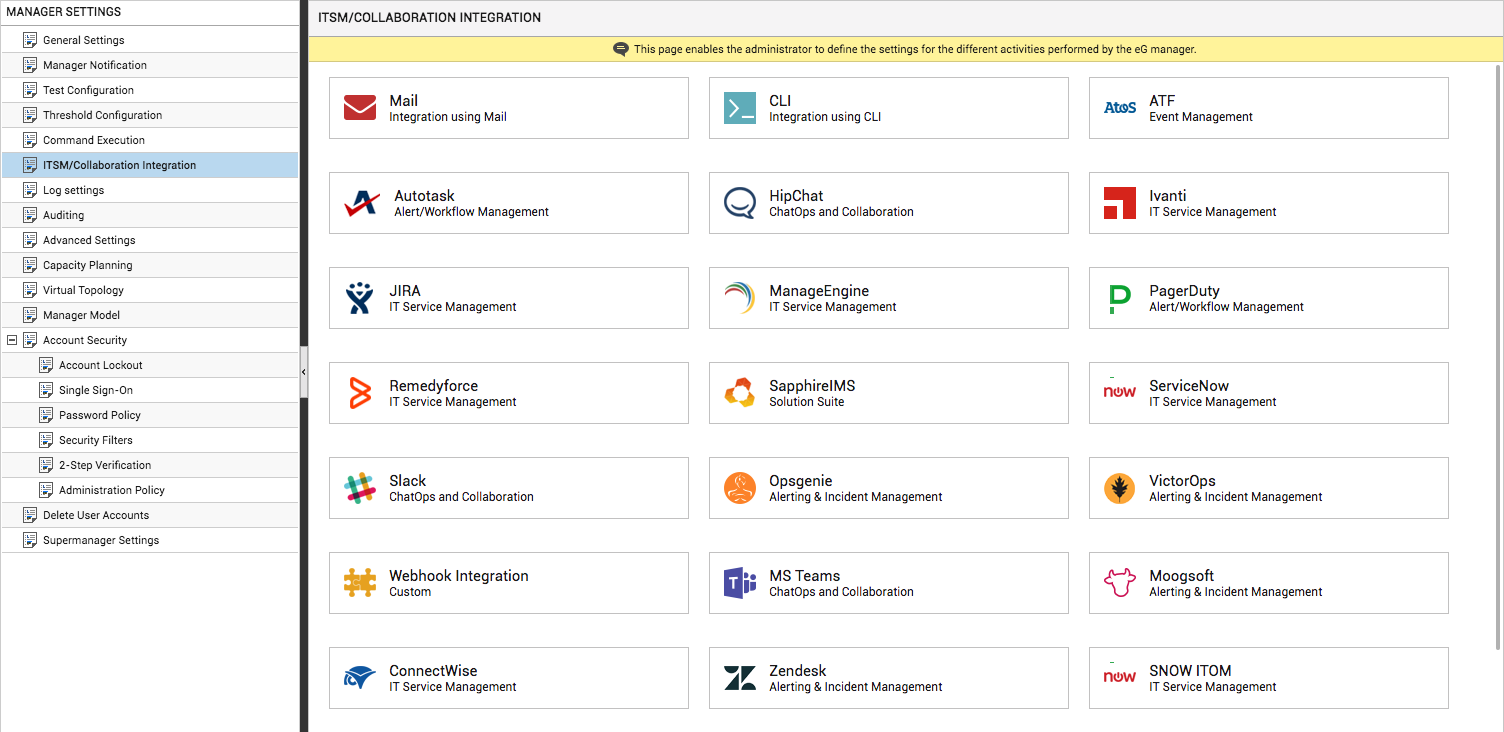
-
Now, click on the VictorOpsoption in the right panel (see Figure 3). A VictorOps section will now appear in the right panel (see Figure 4).

- To enable integration with VictorOps, first slide the VictorOps slider in Figure 4 to the right.
-
Then, specify the following in Figure 4:
- REST URL: eG Enterprise uses the REST API of VictorOps to integrate with it. Using the API, VictorOps converts eG Enterprise alerts into incidents, and automatically assigns these incidents to the right person at the right time, thus ensuring the prompt redressal of performance issues. To enable eG Enterprise to connect to the REST API, you first need to enable the REST endpoint in VictorOps. Refer to the VictorOps documentation to know how to achieve this. Once the REST endpoint URL is enabled, VictorOps generates an URL, where alerts can be sent via an HTTP POST request. Specify this URL as the REST URL here.
-
Incident title: Specify the title format for all eG alerts displayed in VictorOps as incidents. The default format is as follows:
$prior - $ctype / $cname - $pdesc
The ‘dollared’ ($) text in the format above is a key, the value of which varies at run time, depending upon the information contained in the eG alarms. For example, in the default format above, $prior is a key that represents the alarms priority, and changes according to the priority of the actual alarm that is sent by the eG manager to VictorOps. You are advised against changing any of the key names.
The other keys that are part of the default format are discussed in the table below:
$cname
Will display the name of the problem component
$ctype
Will display the component type to which the problem component belongs
$pdesc
Will display a brief problem description
-
Problem description: Against Problem description, specify the format in which the problem description should appear in the VictorOps incidents that correspond to eG alerts. The default format is as follows:
Priority: $prior Component: $cname Component Type: $ctype Layer: $layer Problem Description: $pdesc Start Time: $starttime
The text preceding the ‘:’ (colon) in the format above indicates what information follows. The ‘dollared’ ($) text that follows the ‘:’ (colon) is a key, the value of which varies at run time, depending upon the eG alarms. For example, in the default format above, Priority is a label that indicates that the information that follows the ‘:’ is the priority of the alarm. The key $prior that succeeds the ‘:’ represents the alarm priority, and changes according to the priority of the actual alarm that is sent by the eG manager to VictorOps. While you can change the labels, you are advised against changing any of the key names.
The other keys that are part of the default format are discussed in the table below:
$cname
Will display the name of the problem component
$ctype
Will display the component type to which the problem component belongs
$layer
Will display the layer affected by the problem
$starttime
Will display the problem start time
$pdesc
Will display a brief problem description
-
Custom payload: Use custom payload to customize the alert information you send to VictorOps, so that it includes additional static information.
Typically, the details of an eG alert are sent as a JSON file to the configured REST URL. Every piece of information contained within an eG alert - eg., priority, component name, component type etc. - is represented in the JSON file as a $key:$value pair, where 'key' denotes the alert field, and 'value' denotes the actual value of that field at run time. The 'key' is configured based on what the VictorOps REST API supports. For instance, if the REST API represents alarm priorities using the key 'prior', then the same key will be used in the JSON file for denoting alarm priorities. Accordingly, the entry for alarm priority in the JSON file will be $prior:$value. The $value will be Critical, Major, Minor, or Normal, depending upon the actual priority of the alarm being sent.
If you want eG incidents routed to VictorOps to include additional information, then you can define a Custom Payload for that information as a $key:$value pair. For example, say, you want incidents to indicate the FQDN of the eG manager that generated the incidents. Say that the FQDN of your eG manager is egmanager.innovations.com. To include this information in VictorOps incidents, do the following:
- First, check whether the VictorOps REST API supports a 'key' that can be used for capturing the 'source' of alerts/incidents. If no such key exists, then you cannot proceed with the Custom Payload configuration. On the other hand, if such a key is available, then proceed to replace the $key in your Custom Payload specification, with that key value. For the purpose of our example, let us assume that the REST API supports the key named 'source'. In this case therefore, substitute '$key' with 'source'.
- Then, proceed to explicitly specify the FQDN of your eG manager in the place of $value. This is because, you can use the Custom Payload configuration to add only 'static' information - i.e., information that you explicitly configure, and hence will never change. In the case of our example therefore, the $value will be egmanager.innovations.com.
- The complete Custom Payload specification will now be: source:egmanager.innovations.com
- Finally, click the Update button in Figure 4 to save the changes.