
Creating API Client on the Citrix Cloud
Follow the steps below to create an API client on the Citrix Cloud:
-
Login to the eG agent host.
-
Then, login to the Citrix Cloud Console as a valid cloud user with Read-only administrator rights to virtual apps/desktops. If you have created a new user on the cloud with the aforesaid permissions (using the procedure outlined in Creating a New Citrix Cloud User for Monitoring Purposes), then login to the cloud console as that user.
-
Click on the 'hamburger' menu in the upper, left corner of the console.
-
Select the Identity and Access Management option from the menu. If this option does not appear, you may not have adequate permissions to create an API client. Contact your administrator to get the required permissions.
-
In the Identify and Access Management page that then appears, click on the API Access tab page (see Figure 1).
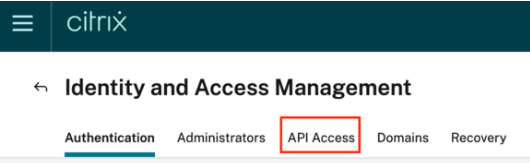
Figure 1 : Selecting the API Access tab page in the Identify and Access Management page
-
When Figure 2 appears, provide a unique name to your secure client, and click the Create Client button.

-
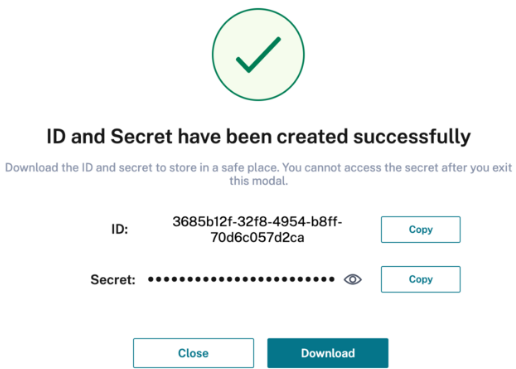
Upon successful client creation, Figure 3 will appear. Download/copy the client ID and Secret displayed in Figure 3 to a secure location on the eG agent host.
-
Download the client ID and Secret displayed inFigure 3 to the eG agent host by clicking on the Download button. The ID and Secret will be automatically written into a secureclient.csv file, which will be created in the download location.
