Adding a New Layer and Associating Tests with the User-Defined Layer
In this section, we will be creating a new layer named TUXEDO_SERVICES and will be associating a new test named TuxDomainTest_ex with it. This test has been engineered to report the number of machines and servers running in a Tuxedo domain.
To create a new layer, do the following:
- Select the Layer option from the Integration Console tile of the Admin tile menu (see Figure 1).
-
Figure 1 will then appear with two panels: one listing pre-defined layers and another listing user-defined layers. The eG Enterprise system represents every application/device that it monitors out-of-the-box using a hierarchical set of layers. The Pre-defined layers panel lists all those layers that are by default built into the eG Enterprise system for representing components that are monitored out-of-the-box. The User-defined layers panel lists only those layers that are custom-defined by users to extend the monitoring capabilities of the eG Enterprise solution.
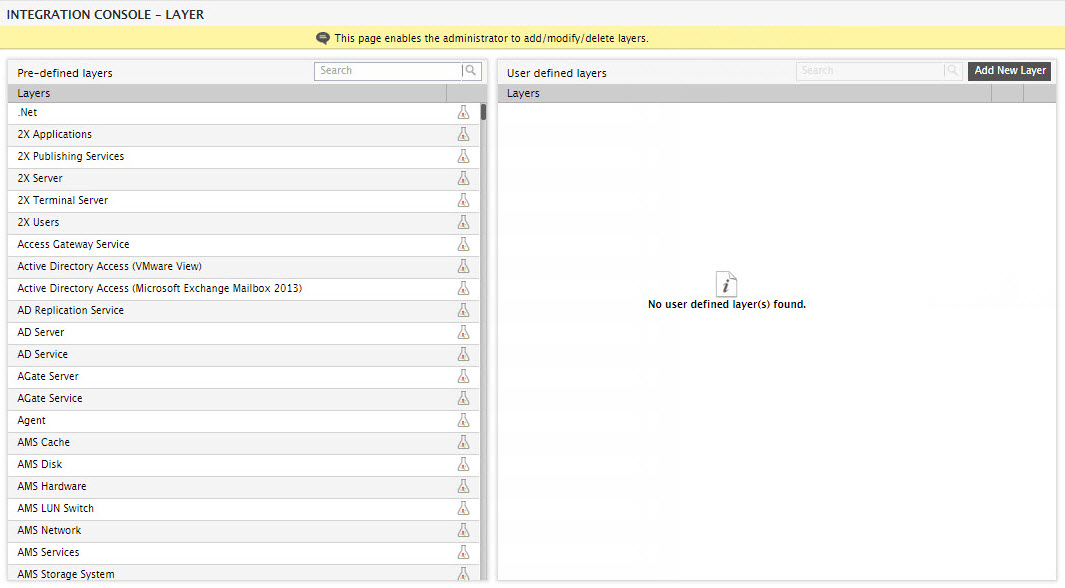
Figure 1 : Viewing the list of pre-defined and user-defined layers.
-
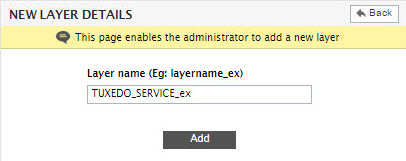
To create a new layer, click the Add New Layer button in Figure 1. This will open Figure 2. In the Layer name text box in Figure 2, enter the name of the new layer. For the purpose of our example, type tuxedo_services_ex against Layer name.
Note:
The layer name should be suffixed by _ex.
If more than one pre-defined layer pre-exists, then Figure 2 will additionally include a Duplicate flag. By default, the Duplicate flag is set to No. Set this flag to Yes only if you want the new layer to inherit the attributes of another user-defined layer. In this case, a Layer to be duplicated drop-down will appear, as depicted by Figure 3. From this drop-down, select the layer, the properties of which need to be acquired by the new layer being added.
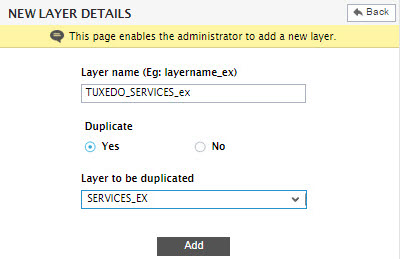
- Then, click the Add button to add the new layer.
-
The newly added layer will now appear in the panel listing user-defined layers, as depicted by Figure 4.
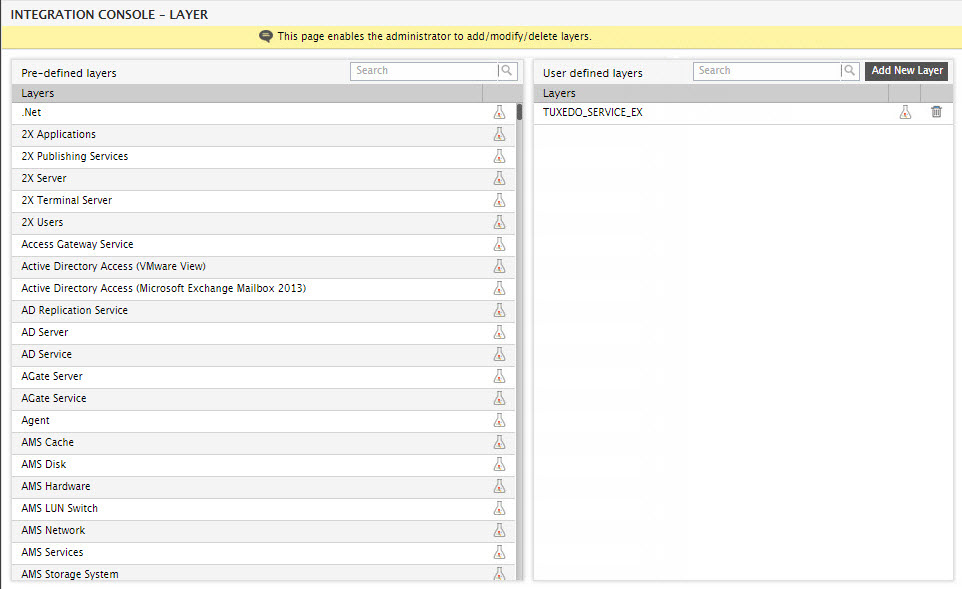
Figure 4 : The new layer listed in the User defined layers panel
- If you want, you can delete any user-defined layer by clicking the
 button corresponding to it in Figure 4.
 -
To associate a test with a user-defined layer, click the
 button corresponding to the layer name in the User-defined layers panel of Figure 4. This will invoke Figure 5. From the Disassociated tests list of Figure 5, select the test(s) you want to associate with the new layer. For the purpose of our example, select the TuxDomainTest_ex test from the Disassociated tests list.
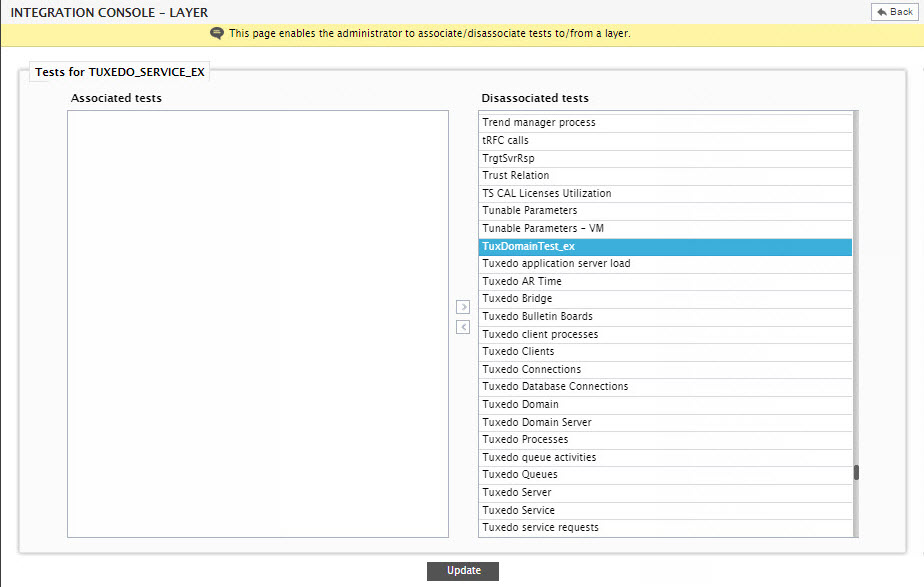
Figure 5 : Selecting the test to be associated with the user-defined layer
- Click the < button in Figure 5 to move the selected test to the Associated tests list.
-
This will invoke a message box depicted by Figure 6 below. By default, once a test is associated with a layer, that layer will get automatically associated with all components that support that layer. Sometimes, you may want a test to be associated with only a few components that support that layer and not all of them. In this case, click the No button in the message box of Figure 6. If this is done, then the test will not be associated with that layer. On the other hand, if you want the test to be associated with all components that support the layer, click the Yes button. This will transfer the selection to the Associated tests list.
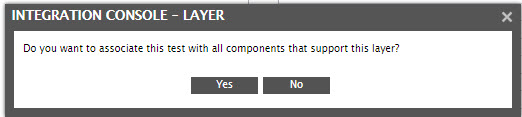
Figure 6 : A message box requesting your confirmation to associate the test with all components that support the chosen layer
- If for any reason, you want to disassociate a test from a layer, simply select the test from the Associated tests list and click the > button in Figure 5.
- Finally, click the Update button to save the changes.