Managing the Oracle VDI Broker
The Oracle VDI Broker cannot be automatically discovered by eG Enterprise. This implies that you will have to manually add the Oracle VDI Broker into the eG Enterprise system to manage it. You can either follow the agentless approach or agent based approach to do so. Follow the steps below to achieve the same:
- Log into the eG administrative interface.
- Follow the Components -> Add/Modify menu sequence in the Infrastructure tile of the Admin menu.
-
In the COMPONENT page that appears next, select Oracle VDI Broker as the Component type. Then, click the Add New Component button. This will invoke Figure 1.
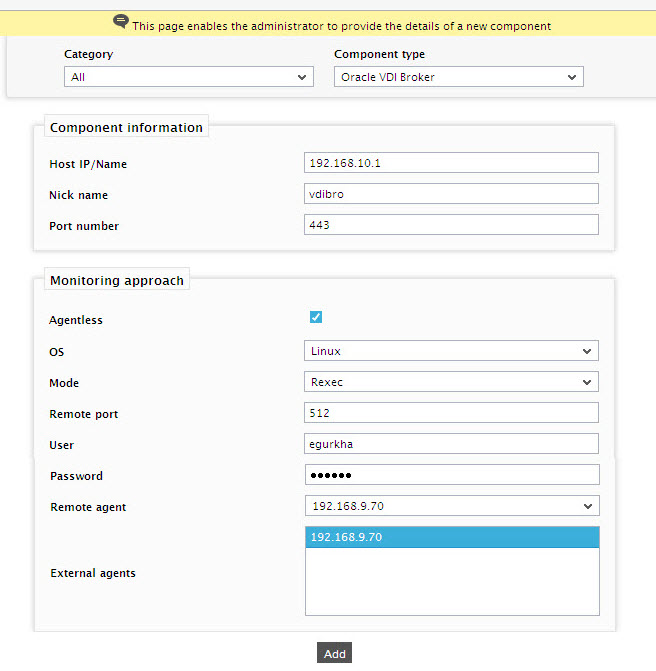
Figure 1 : Adding the Oracle VDI Broker in an agentless approach
- In the page that appears, provide the Host IP/Name and Nick name of the Oracle VDI Broker that you want to manage.
- The Port number will be set as 443 by default. If the Oracle VDI Broker is listening on a different port in your environment, then override this default setting.
- If you set the Agentless flag to Yes, then select the OS as Linux and Mode as Rexec besides providing the required User and Password fields (see Figure 1). Otherwise you can set the Agentless flag to No.
-
In case you are monitoring a Oracle VDI Broker in an agent-based manner, add the component as shown in Figure 2.
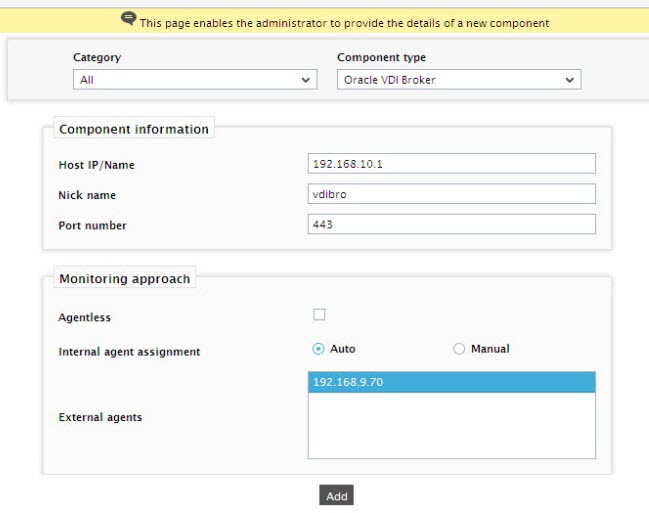
Figure 2 : Adding the Oracle VDI Broker in an agent based approach
-
Upon adding the component, try to signout of the administrative interface. A list of unconfigured tests will appear as shown in Figure 3.

Figure 3 : List of Unconfigured tests for the Oracle VDI Broker
-
Click on any test in the list of unconfigured tests to configure. To know how to configure the parameters of the tests and the measures that the tests report refer to, Monitoring the Oracle VDI Broker.
- Finally, signout of the eG administrative interface.