How does eG Enterprise Monitor Tibco EMS?
This chapter guides users in configuring and manage the Tibco EMS servers to work with eG Agent
Prior to monitoring the Tibco EMS server, you will have to build a .bat or .sh file (depending upon the operating system on which Tibco EMS is functioning) bundled with the commands that the eG agent needs to execute on the Tibco EMS server for collecting the required metrics. The commands to be invoked by the .bat or .sh file are as follows:
tcp://{IPAddressorHostName_of_TibcoEMS}:{PortNumber_of_TibcoEMS} show server
tcp://{IPAddressorHostName_of_TibcoEMS}:{PortNumber_of_TibcoEMS} show durables
tcp://{IPAddressorHostName_of_TibcoEMS}:{PortNumber_of_TibcoEMS} show queues
tcp://{IPAddressorHostName_of_TibcoEMS}:{PortNumber_of_TibcoEMS} show topics
tcp://{IPAddressorHostName_of_TibcoEMS}:{PortNumber_of_TibcoEMS} show connections
For instance, if the IP address of your Tibco EMS server is 192.168.10.28 and its port is say, 9090, then a sample command in the .bat or .sh file would be:
tcp://192.168.10.28:9090 show server
The .bat/.sh file so created can be saved to any location on the Tibco EMS host. Then, while configuring this test, make sure you provide the full path to this .bat or .sh file in the COMMANDPATH text box so that, the agent can execute the file, invoke the commands bundled into it, and extract the desired metrics from the server.
Managing the Tibco EMS Server
To manually add the Tibco EMS Server component for monitoring. Remember that the eG Enterprise automatically manages the components that are added manually. To manage a NexentaStor component, do the following:
- Log into the eG administrative interface.
- Follow the Components -> Add/Modify menu sequence in the Infrastructure tile of the Admin menu.
-
In the COMPONENT page that appears next, select Tibco EMS as the Component type. Then, click the Add New Component button. This will invoke Figure 1.
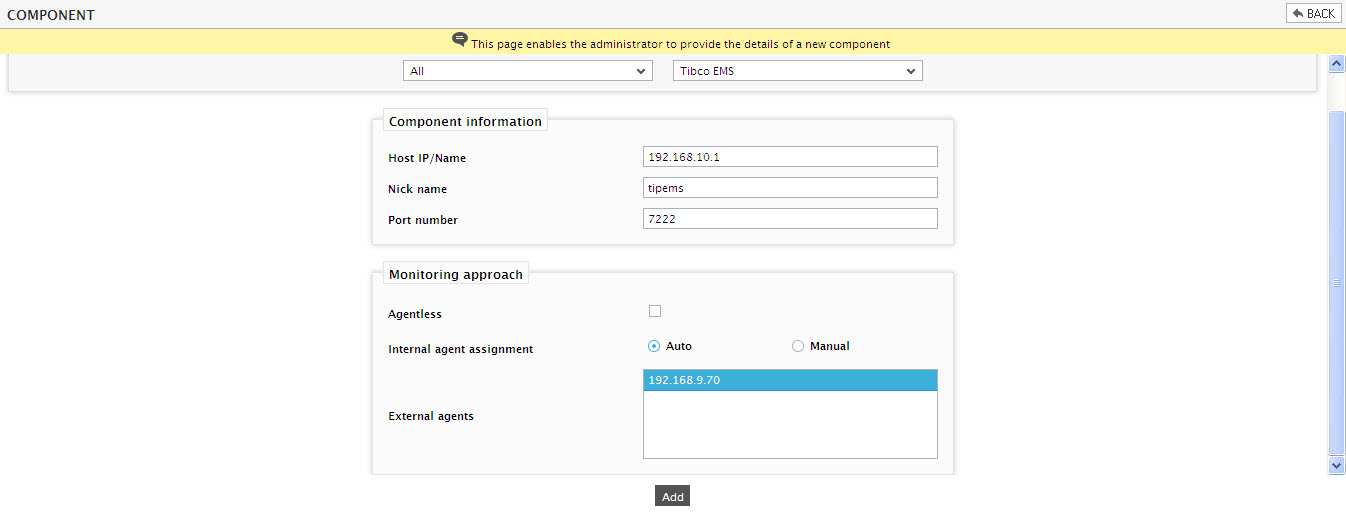
- Specify the Host IP/Name and the Nick name of the Tibco EMS in Figure 1. Then, click the Add button to register the changes.
-
Then, try to sign out of the eG administrative interface. Doing so will invoke a list of unconfigured tests for the Tibco EMS server.

Figure 2 : The list of unconfigured tests for the Tibco EMS server
- Click on any test in the list of unconfigured tests to configure it. To know how to configure these tests, refer to Monitoring Tibco EMS Servers.
- Then, proceed to sign out again. This time you will be prompted to configure the Network Interfaces and Processes tests of the target Tibco EMS server. Configure these tests one after another.
- Finally, signout of the eG administrative interface.