Configuring the eG Agent to Collect Current Hardware Status Metrics
Sometimes, the VMware VI SDK may cache the hardware status metrics it collects and provide the test with the cached results. This may cause the eG agent to receive obsolete hardware status information from the SDK. This is also the reason why, you may at times notice a mismatch between the hardware status reported by the eG agent and by the vSphere client. To ensure that the eG agent always reports the current hardware status, you should configure the eG agent to obtain the hardware metrics from the VMware VI SDK only after the SDK resets the cache to clear its contents, and then refreshes the cache so that the latest hardware status information is fetched into it. To enable the eG agent to make the reset and refresh SDK calls, the esx user and esx password parameters of all hardware tests must be configured with the credentials of a user on the vSphere server / vCenter server (depending upon whether monitoring is performed by connecting to the target vSphere server directly or to the vCenter server managing the target vSphere server) with the Change Settings privilege. For that, you need to create a special role on vSphere/vCenter, assign the Change Settings privilege to that role, and then map the role with a new/existing user on vSphere/vCenter.
To create this special role on vCenter and assign it to a user, follow the steps detailed below:
- Login to a system on which the VMware Infrastructure Client is installed.
- Double-click on the VMware Infrastructure Client icon on your desktop.
-
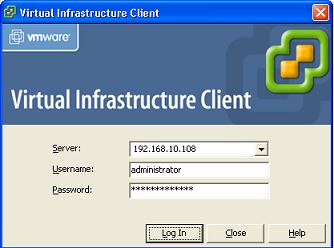
Figure 1 then appears. To connect to the vCenter, select the IP address / Name of the vCenter, and then provide the login information. To grant access permissions to a user, you will have to login to vCenter as a user with rights to grant permissions to other users. Therefore, provide the User name and Password of such a user in Figure 1.
-
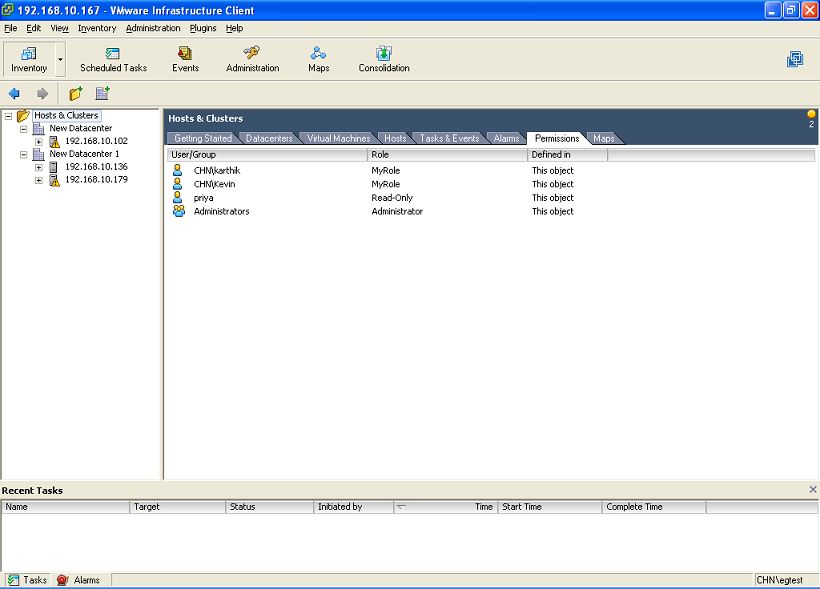
When the Virtual Infrastructure Client opens, click on the Administration icon indicated by Figure 2.
-
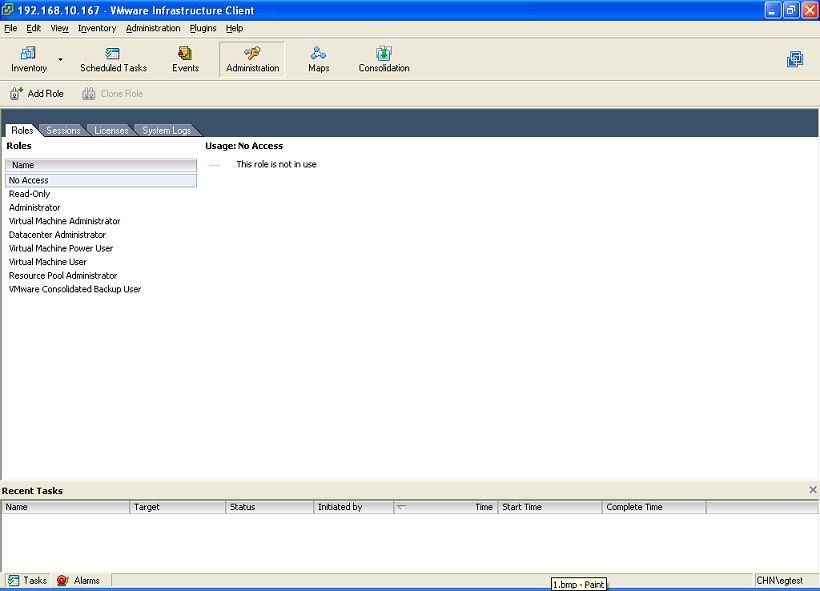
The Roles tab page opens by default, revealing the roles that pre-exist on vCenter (see Figure 3).
-
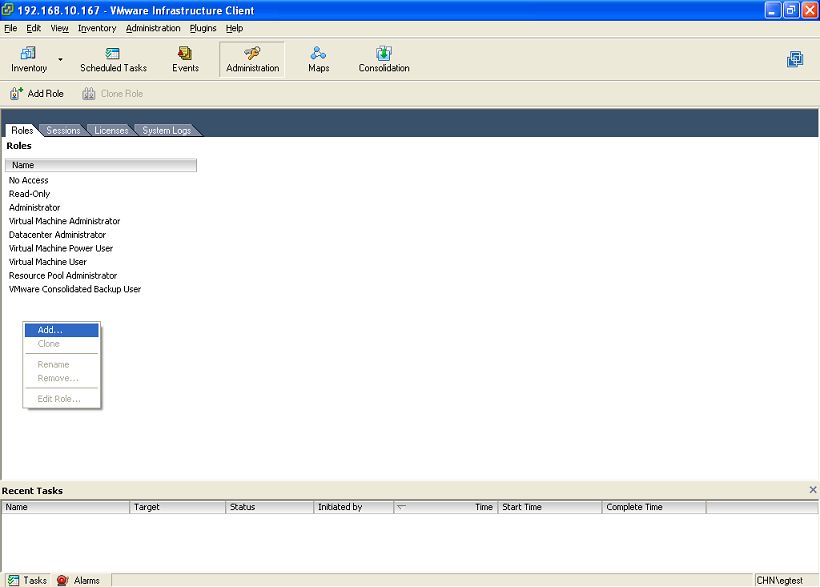
To create a special role, right-click anywhere within Figure 3, and select Add from the shortcut menu that appears (see Figure 4).
-
Figure 5 then appears wherein you need to Enter Name of the new role. Then, expand the Host node in the Privileges tree-structure below, expand the Configuration sun-node of the Host node, and click the check box corresponding to the Change Settings node.
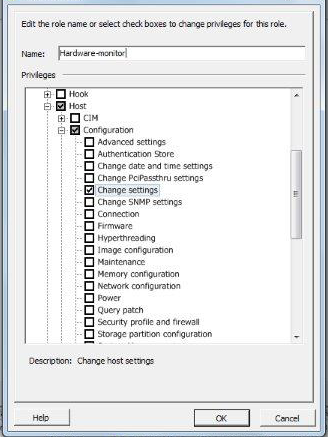
Figure 5 : Creating a new role on a vCenter server with the ‘Change Settings’ privilege
- Then, click the ok button in Figure 5 to save the changes. Now, to create a new user on vCenter and assign the new role to the new user, follow the steps 9-16 in Creating a Special Role on vCenter and Assigning the Role to a New User.
To create a special role for hardware monitoring on the target vSphere server and assign it to a user, follow the steps detailed below:
- Login to a system on which the VMware Infrastructure Client is installed.
- Double-click on the VMware Infrastructure Client icon on your desktop.
- A login screen then appears. To connect to the monitored ESX host, select the IP address / Name of the ESX host from the list box, and then provide the login information. To create a new user on an ESX host, you will have to login to the host as a root user. Therefore, provide the User name and Password of the root user in the login screen.
-
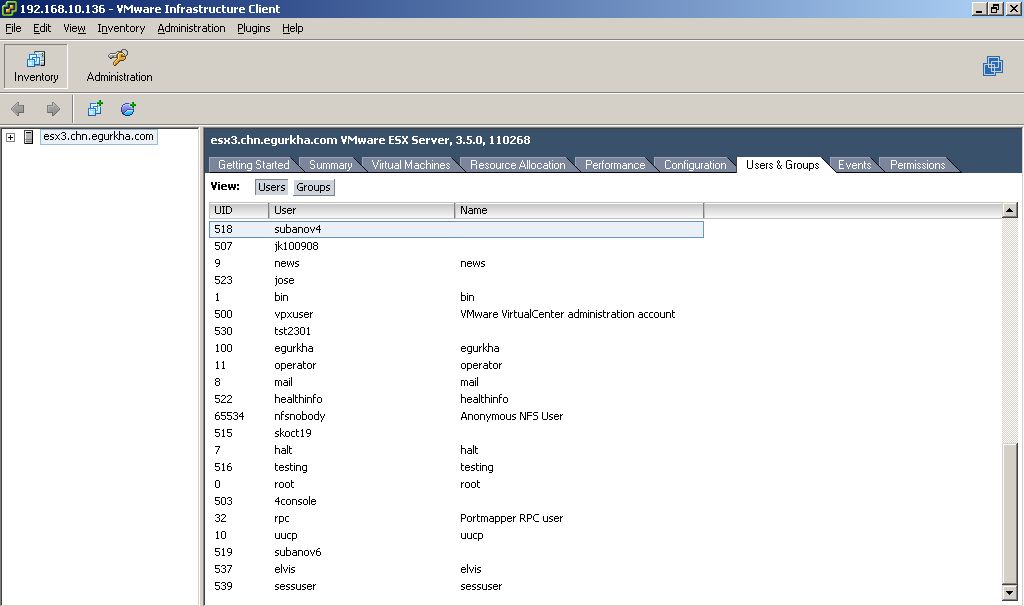
The VMware Infrastructure Client console then opens (see Figure 6). This console has a tree-structured listing of VMs and resource pools on the left hand side and a series of tab pages on the right. The topmost node of the tree-structure represents the ESX host, which has the virtual machines (or guests) as its sub-nodes. To create a new user on the ESX host, first click on the Users & Groups tab page in the right panel (see Figure 6). The list of existing users on the ESX host is then displayed.
-
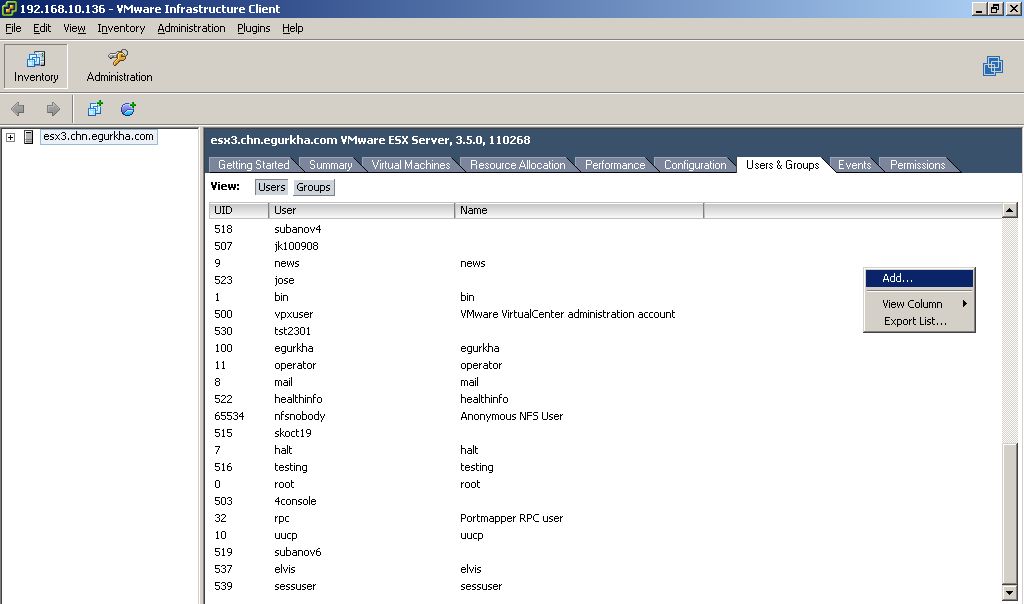
Next, right-click any where within the Users & Groups tab page to invoke a shortcut menu. Select the Add option from the menu to add a new user (see Figure 7).
-
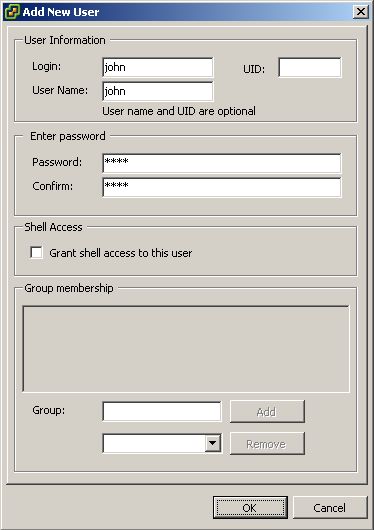
Doing so opens Figure 8, wherein you need to provide the Login name of the new user, the User Name, and the Password. Confirm the password by retyping it in the Confirm text box, and click the ok button to complete the addition of the new user.
-
Figure 9 then appears, where you will find the newly added user name displayed.
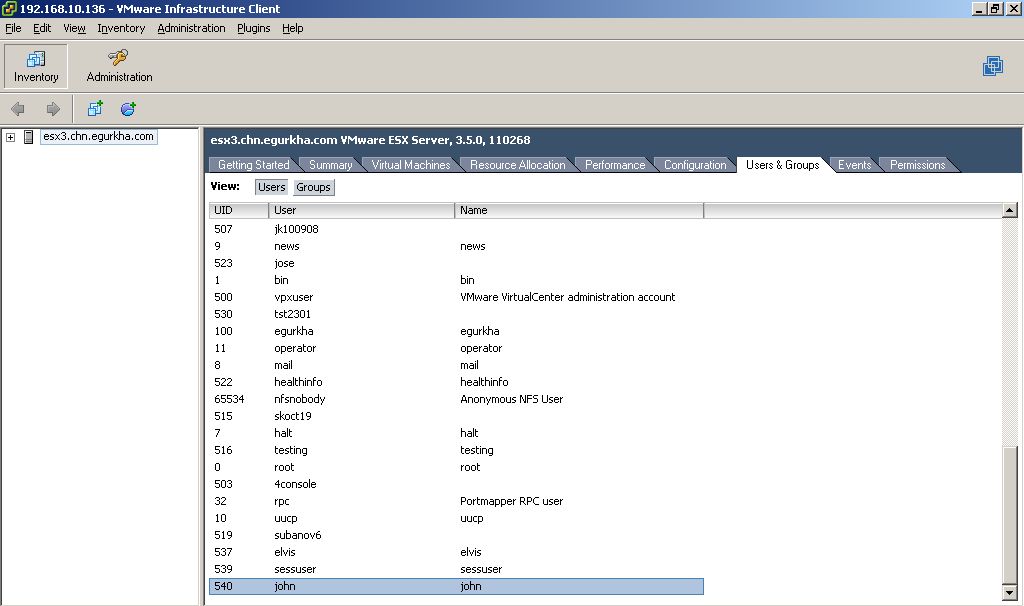
Figure 9 : The newly added user name displayed in the list of users to the ESX host
-
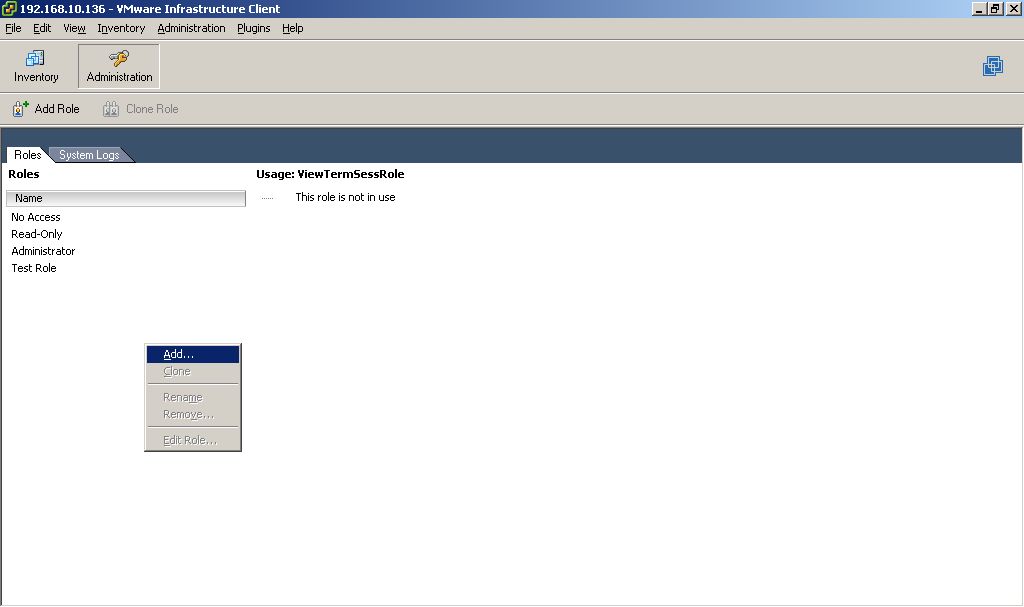
Next, we need to assign a role with the View and Terminate Sessions privilege to this user. For that, we first need to create such a role. To achieve this, click on the Administration icon in the tool bar of Figure 9. Figure 10 then appears listing the roles that pre-exist on the ESX server.

-
To create a new role, right-click anywhere in Figure 10, and pick the Add option from the shortcut menu that appears (see Figure 11).
-
In Figure 12 that appears next, enter the name of the new role. Then, expand the Host node in the Privileges tree-structure below, expand the Configuration sun-node of the Host node, and click the check box corresponding to the Change Settings node. Click the ok button to save the changes.
Figure 12 : Creating a new role on a vSphere server with the ‘Change Settings’ privilege
- Then, to assign this new role to a new user on vSphere, follow the steps 11-17 in Creating a Special Role on an ESX Server and Assigning the Role to a New User of this document.