Creating a New AVD Host Pool from the Master Image Containing the eG Agent
This approach is ideal if you want eG agents to be automatically installed on all AVD session hosts that are created using the same master desktop image.
The broad steps to achieve this are as follows:
-
Create the agent installation script
-
Attach the agent installation script to a master desktop image - this can be an existing image or a new one
-
Assign the master desktop image to an existing or new AVD host pool
The procedure below includes all the steps listed above.
-
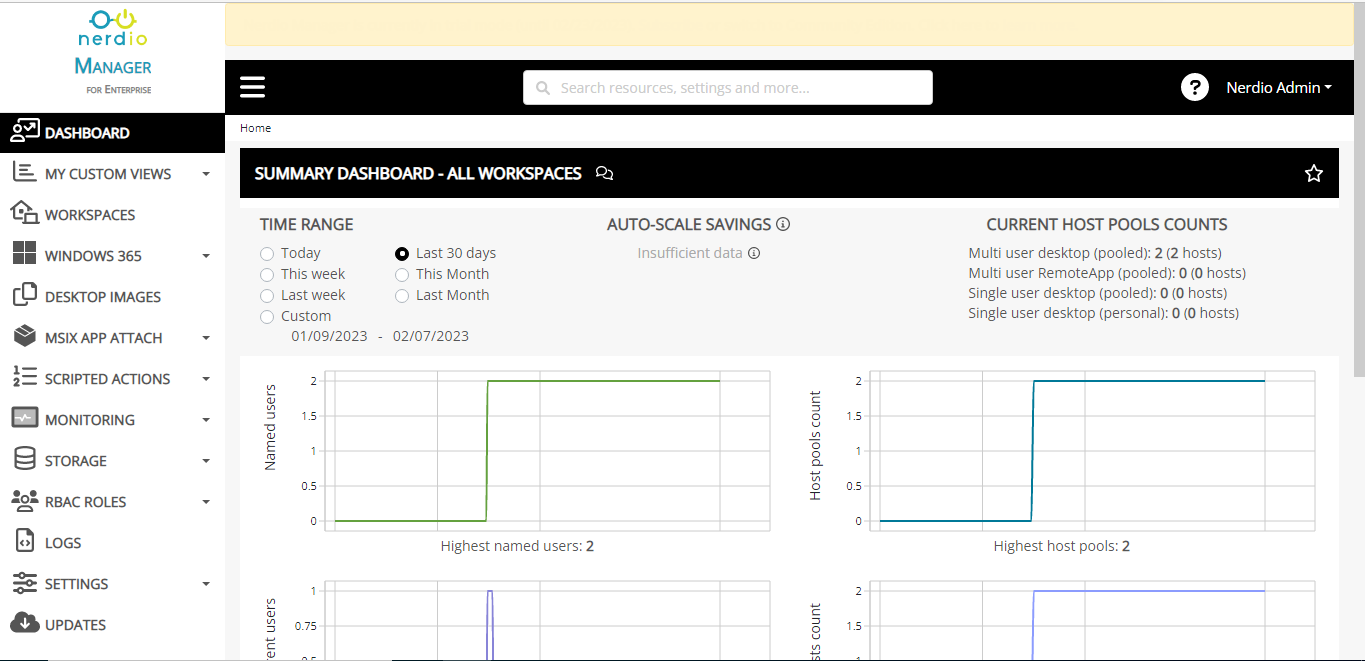
Login to the admin portal of the Nerdio Manager. Figure 1 will then appear.
-
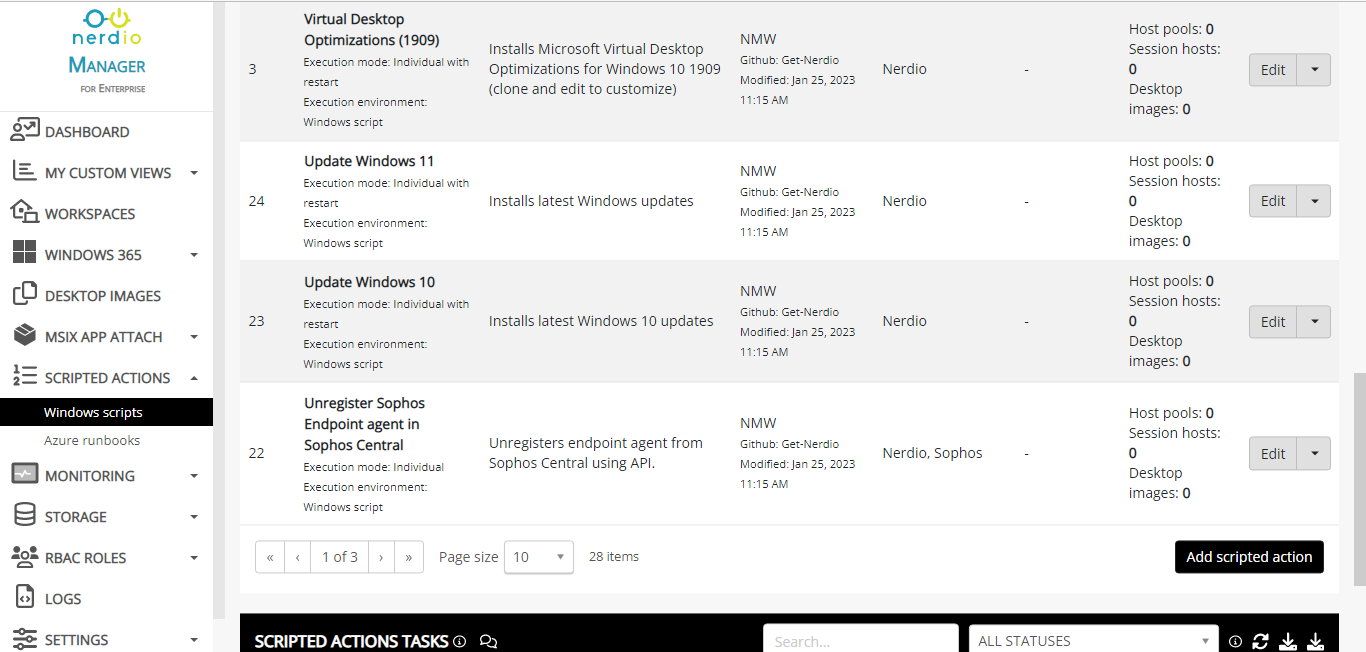
To create the agent installation script, first. expand the SCRIPTED ACTIONS node in the left panel, and click on the Windows scripts option within. The right panel will then change as depicted by Figure 2. Click on the Add scripted action button in the right panel to add a new script.
-
Figure 3 will then appear. Here, provide a unique NAME for the new script.
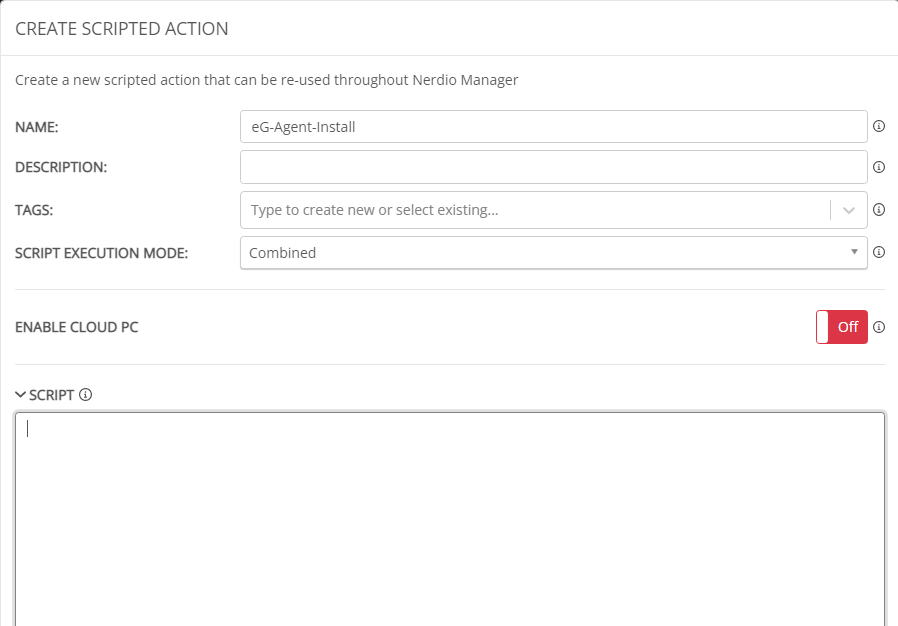
Figure 3 : Assigning a NAME to the new agent installation script
-
Then, proceed to configure the entire agent installation script in the SCRIPT text area of Figure 3. For that, using another browser tab page, connect to the eG manager to which the eG agents on AVD session hosts should report. Login to the admin interface of the eG manager. Figure 4 will then appear.
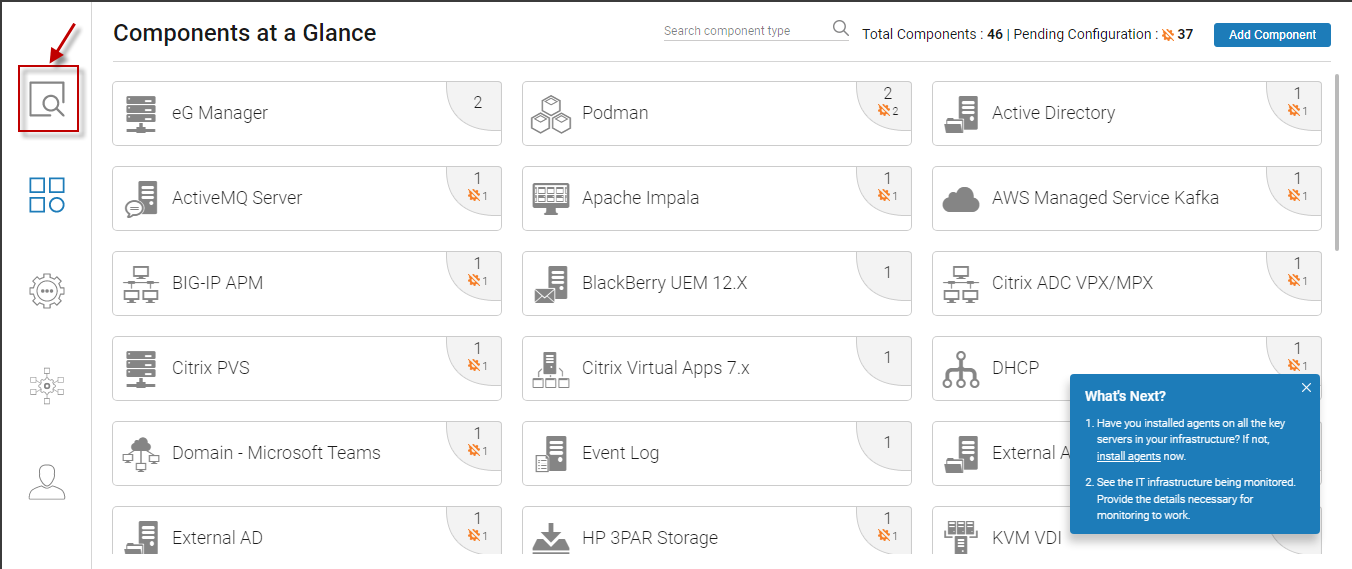
Figure 4 : The eG Admin interface
-
Click on the button indicated by Figure 4 above. Figure 5 will then appear.

Figure 5 : Choosing to discover/monitor
-
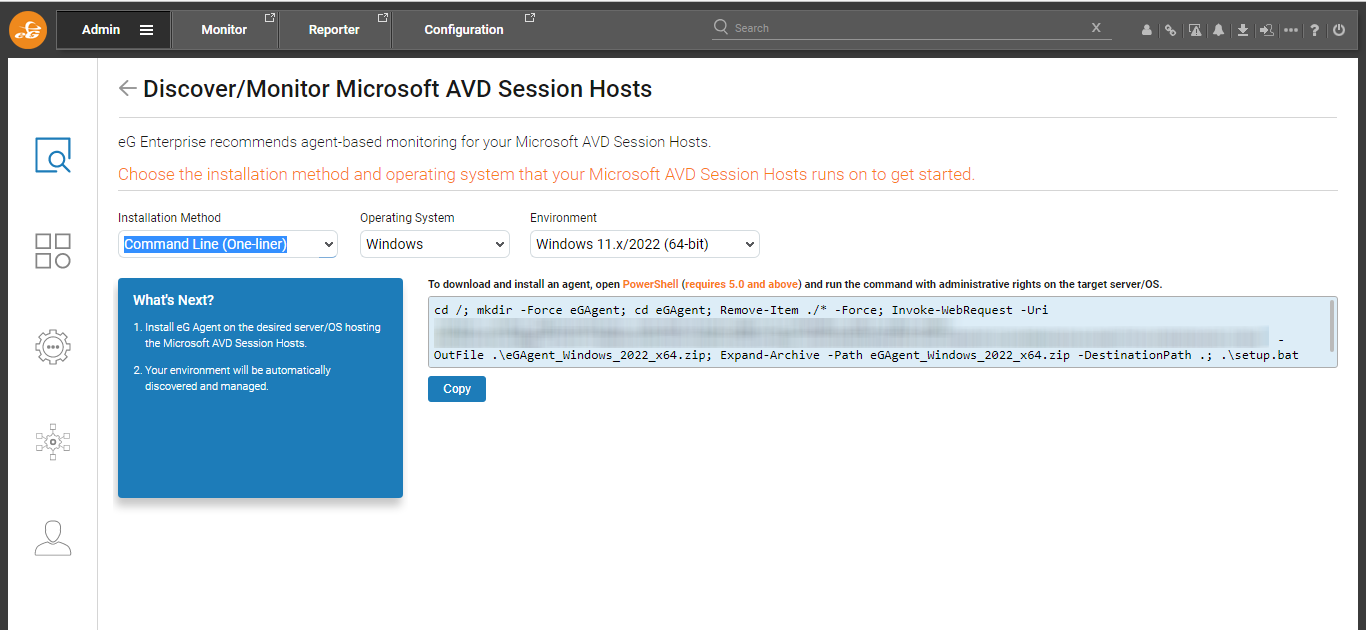
Figure 6 will then appear. Click the AVD Session Hosts/Pools tile in Figure 6 to discover the Microsoft Azure Session Hosts/pools. Clicking the Microsoft Azure Subscription tile will help discover the Microsoft Azure Subscription using which other dependent components such as Microsoft Azure Entra ID, Microsoft AVD Broker etc can be discovered.

Figure 6 : Choosing to discover/monitor Microsoft AVD Session Hosts/Pools
-
This will open Figure 7. Select Command Line as the Installation Method. Then, pick an Operating System and Environment that match the OS and flavor of the session hosts on which the agent is to be installed. The agent installation PowerShell script that corresponds to your specification will then be displayed. Click on the Copy button below the script.
-
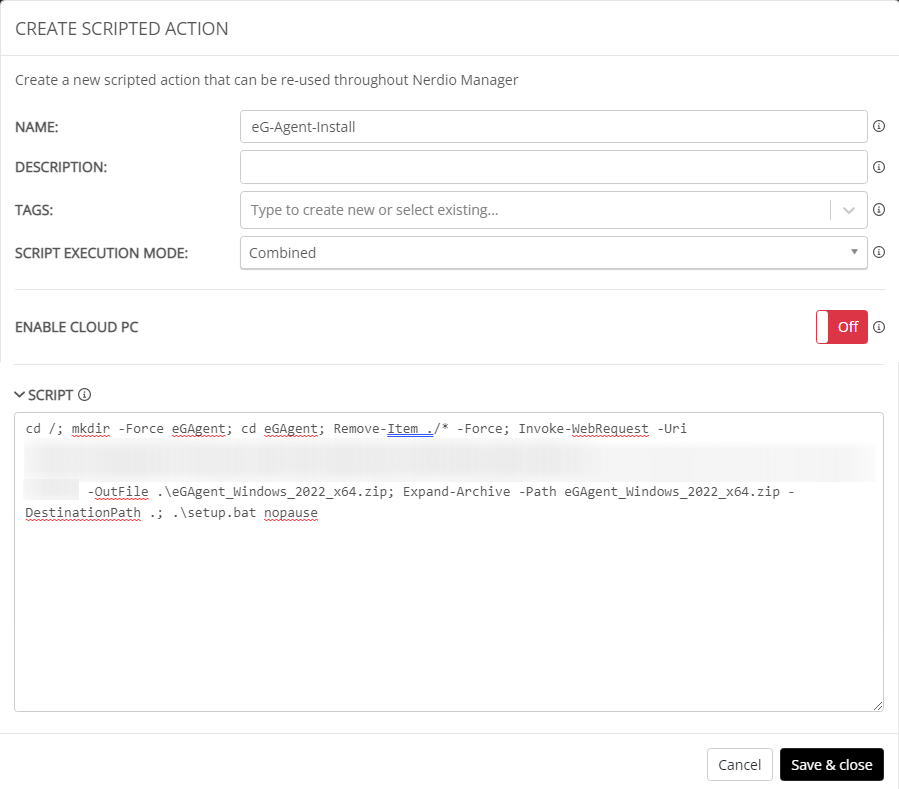
Then, switch back to Figure 3 of the Nerdio Manager, and paste the copied script in the SCRIPT text area (see Figure 8). Finally, click the Save & close button in Figure 8.
-
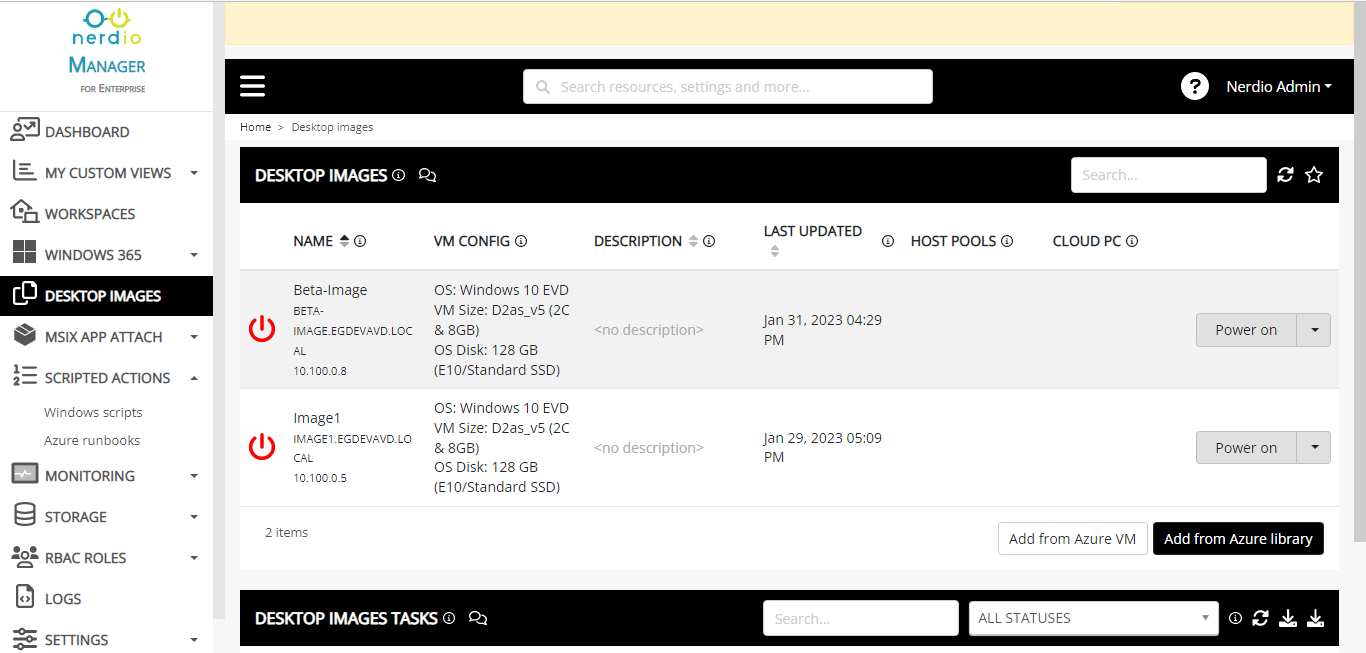
Now, proceed to attach the new script you created to a master desktop image. You can create a new master image for monitoring purposes, or use an existing image. To create a new master image, click on the DESKTOP IMAGES node in the left panel of Figure 2. Figure 9 will then appear.
-
To create a new desktop master image, click on the Add from Azure library button. Figure 10 will then appear.
-
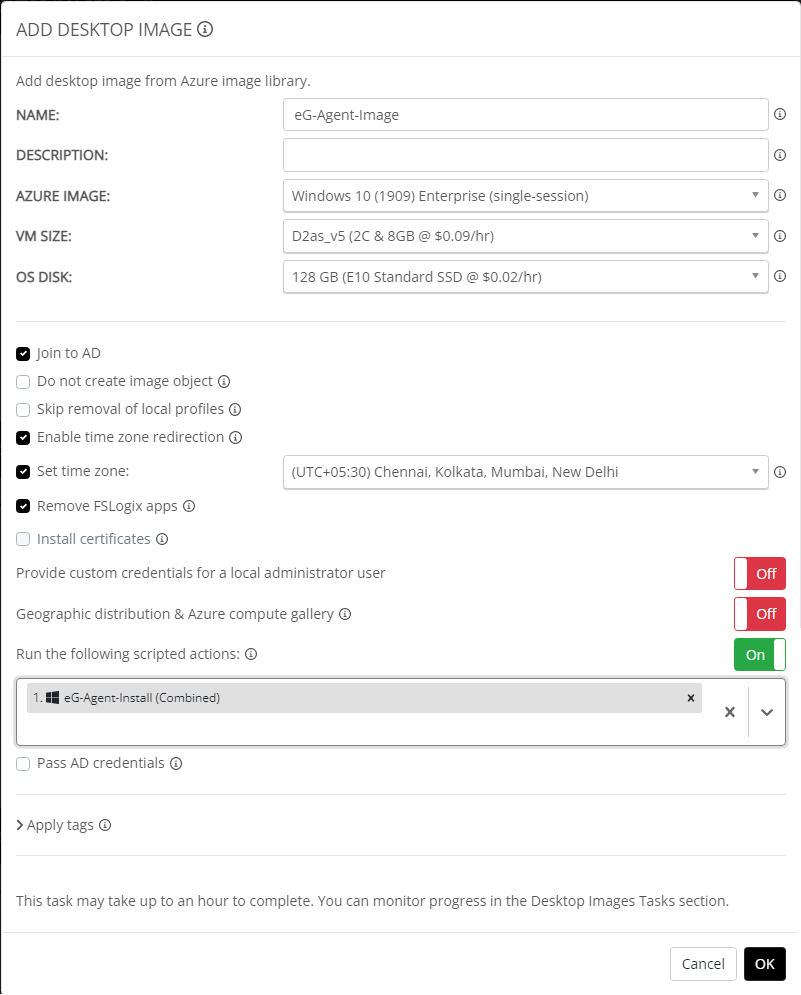
In Figure 10, give a NAME to the new desktop master image. Select the AZURE IMAGE, VM SIZE, and OS DISK of the new image.
-
Then, switch on the Run the following script actions flag, and then select the agent installation PowerShell script that you created previously. This will make sure that every time an AVDsession host is created from the master desktop image, the installation script is triggered, and the agent is automatically installed on that session host.
-
Finally, click the OK button in Figure 10.
-
If you choose to attach the script to an existing image instead, then first, click on DESKTOP IMAGES in the left panel. You will find the list of desktop images that pre-exist in the right panel. Click on the down-arrow button (adjacent to Power on) corresponding to the desktop image that you want to modify, and select Run script from the menu that pops out (see Figure 11).
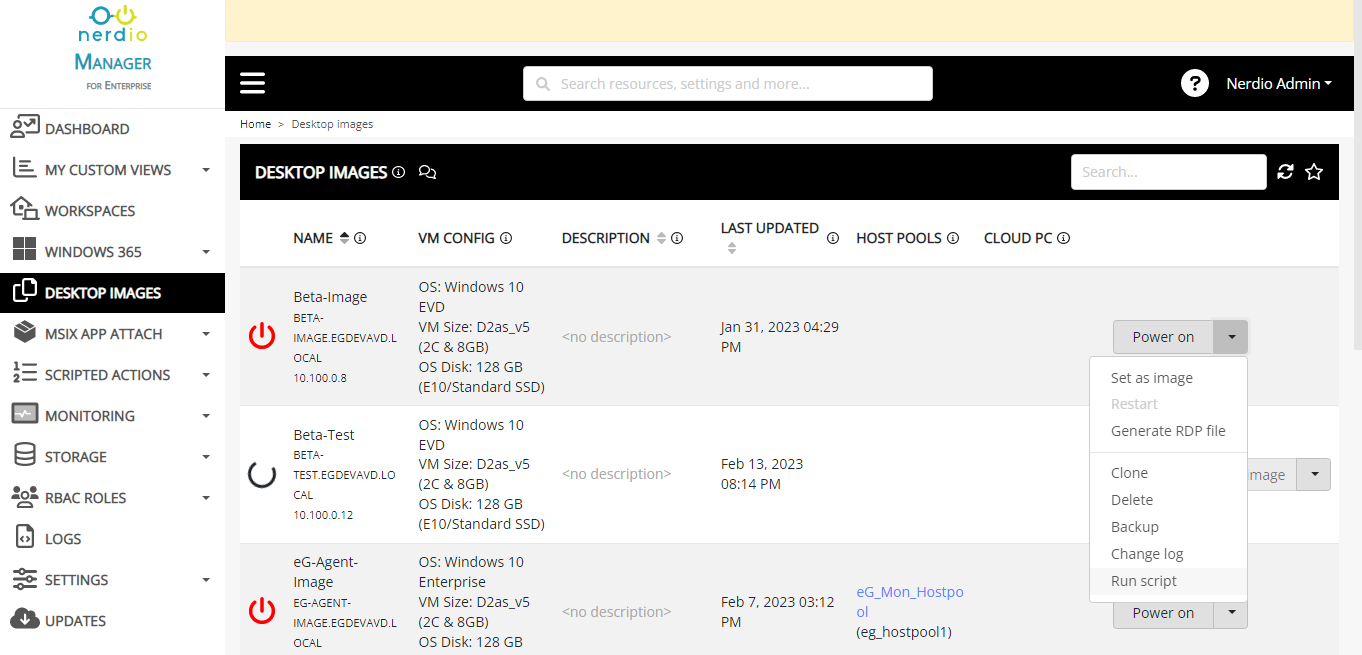
-
Figure 12 will then appear. Select the eG agent installation script you created previously, from the 'Run the following Scripted actions...' drop-down, and click on the Run now button to run the script on the image.
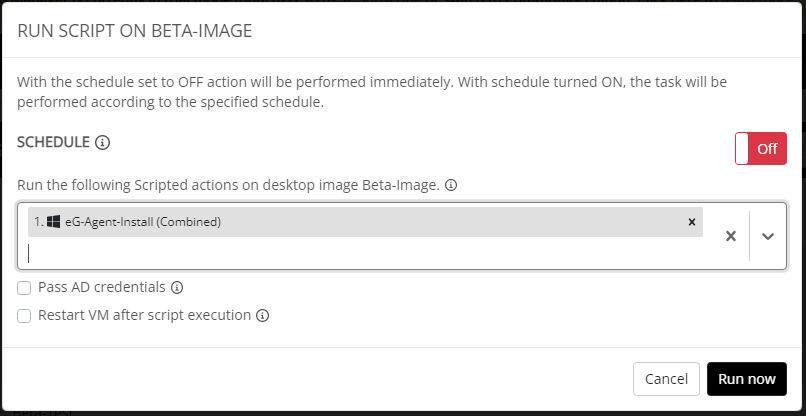
Figure 12 : Running the eG agent installation script on an existing desktop image
-
Now that the desktop master image is available, you need to make sure that you link the image to a host pool configuration. This way, any session host that is dynamically or manually added to that pool automatically uses the linked master image, which in turn installs the eG agent on that session host.
-
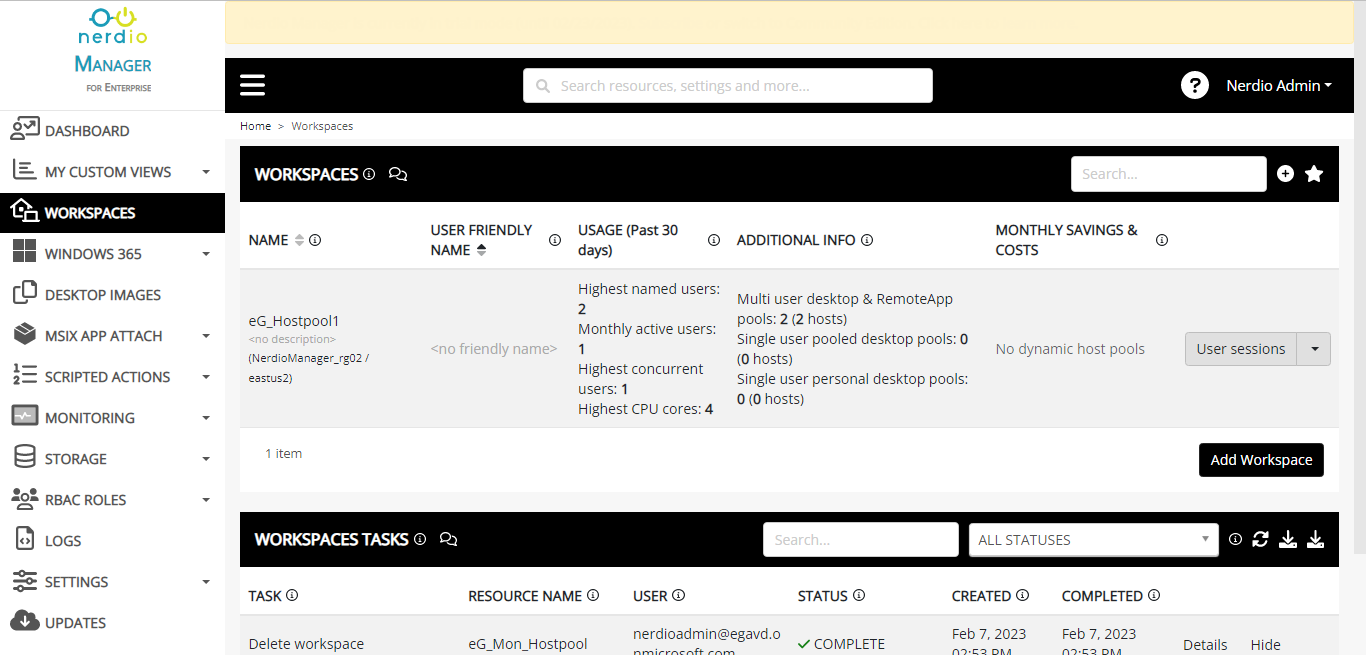
To create a new host pool, first, click on the WORKSPACES node in the left panel of Figure 9.
-
Figure 13 will then appear.
-
Click on an existing workspace or create a new one. For the purpose of this discussion, we will be proceeding with an existing workspace. Figure 14 will then appear.
-
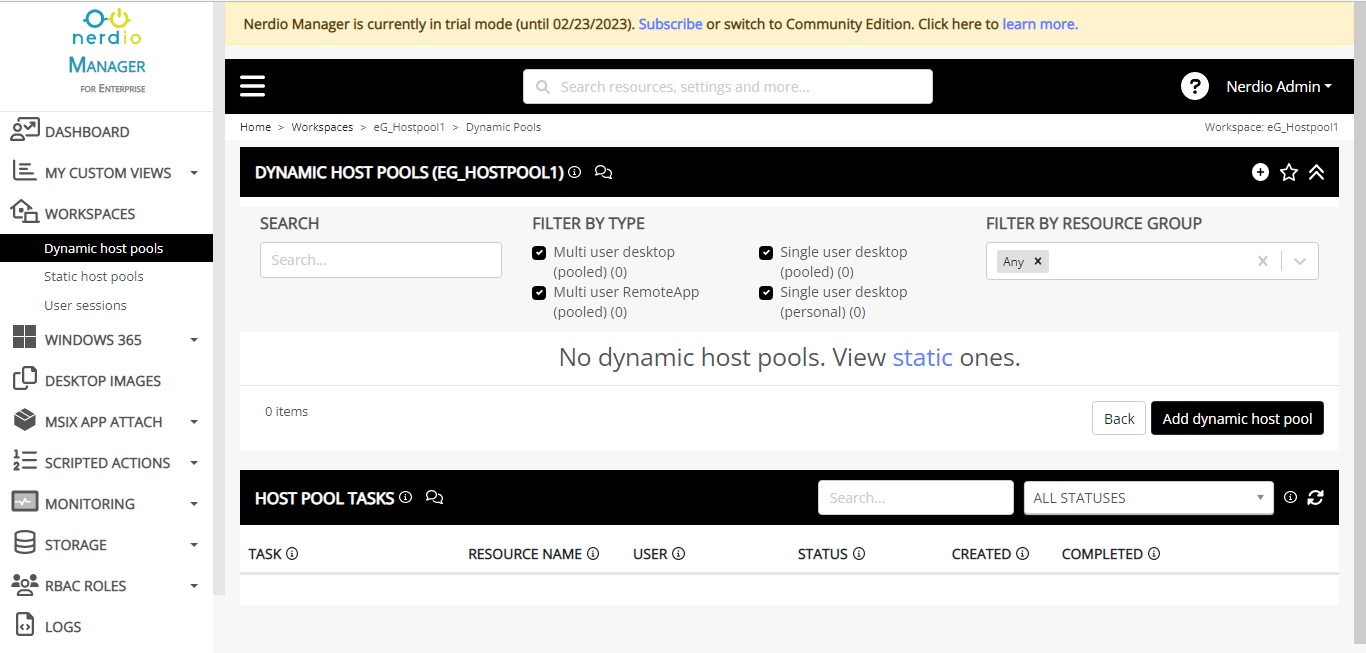
A Workspace manages Dynamic and/or Static host pools. A static host pool contains a set number of session hosts that the administrator configures. That is, it does not have auto-scale enabled. A dynamic host pool is a host pool whose configuration can be scaled in and out (auto-scale) as per the workload. That is, auto-scale can create the session hosts automatically based on the auto-scale configuration.
-
You can modify an existing host pool's configuration, so it uses the master desktop image that is bundled with the eG agent installation script. Alternatively, you can create a new dynamic/static host pool for this purpose. In the case of our example, we will be creating a dynamic host pool. Please refer to the Nerdio Manager documentation to know how to create a static host pool. To create a dynamic host pool, click on the Add dynamic host pool button in Figure 14. This will open Figure 15.

-
In Figure 15, give a Name to the new host pool. Then, from the DESKTOP IMAGE drop-down, select the desktop master image that you created previously. Finally, click the OK button in Figure 15.
-
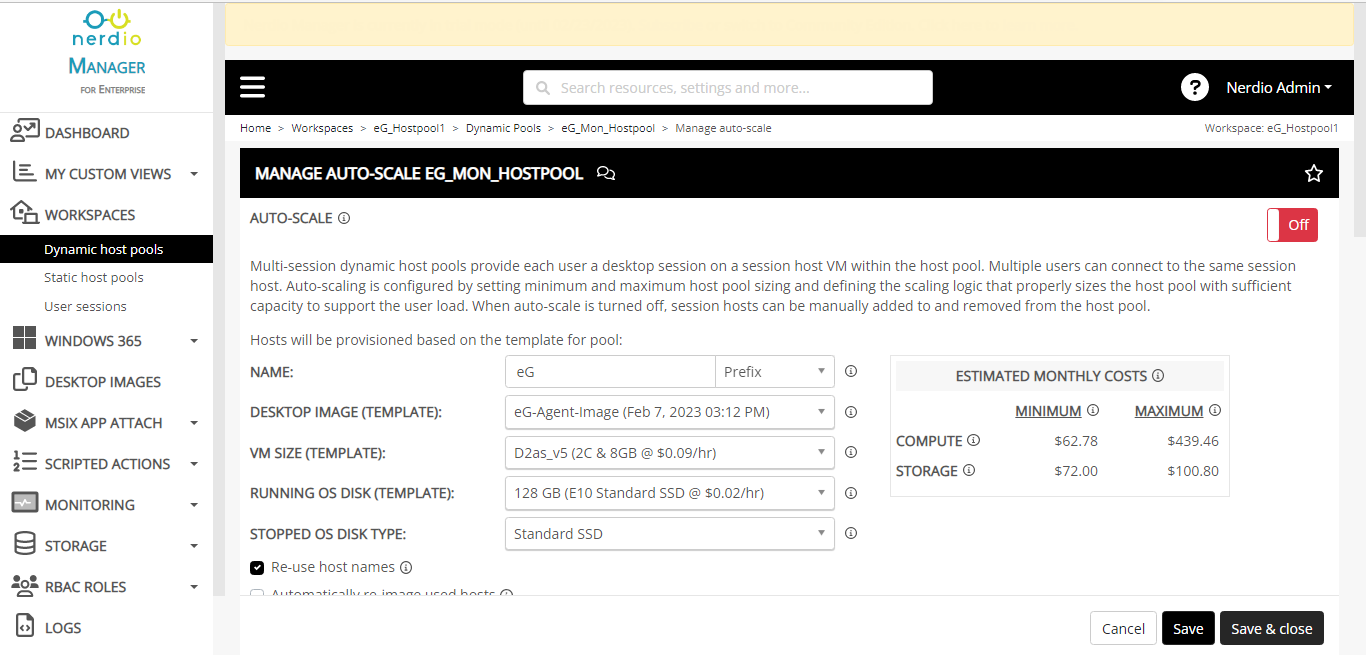
Figure 16 will then appear. Use the options provided in Figure 16 to configure auto-scaling for the dynamic host pool. Refer to the Nerdio Manager documentation to understand more about each of these options. Finally, click the Save & close button in Figure 16.
 ,
, -
Once the pool is created and auto-scaling rules kick in, new session hosts are dynamically added to the pool with the specifications configured in Figure 15. Each session host will be automatically created out of the DESKTOP IMAGE chosen from Figure 15. Since this is the image to which the eG agent installation script is attached, invoking the image will trigger script execution, which in turn will install the eG agent on the session host.