Scheduling Test Execution
If you have enabled 'scheduling' for a test, then such a test will include an additional parameter named Schedule Type. To ensure that the test runs at a specific / custom time and/or at a preferred time zone, you will have to configure the Schedule Type and related parameters, as discussed below:
-
Figure 1 depicts a test for which custom scheduling has been enabled. As is evident from Figure 1, the test now includes a Schedule Type parameter, which is set to None by default.
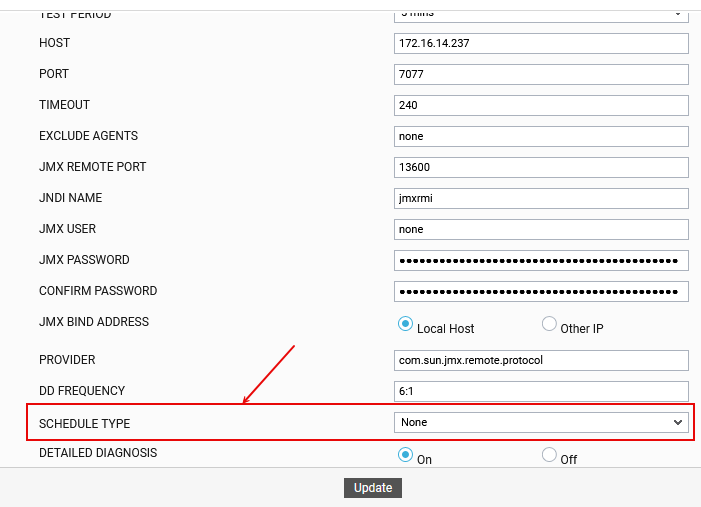
Figure 1 : Test Configuration Page with Schedule Type parameter
-
To configure a schedule for the test, first pick a Schedule Type. You can choose from the following types:
-
Specific: Select this option if you want to schedule test execution hourly / at a specific time daily, and report metrics using a specific timestamp.
-
Custom: Select this option if you want to schedule test execution at a configured date/time range in a chosen time zone.
-
-
If Specific is chosen as the Schedule Type, then proceed as described below:
-
From the Execution Time drop-down, select how frequently you want the test to run - once every hour (Hourly)? or once every day (Daily)? (see Figure 2)
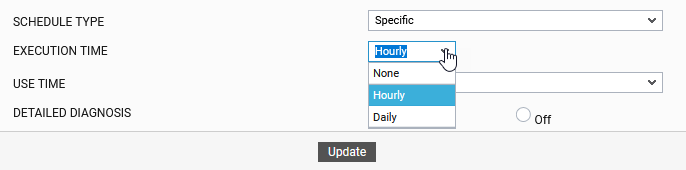
Figure 2 : Picking the Execution Time
-
If you choose the Daily option from the Execution Time drop-down, you should also indicate at what time each day the test should execute (see Figure 3).
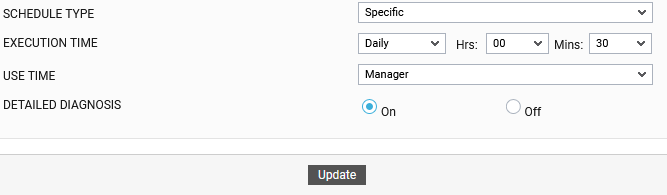
Figure 3 : Specifying at what time Daily the test should run
-
-
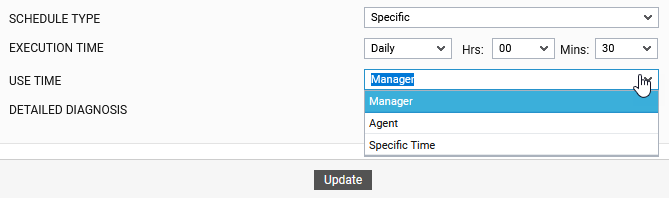
Then, with the help of the Use Time drop-down, specify the timestamp the test should use for reporting metrics. The test can be configured to report metrics using the timestamp of the Manager or the Agent. Alternatively, you can also pick the Specific Time option, so the test runs and reports metrics in any time zone you choose (see Figure 4).
-
If the Specific Time option is chosen from the Use Time drop-down, then select the Execution Timezone for the test.
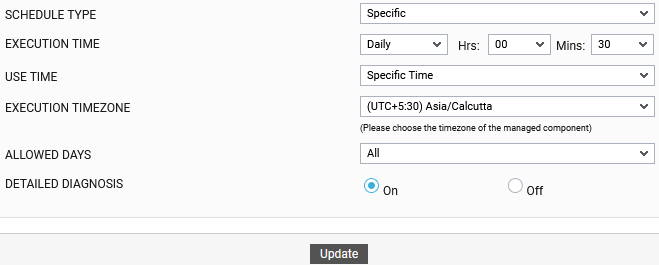
Figure 5 : Selecting the Execution Timezone
-
Then, from the Allowed Days drop-down, select on which days of the week the test should run. Multiple selections are permitted. If you want the test to run on all days of the week, pick the All option.
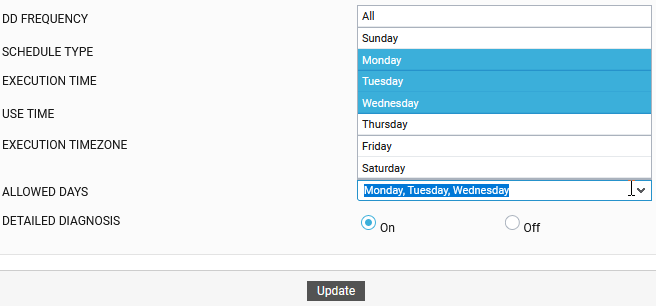
Figure 6 : Selecting the days on which the test is allowed to run
-
-
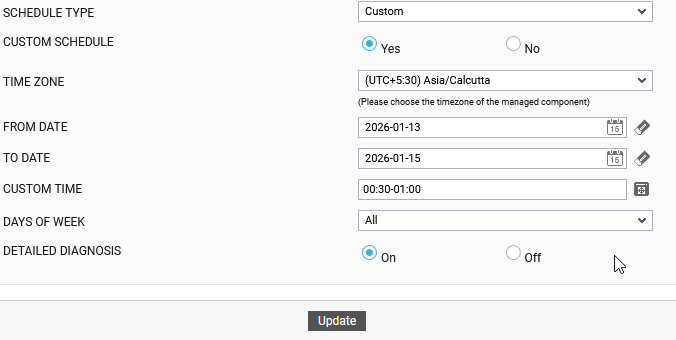
On the other hand, if Custom is chosen as the Schedule Type, then, do the following:
-
Set the Custom Schedule flag to Yes.
-
Then, select the Time Zone in which the test should run and report metrics.
-
Next, use the From Date and To Date fields to indicate the time period for test execution. Note that the test will run only on the dates in the date range provided here. You can use the 'calendar' icon to invoke a Calendar utility, using which you can pick the dates in the date range.
-
Then, custom-define the time ranges for test execution using the Custom Time field. To define a custom time range, first click the
 icon adjacent to the Custom Time field. Figure 8 will then appear.
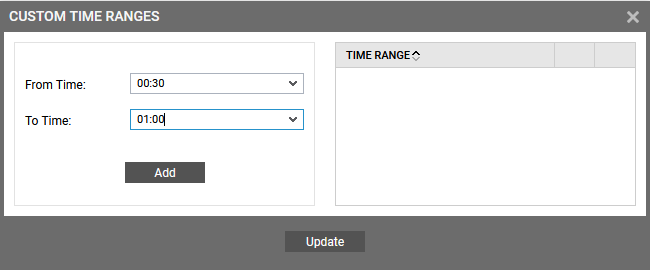
-
In Figure 8, specify the From Time and To Time of the time range, and click the Add button. This will add your specification to the TIME RANGE list alongside (see Figure 9).
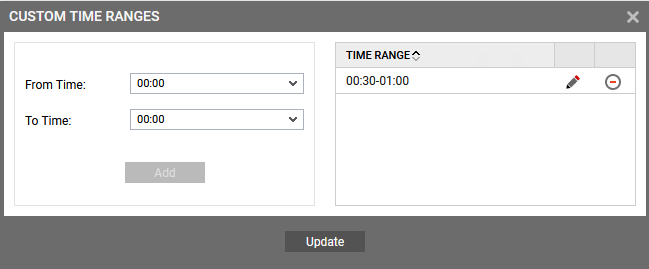
Figure 9 : Adding a Time Range specification to the TIME RANGE list
-
Similarly, you can add multiple time range specifications.
-
You can edit a specification in the TIME RANGE list by clicking the
 icon corresponding to it. Likewise, click on the
  icon against a specification to delete it from the list.
 -
Finally, click the Update button in Figure 9.
-
The specifications you added will then be displayed against the Custom Time parameter in Figure 7.
-
Then, from the Days Of Week drop-down, select on which days of the week the test should run. Multiple selections are permitted. If you want the test to run on all days of the week, pick the All option.
-