Creating Service Principal as API Client on Citrix Cloud
To communicate with the Citrix Cloud and pull metrics of interest, the eG agent requires an API client on the cloud. This API client can either be a Service principal or a Secure client. Follow the steps below to create a Service Principal as an API Client on Citrix Cloud:
- Sign in to the Citrix Cloud administrator console.
- Click the “chocolate menu”
 in the upper left corner of the console.
 -
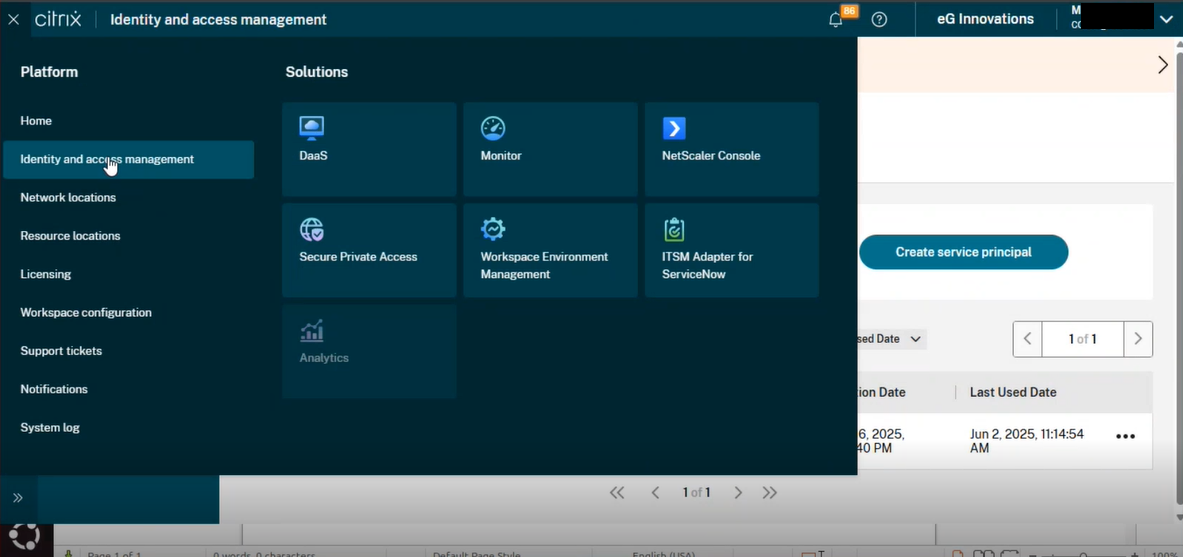
Select Identity and Access Management from the drop-down menu (see Figure 1).
-
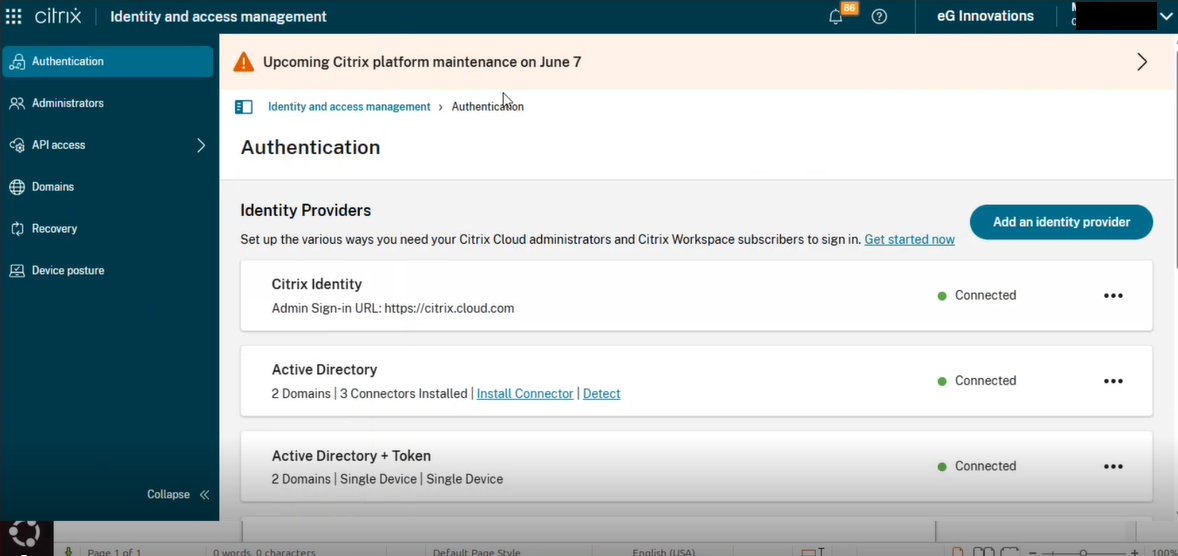
Figure 2 then appears. Click on the API Access option in the left panel (see Figure 2).
-
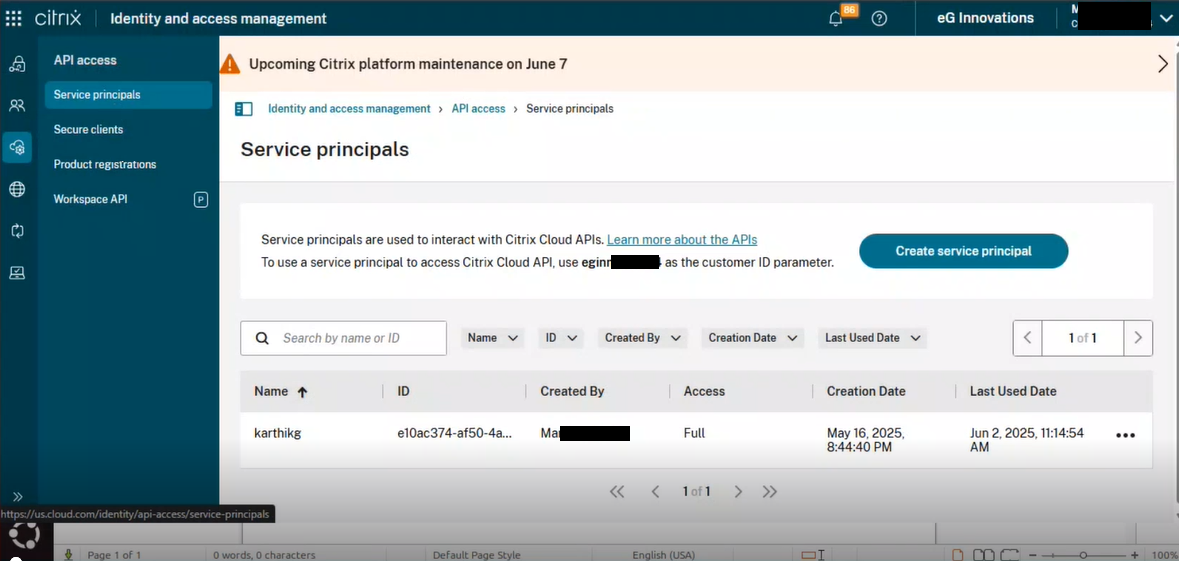
Expanding the API Access menu in Figure 2 and clicking the Service principals button in Figure 3 will reveal the Service principals page as shown in Figure 3.
-
Clicking the Create Service principal button in Figure 3 will reveal Figure 4 where you can create a new Service principal as an API Client.

-
In Figure 4 specify the name of the service principal that you wish to create.
-
Clicking the Next button in Figure 4 reveals Figure 5 where you can define the access rights of the new Service principal. For this, first select the Custom access option.
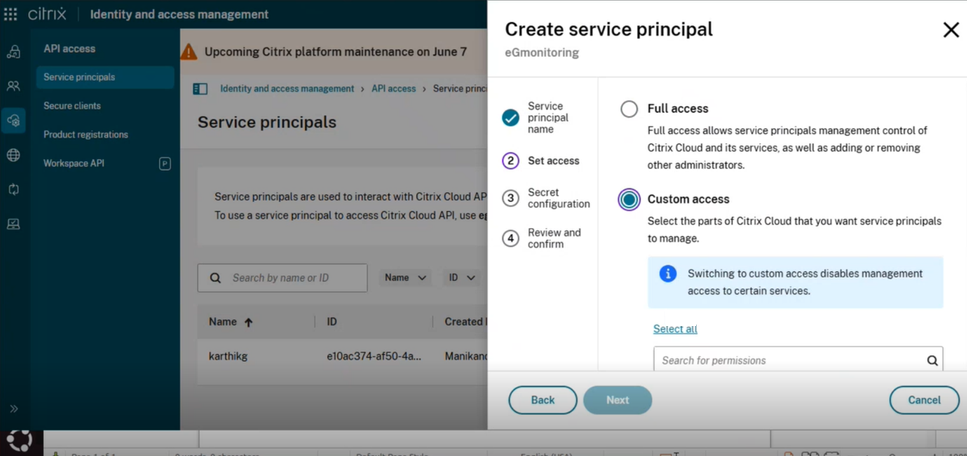
Figure 5 : Choosing to customize the access rights of the new service principal
-
Next, allow the Service principal Read-only Administrator access to all virtual apps and desktops. For that, scroll down Figure 5, so that the DaaS group becomes visible. Expand the group and select the check box alongside Read Only Administrator. By default, All scopes will be chosen once you select the Read Only Administrator (see Figure 6).
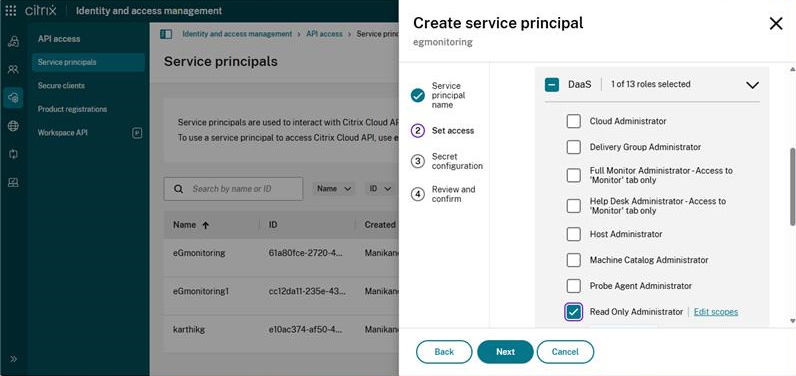
Figure 6 : Granting Read-only Administrator access to all Virtual Apps and Desktops
-
Then, scroll down further and click on the General check box in Figure 7, so that the user is granted access to all the basic configurations on the cloud such as domains, libraries, licenses, secure clients etc. These General settings are displayed in Figure 7.

Figure 7 : The General configurations chosen for the Service principal
-
Clicking the Next button will reveal Figure 8 where you will be allowed to choose the expiry of the Secret that will be generated for the Service principal that is being created.
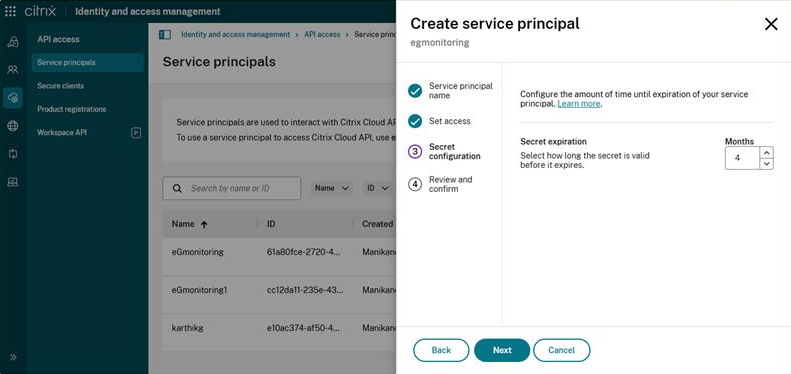
Figure 8 : Choosing the expiry of the Secret that is to be generated for the Service principal
-
Clicking the Next button in Figure 8 will reveal Figure 9 where you can review and confirm the details of the new Service principal.

Figure 9 : Review the access rights of the new Service principal to be created
- Finally, clicking the Complete button in Figure 9 will ensure that the Service principal is created as a new API client.
-
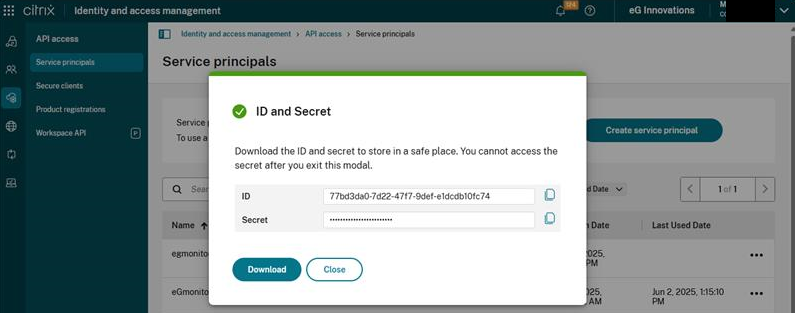
Upon successful Service principal creation, Figure 10 will appear displaying the client ID and Secret.
-
Download the client ID and Secret displayed in Figure 10 to the eG agent host by clicking on the Download button. The ID and Secret will be automatically written into a serviceprincipal.csv file, which will be created in the download location.