Using the Executable Provided by eG Enterprise
The detailed manual installation procedure has been discussed hereunder:
-
To install the eG VM Agent on a 32-bit Windows virtual desktop on the cloud, double-click on the eGVMAgent.exe, and to install the same on a 64-bit VM, double-click the eGVMAgent_64.exe.
-
Figure 1 then appears. Click on the Next button in Figure 1 to continue.
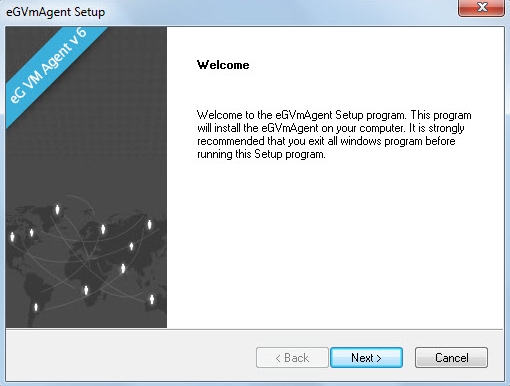
Figure 1 : Welcome screen of the eG VM Agent installation wizard
-
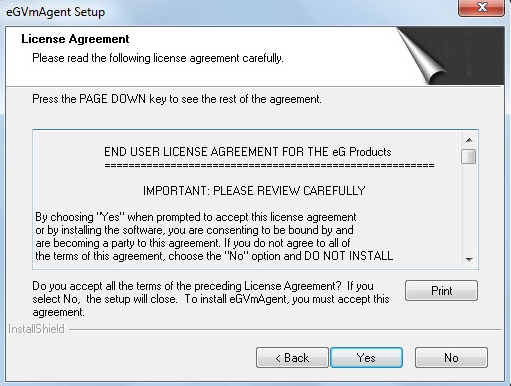
When Figure 2 appears, click on Yes to accept the displayed license agreement.
-
Use the Browse button in Figure 3 to indicate the location in which the agent should be installed, and click the Next button to proceed.
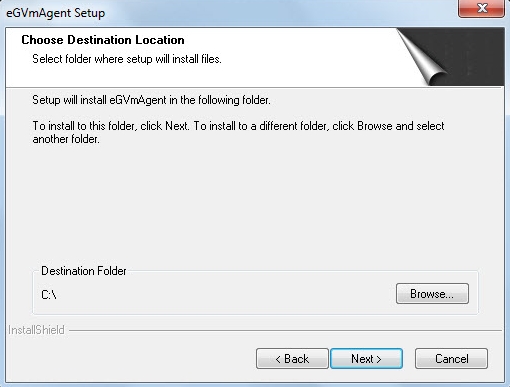
Figure 3 : Specifying the install directory of the eG VM Agent
-
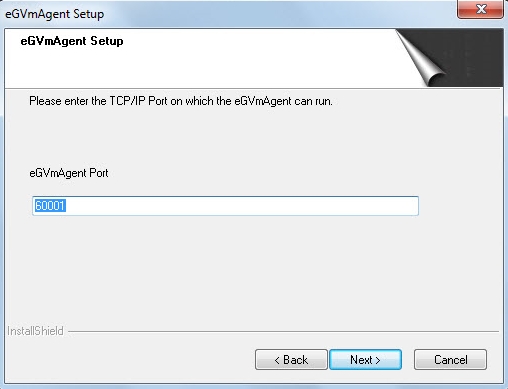
Next, specify the port through which the VM agent communicates with the eG agent. The default port is 60001. After port specification, click on the Next button in Figure 4 to proceed.
-
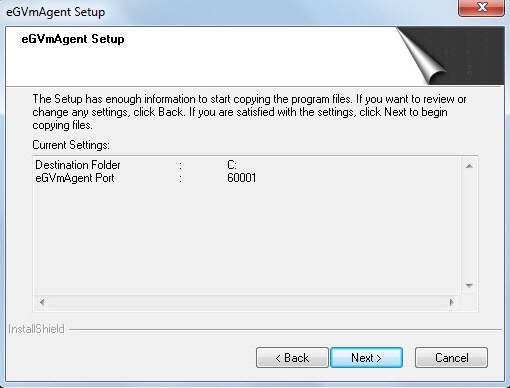
A summary of your specifications then follows (see Figure 5). Click Next to proceed.
-
Finally, click the Finish button in Figure 6 to complete the installation.
