Configuring a WebSphere Application Server 5.1 to work with the eG Agent
To configure the WebSphere application server 5.1, do the following:
- Open Internet Explorer, and type the following URL: http://<WebSphereIP>:<WebSpherePort>/, to connect to the WebSphere Application server’s administration console.
-
A Login dialog box requesting a User Id will appear (see Figure 1).
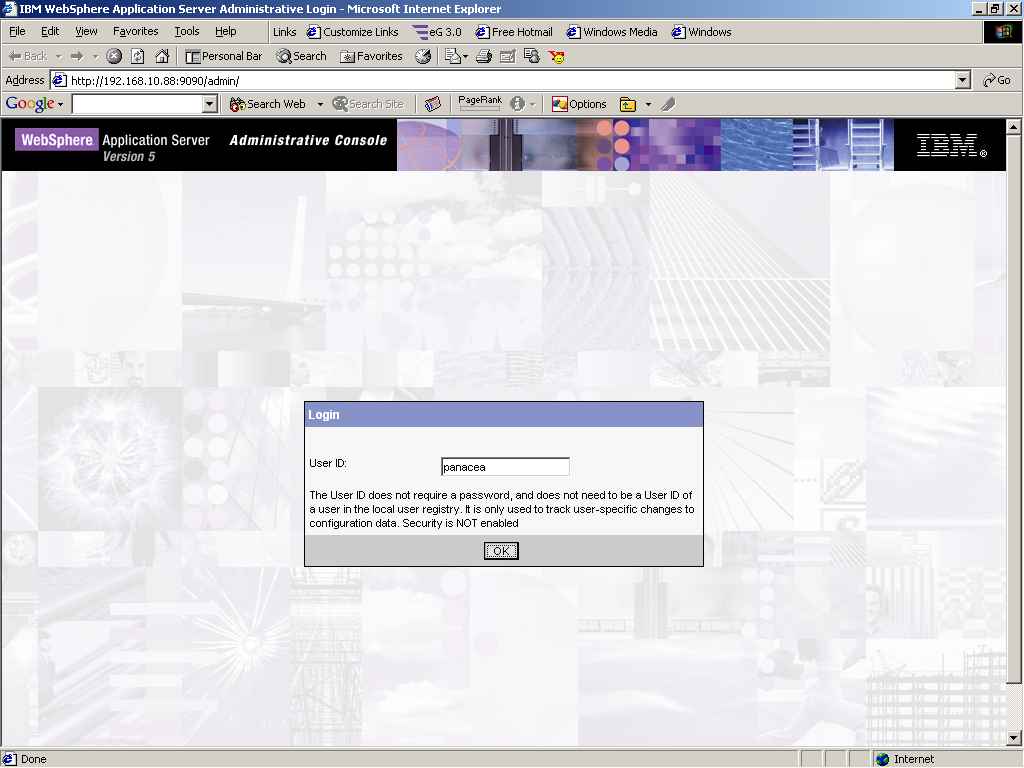
- In Figure 1, specify a user id to login to the admin console, and click the ok button.
-
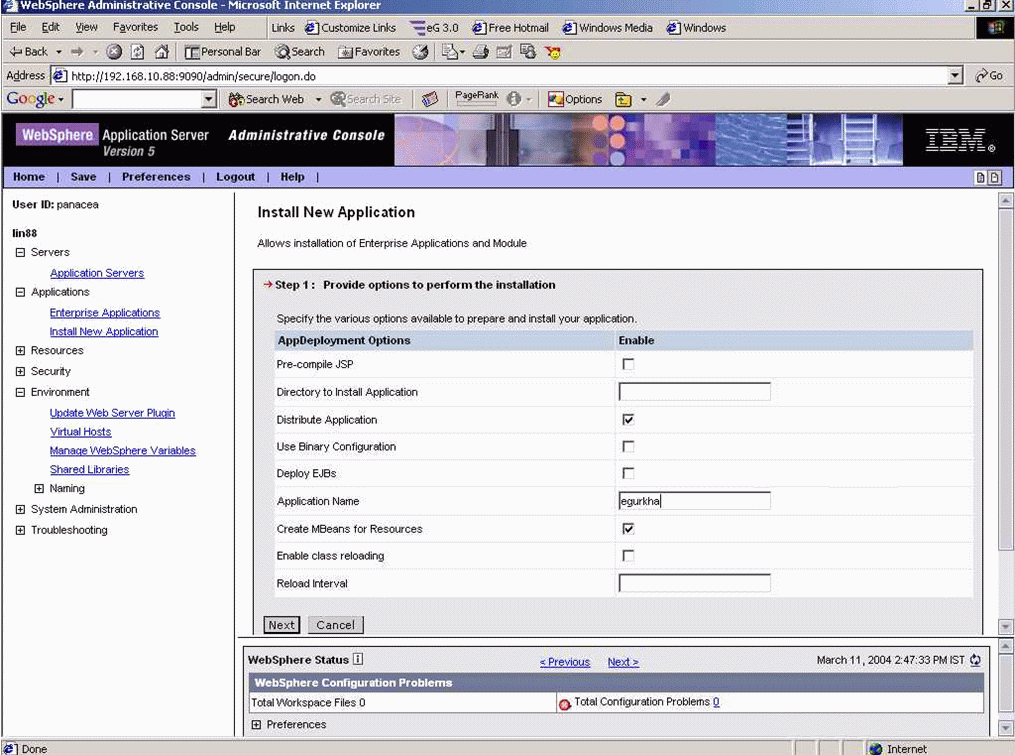
In the screen that appears next (see Figure 2), select the Install New Application link in the left pane, to install a new application on the WebSphere server.
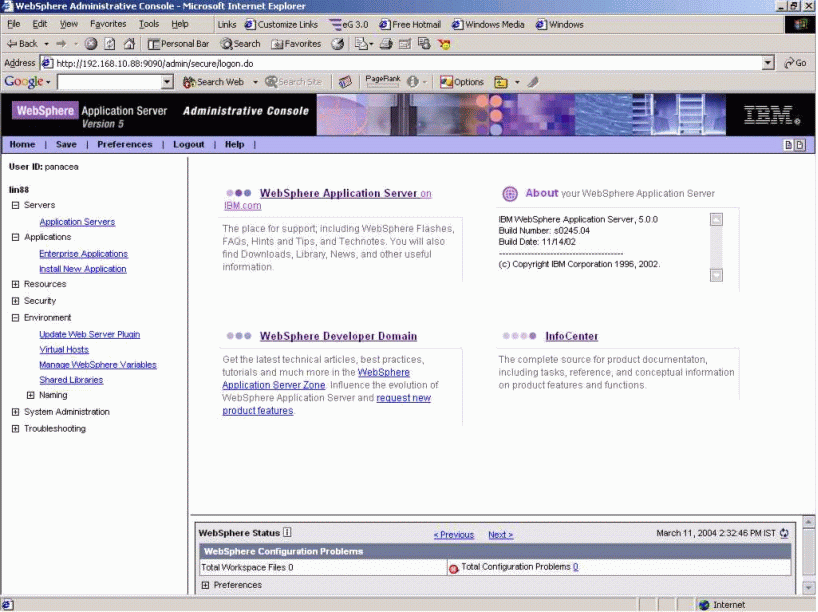
Figure 2 : Installing a new application on the WebSphere server
-
Upon clicking the link, Figure 3 will appear. Select the Local path option in the right pane of Figure 3, and specify the full path to the location of the egurkha.ear file that is to be deployed on the WebSphere server.
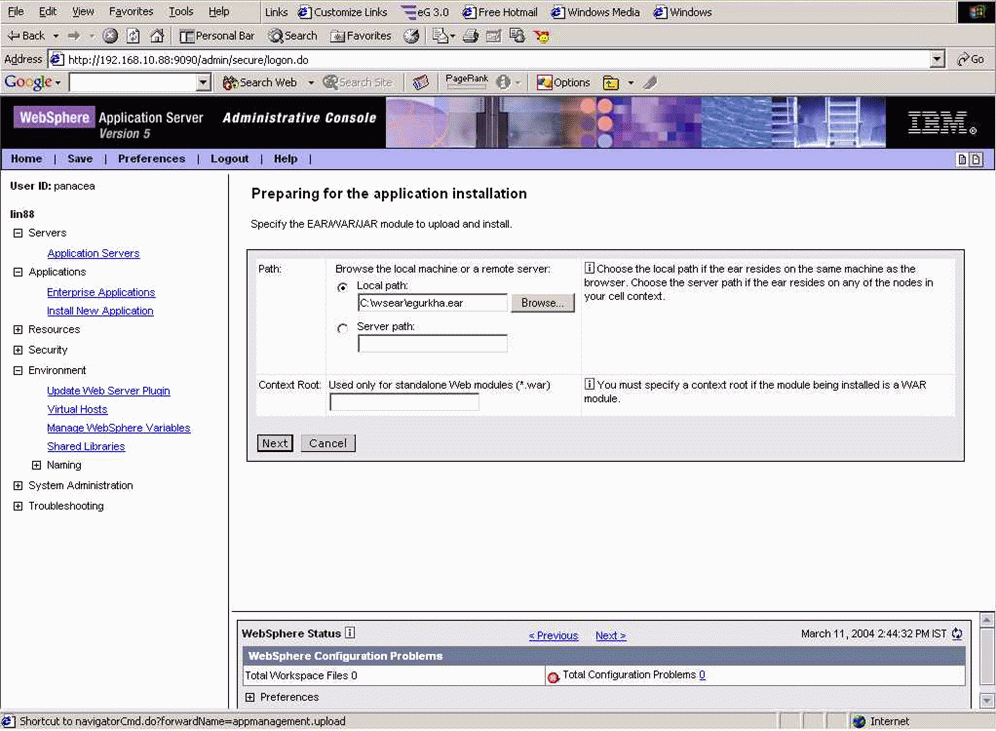
- Then, click the Next button in Figure 3 to proceed with the deployment.
-
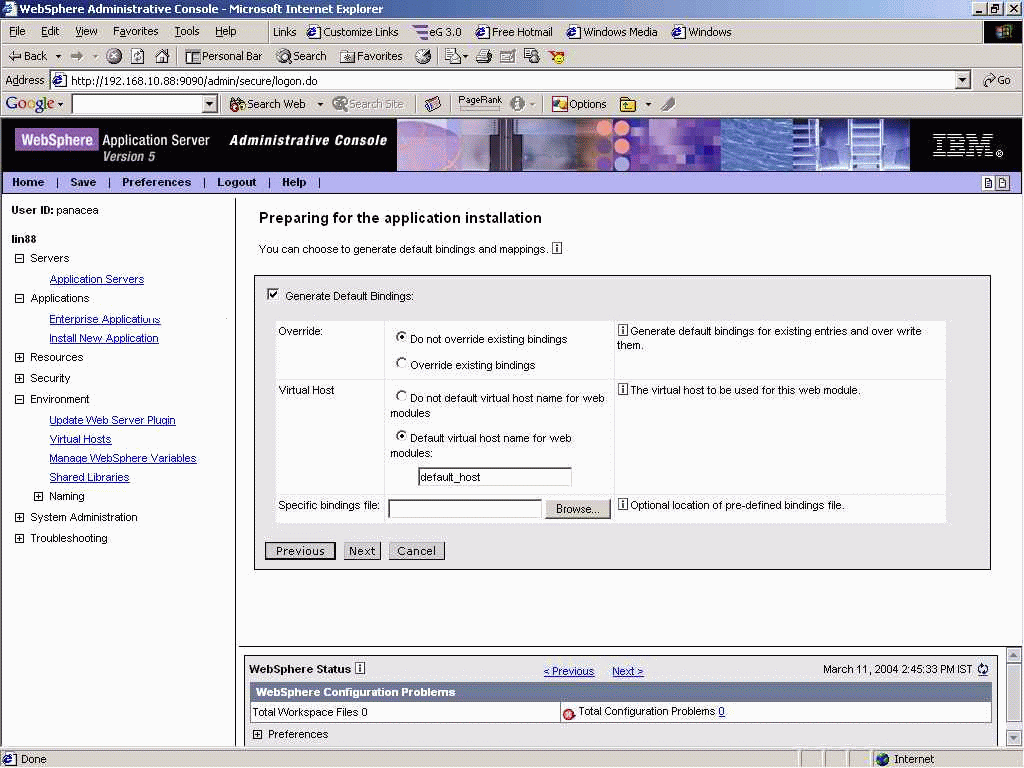
Once the Next button (in Figure 3) is clicked, Figure 4 will appear. Select the Generate Default Bindings check box in the right pane of Figure 4 and click the Next button to proceed.
-
In the right pane of Figure 5 that appears, provide egurkha as the Application Name and click the Next button.
-
Next, map the modules in the application with the servers. Since our application consists of only one module, egurkha, the same will be displayed under the Module column in the right pane of Figure 6. To map the egurkha module with the current server, select the check box alongside it, and click the Next button.

Figure 6 : Mapping the egurkha module with the current server
-
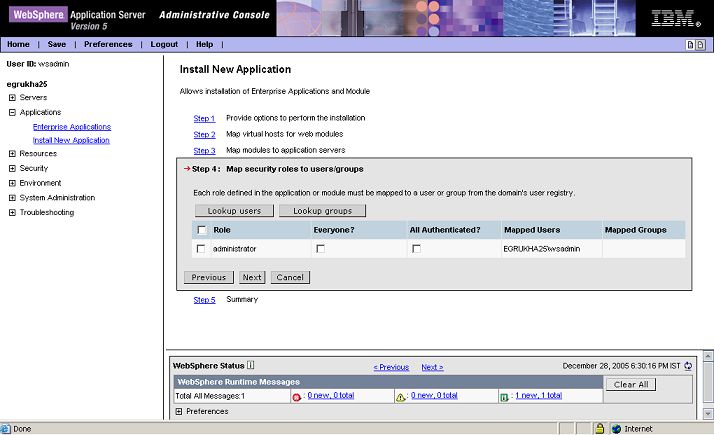
Next, you will be prompted to map security toles to users/groups (see Figure 7). If security has been enabled for the WebSphere server, then this mapping is mandatory. If not, simply click on the Next button in Figure 6 to switch to the next step of the installation. In the case where security is enabled, it is recommended that you always map the administrator role with a specific admin user/group for monitoring purposes. To achieve this, first select the administrator role displayed in Figure 7 by clicking on the check box alongside it.
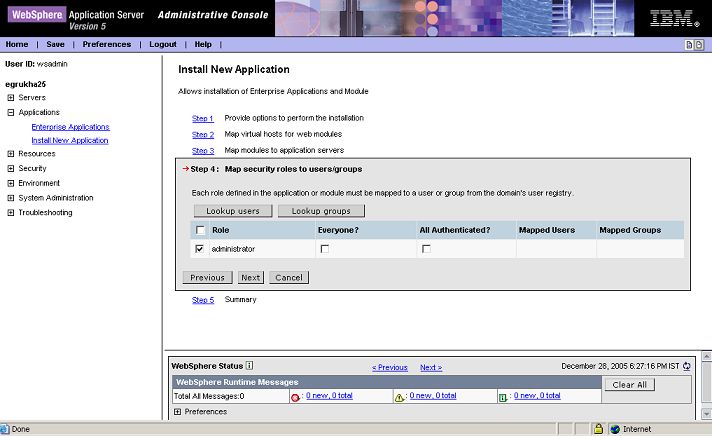
Figure 7 : Selecting the security role
Note:
To determine whether security has been enabled for a WebSphere server or not, try logging into the administrative console of the WebSphere server. If you are requested for a user name and password, it is a clear indication that security has been enabled. On the contrary, if you are prompted only for a User ID (as in the case of Figure 1), then it denotes that security has not been enabled.
-
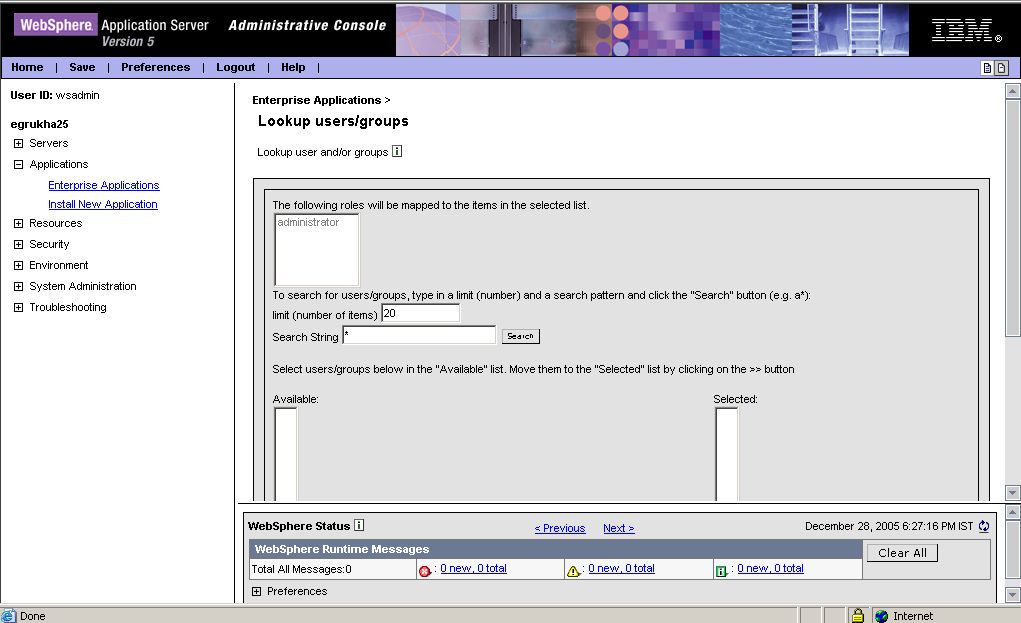
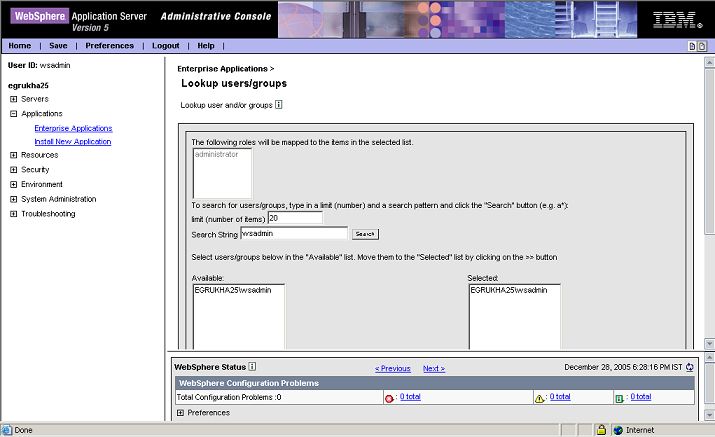
Then, click on the Lookup users button in Figure 7 to associate the role with an administrator user or group. Figure 8 will then appear.
-
In the Search String text box of Figure 8, specify the user ID that you want to search for and map to the administrator role. Then, click on the Search button (see Figure 9).
-
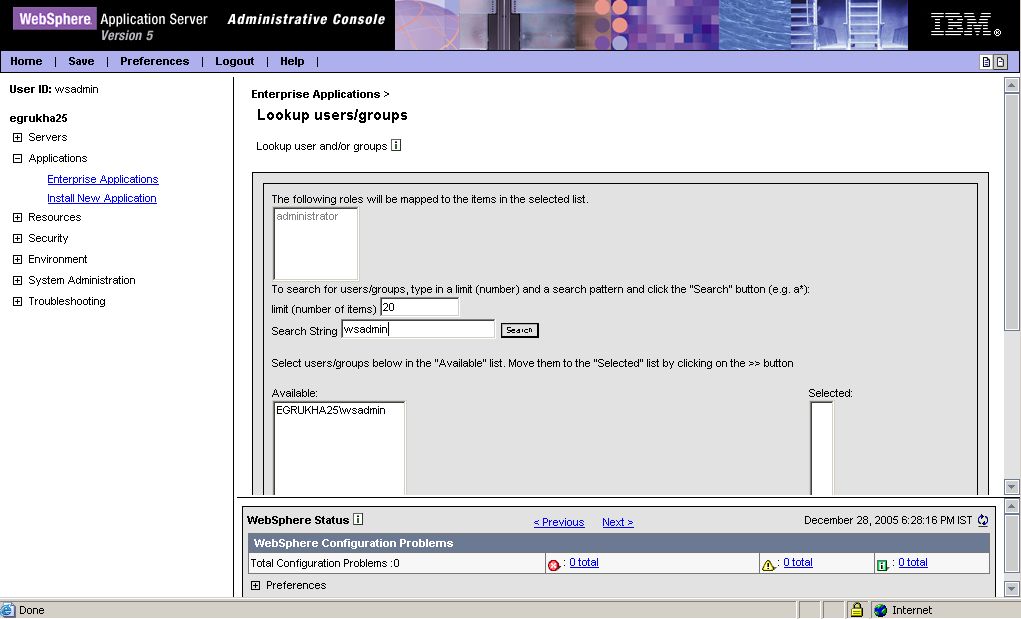
All user IDs that match the specified Search String will appear in the Available list box (see Figure 9). From this list box, select the users to be mapped to the administrator role, and click on the >> button to transfer the selection to the Selected list (see Figure 10 and Figure 11). Then, click on the ok button in Figure 10.
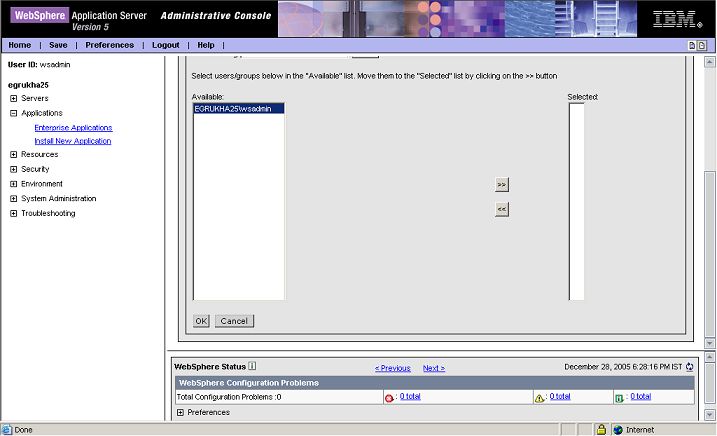
Figure 10 : Selecting the users to be mapped to the administrator group
-
You will then return to Figure 7, where the selected users will appear against the administrator role (see Figure 12). Click on the Next button to proceed.
-
View a summary of the chosen install options (see Figure 13), and click the Finish button to begin installation.

-
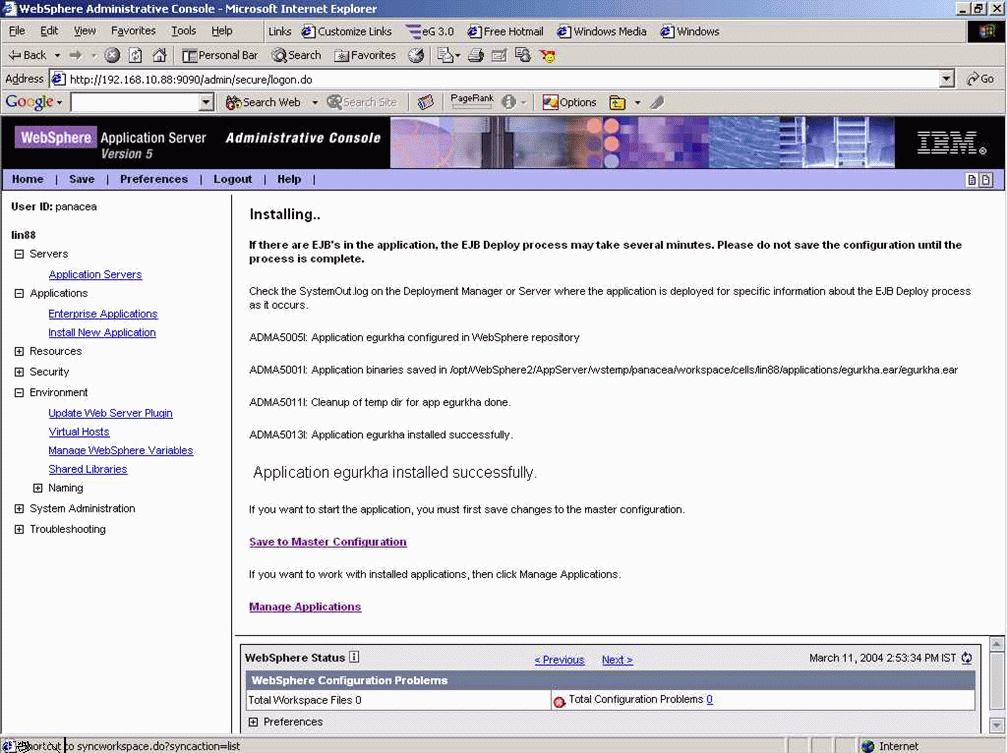
The subsequent screen (Figure 14) will indicate the successful installation of the egurkha application. Now, click on the Save to Master Configuration link in the right pane of this screen.
-
Next, click on the Save button in Figure 15 that appears to update the master repository with the changes.

-
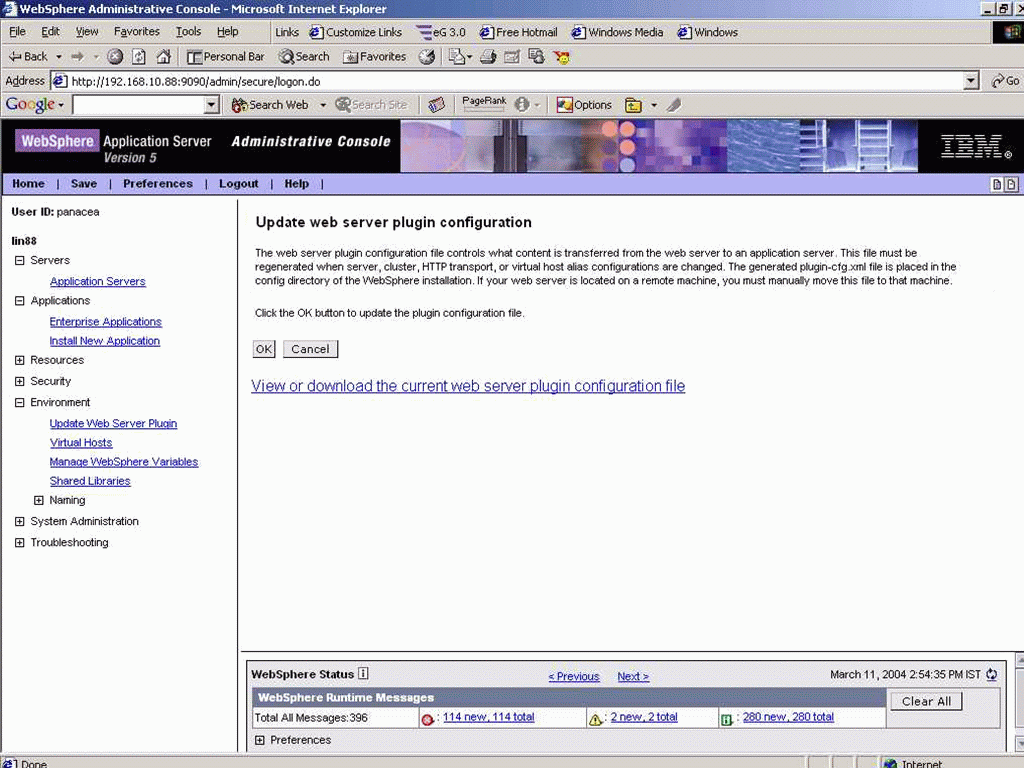
After updating the master configuration, click on the Update Web Server Plugin link under the Environment section in the left pane of Figure 15. Then, to update the plugin, click on the ok button in the left pane of Figure 16.
-
If the web server plugin is updated successfully, the screen that appears next will display a message to that effect (see Figure 17).
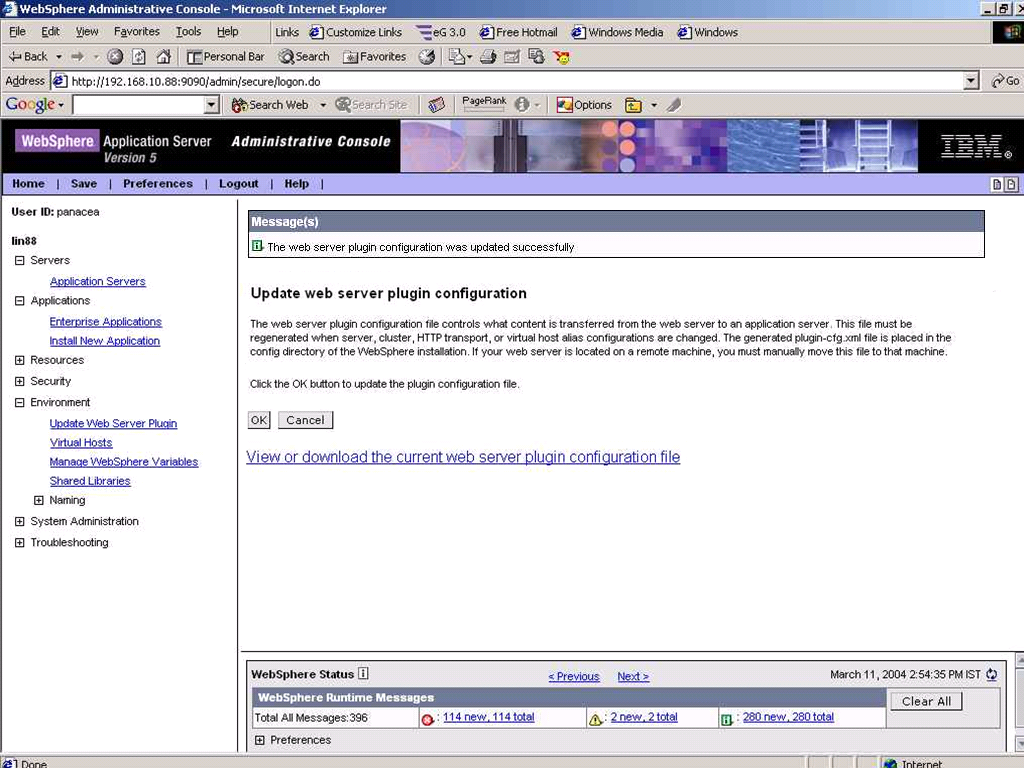
Figure 17 : A page indicating that the web server plugin has been successfully updated
- Finally, log out of the admin console and restart the WebSphere server. For that, first stop the server using the command ./stopServer.sh <servername>, and then, start it using the command ./startServer.sh <servername>. Both these commands are available in the <WAS_HOME>/bin directory, where <WAS_HOME> is the install directory of the WebSphere server.