Configuring a Oracle WebLogic Server 11G (and above)
The eG agent package contains a web archive file called egurkha9x.war. On Unix environments, this file will be available in the /opt/egurkha/lib location. On Windows environment, this file will be available in the <EG_HOME_DIR>\lib directory. This file has to be installed on the WebLogic server ver. 9 (and above), which has to be monitored. Prior to deploying this war file, make sure that you follow the steps below:
- Login to the system hosting the eG agent that is monitoring the WebLogic server.
- Copy the egurkha9x.war file from the /opt/egurkha/lib directory to any other directory on the eG agent host.
- Rename the war file as egurkha.war.
Next, follow the steps given below to deploy the war file:
- Ensure that the WebLogic application server to be monitored has been started.
- If the target WebLogic server is part of a cluster, then, connect to the Admin server of the cluster using the URL: http://<Admin_server_IP>:<AdminServerPort>/console. On the other hand, if the target WebLogic server is a stand-alone server and not part of a cluster, then, connect to the targer using the URL: http://<WebLogic_server_IP>:<WebLogicServerPort>/console.
-
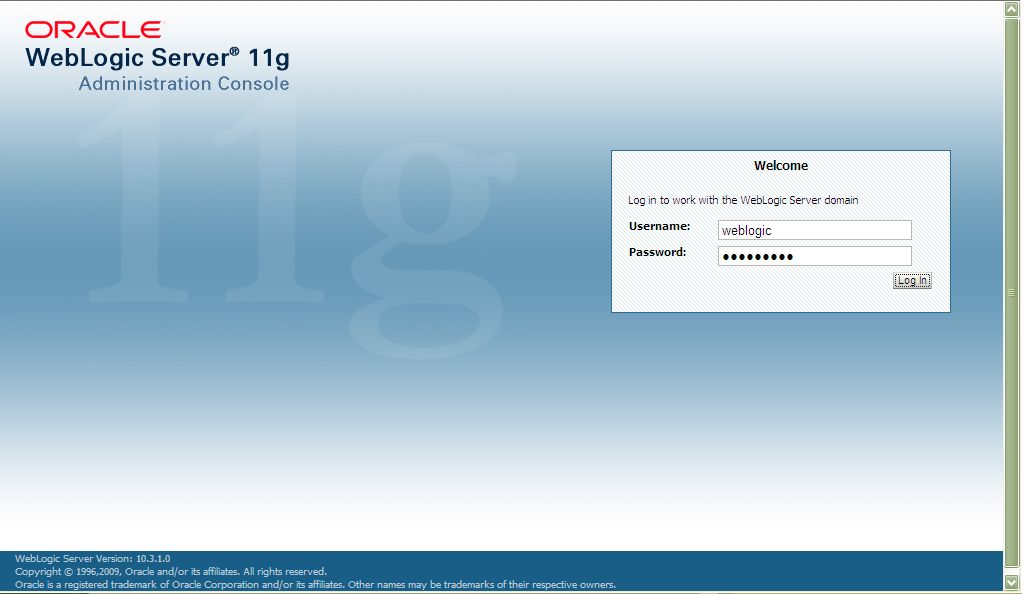
Figure 1 will then appear. Login to the WebLogic server/admin server by providing the required credentials in Figure 1.
-
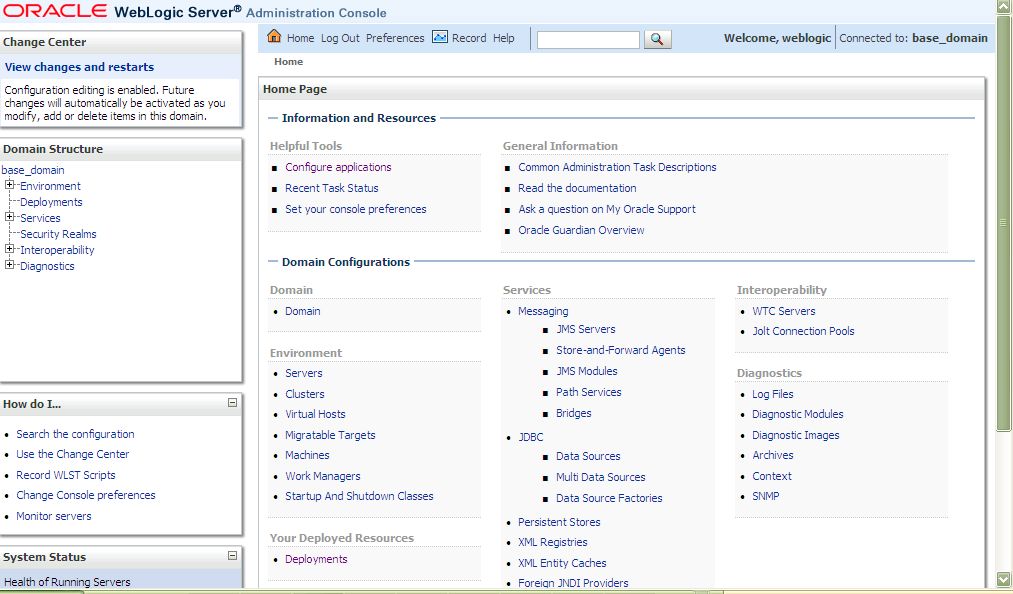
Figure 2 will then appear.
-
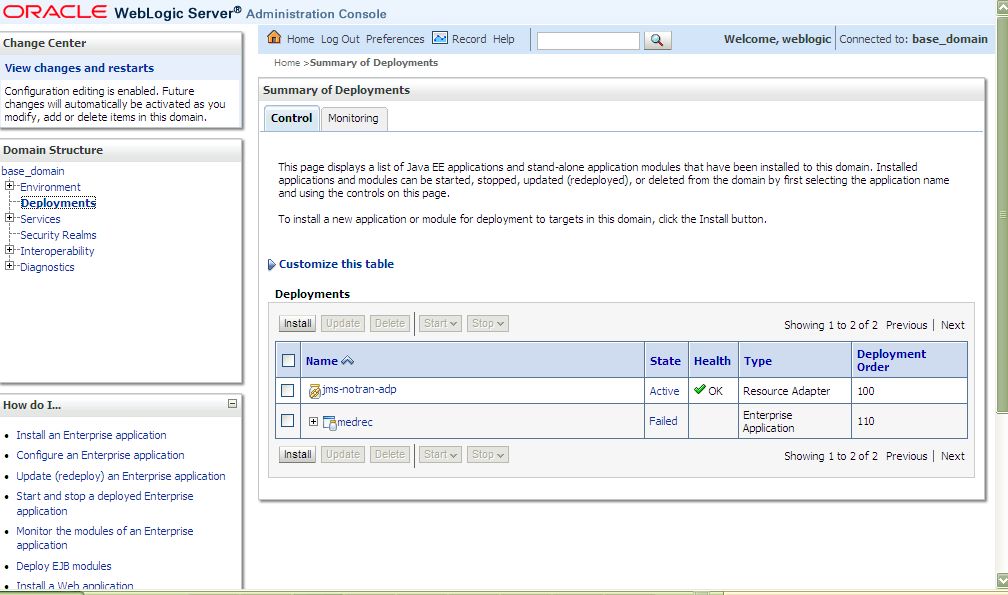
To begin application deployment, click on the Deployments node in the left panel of Figure 2. This will invoke Figure 3 where applications that pre-exist on the server will be displayed.
-
To install a new application, click on the Install button in Figure 3. Figure 4 will then appear prompting you to specify the full Path to the directory on the target WebLogic server/admin server to which the egurkha.war file has been uploaded. To specify the path, click on the upload your file(s) link that is just above the Path text box in Figure 4.
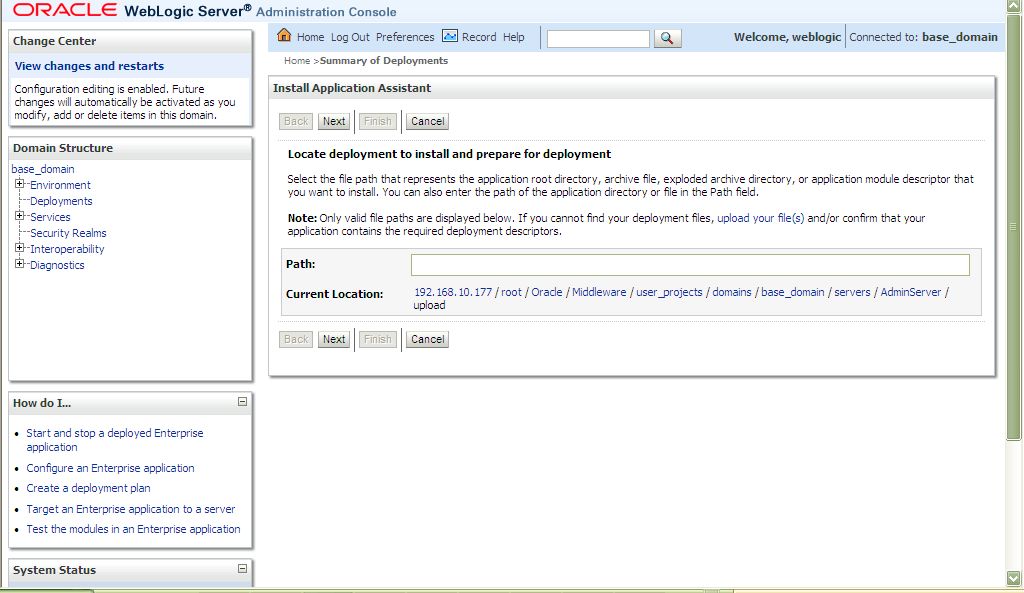
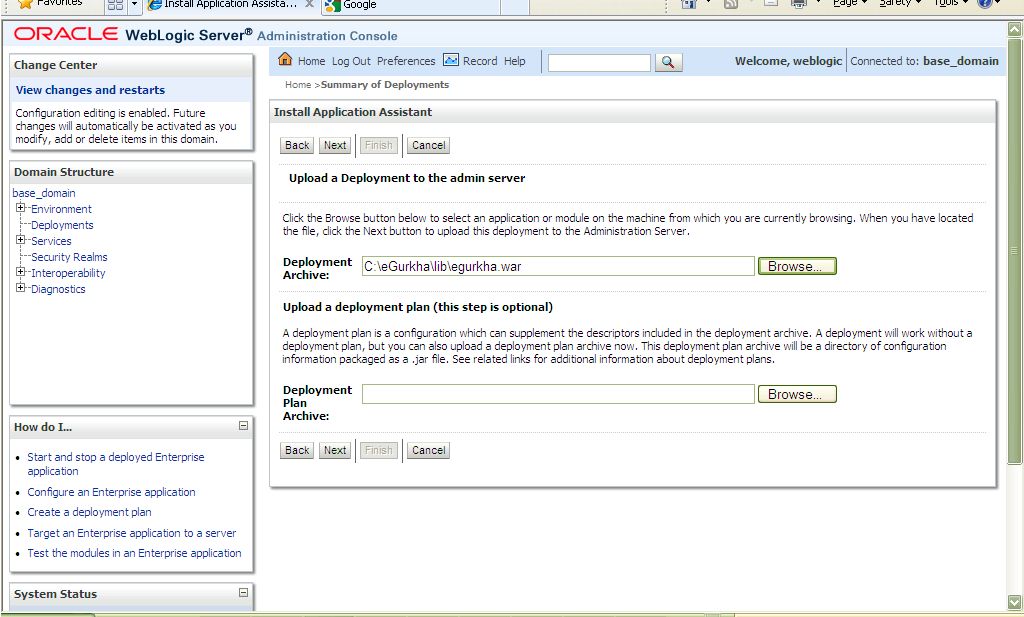
Figure 4 : A page requesting you to enter the path to the directory to which the egurkha.war file has been uploaded
-
Figure 5 will then appear; in the Deployment Archive text box here, you will have to indicate the path from which the egurkha.war file has to be uploaded. To browse for the exact location of the egurkha.war file on the host, use the Browse button adjacent to the Deployment Archive text box. Typically, this file will be available in the <EG_INSTALL_DIR>\lib directory of the eG agent host.
- Once the Deployment Archive path is provided, click on the Next button in Figure 5 to proceed with the setup.
-
When Figure 6 appears, you will find that the Path text box reveals the full path to the directory on the target WebLogic server/admin server to which the egurkha.war file has been uploaded. Click on the Next button again to continue.
Note:
By default, the egurkha.war file will be searched for in the local disk of the system from which the browser is launched. Therefore, if you are trying to access the WebLogic console from a system that does not host an eG agent, then, before attempting to deploy the egurkha.war file, do the following:
- Login to any agent host in your environment.
- Copy the egurkha9x.war file in the <EG_AGENT_INSTALL_DIR>\lib directory (on Windows; on Unix, this will be the /optegurkha/lib directory) of the agent host to any other directory on that host.
- Rename the egurkha9x.war file as egurkha.war file.
- Copy the egurkha.war file to the local host from which the browser is launched.
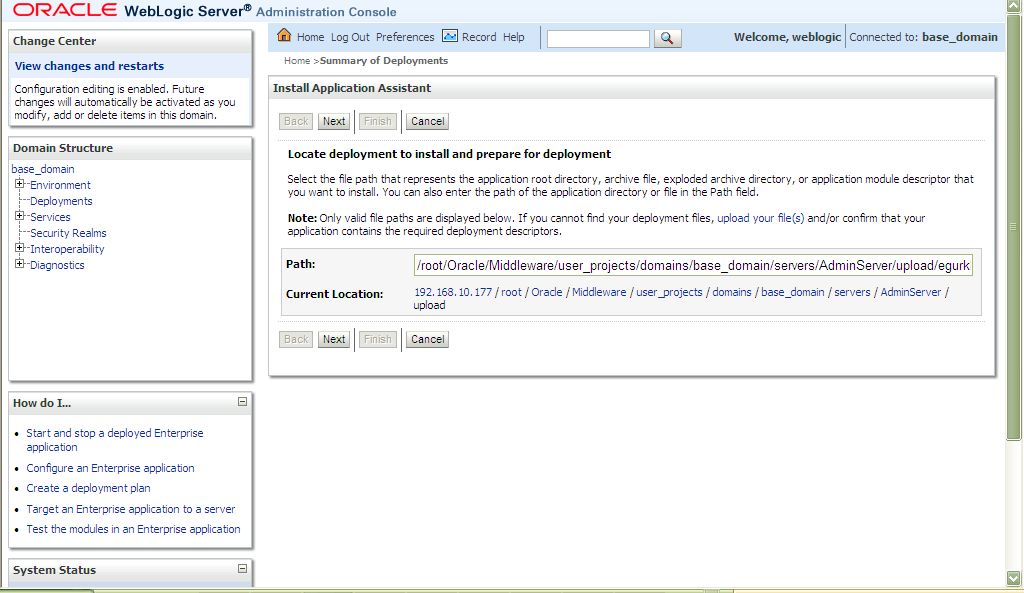
Figure 6 : Path of the folder/directory to which the egurkha.war file has been uploaded
-
Then, select the Install this deployment as an application option from Figure 7, and then click Next to proceed.
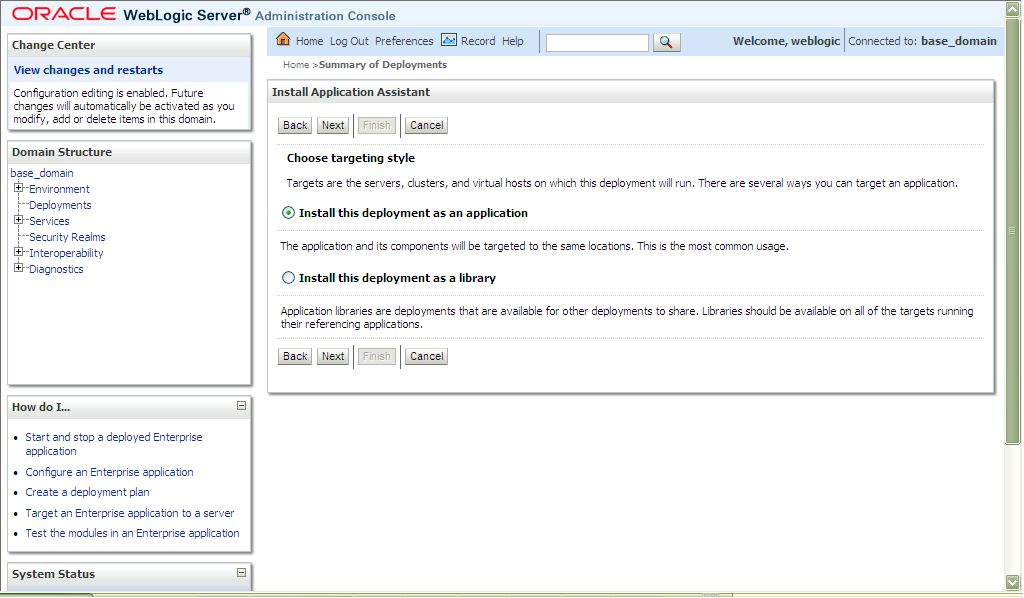
Figure 7 : Choosing to install the deployment as an application
-
Next, pick the server on which the egurkha application is to be deployed, and then click the Next button.
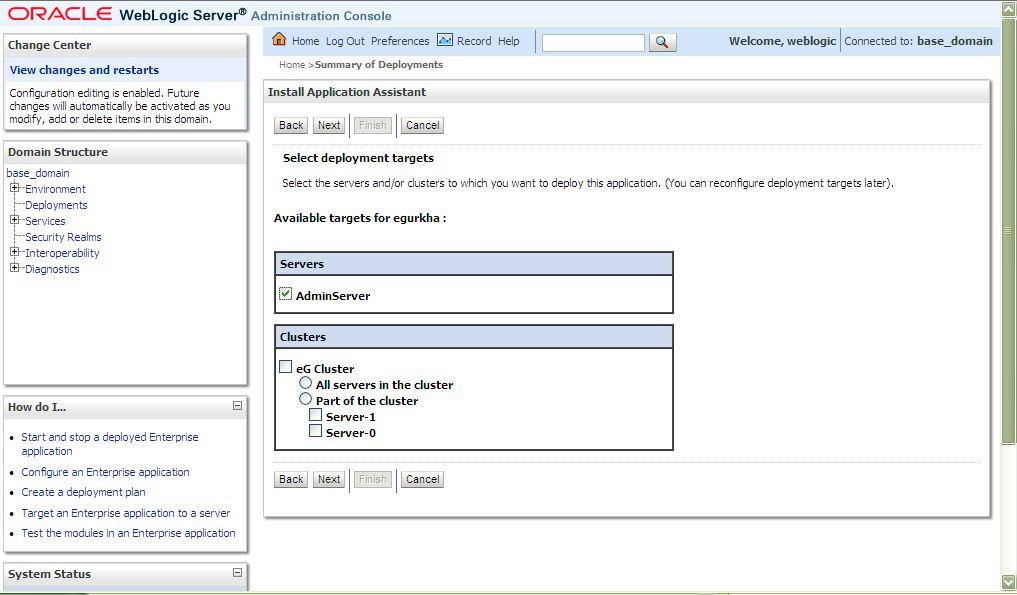
Figure 8 : The Administration Console of the ORACLE WebLogic server 11G
-
In Figure 8 that then appears, assign a unique Name for the egurkha application, and click the Next button again to continue.

Figure 9 : Naming the application
-
Quickly review your specifications using Figure 10, and then save the changes made to the configuration by clicking on the Save button in Figure 10. If updation is successful, then messages to that effect will appear in the console as depicted by Figure 11.
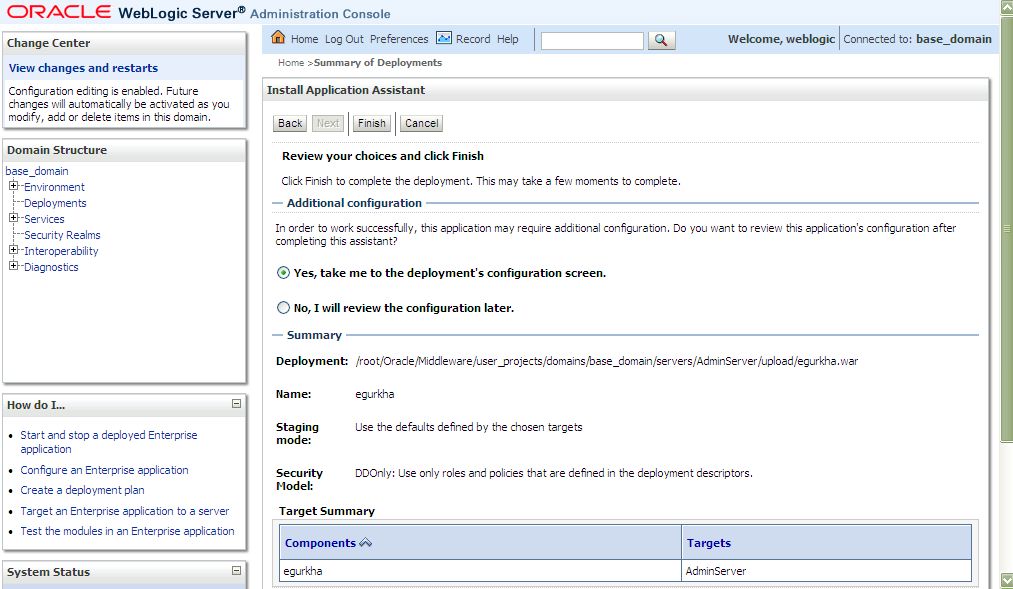
Figure 10 : Reviewing the specifications for the egurkha.war application
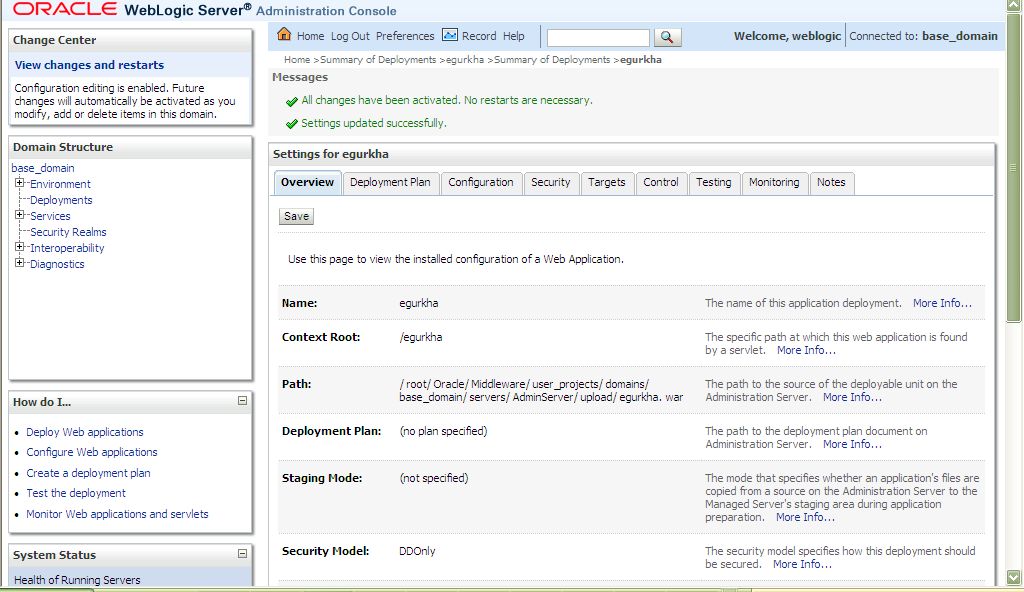
Figure 11 : Messages that appear after saving changes to the WebLogic configuration