Installing the eG SCOM Connector
Pre-requisites for Installing the eG SCOM Connector
The first step towards integrating the eG manager with SCOM is to install the eG SCOM Connector. Before installing this software, ensure that the following requirements are met:
|
Operating Systems |
|
|
Other Software Requirements |
|
|
CPU |
2GHz or faster x86 or x64 processor. This can support integration of up to 100 monitored components in eG manager. Thereafter, for every additional 100 components to be integrated, add 1 additional processor with 2GHz processing speed. |
|
Memory |
Minimum 2 GB (recommended: 4 GB); this can support integration of up to 100 monitored components in eG manager. Thereafter, for every additional 100 components to be integrated, add another 2 GB. |
|
Disk Space |
Minimum 2 GB (recommended: 4 GB) |
Other Requirements:
-
The connector software should be installed on a system that is installed with a SCOM agent and is managed by a SCOM server;
Note:
Do not uninstall or upgrade the SCOM agent after deploying the connector software.
- The Windows Installer Service should pre-exist on the system chosen for installing the eG connector;
-
The system hosting the connector should be able to communicate with the eG manager and the SCOM SDK service via TCP ports; the specific ports that need to be opened and the direction of communication has been provided below:
Source Destination Access Required eG SCOM Connector
eG Manager Server
TCP 7077
eG SCOM Connector
SCOM Management Server / SDK Service
TCP 5723, TCP 5724
- It is recommended that the connector software be deployed on a dedicated system; this is because, the connector machine hosts the SCOM agent as well, and the load on the SCOM agent is normally high. You also have the option of installing the eG SCOM connector on a VM. While running on a VM, make sure that the VM is allocated with 2 or more virtual processors. For large environments where hundreds of eG components need to be integrated with SCOM, you can also uniformly distribute the load amongst multiple SCOM agents and eG SCOM connectors.
- To enable the connector to communicate with the eG manager, configure the connector with the credentials of a user who is registered with the eG Enterprise system. We recommend that a user who is assigned the Monitor role be used for this purpose.
- To enable the connector to communicate with the SCOM server, configure the connector with the credentials of a user who has the right to access the SDK service.
How to Install the eG SCOM Connector?
The eG SCOM Connector installable is provided as an MSI package named, eG SCOM Connector.exe. To install the connector using this package, do the following:
- From the URL that is provided to you, download the eG SCOM Connector.exe that corresponds to the SCOM version that is in use in your environment (i.e., SCOM 2012/2016/2019) and the processor configuration (i.e., 32-bit or 64-bit).
- Once the executable is downloaded to a directory on the local host, run the executable by double-clicking on it.
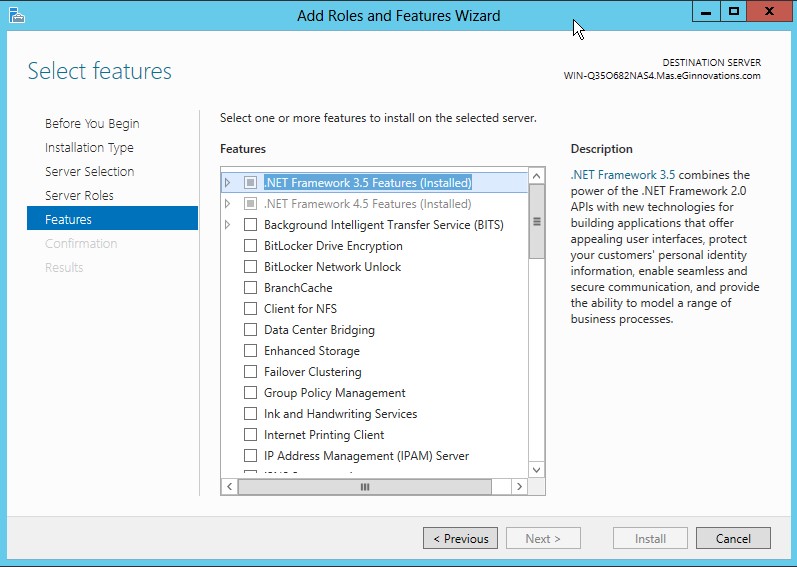
- If the target server does not meet the software pre-requisites described in Section 2.1 above, the installer will not proceed.
-
If all the documented pre-requisites are fulfilled, then Figure 2 will appear.
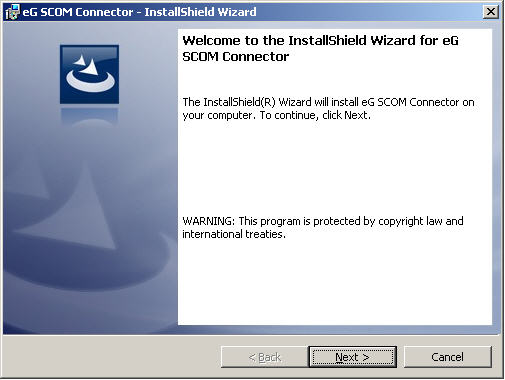
-
Click the Next button in Figure 2 to proceed with the installation. Figure 3 will then appear.
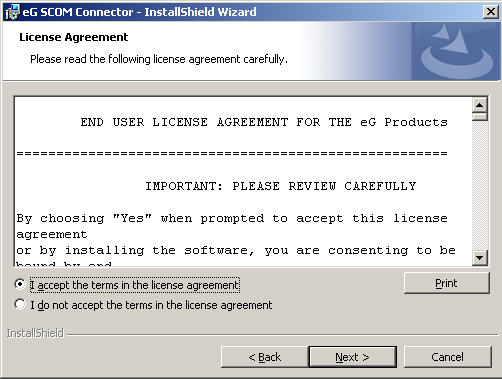
- Accept the license agreement and click the Next button in Figure 3.
-
When Figure 4 appears, the directory in which the eG SCOM Connector will be installed by default, will be displayed. This default directory cannot be changed. Click the Next button to proceed.

Figure 4 : Specifying the install directory of the connector
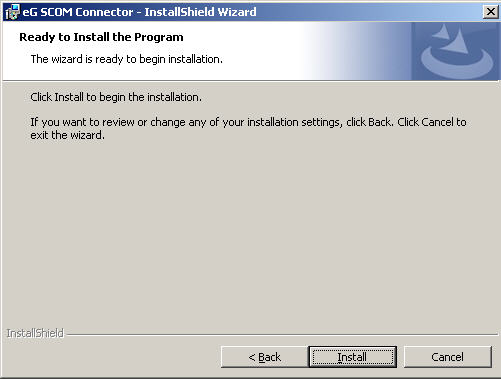
-
When Figure 5 appears, click Install to begin the installation.
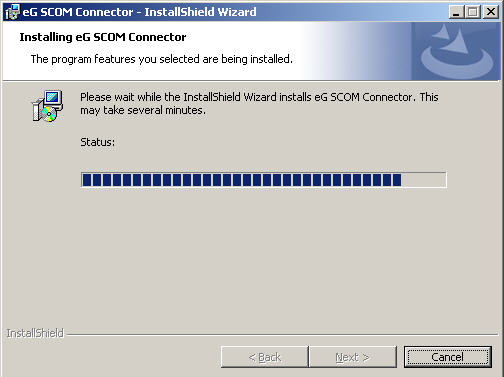
-
Figure 6 will indicate the progress of the installation to you.
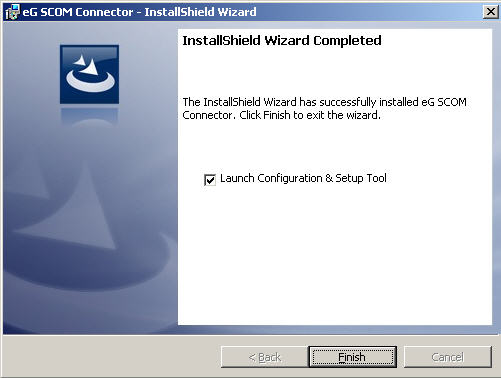
-
When installation ends, Figure 7 will appear. Click Finish to exit the wizard.