Instrumenting a Web Site or Web Application Using Google Tag Manager
Google Tag Manager (GTM) is a free tag management system that lets you add and update tracking codes (tags) and related code snippets on your website or mobile app without needing to directly edit your site's underlying code.
Using GTM, you can easily inject the eG RUM code snippet into the monitored web site / web application, so that the real user experience with the target site/application can be effectively measured.
The key pre-requisites for using GTM to instrument a web site/application are as follows:
-
A valid GTM account;
-
The GTM account should be configured with a valid container for the target web site/application
To know how to create a GTM account and a container, refer to the vendor-provided documentation.
Once the pre-requisites are fulfilled, follow the steps below to instrument your web site/application:
-
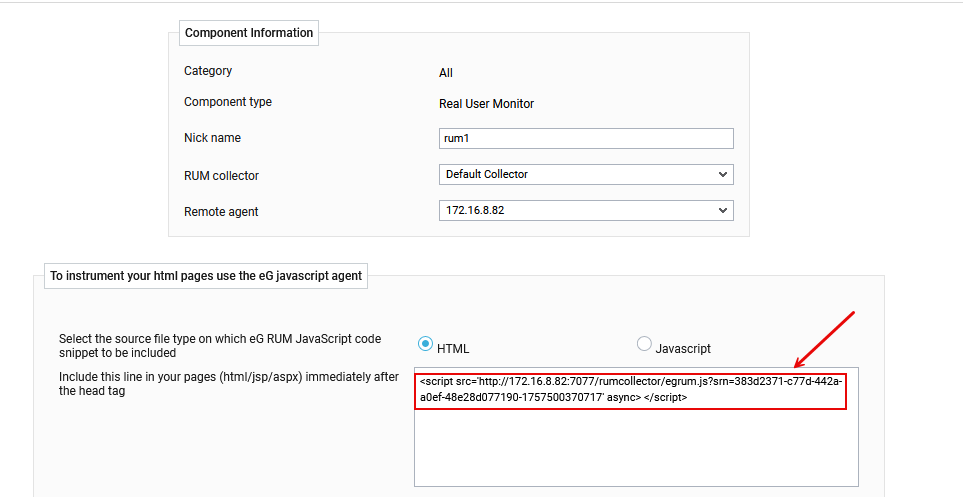
Login to the eG admin interface. Follow the Admin -> Infrastructure -> Components -> Add/Modify menu sequence, and select Real User Monitor as the Component type. From the list of managed components that then appears, click the Edit icon corresponding to the component that represents the target web site/application. Figure 5 will then appear.
-
Copy the eG RUM code snippet indicated by Figure 5 to Clipboard or to any Text Editor.
-
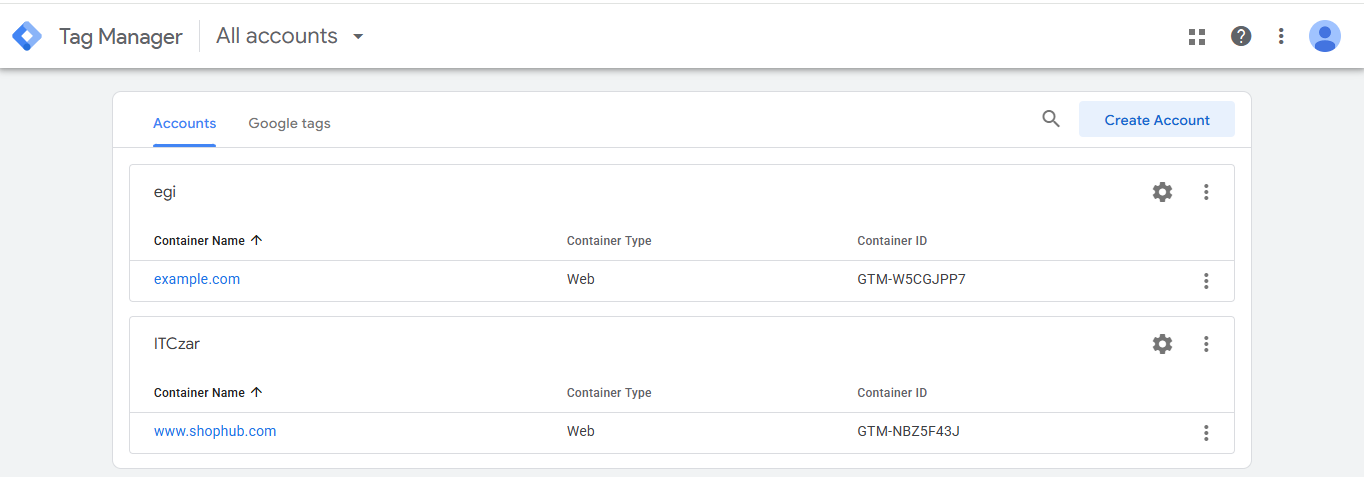
Then, login to Google Tag Manager. Figure 6 will then appear listing the accounts and containers configured within.
-
In Figure 6, click on the container for the target web site/application. Doing so will open Figure 7.
-
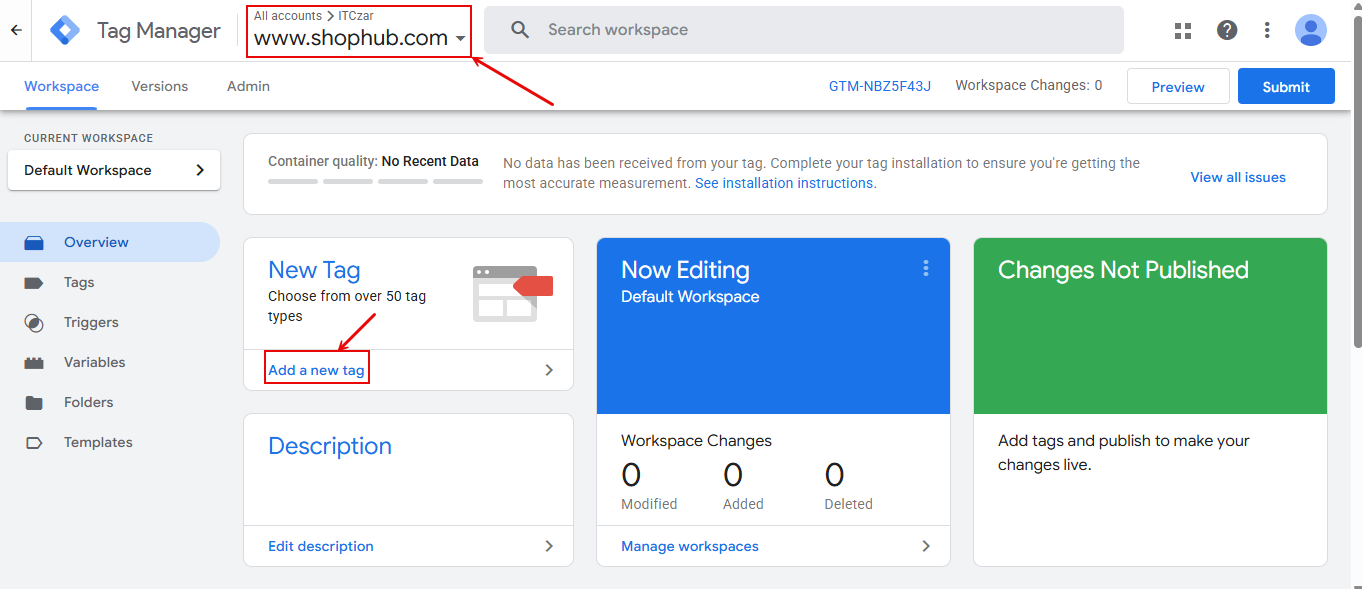
In Figure 7, first verify that the account and container name that appear on top are correct and pertain to the target web site/application only. If not, click the down-arrow next to the container name to switch to the right container.
-
Once you confirm that you are in the correct page, proceed to create a new tag. For that, click on Add a new tag in the New Tag section of Figure 7. This will invoke Figure 8. Use the Edit
 icon in the Tag Configuration section of Figure 8 to create a new tag.
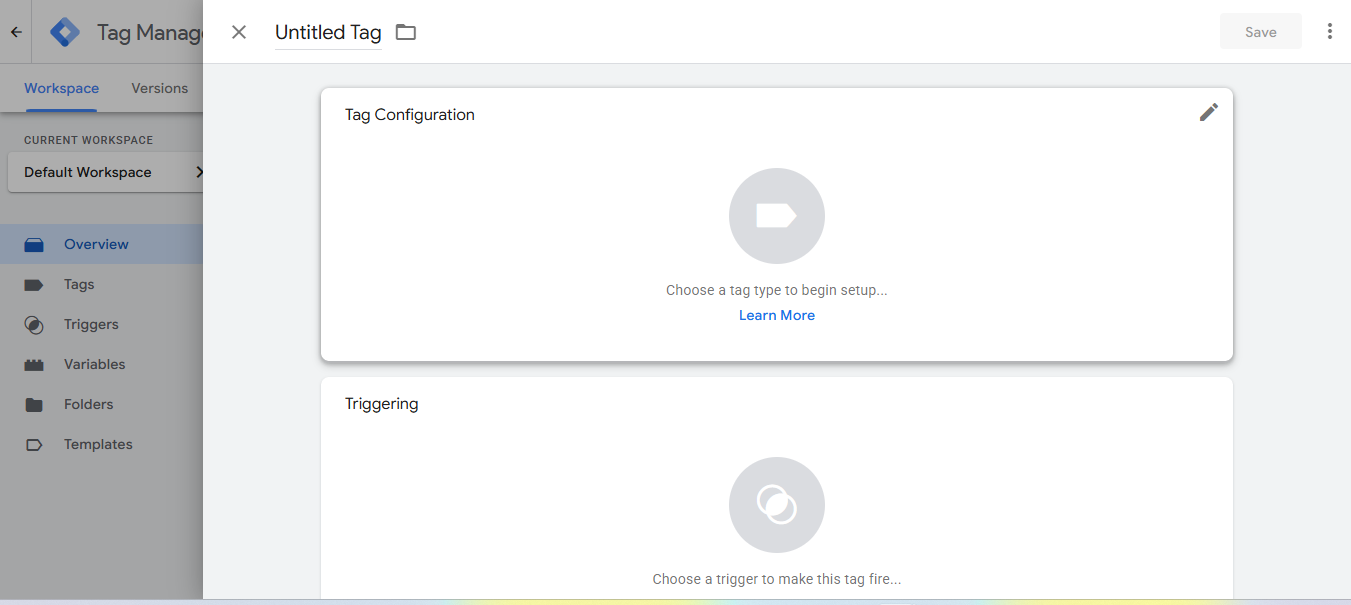
Figure 8 : Clicking on the Edit icon in the Tag Configuration section
-
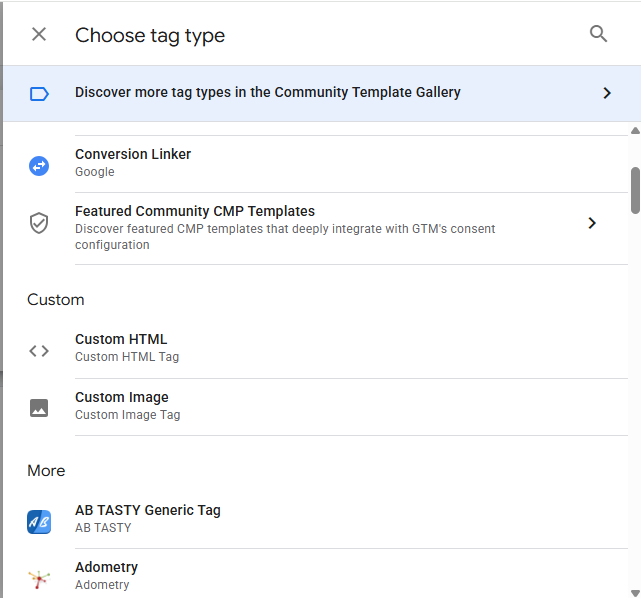
Figure 9 will then appear. Keep scrolling down the list of tag types in Figure 9 until Custom HTML comes into view. Then, click on Custom HTML.
-
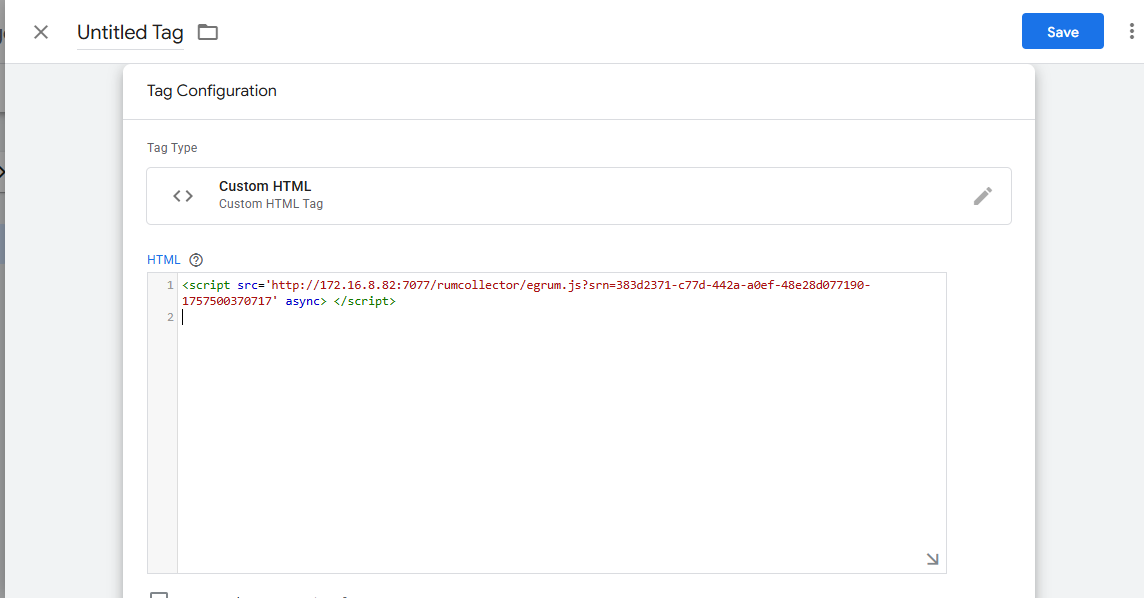
Figure 10 will then appear. In the HTML text area of Figure 10, paste the eG RUM code snippet you copied (to clip board or to a text editor) in step 1.
-
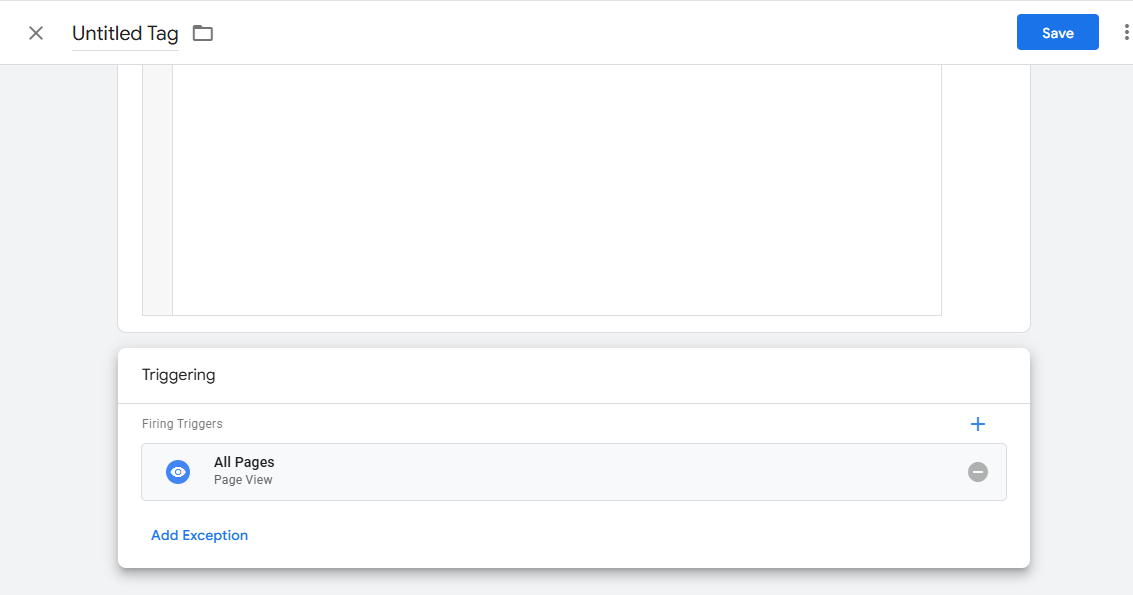
Then, scroll down Figure 10. Doing so will reveal the Triggering section. To choose when the pasted snippet should be executed, you need to define a trigger. For that, click on the Edit icon
in the Triggering section (see Figure 11). 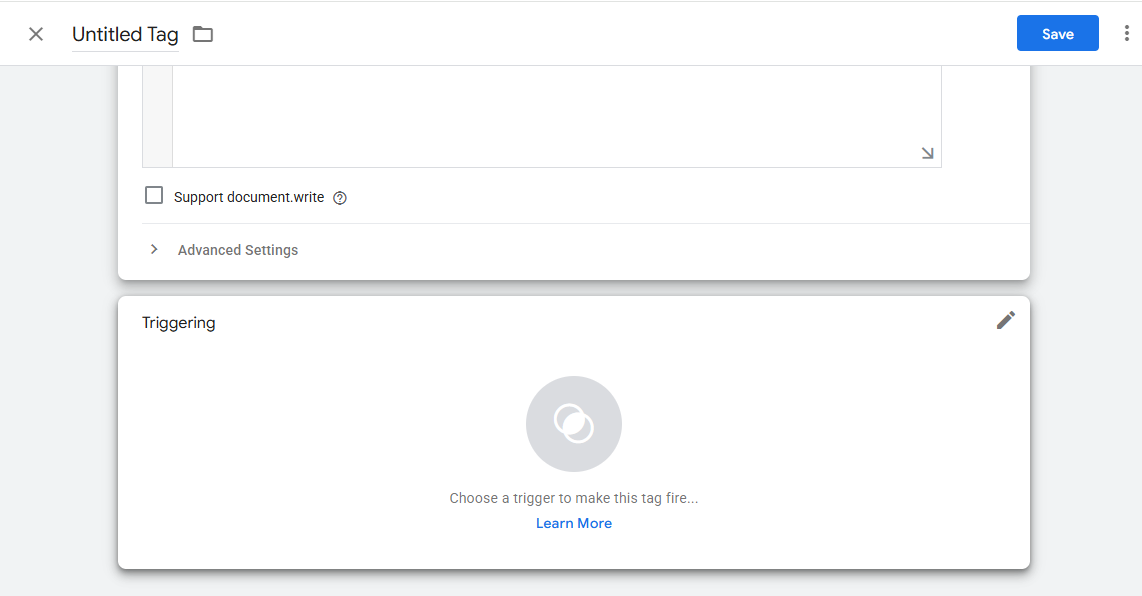
-
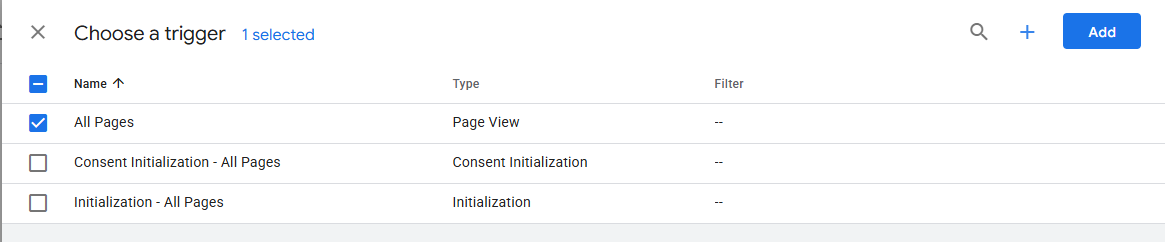
Figure 12 will then appear. Select the All Pages option in Figure 12, so that the RUM code snippet runs whenever any page in the target web site/application is loaded.
-
Then, click the Add button in Figure 12 so that the chosen trigger is added to the tag. You will then return to Figure 13. Click the Save button in Figure 13 to save the tag.
-
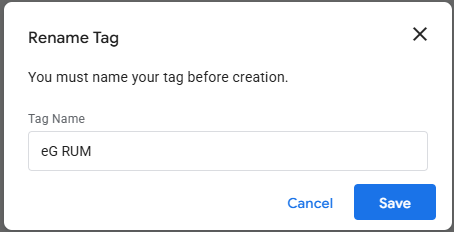
Figure 14 will then appear. Name the new tag as 'eG RUM' and click the Save button in Figure 14.
-
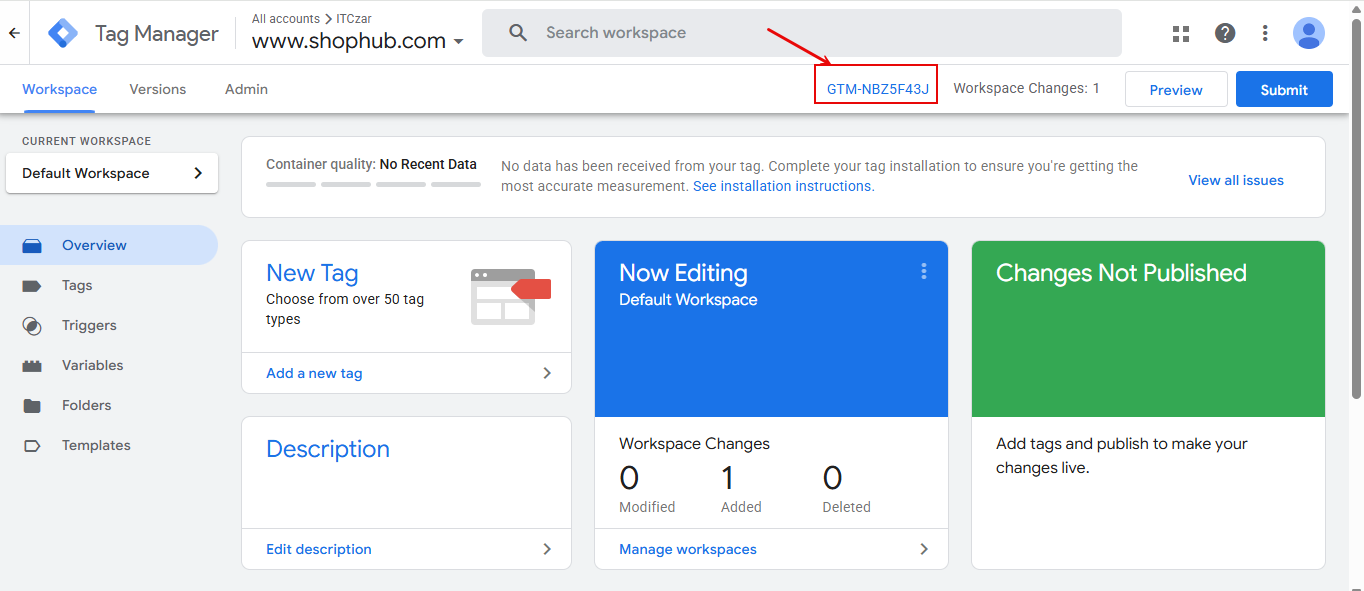
This will invoke Figure 15. Now that the tag and trigger are created, the GTM code snippet will be automatically generated with the RUM snippet embedded within. You now need to copy the GTM code snippet to every web page in the target web site/application, so that whenever each page loads, eG RUM code runs and collects the user experience analytics from that page. For that, first click on the GTM ID that will be displayed at the top of Figure 15.
-
The auto-generated GTM code snippets will then be displayed (see Figure 16), along with instructions on where to paste them. Copy the snippet and paste them in each web page as instructed.
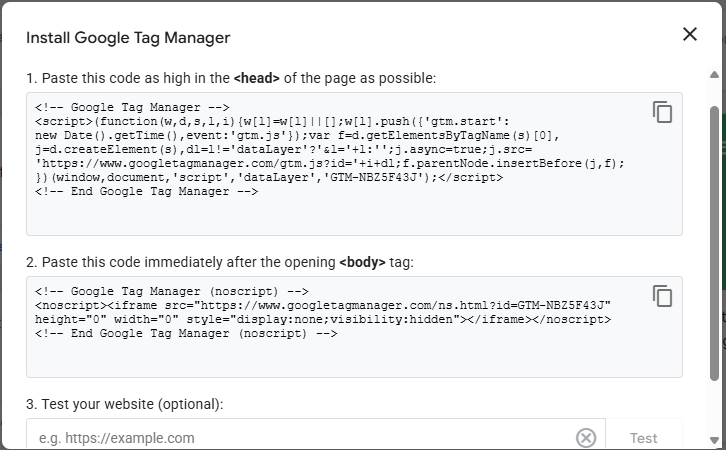
Figure 16 : Copying the GTM code snippet to every web page of the target web site/application