Modifying / Deleting a Transaction / Activity
You can modify / delete a transaction or an activity at any point of time.
Modifying a Transaction / Activity
To modify a transaction / activity, do the following:
-
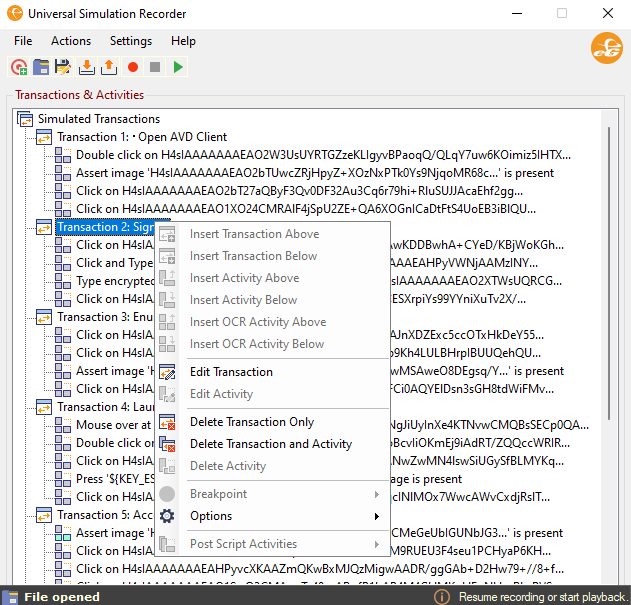
In the Universal Simulation Recorder, right click on a transaction. Figure 1 will then appear using which you can provide your own name for that transaction.
-
When you click the Edit Transaction inFigure 1 , Figure 2 will appear prompting you to edit the name of the transaction.

-
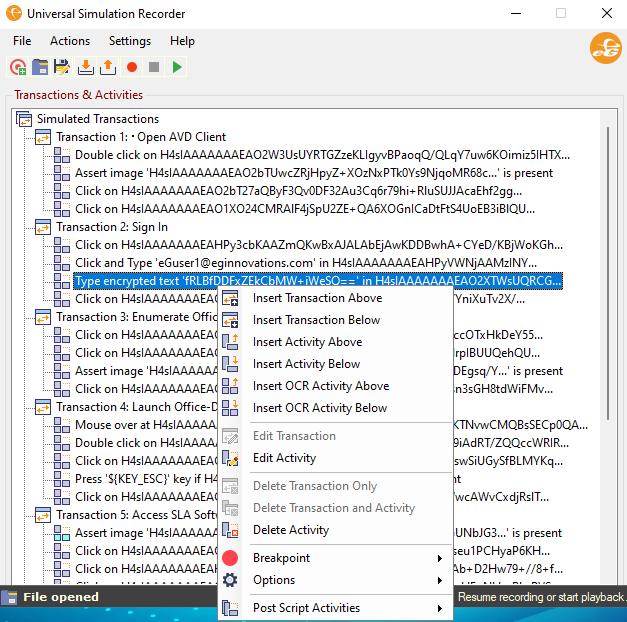
You are even allowed to modify an activity too. For this, you need to right click on an Activity and click the Edit Activity option (see Figure 3).
-
Figure 4 will then appear using which you can select the Activity and the Target:Value pair of the chosen activity.
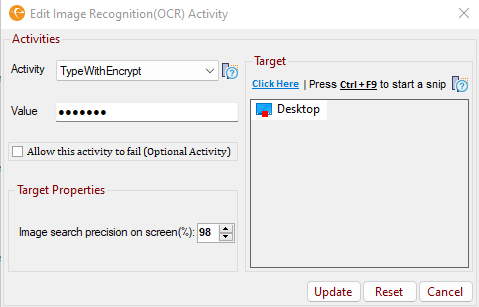
Figure 4 : Editing an Activity
Sometimes, thick clients / applications may have pop-ups or alerts (e.g., advertisements) that come up occasionally during user access. These pop-ups would cause the simulation to fail, resulting in false alerts. These false alerts may frustrate the IT administrators. To avoid such false alerts, you can check the Allow this activity to fail (Optional Activity) check box (see Figure 4) while adding / editing an activity that includes the pop up or alert. This would ensure that the optional activity is allowed to fail and the simulation proceeds without disruption.
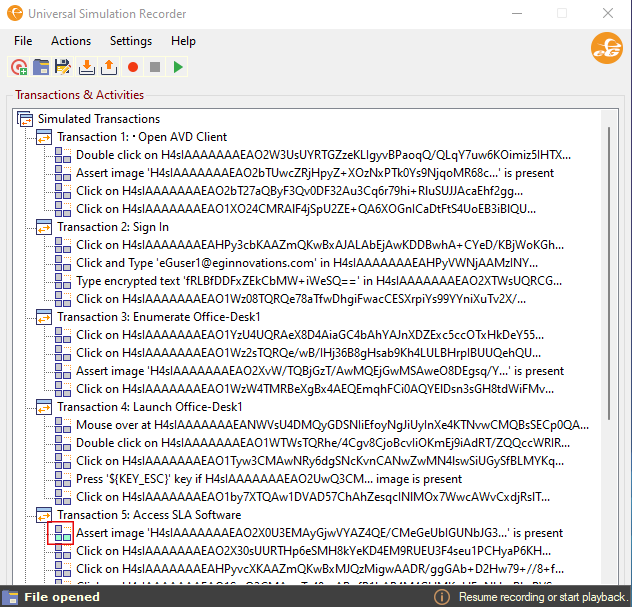
Figure 5 : An activity marked as an optional activity
The color change of the icon (see highlighted icon in Figure 5) preceding the activity clearly indicates that the activity has been marked as an optional activity.
Note:
The time taken for this activity to fail will not be included in the Total simulation time reported by the Simulated Transactions Test.
-
By default, the Image search precision on screen(%) list is set to 98 (see Figure 4) indicating that the image that is recorded as part of an activity will be searched with 98% accuracy during playback in the target window. However, you can set the precision based on your preference.
Note:
You can edit the image recognition transaction / activity in the same manner as that of a normal transaction / activity.
Deleting a Transaction / Activity
To delete a transaction, do the following:
-
In the Universal Simulation Recorder, right click on a transaction. Figure 1 will then appear using which you can either delete a transaction alone or delete both transaction and its activities.
-
Choosing the Delete Transaction Only option (see Figure 6) ensures that the transaction alone is deleted and all the activities recorded for that transaction is appended to the transaction preceding the deleted transaction.
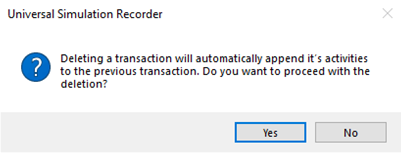
Figure 7 : Confirmation pop up window to delete a transaction alone
-
Click Yes in Figure 7 to delete the transaction alone.
-
Choosing the Delete Transaction and Activity option (see Figure 6) ensures that the transaction and the activities within the transaction are deleted in a single shot.
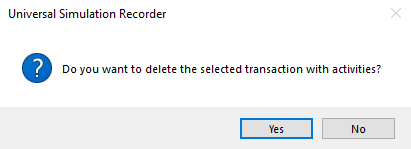
Figure 8 : Confirmation pop up window to delete transaction and activity
- Confirm deleting the transaction with its activities by clicking the Yes option on Figure 8.
Note:
You are not allowed to delete the very first transaction that you have recorded.