AWS Elastic File System - EFS Test
Amazon Elastic File System (Amazon EFS) provides simple, scalable file storage for use with Amazon .
Using Amazon EFS, you can create a file system, mount the file system on an Amazon instance, and then read and write data from and to your file system. Since the storage capacity is elastic, EFS can grow and shrink the storage automatically as you add and remove files, so your applications have the storage they need, when they need it. Moreover, as the file systems are distributed across an unconstrained number of storage servers, they allow massively parallel access from Amazon instances to data.
The elasticity and distributed storage design are reasons why Amazon EFS is widely used to support mission-critical workloads requiring substantial levels of aggregate throughput and I/O processing power. If any file system is unable to meet with the dynamic throughput and I/O demands of such applications, the performance of the file system and the dependent applications will be adversely impacted, causing user experience with EFS to suffer and revenues to drop. To avoid this, administrators should continuously monitor the load on each file system, measure throughput and I/O processing power of every file system, and proactively detect if throughput and IOPS of a file system fall below the established baseline. This is where the AWS Elastic File System - EFS test helps!
This test automatically discovers the file systems created on AWS, and reports the throughput, number of client connections, and the number of bytes for read, write, and metadata operations on every file system. In the process, the test pinpoints those file systems with a high workload in terms of connections and I/O operations, and those that do not have adequate throughput in reserve to handle its load. File-system configuration can be fine-tuned based on pointers provided by this test.
Target of the test: Amazon Cloud
Agent deploying the test : A remote agent
Outputs of the test : One set of results for each file system
First-level descriptor: AWS Region
Second-level descriptor: File system ID
| Parameter | Description |
|---|---|
|
Test Period |
How often should the test be executed. |
|
Host |
The host for which the test is to be configured. |
|
Access Type |
eG Enterprise monitors the AWS cloud using AWS API. By default, the eG agent accesses the AWS API using a valid AWS account ID, which is assigned a special role that is specifically created for monitoring purposes. Accordingly, the Access Type parameter is set to Role by default. Furthermore, to enable the eG agent to use this default access approach, you will have to configure the eG tests with a valid AWS Account ID to Monitor and the special AWS Role Name you created for monitoring purposes.
Some AWS cloud environments however, may not support the role-based approach Note that the Secret option may not be ideal when monitoring high-security cloud environments. This is because, such environments may issue a security mandate, which would require administrators to change the Access Key and Secret Key, often. Because of the dynamicity of the key-based approach, Amazon recommends the Role-based approach for accessing the AWS API. |
|
AWS Account ID to Monitor |
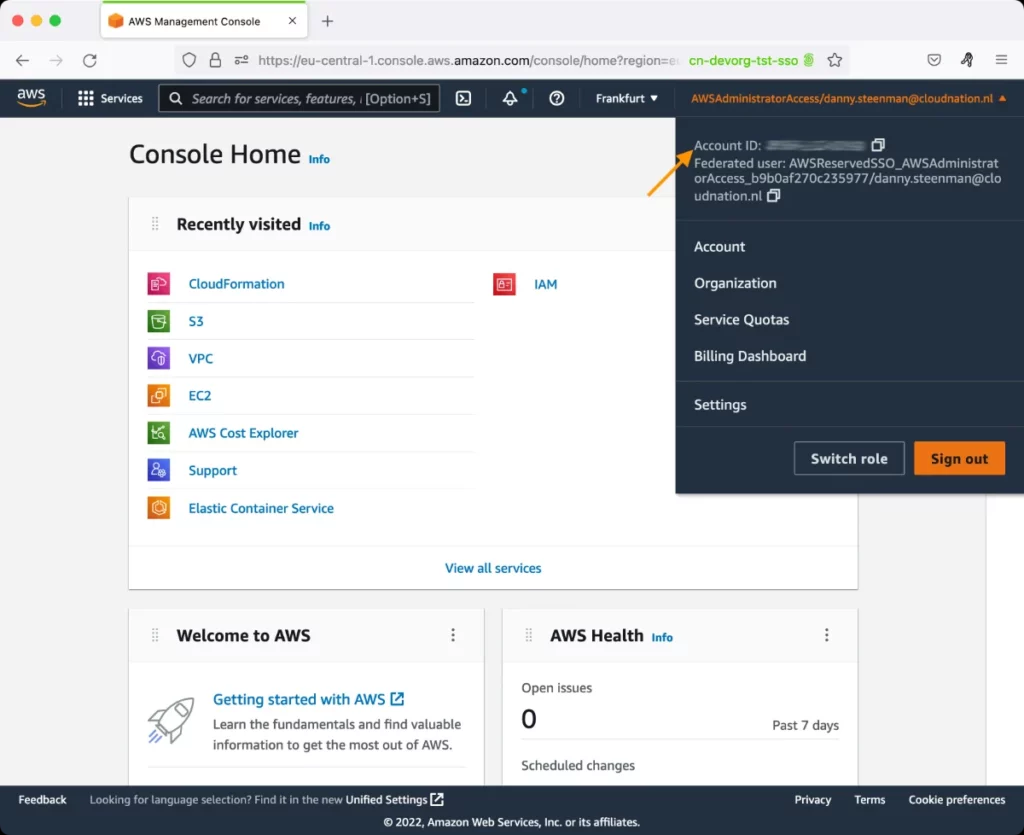
This parameter appears only when the Access Type parameter is set to Role. Specify the AWS Account ID that the eG agent should use for connecting and making requests to the AWS API. To determine your AWS Account ID, follow the steps below:
|
|
AWS Role Name |
This parameter appears when the Access Type parameter is set to Role. Specify the name of the role that you have specifically created on the AWS cloud for monitoring purposes. The eG agent uses this role and the configured Account ID to connect to the AWS Cloud and pull the required metrics. To know how to create such a role, refer to Creating a New Role. |
|
AWS Access Key, AWS Secret Key, Confirm AWS Access Key, Confirm AWS Secret Key |
These parameters appear only when the Access Type parameter is set to Secret.To monitor an Amazon cloud instance using the Secret approach, the eG agent has to be configured with the access key and secret key of a user with a valid AWS account. For this purpose, we recommend that you create a special user on the AWS cloud, obtain the access and secret keys of this user, and configure this test with these keys. The procedure for this has been detailed in the Obtaining an Access key and Secret key topic. Make sure you reconfirm the access and secret keys you provide here by retyping it in the corresponding Confirm text boxes. |
|
Proxy Host and Proxy Port |
In some environments, all communication with the AWS cloud and its regions could be routed through a proxy server. In such environments, you should make sure that the eG agent connects to the cloud via the proxy server and collects metrics. To enable metrics collection via a proxy, specify the IP address of the proxy server and the port at which the server listens against the Proxy Host and Proxy Port parameters. By default, these parameters are set to none , indicating that the eG agent is not configured to communicate via a proxy, by default. |
|
Proxy User Name, Proxy Password, and Confirm Password |
If the proxy server requires authentication, then, specify a valid proxy user name and password in the Proxy User Name and Proxy Password parameters, respectively. Then, confirm the password by retyping it in the Confirm Password text box. By default, these parameters are set to none, indicating that the proxy sever does not require authentication by default. |
|
Proxy Domain and Proxy Workstation |
If a Windows NTLM proxy is to be configured for use, then additionally, you will have to configure the Windows domain name and the Windows workstation name required for the same against the Proxy Domain and Proxy Workstation parameters. If the environment does not support a Windows NTLM proxy, set these parameters to none. |
|
Default Connection Region |
By default, this test connects to the endpoint URL of the us-east-1 region to collect the required metrics. If the default us-east-1 region is not enabled in the target environment, then, for this test to collect the required metrics, specify the region that is enabled in the target environment. |
|
Exclude Region |
Here, you can provide a comma-separated list of region names or patterns of region names that you do not want to monitor. For instance, to exclude regions with names that contain 'east' and 'west' from monitoring, your specification should be: *east*,*west* |
| Measurement | Description | Measurement Unit | Interpretation |
|---|---|---|---|
|
Burst credit balance |
Indicates the average size of burst credits that this file system has during the measure period. |
KB |
Throughput on Amazon EFS scales as a file system grows. Because file-based workloads are typically spiky—driving high levels of throughput for short periods of time, and low levels of throughput the rest of the time - Amazon EFS is designed to burst to high throughput levels for periods of time. All file systems, regardless of size, can burst to 100 MiB/s of throughput, and those over 1 TiB large can burst to 100 MiB/s per TiB of data stored in the file system. For example, a 10 TiB file system can burst to 1,000 MiB/s of throughput (10 TiB x 100 MiB/s/TiB). The portion of time a file system can burst is determined by its size, and the bursting model is designed so that typical file system workloads will be able to burst virtually any time they need to. Amazon EFS uses a credit system to determine when file systems can burst. Each file system earns credits over time at a baseline rate that is determined by the size of the file system, and uses credits whenever it reads or writes data. The baseline rate is 50 MiB/s per TiB of storage (equivalently, 50 KiB/s per GiB of storage). Accumulated burst credits give the file system permission to drive throughput above its baseline rate. . A file system can drive throughput continuously at its baseline rate, and whenever it's inactive or driving throughput below its baseline rate, the file system accumulates burst credits. For example, a 100 GiB file system can burst (at 100 MiB/s) for 5 percent of the time if it's inactive for the remaining 95 percent. Over a 24-hour period, the file system earns 432,000 MiBs worth of credit, which can be used to burst at 100 MiB/s for 72 minutes. File systems larger than 1 TiB can always burst for up to 50 percent of the time if they are inactive for the remaining 50 percent. A high value is desired for this measure, as it implies that the file system has enough credits for use during periods of high workload. It also means that the file system has been relatively inactive lately. A low value or a consistent drop in the value of this measure implies that the credits have been steadily utilized to service workloads, leaving the file system with very few credits for the future. |
|
Client connections |
Indicates the number of client connections to this file system. |
Number |
This is a good indicator of the workload of a file system. |
|
Data associated with read operations |
Indicates the amount of data that was read from this file system, on an average. |
KB |
These are good indicators of the I/O load on a file system. If the value of one/more of these measures is very high and the value of the Burst credit balance measure is very low, it can imply high workload and excessive usage of burst credits for servicing the workload. In such a circumstance, you can compare the value of these measures for that file system to know what is contributing to the load - read operations? write operations? or metadata operations?
|
|
Data associated with write operations |
Indicates the average amount of data for this file system's write operations. |
KB |
|
|
Data associated with metadata operations |
Indicates the amount of data for this file system's metadata operations. |
KB |
|
|
Data associated with all file operations |
Indicates the total amount of data for this file system's I/O operations. |
KB |
|
|
File system to reaching the I/O limits |
Indicates how close this file system is to reaching the I/O limit of the General Purpose performance mode. |
Percent |
To support a wide variety of cloud storage workloads, Amazon EFS offers two performance modes - General Purpose and Max I/O. The General Purpose performance mode is recommended for the majority of Amazon EFS file systems. General Purpose is ideal for latency-sensitive use cases, like web serving environments, content management systems, home directories, and general file serving. If you don't choose a performance mode when you create your file system, Amazon EFS selects the General Purpose mode by default. In General Purpose mode, there is a limit of 7000 file system operations per second. This operations limit is calculated for all clients connected to a single file system.If the value of this measure is close to or equal to 100% for a file system, it means that that file system has reached or is about to reach this limit. In such a case, consider moving your application to a file system using the Max I/O performance mode. File systems in the Max I/O mode can scale to higher levels of aggregate throughput and operations per second with a tradeoff of slightly higher latencies for file operations. Highly parallelized applications and workloads, such as big data analysis, media processing, and genomics analysis, can benefit from this mode. Note: This measure is reported only for file systems using the General Purpose performance mode. |
|
Permitted throughput |
Indicates the amount of throughput this file system is allowed, given the file system size and the value of the Burst credit balance measure. |
KB/Sec |
A high value is desired for this measure. A very low value indicates that that file system is under duress owing to a high level of activity and/or small size. |