Configuration
Today's IT implementations are increasingly more complex. A single server can contain thousands of configuration elements, including system files, kernel parameters, registry keys, application settings, and firmware switches. Each of these elements may need to meet specific IT business requirements. Since a typical organization may have hundreds or even thousands of servers, the number of configurations to be tracked and managed can reach millions of parameters.
Traditional methods of managing and monitoring configuration settings are impeded by IT staffs, who simply do not have time or resources, to look at each element of a complex infrastructure individually.
This tedious process of tracking the configuration settings of individual components, is now made easier by this page. This page helps you to determine the basic configuration of chosen components.
This page can be accessed by clicking on the Current Configuration menu option, in the eG Configuration Management console.
To view the configuration details of a specific component of a particular type, do the following:
- Select a specific component type from the Component Type list box as shown in Figure 1.
- Next, select a component from the Component list box.
- This will populate the Information list box with the configuration parameters associated with the chosen component. By default, all the options in the Information list box will be selected. If need be, you can choose specific options from this list box as depicted in Figure 1.
-
Finally, click the SUBMIT button.
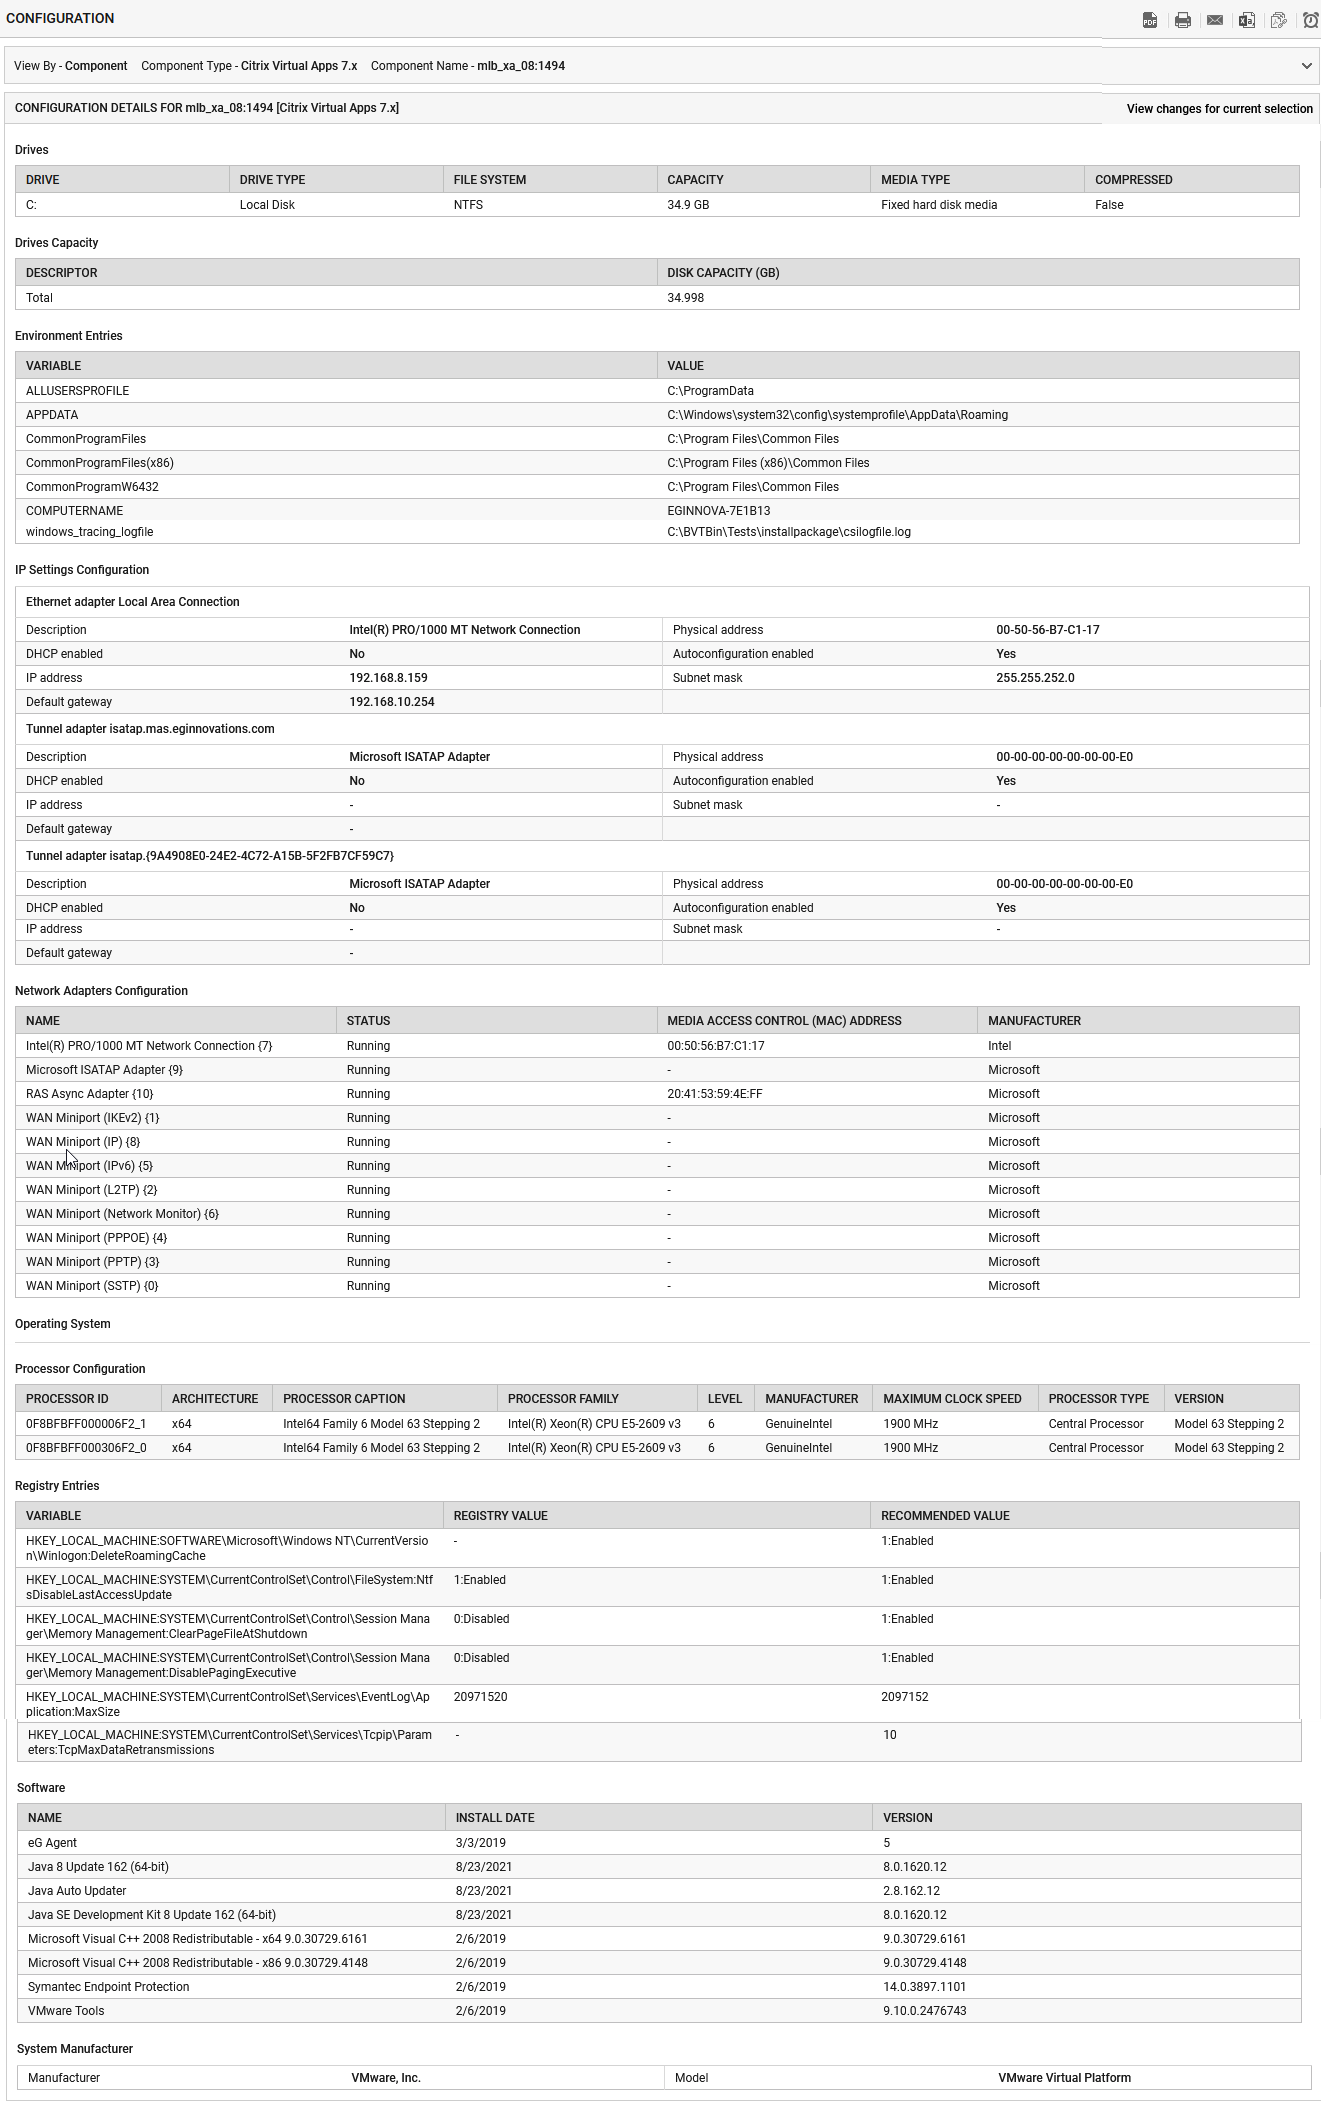
Figure 1 : Viewing current configurations of specific component
- Doing so will display the details pertaining to the chosen configuration information for the selected component as depicted in Figure 1.
- Click on the
 to print this page and to save this report in PDF format click on the
  icon and to mail this page to specified recipient click on
  .
. -
Clicking on the
 will take you to the SAVE SCHEDULES page, where you can define the schedule for automatically e-mailing this page to specified recipients.
The eG Configuration management also provides a useful report scheduling capability that automates the process of printing and/or mailing specific reports (to specific individuals) at pre-defined intervals. You can configure schedules for the current and changed configuration reports by clicking on the
icon that is available in the CONFIGURATION and in the CONFIGURATION CHANGE:DETAILED pages, respectively.Using this scheduling capability, you can ensure that key decision makers/managers can readily access critical configuration and change information.
To configure the schedule for a report do the following:
- Provide a name against the Schedule Name as shown in Figure 2. The name will be validated only if the string ends with _cf.
- Next, specify how frequently the report is to be e-mailed by by choosing the appropriate option from the Mail list box. The options provided therein include: Daily, Weekly, Monthly, WeekEnd, and MonthEnd. If you select the Weekly option, you even get to select the exact day of the week on which you want the report mailed/printed, from the Mail On list.
- Then, provide the e-mail ids to which the reports have to be delivered in the Mail Id text box. A comma-separated list of e-mail ids can provided in this text box.
- Then, indicate the Schedule type. You can indicate when report scheduling is to occur by picking an option from the Schedule type list. To generate schedule reports at the end of every day, pick the Day end option from this list. To generate schedule reports at a configured time every day, pick the Any time option from this list, and then indicate the exact time of generation using the Schedule at time controls that then appear.
-
Next, indicate the frequency with which the report is to be printed by selecting an option from the Print list box.
This list box will be disabled by default. To enable it, set the EnableSchedulePrint option to True in the MISC_ARGS section of the eg_configtests.ini file (in the <eg_install_dir>\manager\config directory).
-
Finally, click on the Save button to schedule the report (see Figure 2).
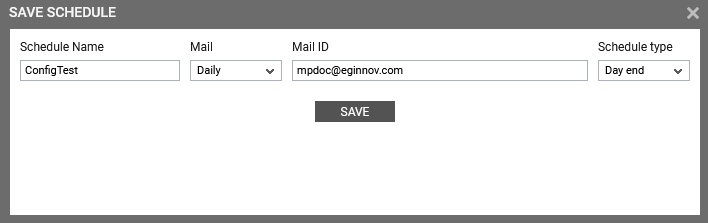
Figure 2 : Configuring current configuration schedule
To view all the schedules that have been configured, use the SCHEDULES page, that can be accessed by clicking on the Schedules menu option. Figure 3 depicts the list of schedules that have been configured. Using this page, you can view all the configured schedules or you can delete a single or multiple schedules.

Figure 3 : Viewing list of schedules
If no schedules pre-exist, then a message to that effect will appear in this page as shown in the Figure 4.
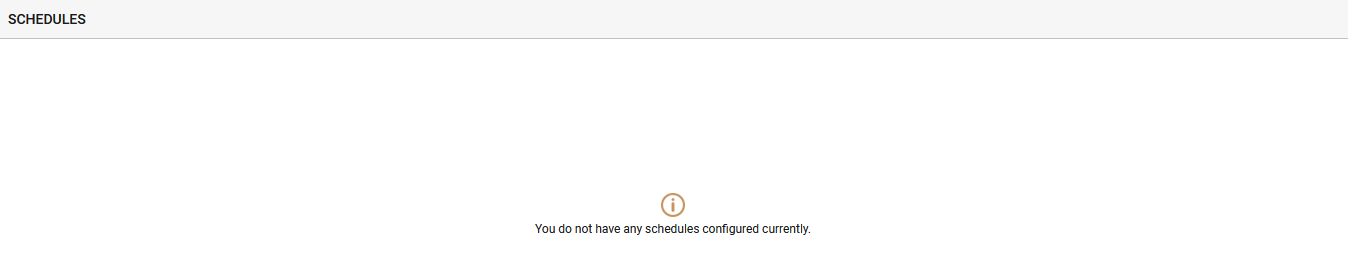
Figure 4 : Message stating no schedules pre-exist
To delete a particular schedule, do the following:
-
Provide a check mark against the schedule name in the SCHEDULES page as shown in Figure 5.

- Next click on the DELETE button provided at the top right corner of this page. This will invoke a pop-up for the confirmation to delete the chosen schedule.
- Clicking on the Yes button on the pop-up will delete the chosen schedule.
- To delete all the schedules that have been configured, provide a check mark against the All Schedules option and click on the DELETE button provided at the bottom of this page.
-