Creating a Windows File Share
Now that the cluster has been created, proceed to create a Windows File Share for the cluster. This is required in order to set a quorum for the cluster. The quorum for a cluster is the number of elements that must be online for that cluster to continue running. In effect, each element can cast one “vote” to determine whether the cluster continues running. The voting elements are nodes or, in some cases, a disk witness or file share witness. Where a file share witness (FSW) is a voting element, you will have to create a Windows file share. The procedure for this is as follows:
-
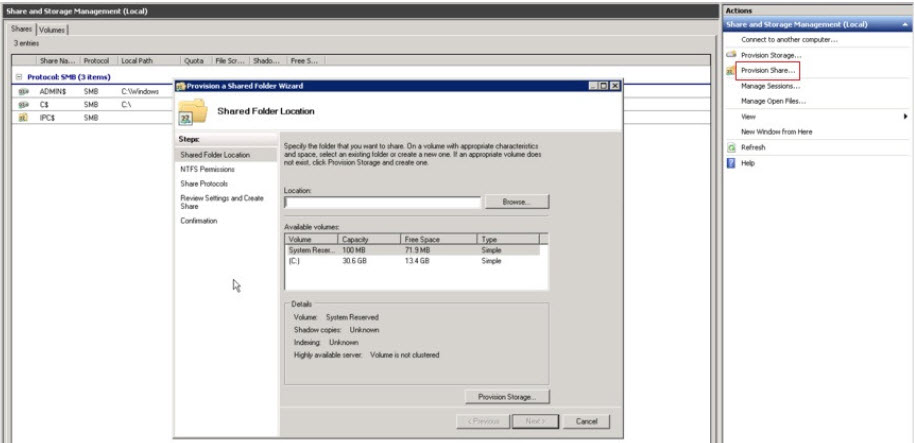
Launch the Share and Storage Management tool on the File Share server by following the Start -> Administrative Tools -> Share and Storage Management menu sequence. Once in the Share and Storage Management console, click on the Provision Share option in the right panel of the console, as indicated by Figure 1.
-
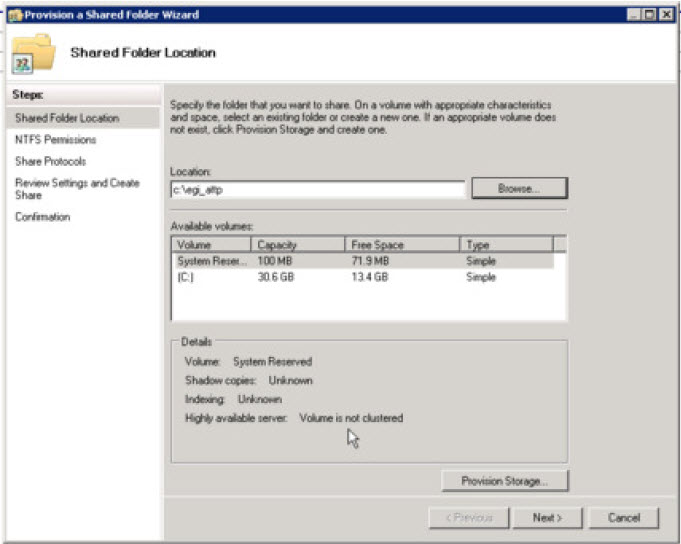
In the Location text box of Figure 2 that appears, specify the folder you want to share from the local machine, and click the Next button to proceed.
-
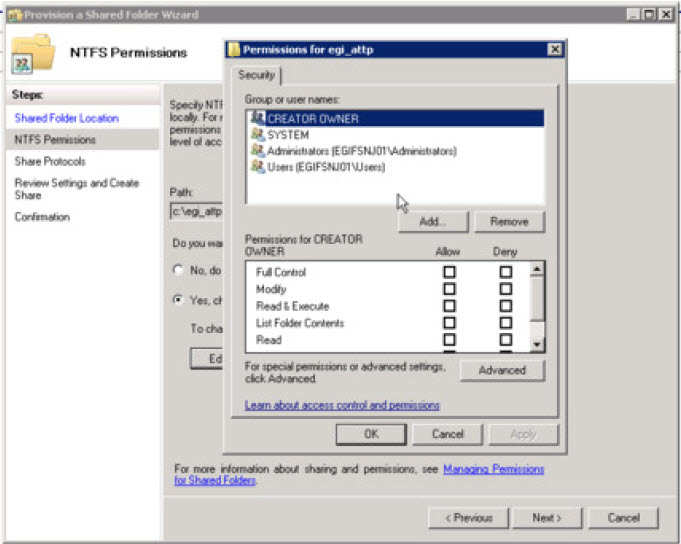
In the NTFS Permissions dialog box that appears next (see Figure 3), choose to change the NTFS permissions of the specified folder, by picking the Yes, change NTFS permissions option. Then, click the Edit Permissions button.
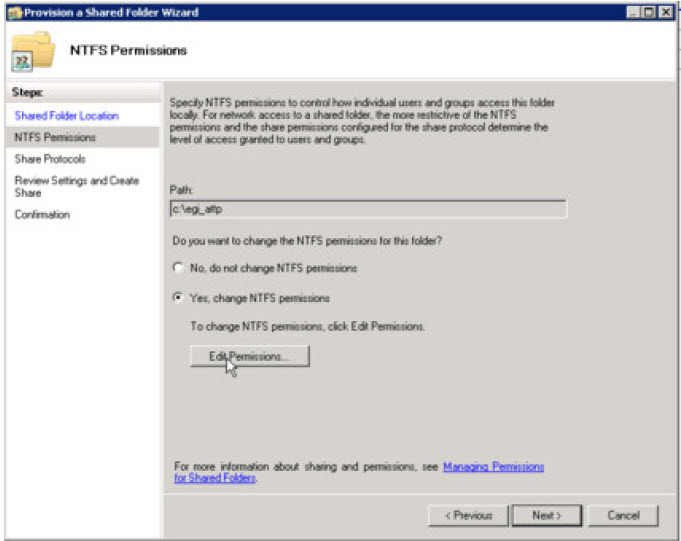
Figure 3 : Choosing to change the NTFS permissions of the specified folder
-
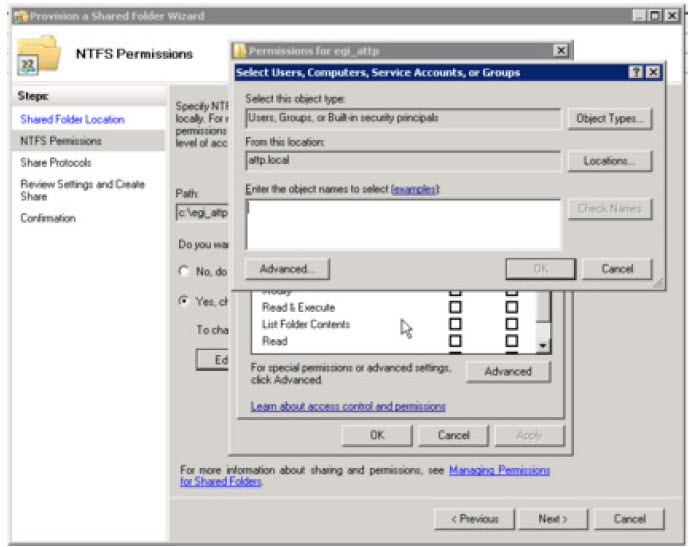
Doing so invokes Figure 4. Click the Add button in Figure 4.
-
Figure 5 will then appear. Click the Object Types button in Figure 5, select the Computers check box in the window that pops up, and click the ok button in that window to return to Figure 5.
-
Now, in the Enter the object names to select text area of Figure 5, type the name of the cluster you created using the procedure detailed in the Creating a Windows Cluster
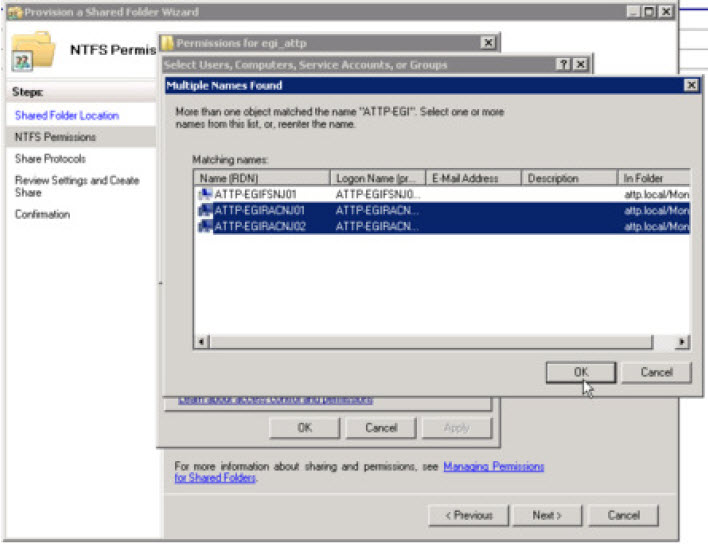
Figure 6 : A window displaying all objects with names that match the specified cluster name
-
Select the name of the cluster you created from Figure 6 and click the ok button therein. will then appear. From the Group of user names list of , select the cluster name. Then, select the Allow check box against Full Control permission in the Permissions for … list and click the ok button.
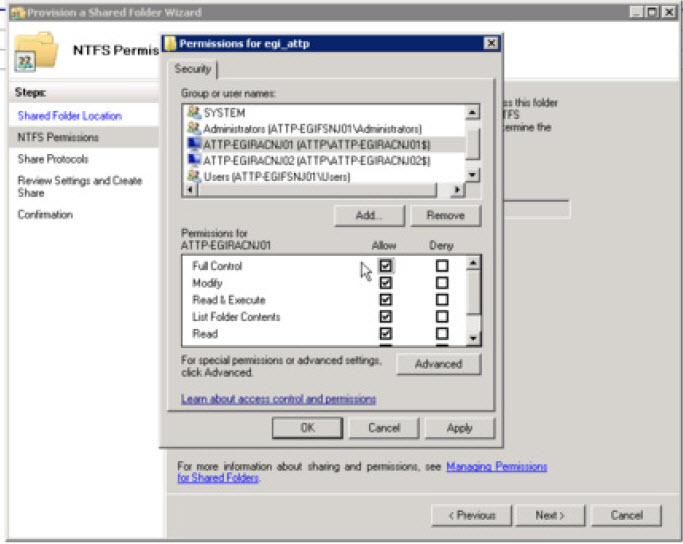
Figure 7 : Granting Full Control to cluster
-
This will lead you straight to Share Protocols section of the Provision a Shared Folder wizard. Click the Next button in this section to accept the default settings and move on.
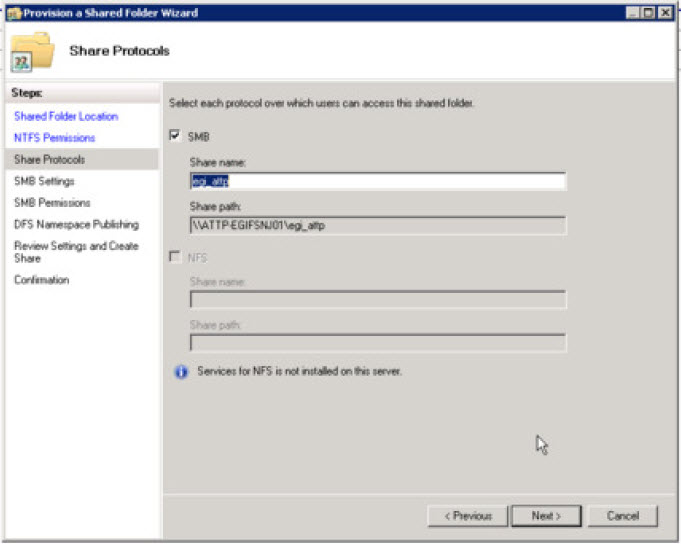
Figure 8 : Accepting the default settings of the Share Protocols section
-
This will take you to the SMB Settings section (see Figure 9). Here again, click the Next button to proceed.
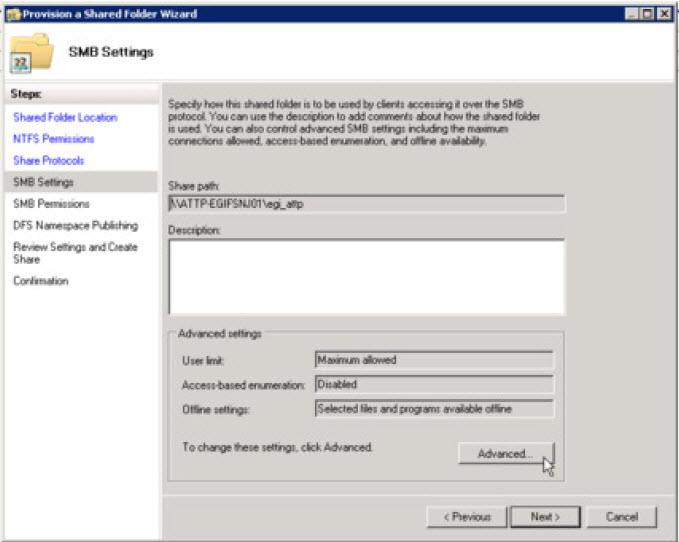
Figure 9 : Accepting the default settings of the SMB Settings section
-
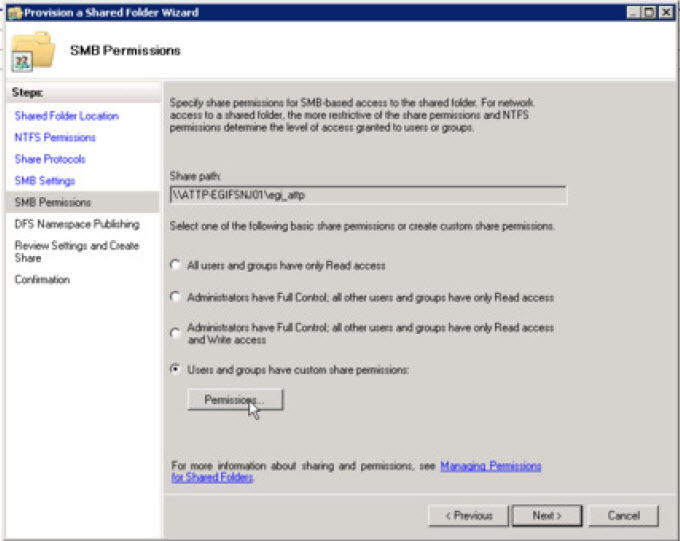
In the SMB Permissions section that appears next, select the Users and groups have custom share permissions option (see Figure 10). Then, click the Permissions button in Figure 10.
-
When Figure 11 appears, click the Object Types button in Figure 11, select the Computers check box in the window that pops up, and click the ok button in that window to return to Figure 11.
-
Now, in the Enter the object names to select text area of Figure 11, type the name of the cluster you created using the procedure detailed in Section 3.23.1, and click the Check Names button. Figure 12 will then appear, listing all objects that match the cluster name that you specified.
Figure 12 : A window displaying all objects with names that match the specified cluster name
-
Select the name of the cluster you created from Figure 12 and click the ok button therein. Figure 13 will then appear. From the Group or user names list of Figure 13, select the cluster name. Then, select the Allow check box against Full Control permission in the Permissions for … list and click the ok button.
-
Once you return to the SMB Settings section, click on the Next button to move on. Figure 14 will then appear. Accept the default settings of Figure 14 by clicking the Next button.
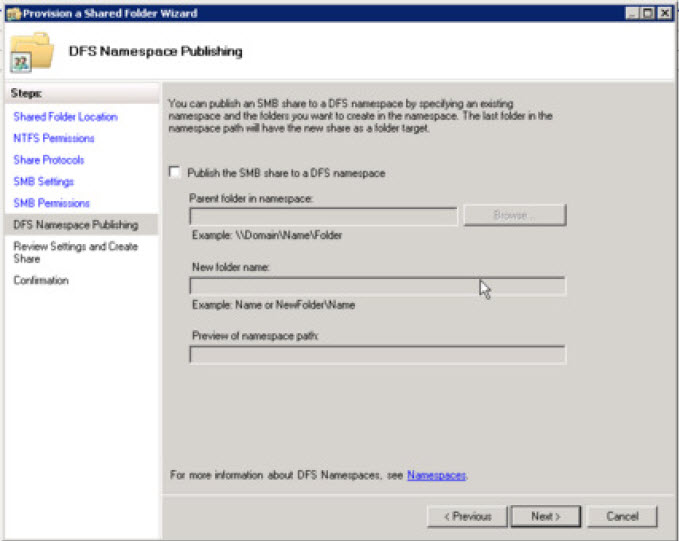
Figure 14 : Accepting the default settings of DFS Namespace Publishing section
-
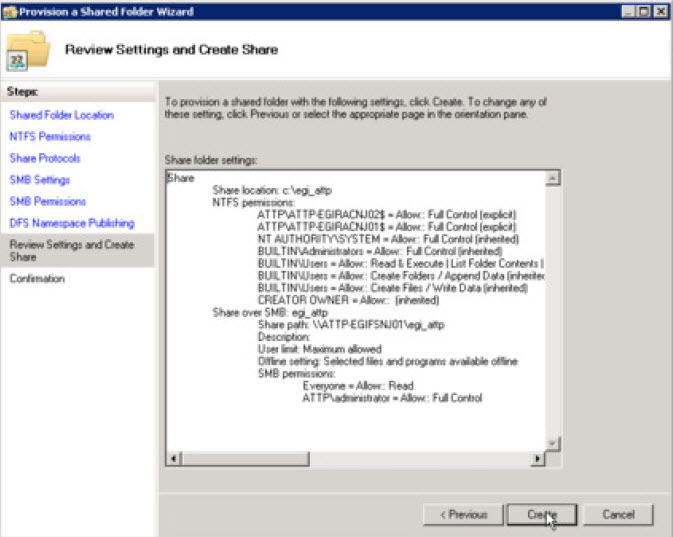
Figure 15 then appears displaying the configuration of the File share that you intend creating. Review the configuration and click the Create button therein, if you want to confirm creation of a file share with the displayed settings.
-
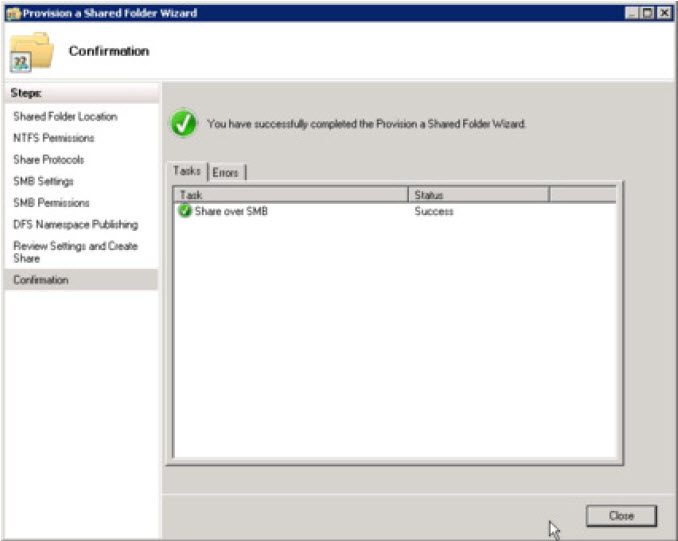
If share creation is successful, then Figure 16 will appear indicating the same. Click the Close button therein to close the wizard.